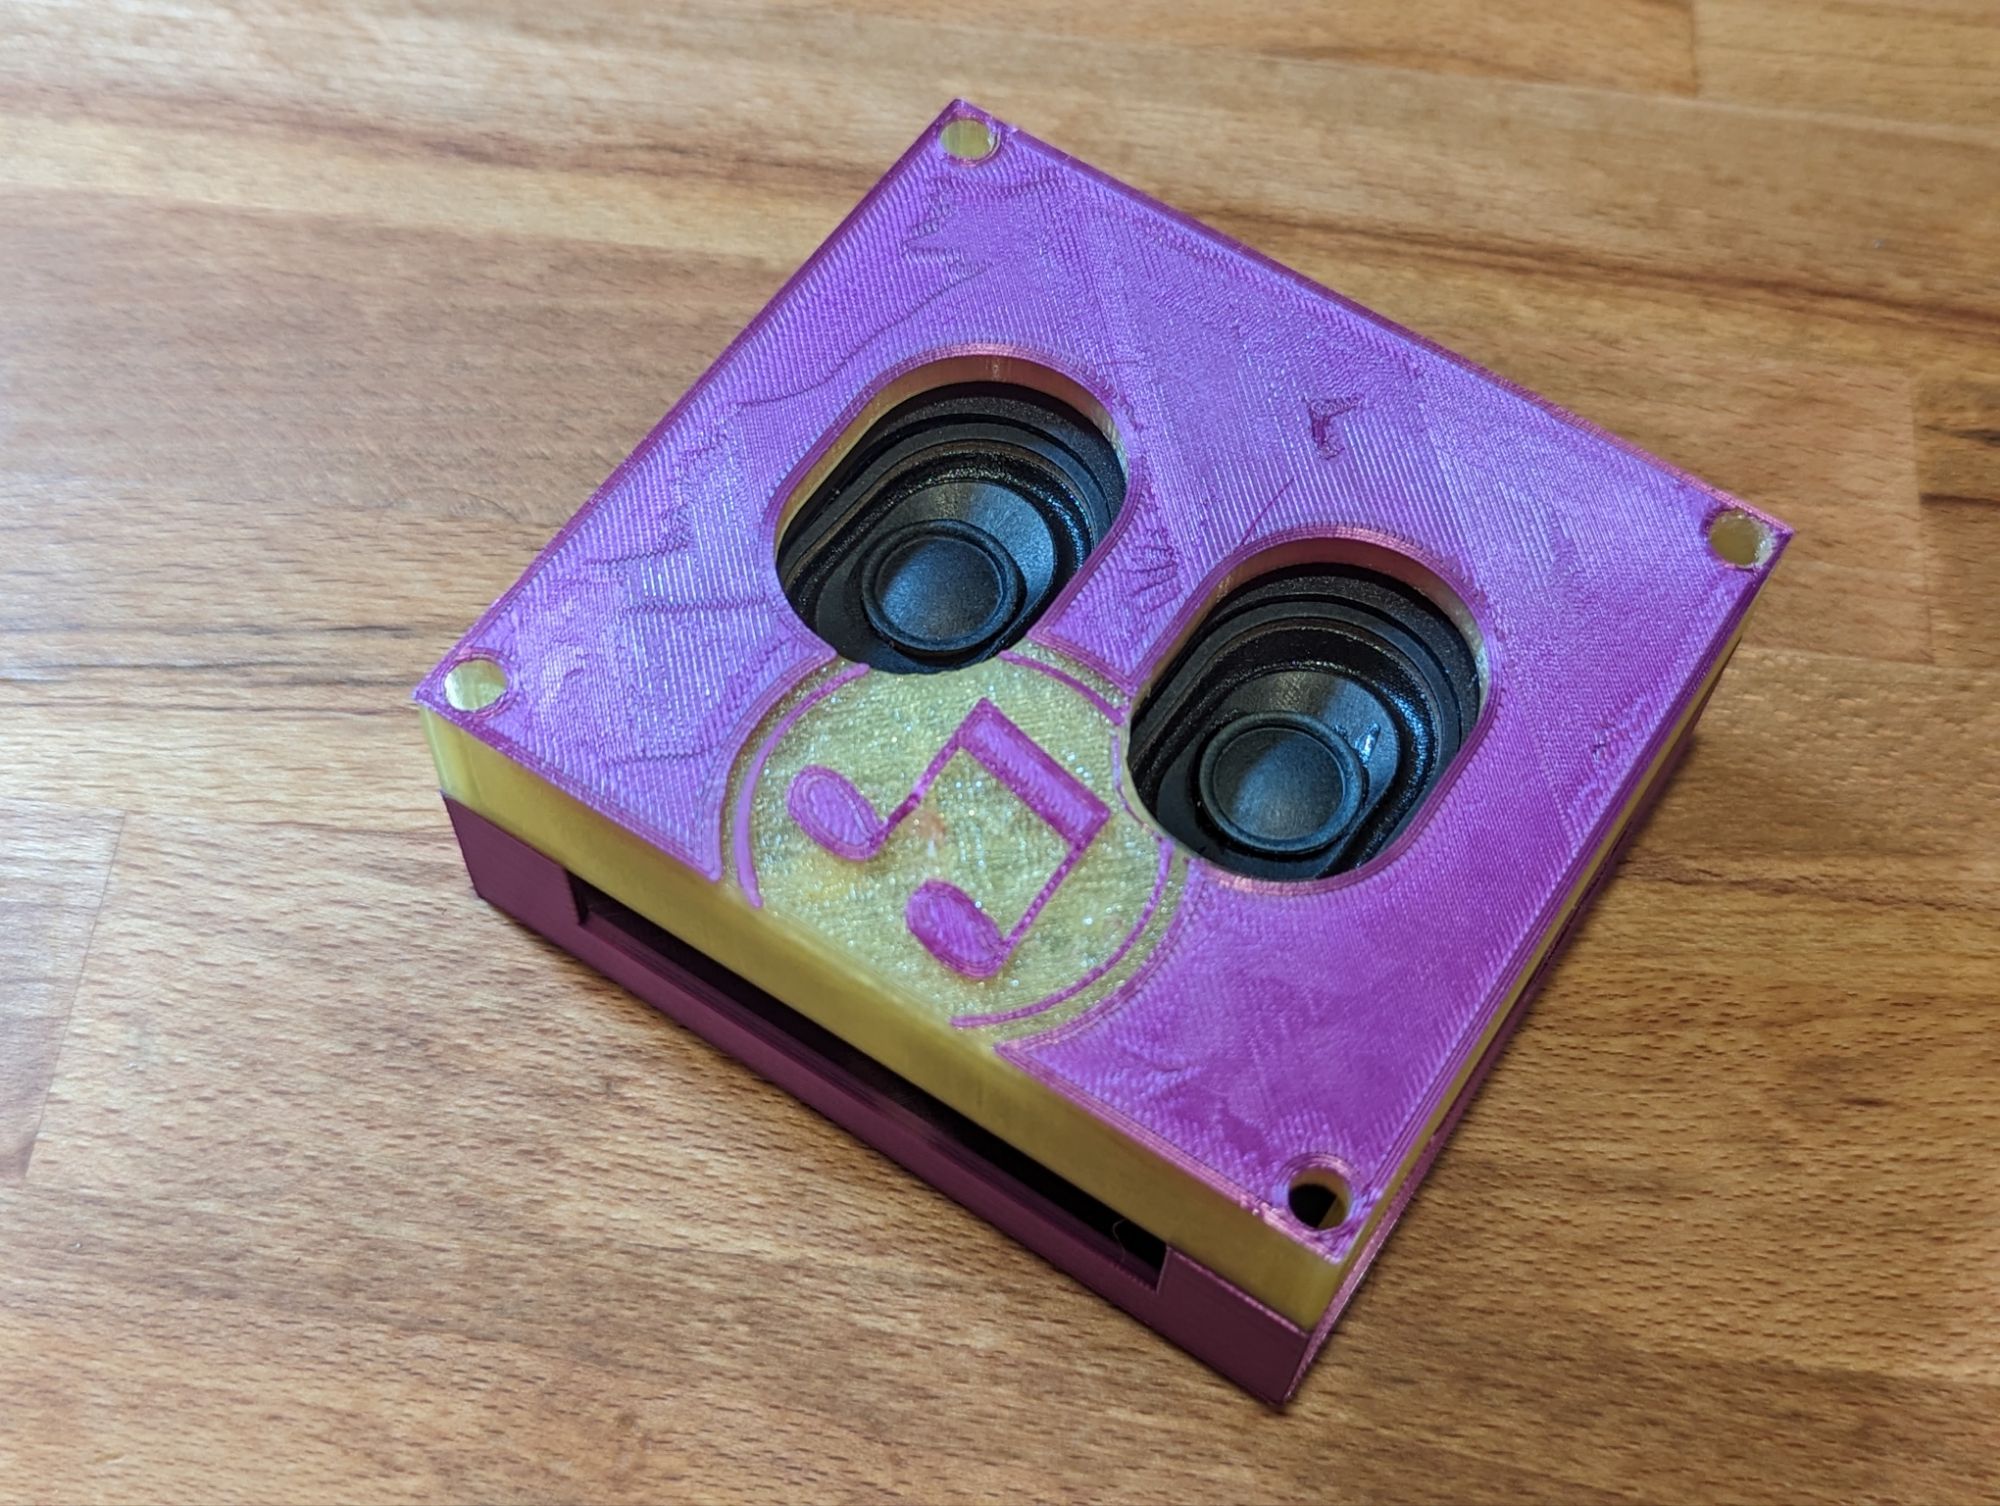
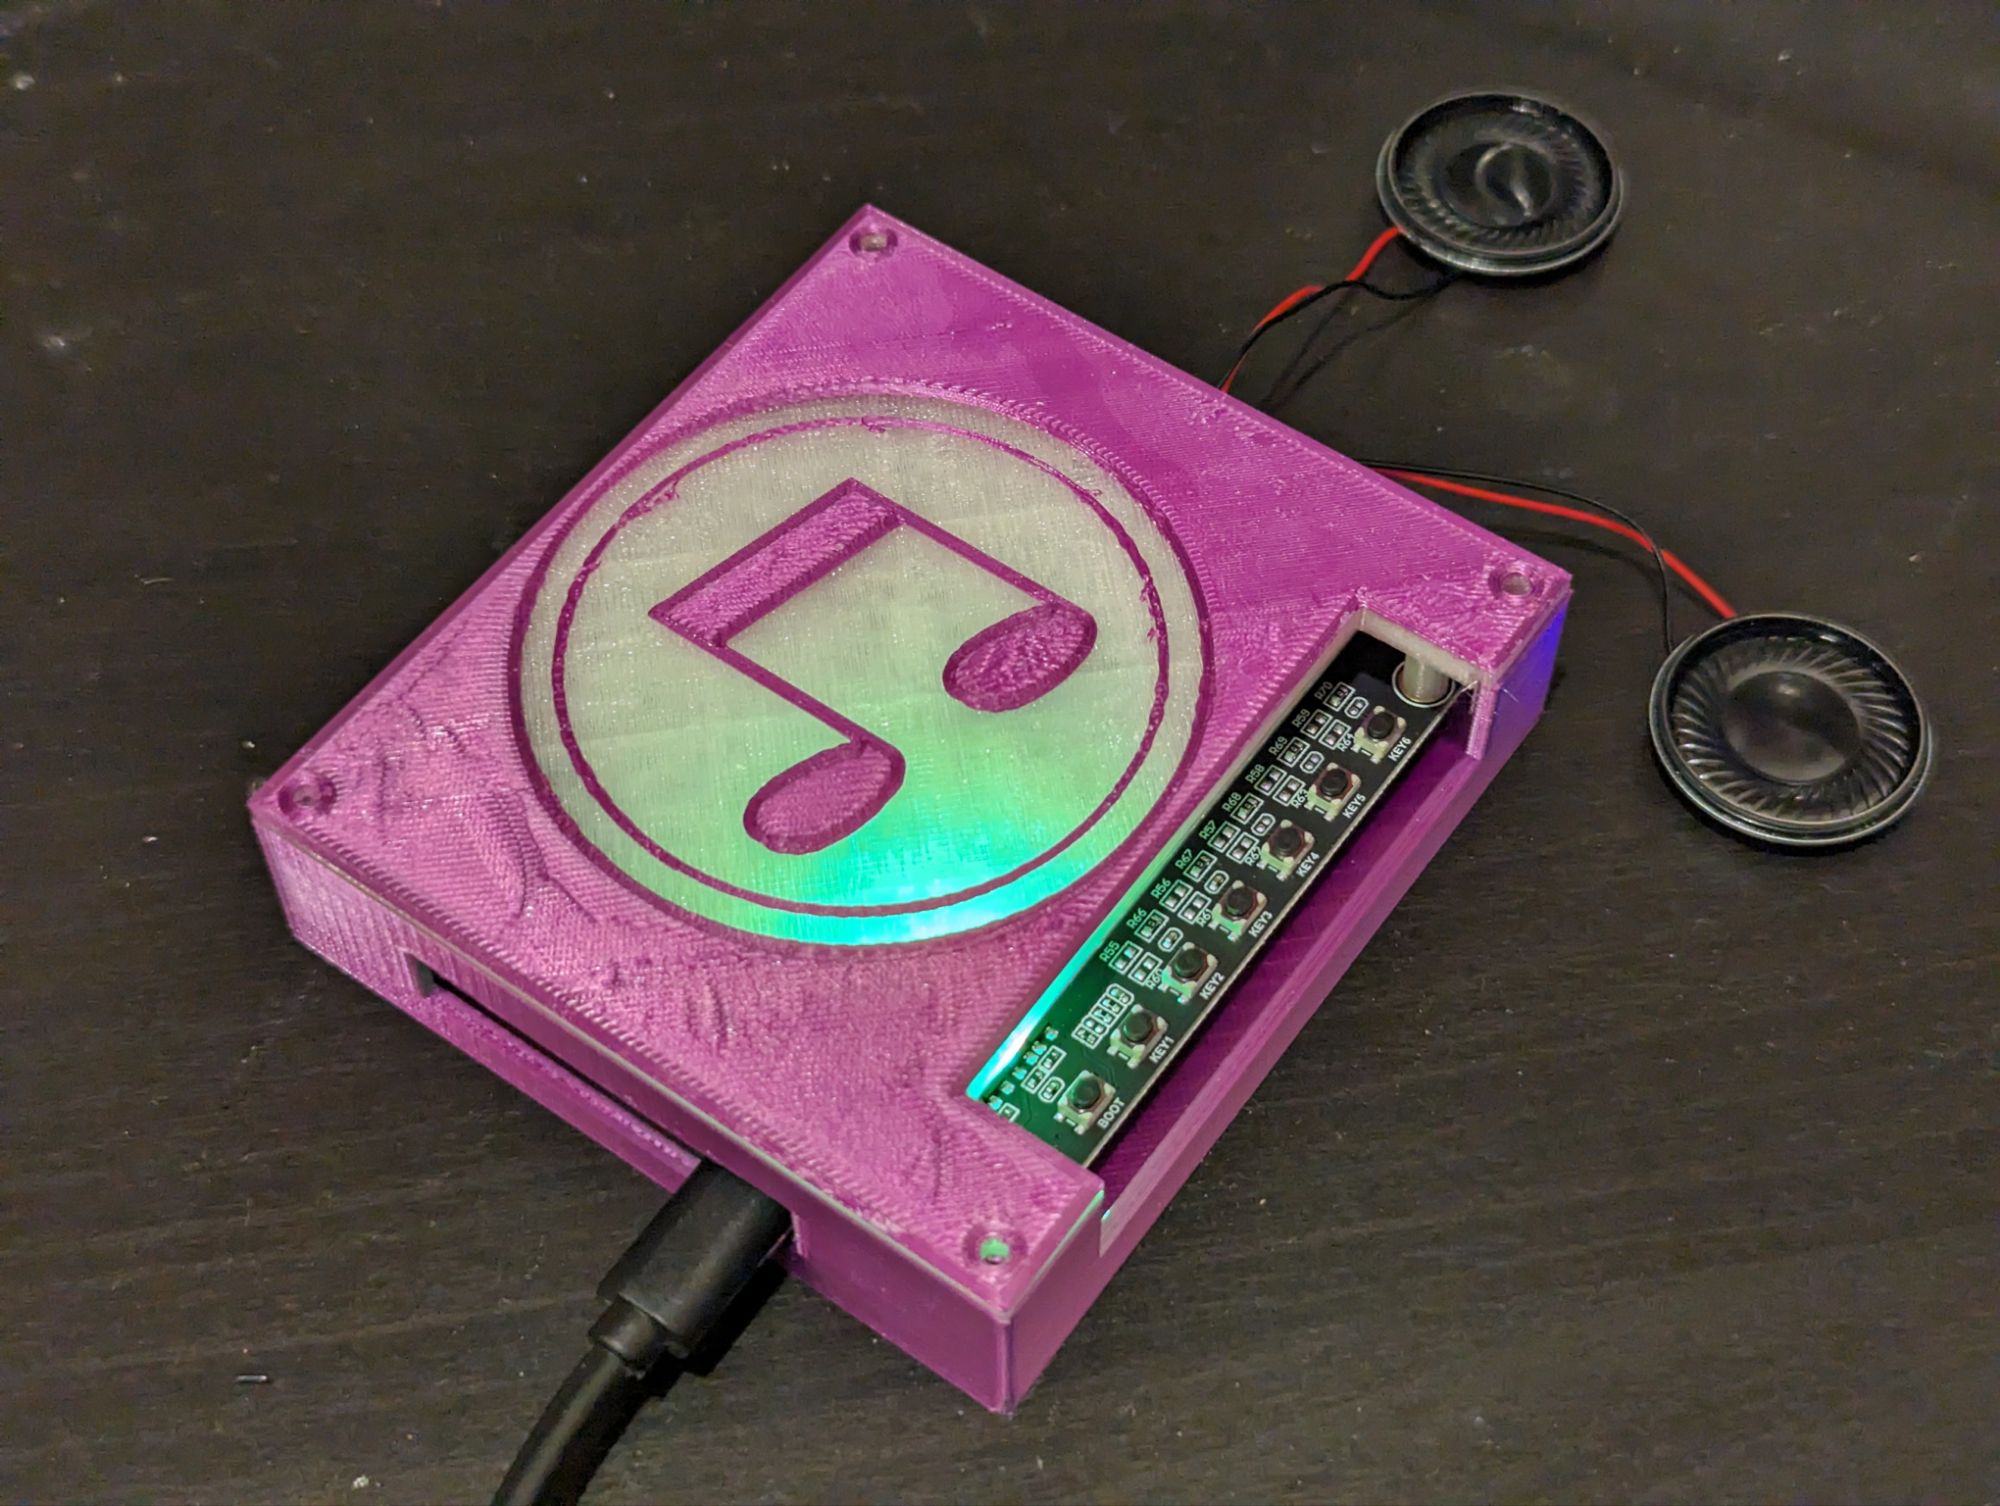
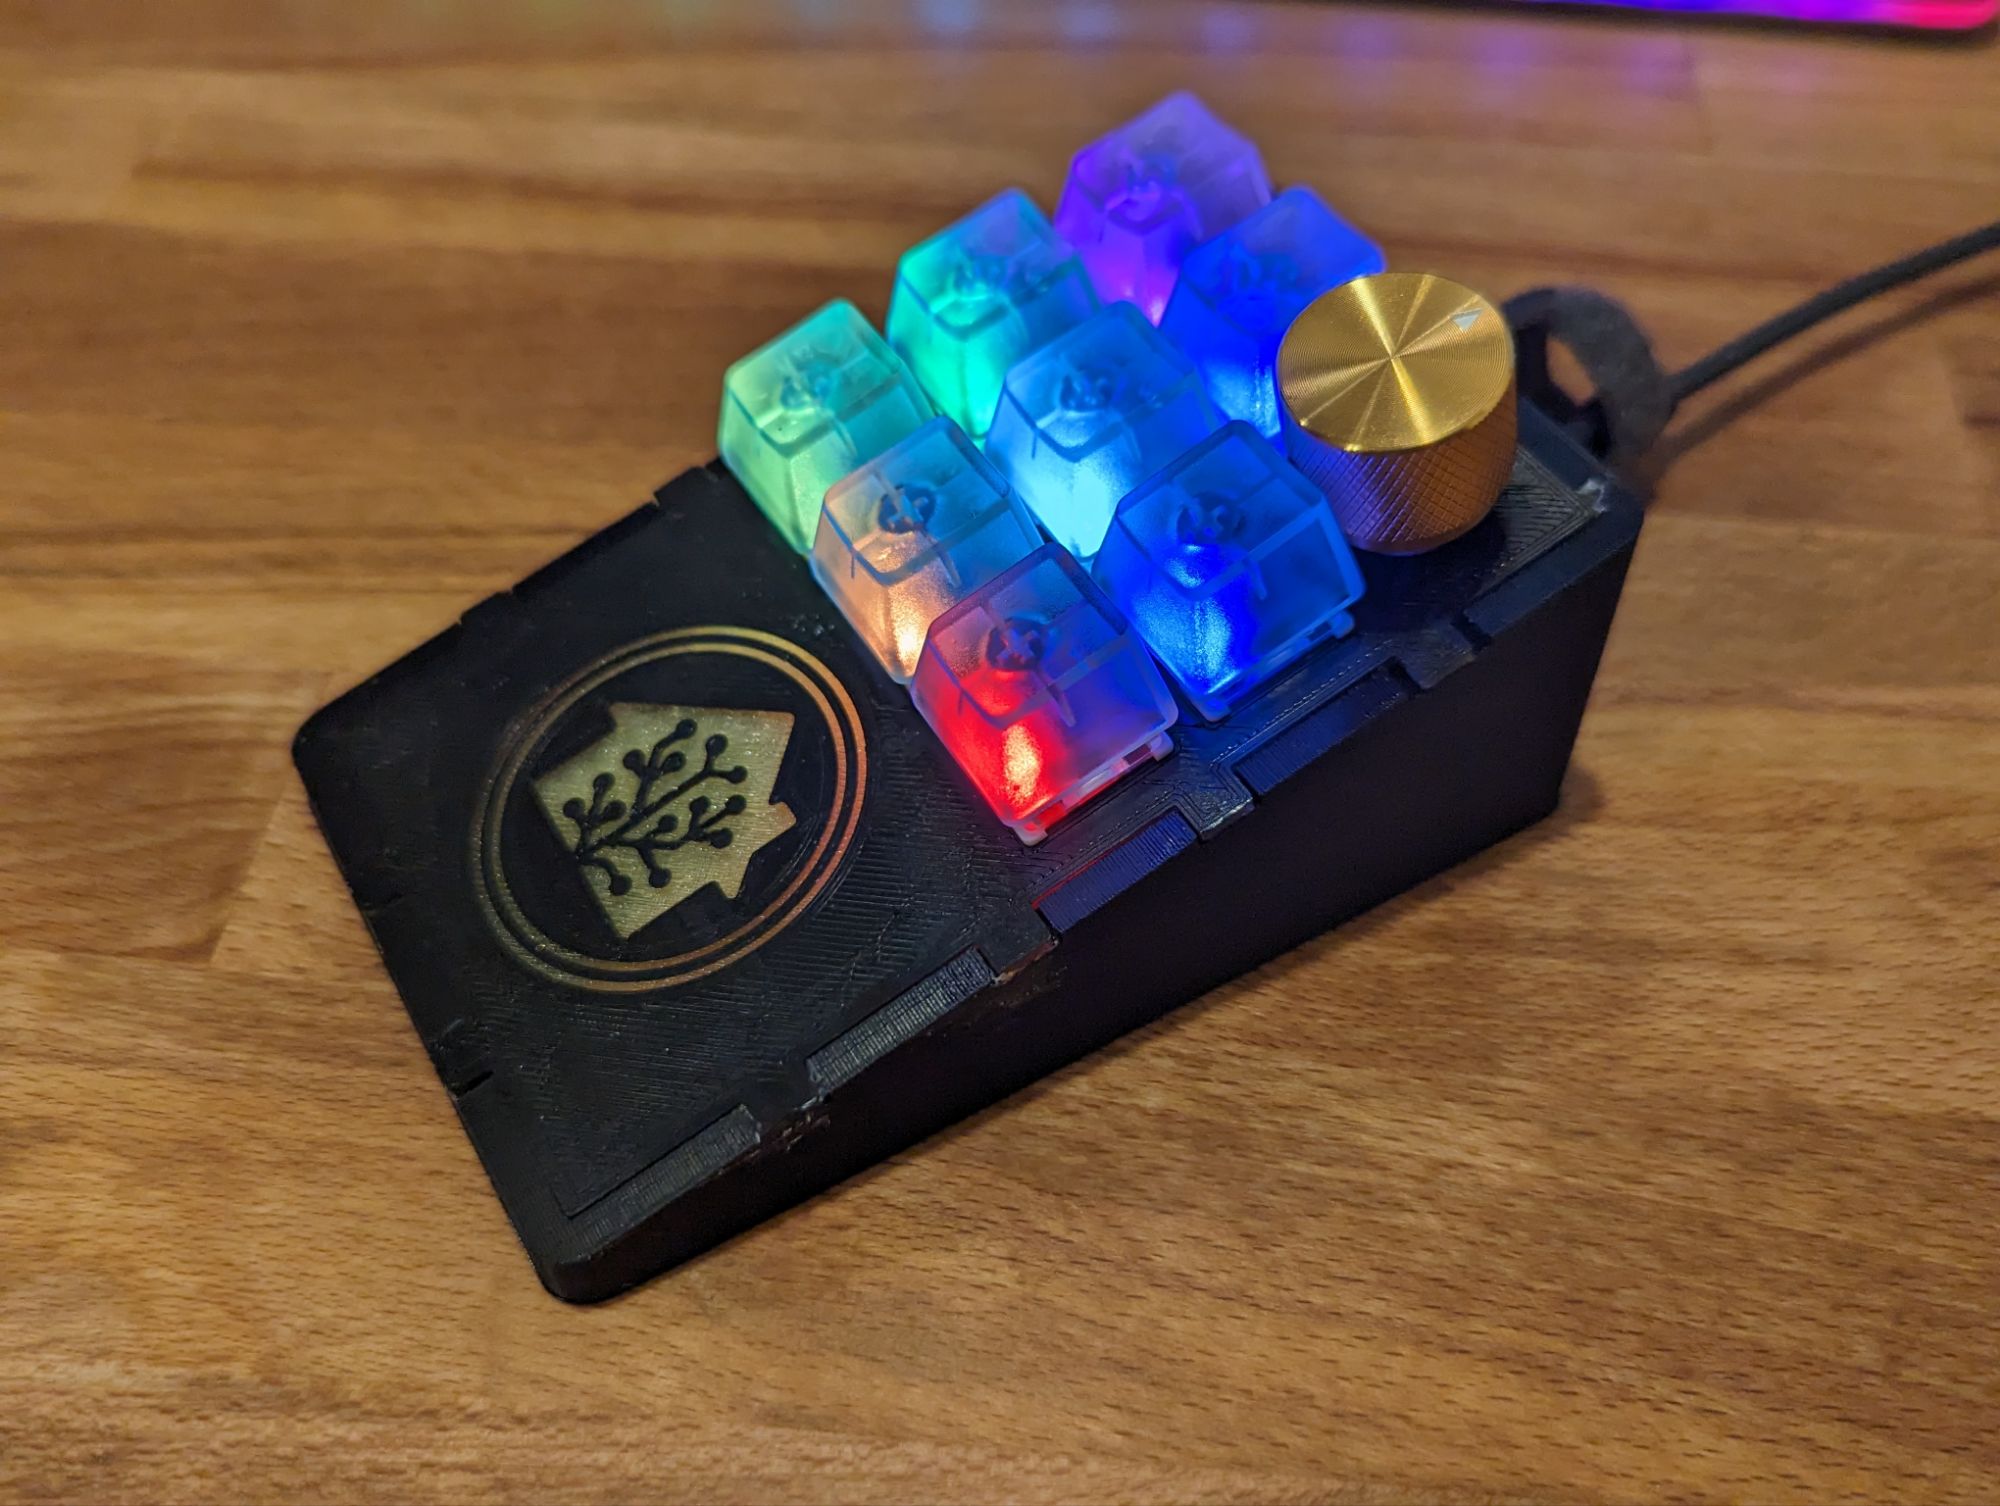
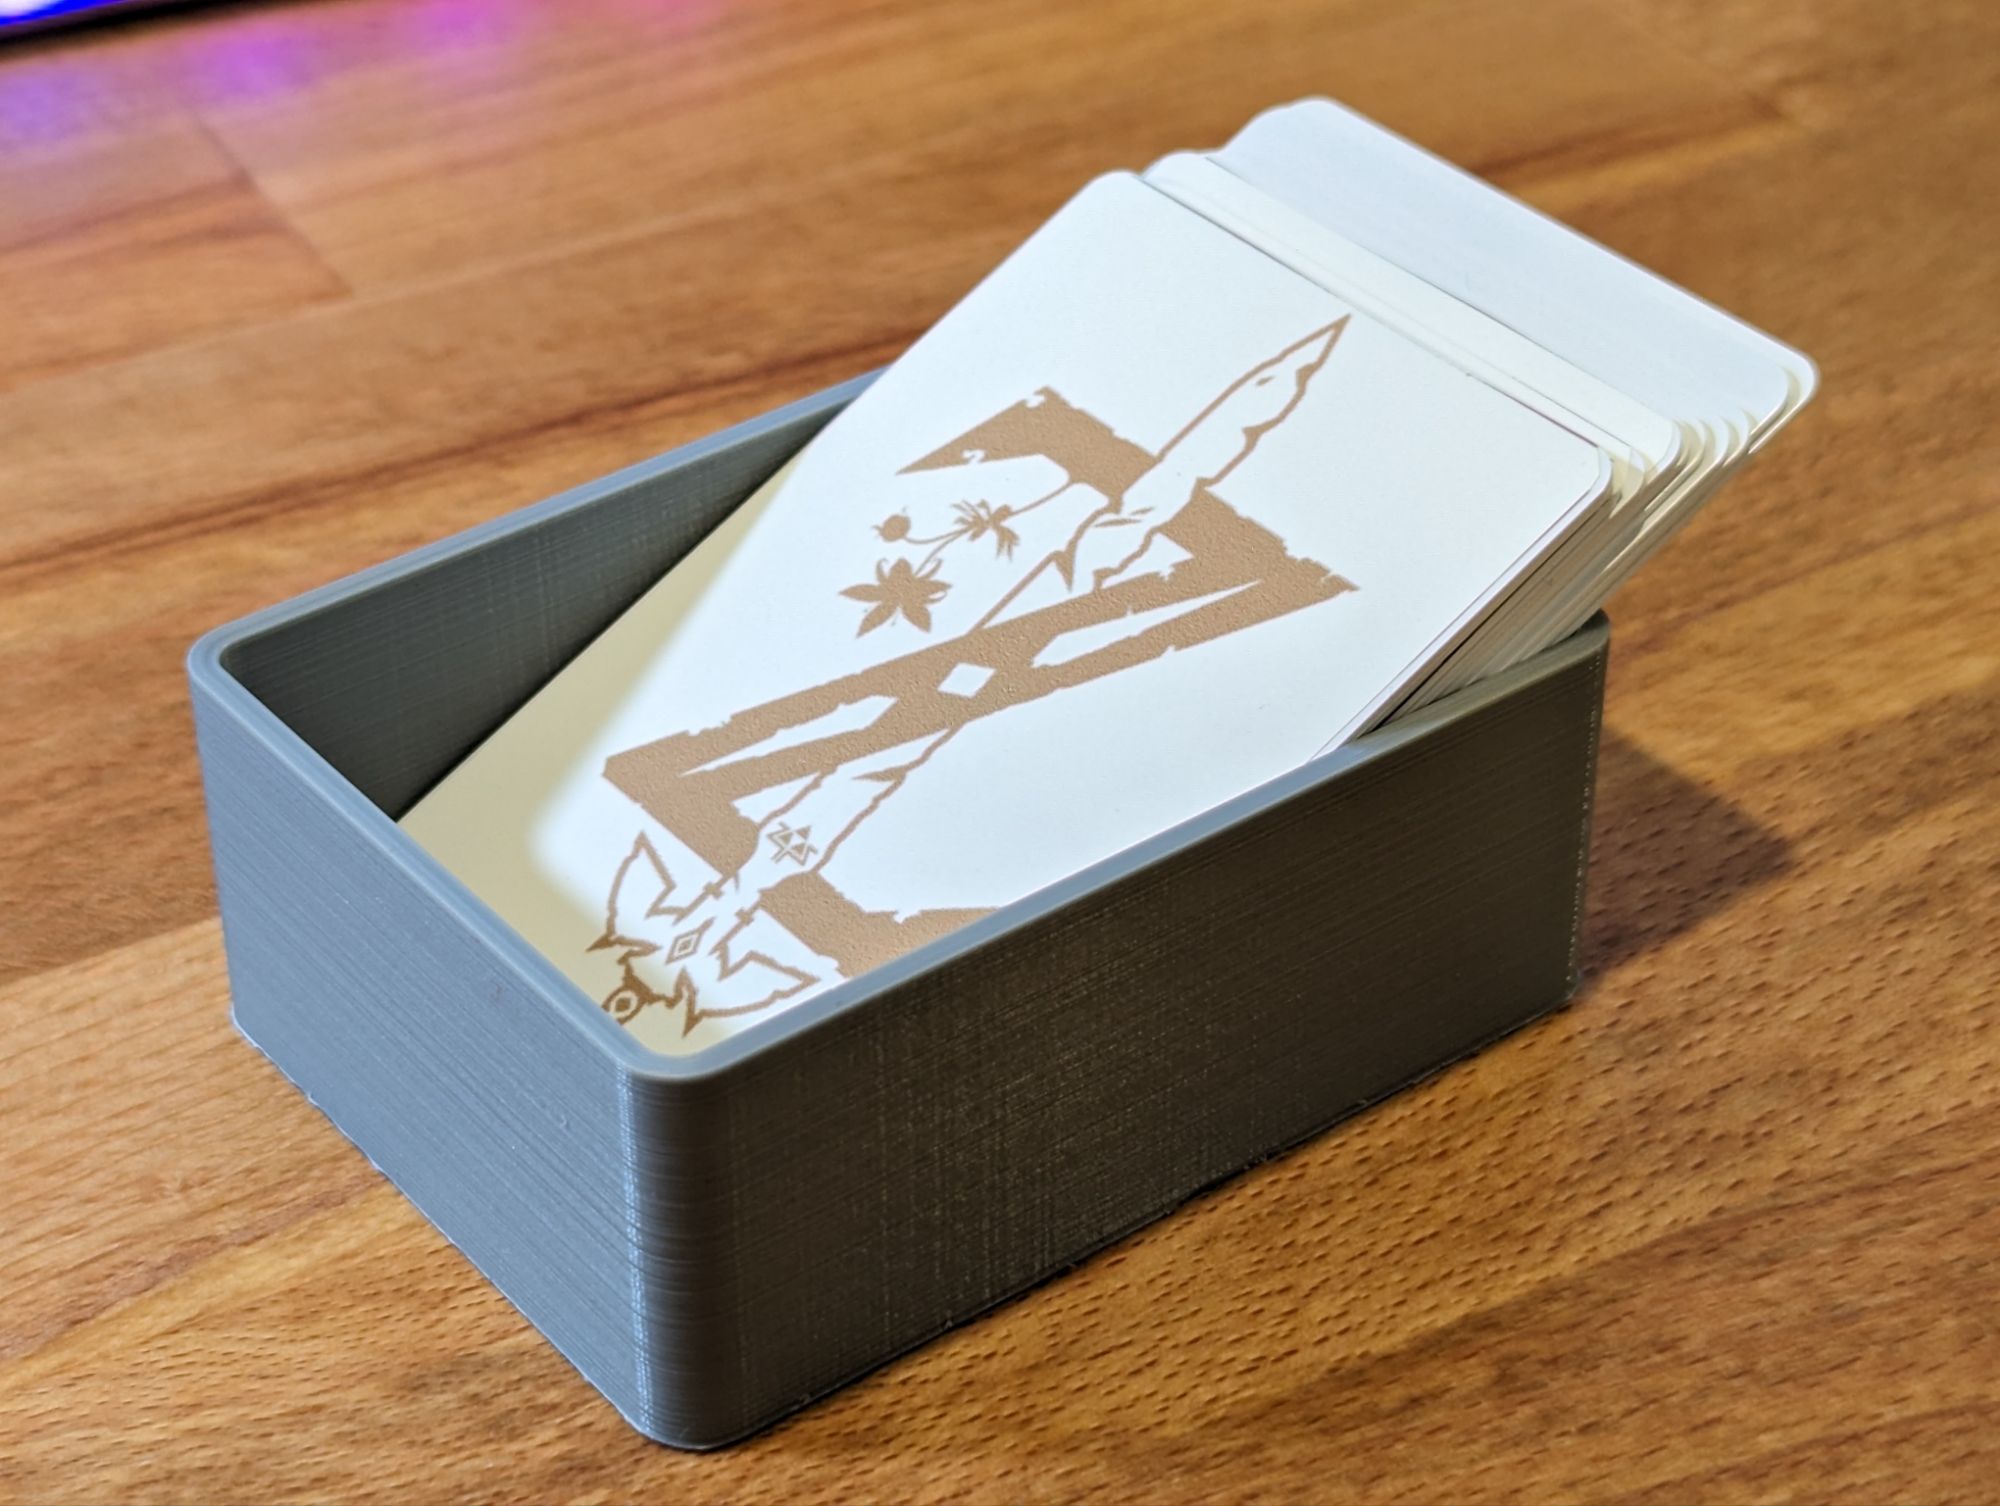
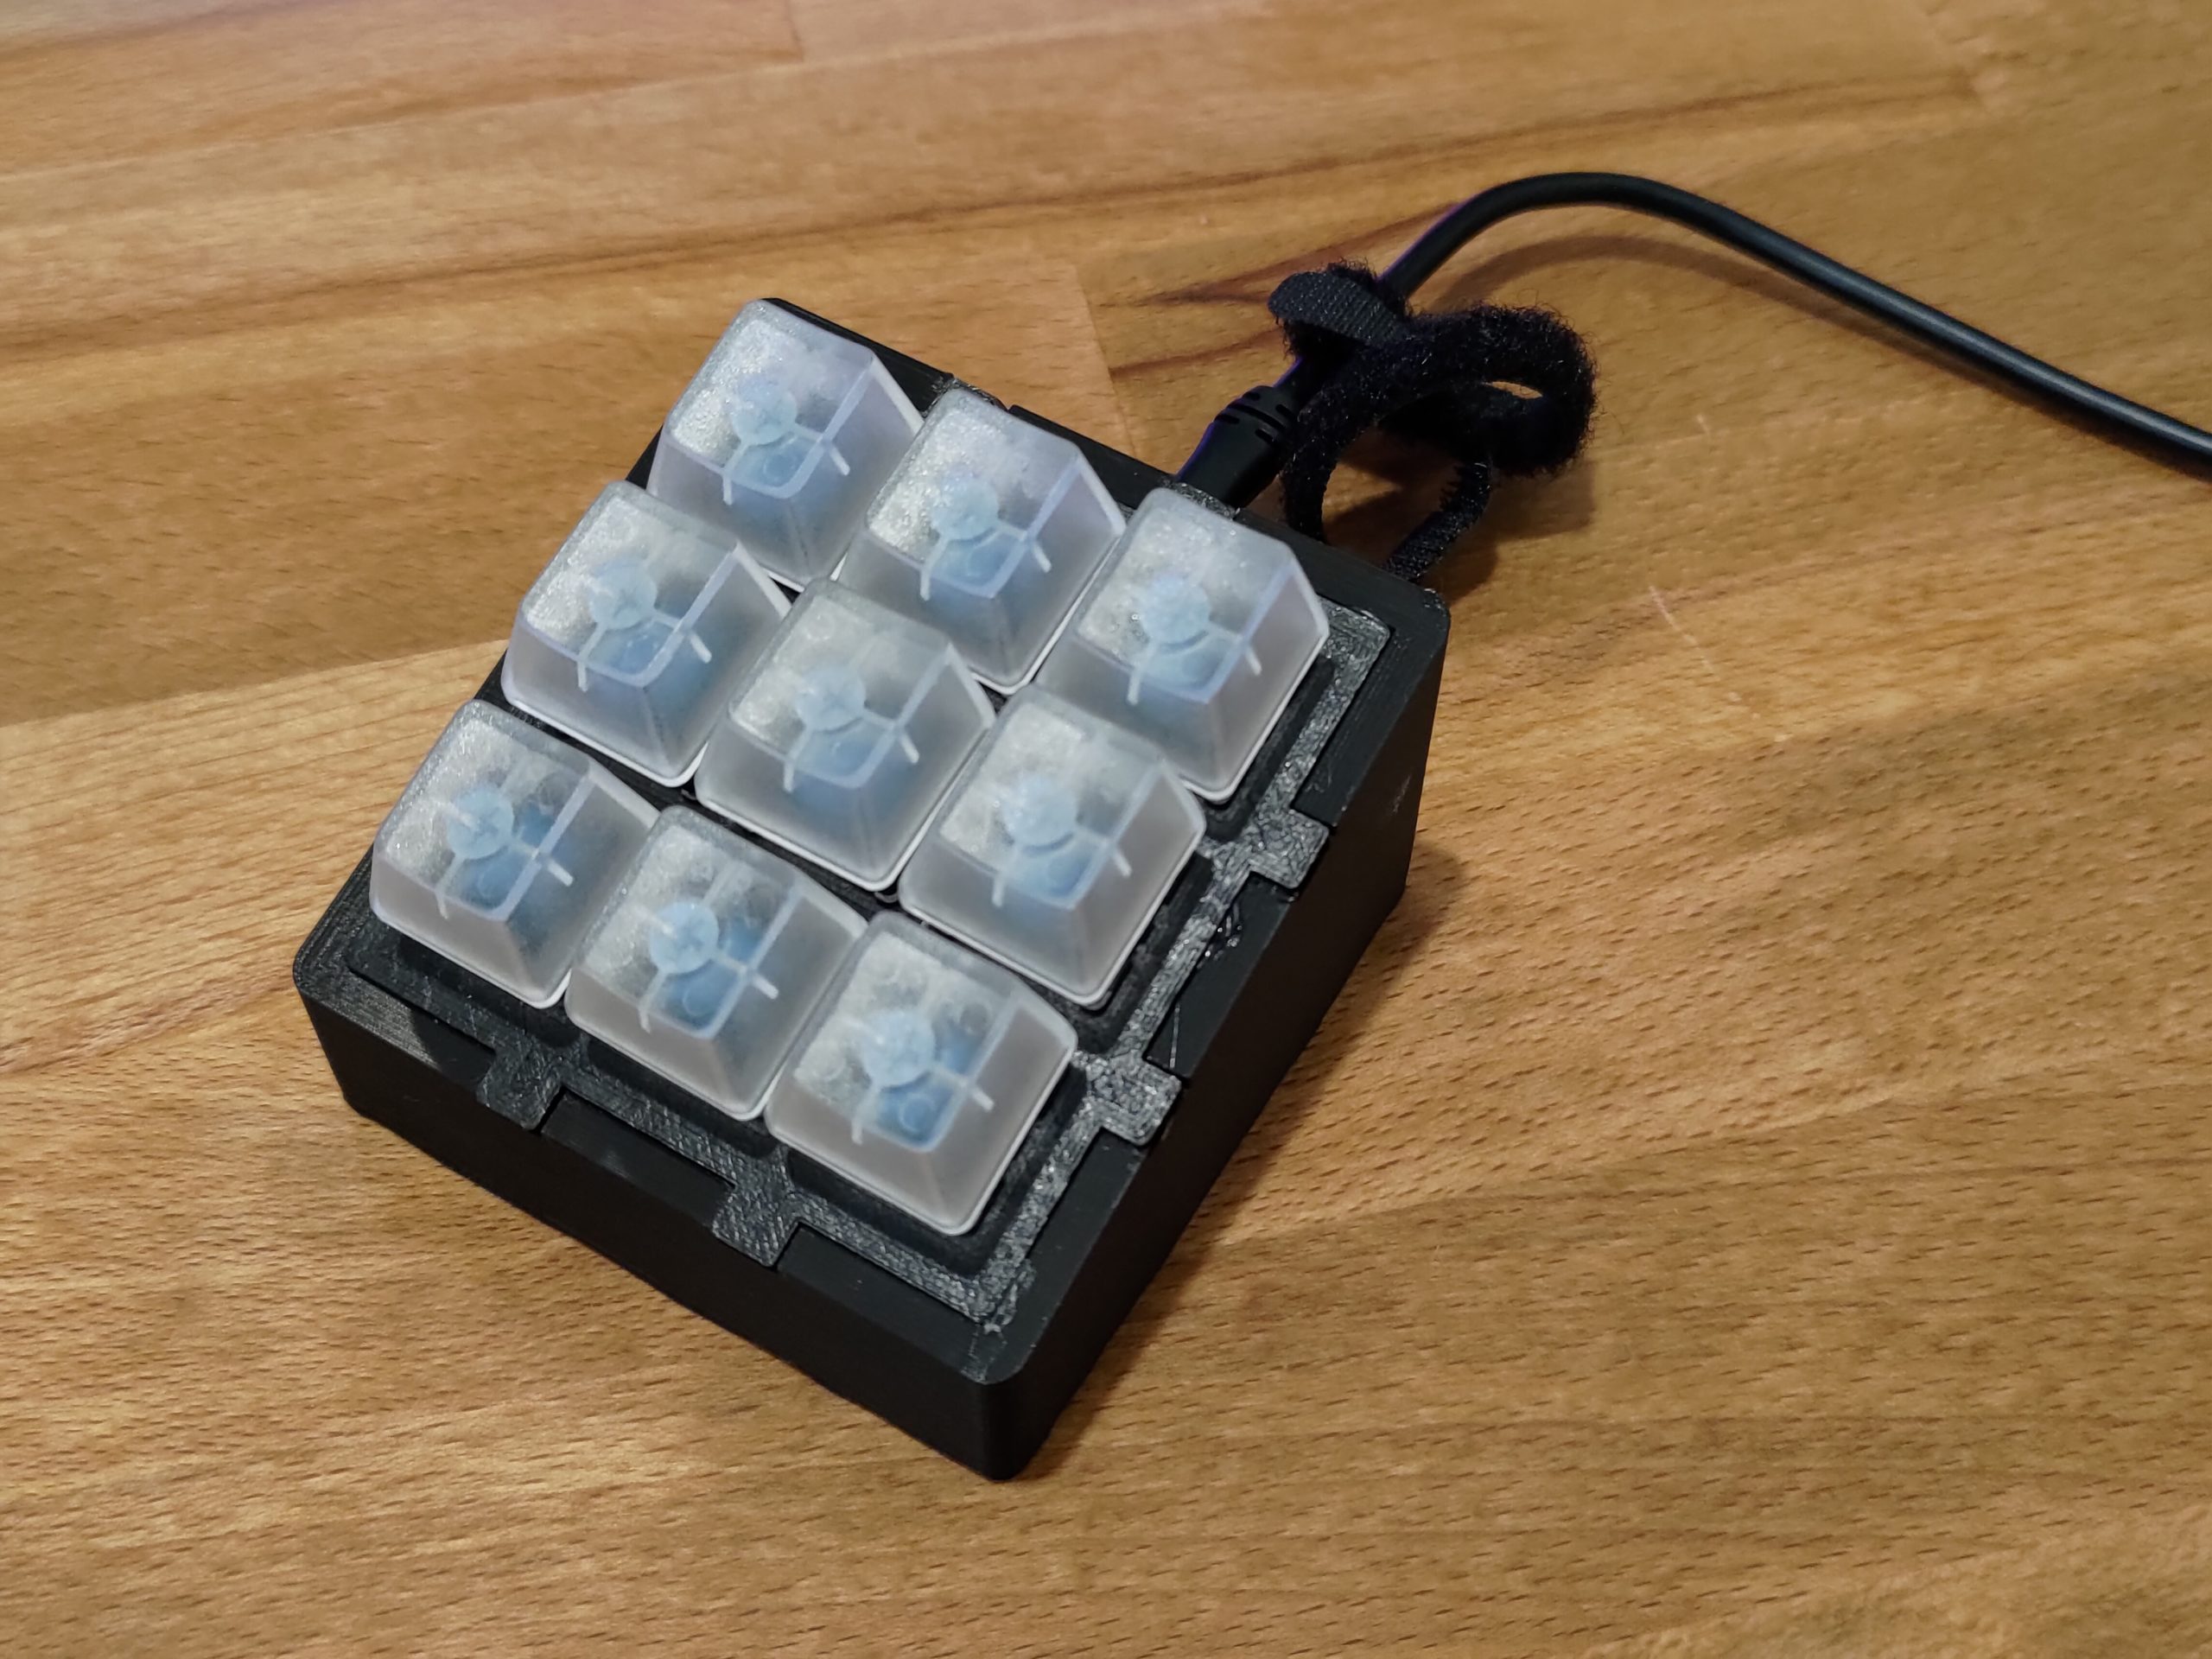
Just trying a new thing here I guess, just a gallery of projects, linking out to the blog posts covering them. Not sure if I’ll do this often, probably not though.

Just another tech blag
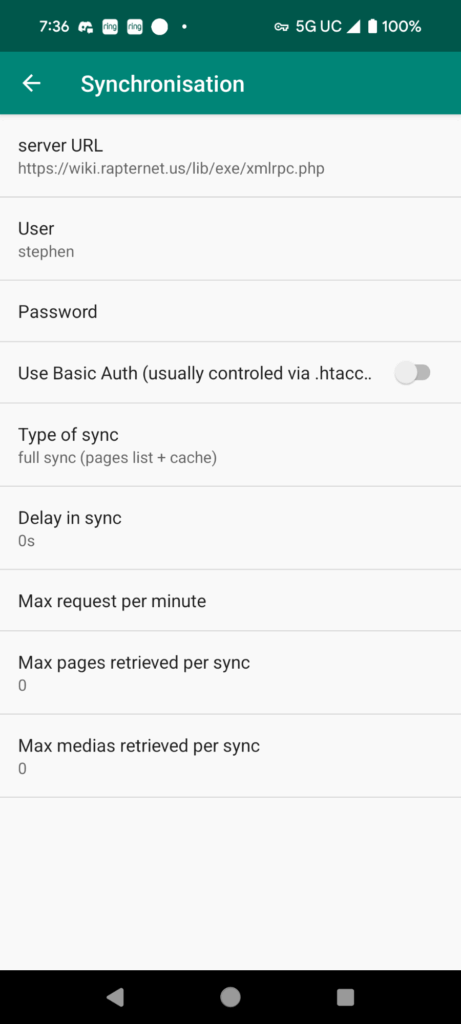
I recently setup the dokuwiki Android app on my phone. The setup was simple enough with one catch. The server URL had to be the URL to the xmlrpc.php file on the server. This couldn’t be just the wiki domain to function. I’m not sure if I missed the note in the setup docs, but felt like ensuring it’s included here for reference.

I noticed that my roku integrations in home assistant weren’t functioning. They were instead throwing an error that “ECP command not allowed in Limited mode”. Luckily this is a pretty easy thing to fix in Roku settings.
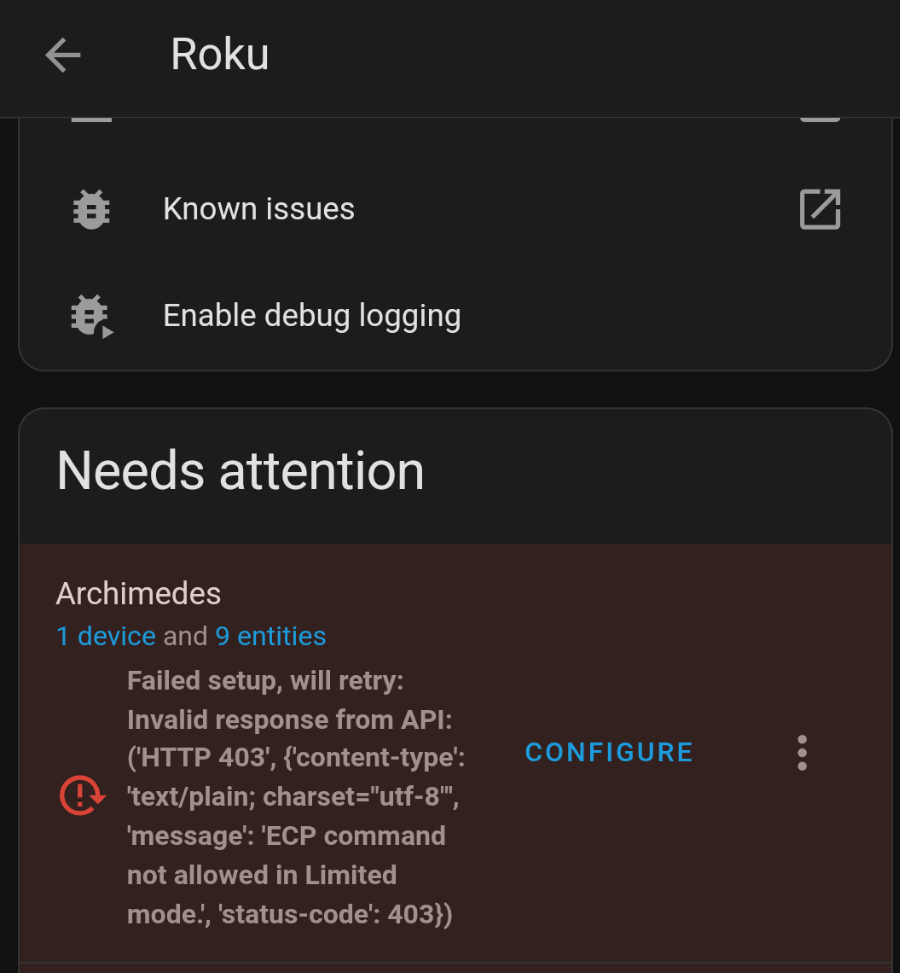
Additional options were added to Settings > System > Advanced System Settings > Control by mobile apps > Network access. This is now defaulted to “Limited mode” which disables the access the integration needs. Putting this setting into “Permissive” or “Enabled” will fix the issue.
This is another project I started quite a few years ago. I printed out a number of the small parts for the mask, though never got to the larger parts of the print, and still had plenty left to do on it. I didn’t intend to make it wearable, so that will at least simplify some of the construction.
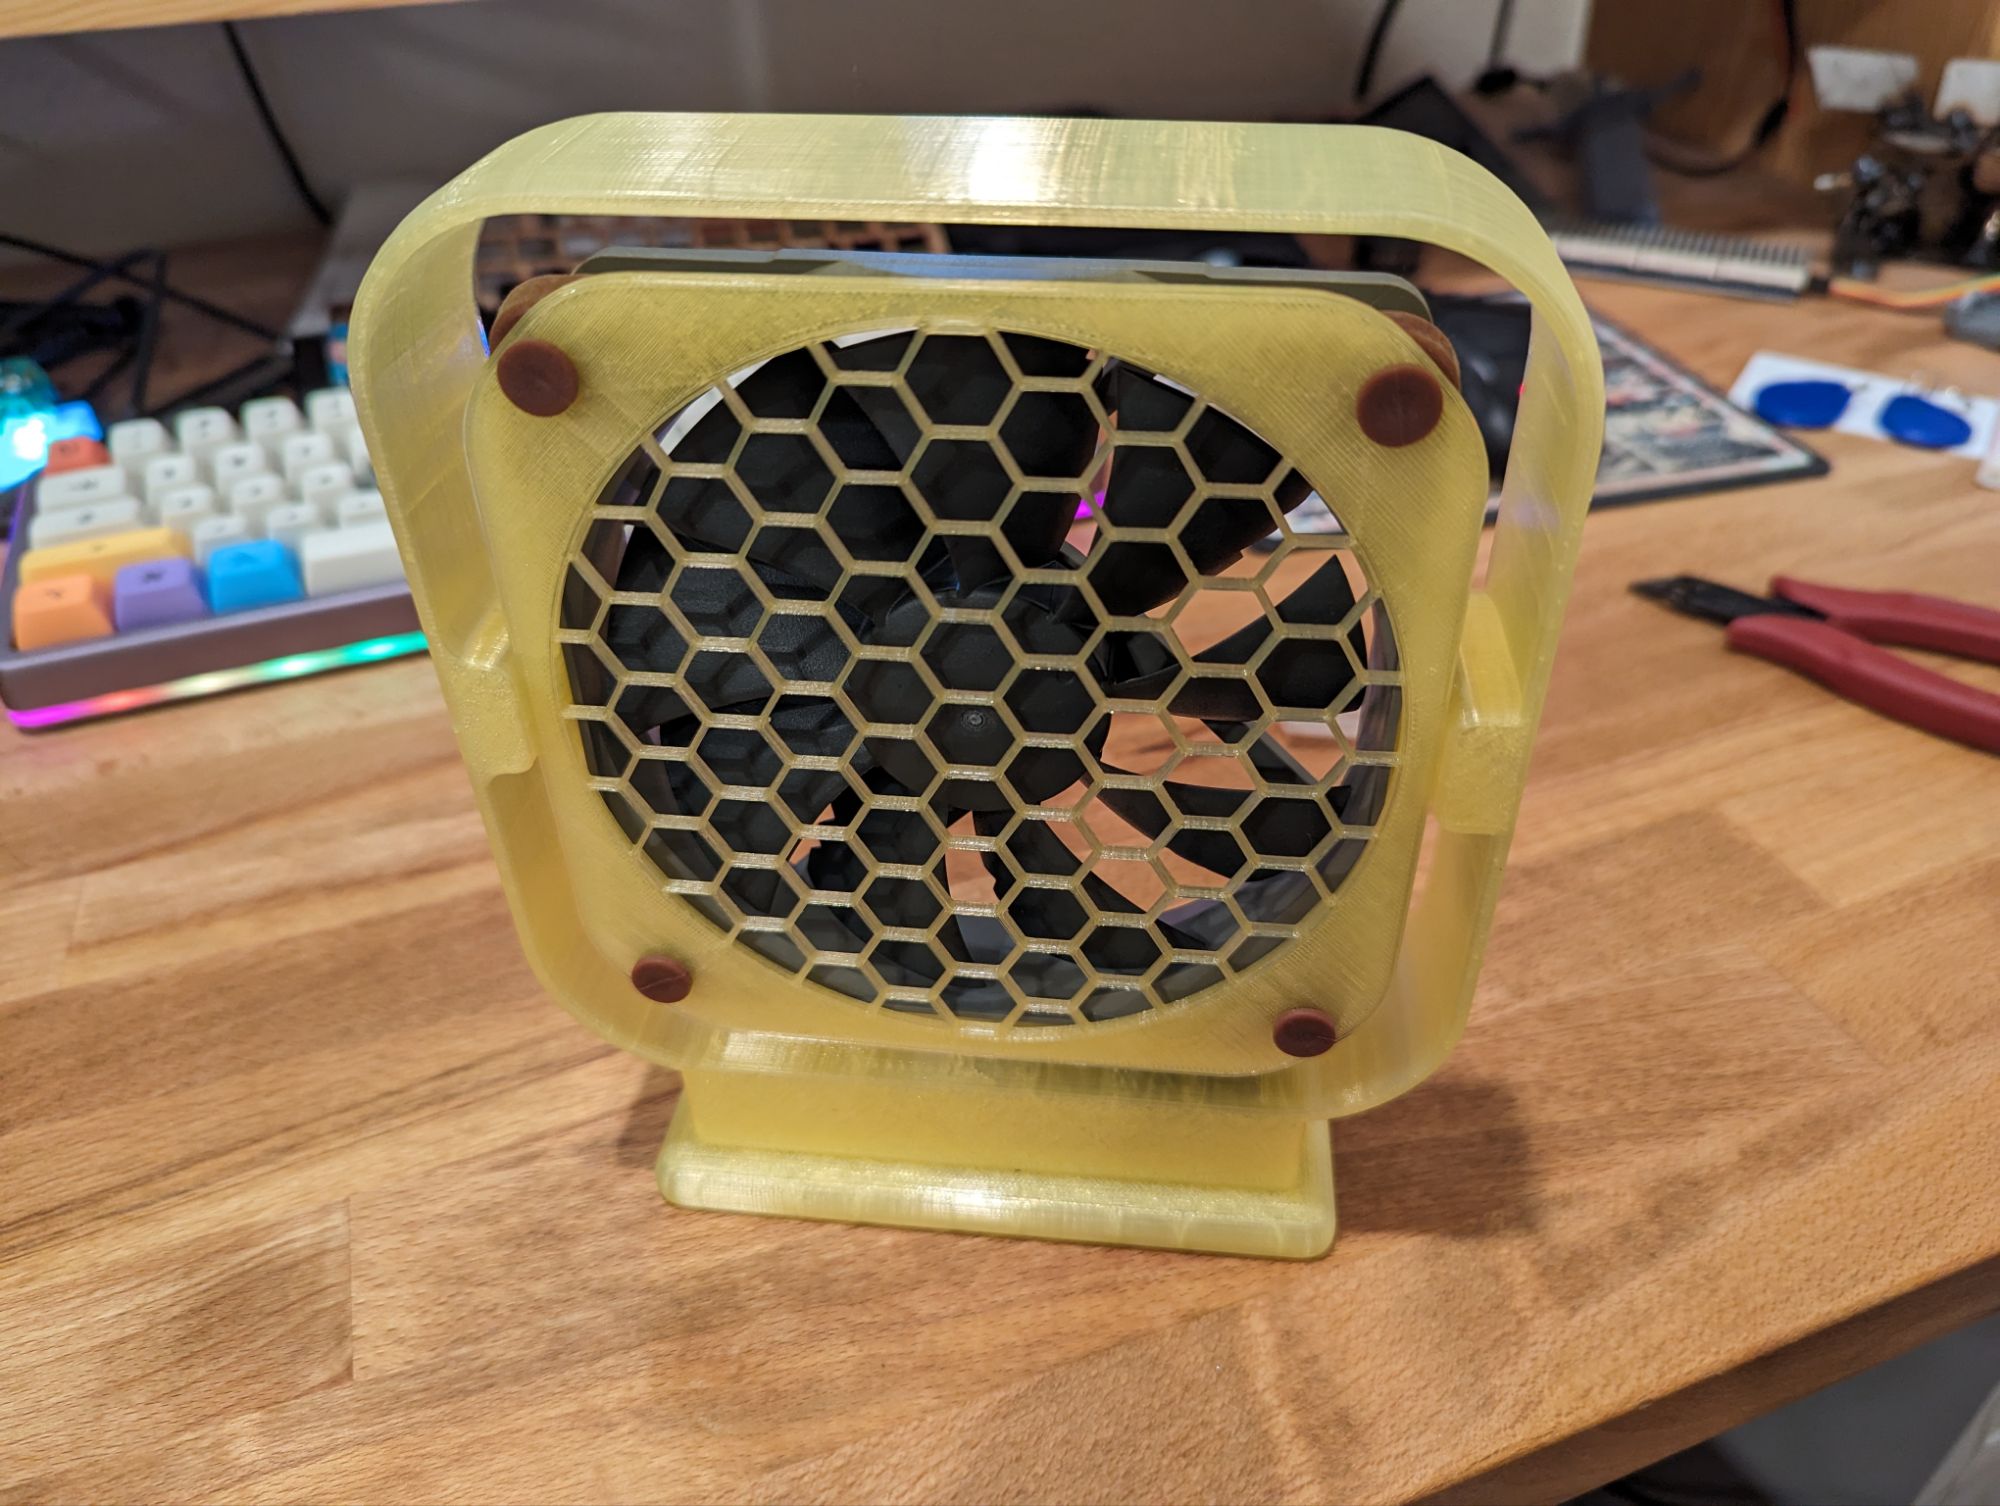
Continue reading “Finishing Old Projects 3 – Dishonored (Corvo’s) Mask”As I’ve been doing more soldering and creating air quality sensors, I’ve noticed an extreme drop in quality when I’m soldering. This doesn’t surprise me, but seeing the magnitude of it gives me good reason to work on a small soldering fume extractor and filter.
Continue reading “ESPHome Powered Solder Fume Filtration/Extraction”I’ve been a bit annoyed by the default esphome-web names that many of my devices have. I haven’t tried renaming many of them, which seems to be simpler now than when I first renamed a few of them years ago. I also have a secondary issue in my ESPHome dashboard, devices showing as offline, but that are online in Home Assistant.
Continue reading “Renaming Hostnames in ESPHome”The devil is always in the details with large systems like this. I wanted my multi room audio system to feel like a polished product, a professional setup. For that I need to make sure I covered ALL the details, since it’s all the small things that can add up to big issues. Here is a smattering of the details I’ve been working on for my multi room audio system.
Continue reading “Tertiary Parts of an NFC Music Player”This second project is the pistol from Bioshock, it is primarily 3d printed with some extra materials thrown in. I picked up a toy pistol, cleaned out some old cans, and printed off some of the pieces to mod it into the fully upgraded pistol from the game. Except the problem is I never got further than painting a few of the printed parts, no assembly was ever started, so now it’s time to fix that.
Continue reading “Finishing Old Projects 2 – Bioshock Pistol”I ran into an odd issue while trying to use a template sensor, home assistant gave me an error that I needed to have a unique id in order to use the sensor. Luckily, this is surprisingly simple to add.
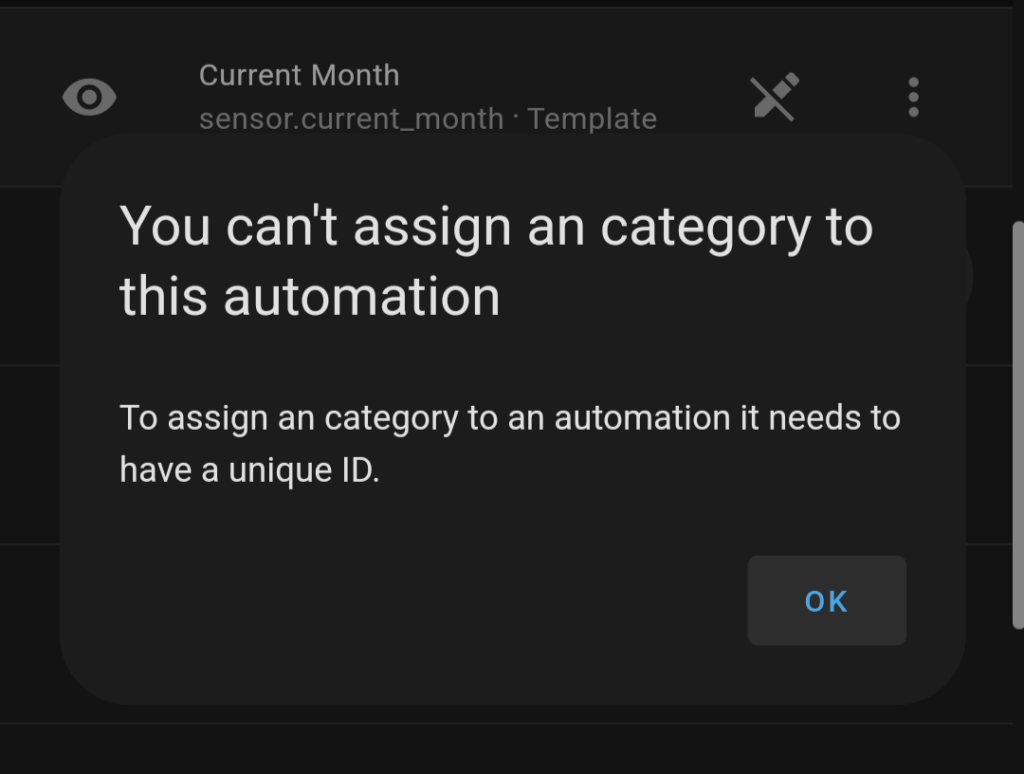
It really is just a one line addition to the yaml for the sensor to add a unique ID. You can also use an online generator to create the ID to make sure conflicts are avoided.
- sensor:
    unique_id: asdf
    name: a_to_b
After the BliKVM PCIE failed to work at all, I decided to try one of the new little IP KVM units out there. I went with the JetKVM because its main distributor isn’t AliExpress (after the BliKVM didn’t work at all), and seemed to be pretty high quality on top of that. I wanted to set it up to have the ability to remote power on my NVR as well as to monitor it.
Continue reading “JetKVM”