
This is the first step in my home audio setup. I need an easy way to select music to play from my collection, and having EspDeck buttons for each choice would end up being a bit too clumsy. I plan on making some tag readers and a small collection of NFC tags for the various bands, playlist, etc available.
I don’t have any fancy wireless speakers to experiment with for my NFC controls (yet), so instead I’ll be using my desktop’s PlexAmp install. I normally leave it running and can use it as a “speaker” output in my office. This will at least give me some idea on what it is like to control media players with home assistant, and some practice doing so.
Goals
- Play artist/album
- Play playlist/genre
Tag Reader Assembly
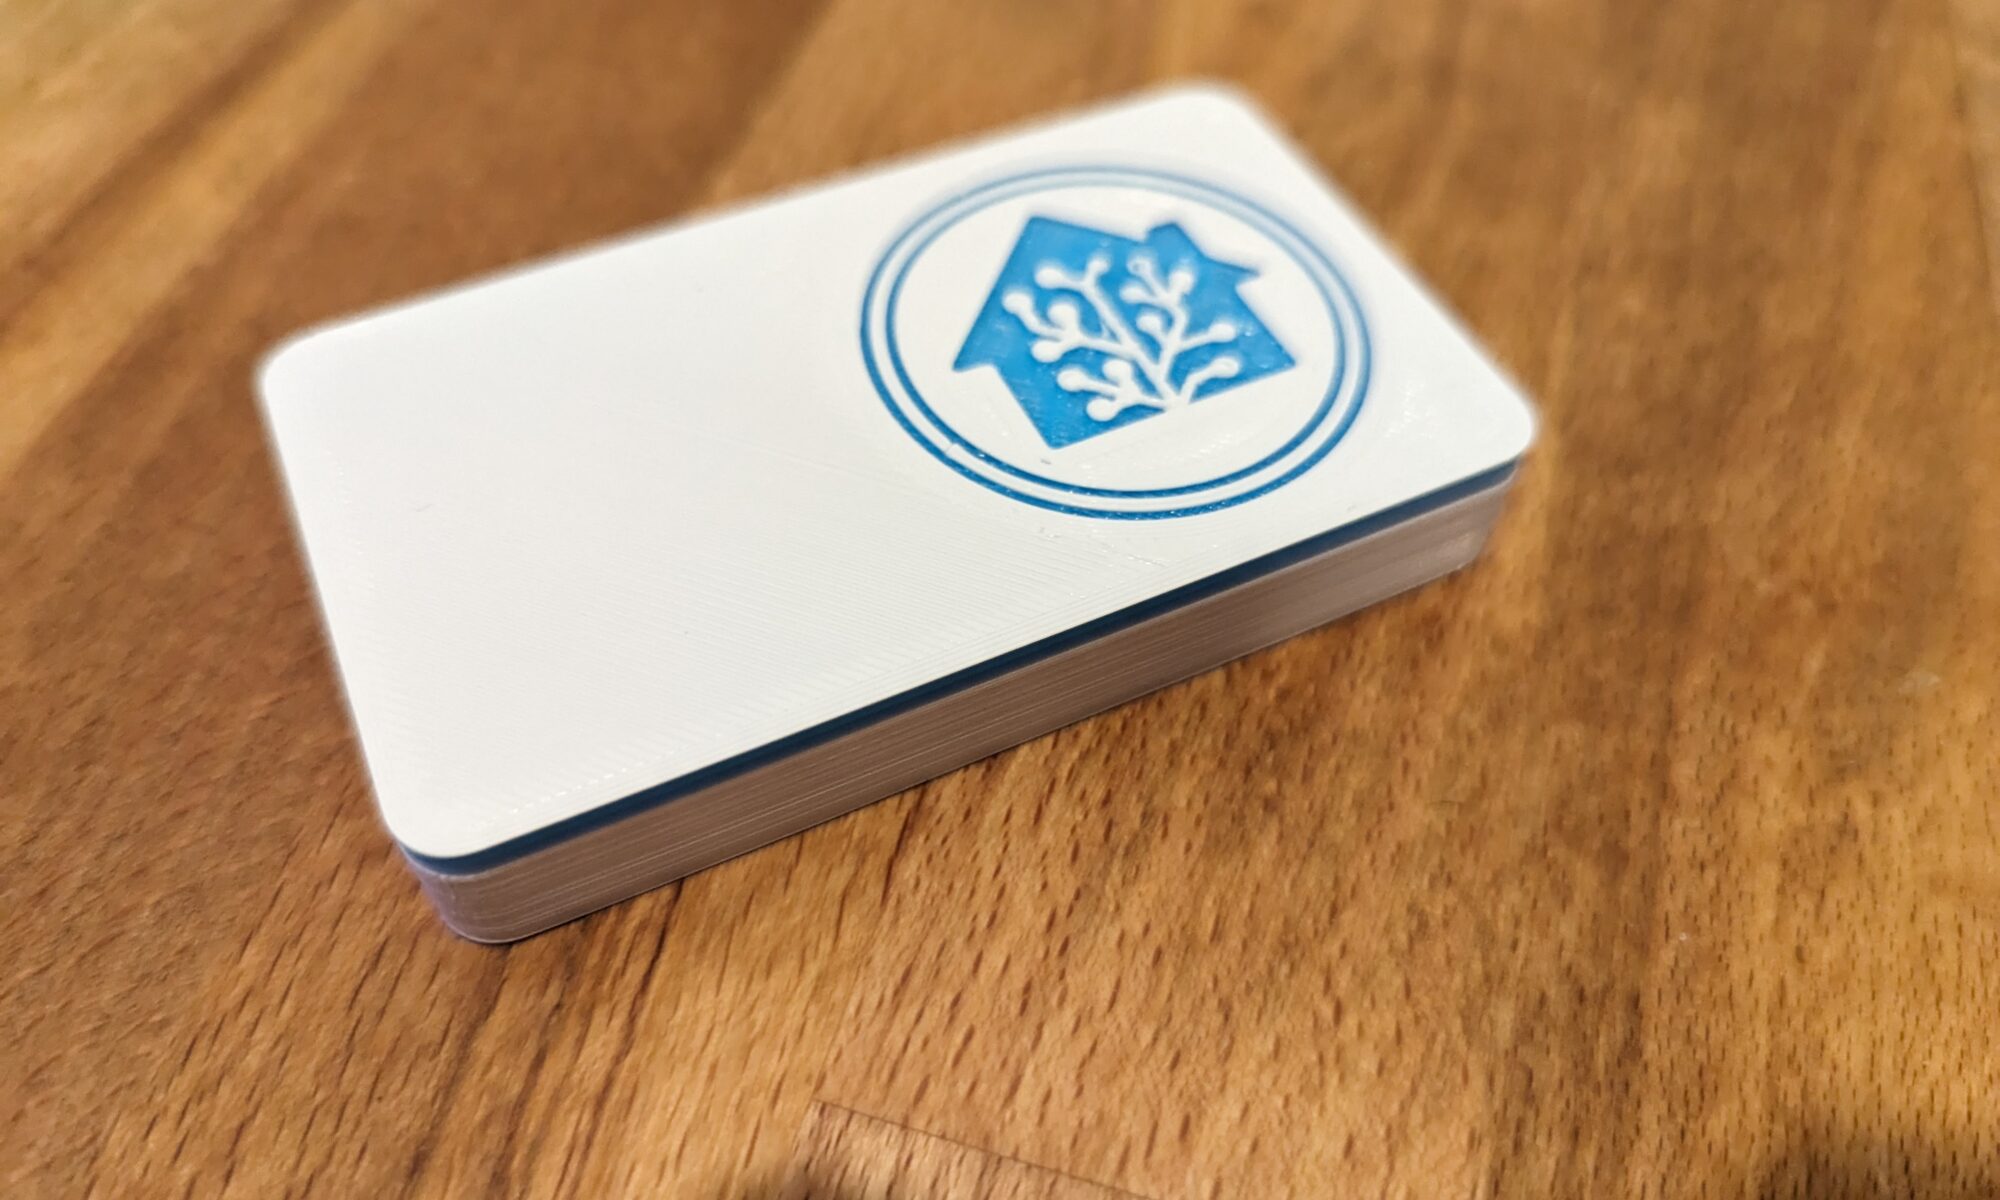
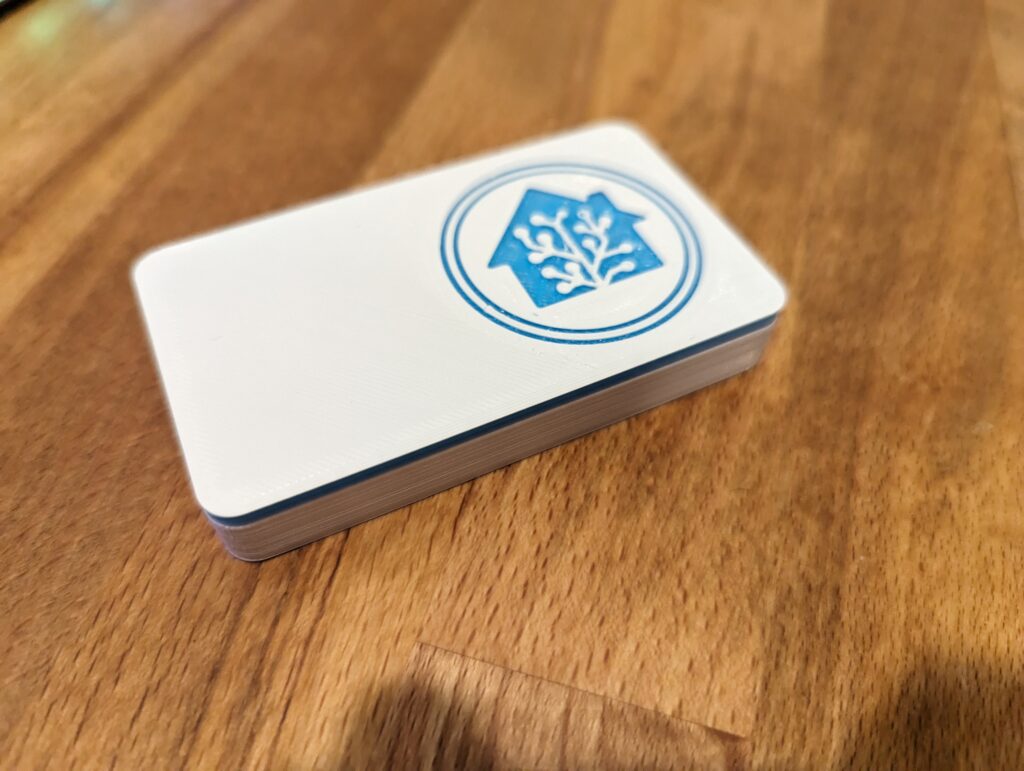
I started by 3d printing the case. Since I saw all the examples making use of split layer colors to show off the home assistant logo, that’s what I went for. I swapped filament at layer 2 on my Ultimaker and it turned out great.
After the case was printed, I started soldering up the components. I used the case layout to size up j wire lengths, but otherwise following the GitHub page was all I needed to assemble my tag reader. The only thing that caught me was a step that I almost (did) missed, to set the switches on the NFC reader to specific settings. Without them being set right, the reader won’t read any tags, so it is pretty obvious if it’s set wrong.
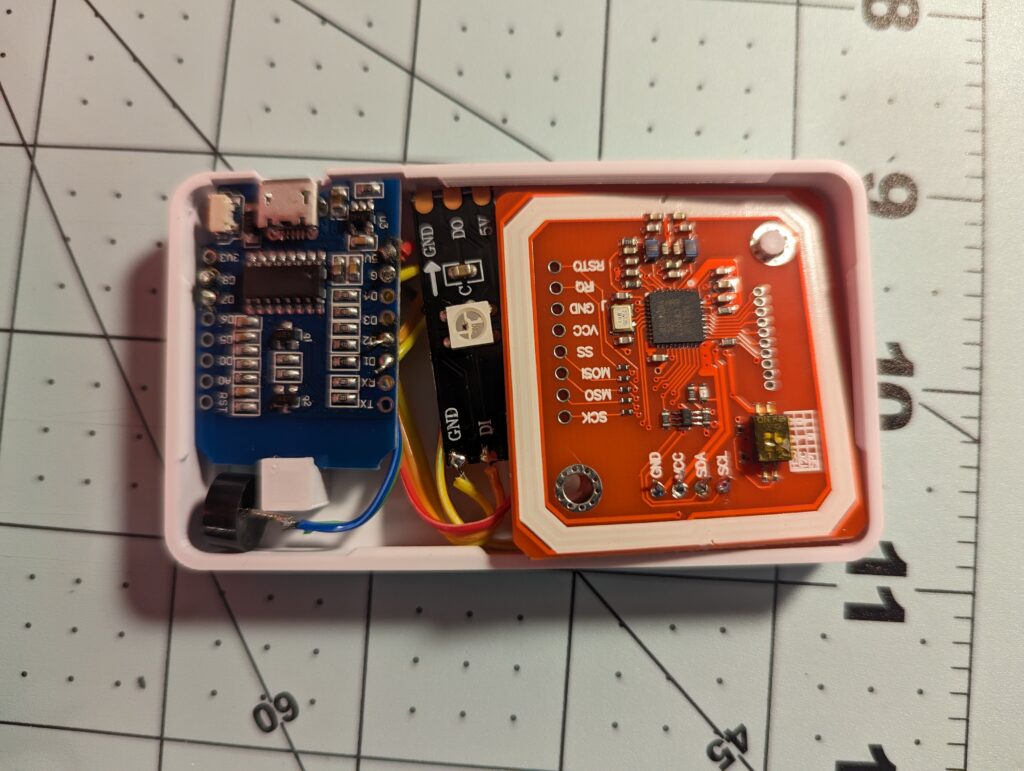
Once it’s all soldered together, I started laying it out in the case to figure out how it should all fit since it’s pretty tight in there. I placed the LED between the NFC reader and D1 mini so that it would be visible glowing through the plastic, and found the back corner a good spot for the buzzer. Once it was all in the case, I snapped the lid on and hoped it all worked (I did test the electronics before putting it in the case too).
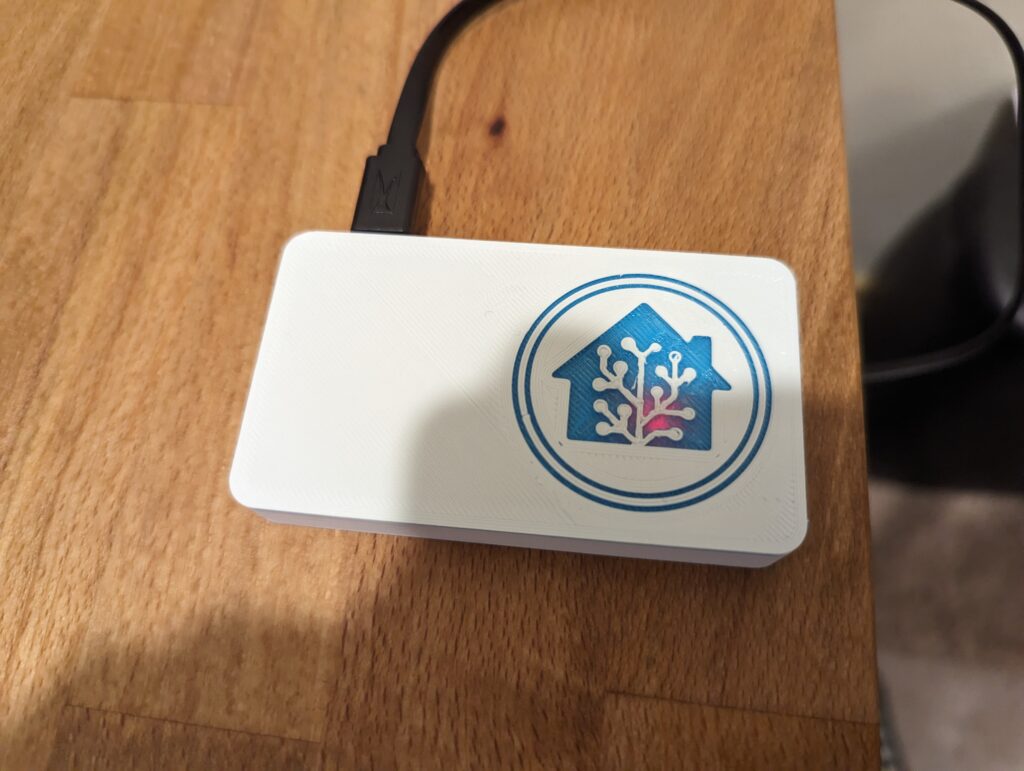
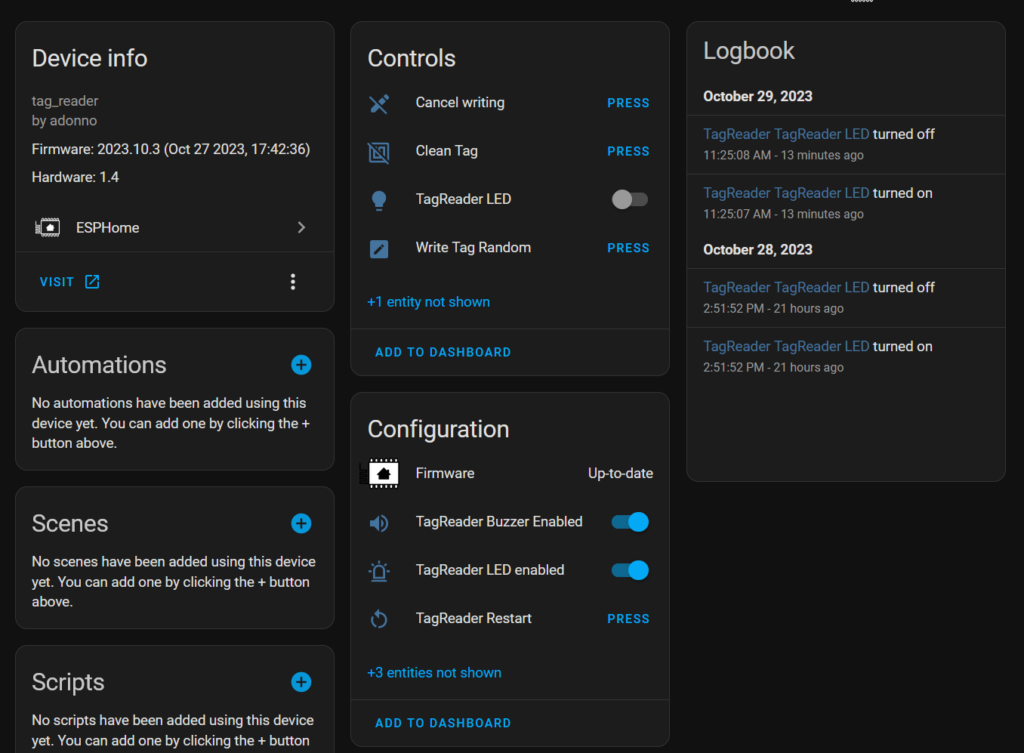
After it was all put together, I added it to the EspHome integration in home assistant, giving me the below control panel for it. The main controls let us put the tag reader into writing mode, as well as turning on and off the led and buzzer responses when you scan a tag.
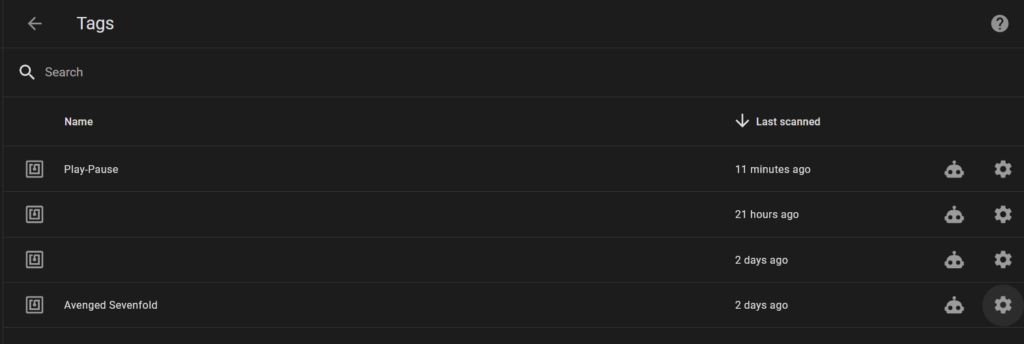
Setting up the Tags in Home Assistant
Getting the tags setup in home assistant is a breeze. The first time you scan a tag, it’s added into the home assistant Tag page, you can then add a name to it and from there, you’re off to the races to set it up for automations etc. All the tags I’ve scanned so far have some default uuid which works fine for automations with the tag reader. If that’s all you need then you can skip writing to the tags.
Writing Tags
The tag reader software also has the ability to write NFC tags. I haven’t taken the time to learn the process yet, but it does provide randomized home assistant API URLs so that a phone can call into the API by scanning the tag. I will probably do an additional writeup later when I need that functionality.
Automating PlexAmp with NFC Tags
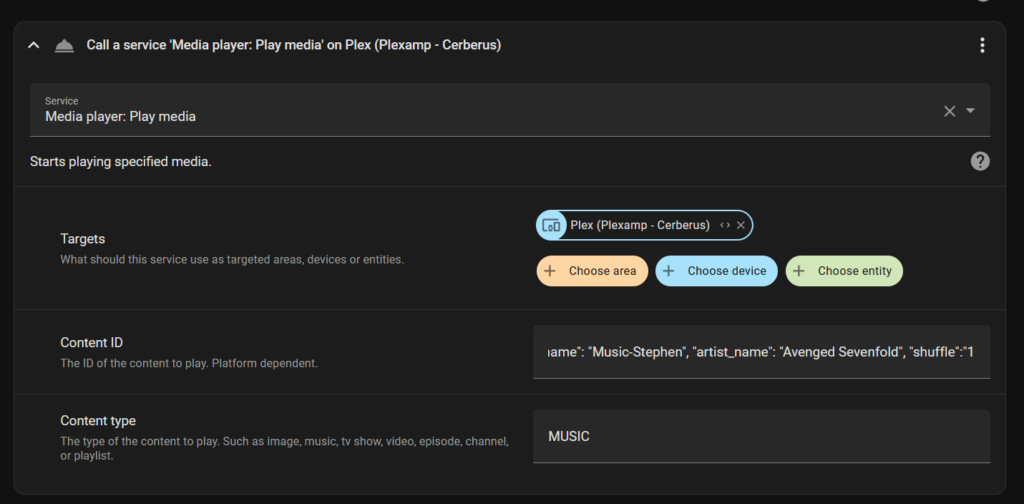
PlexAmp can be automated by using the play media service. This service needs some input data in order to find the media you want to play, that input is different for different apps and services that you’re calling into. In this case, Plex takes json formated inputs. Depending on the type of media you want to play, there are different json tags to use as well. I’ll start out with playing a specific band and will also cover a playlist since those are my two main use cases.
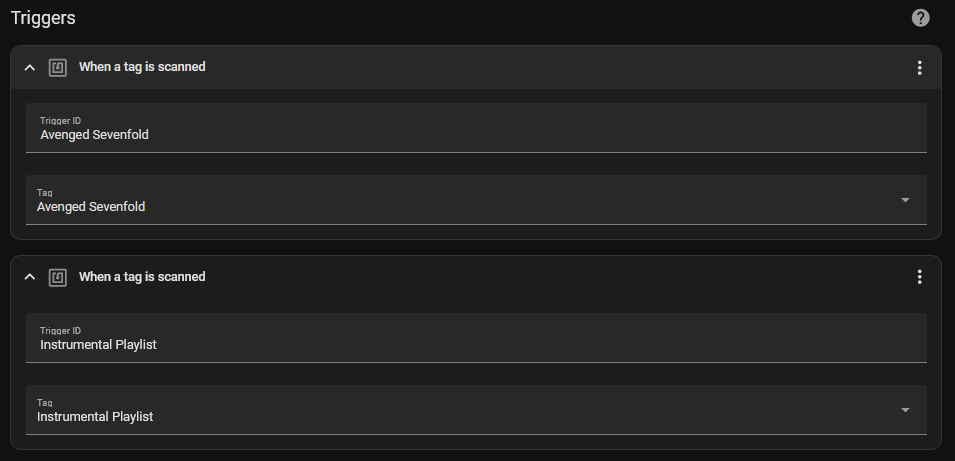
In my example below, we’re playing the artist “Avenged Sevenfold” with shuffle enabled (setting it to 0 will disable shuffle as well). This artist is in the “Music-Lib” content library in Plex. This library is important as it’s where Plex will search for the media.
{ "library_name": "Music-Lib", "artist_name": "Avenged Sevenfold", "shuffle":"1"}
That json can be pasted right into the content ID field with the content type set to “MUSIC” in the play media dialogue in the automation builder. Select your playback device and you’re good to go. I’ll need to revisit my automations later to add the ability for the playback device to be selected based on the tag reader that scanned the tag.
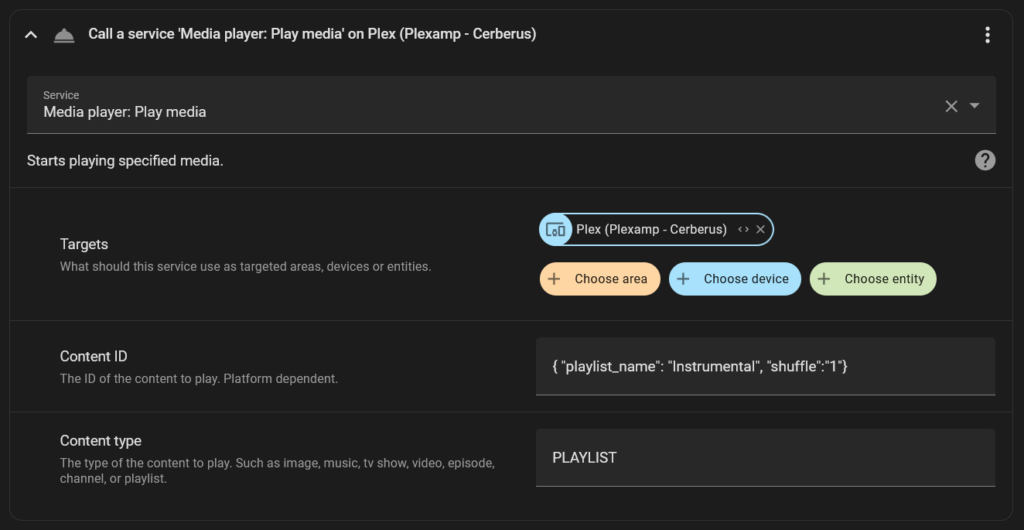
Playing a Playlist
Starting a playlist is even simpler than an artist with the media services. Here all we need is the playlist name for the json data (in this case, it’s the “instrumental” playlist) and to make sure we set the content type to PLAYLIST.
{"playlist_name": "instrumental", "shuffle": "1"}
The Automation Altogether
I decided to use trigger id’s on each NFC tag at the moment, with a choose in the action for each trigger ID. I’m going to need a more scalable solution eventually, but for now this will do just fine.
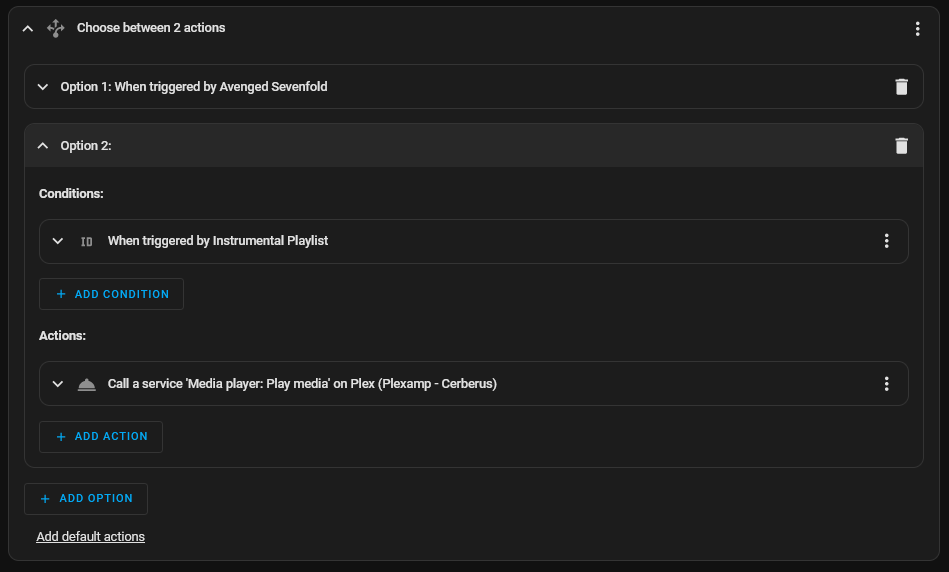
This seems to be working pretty well. It keeps me from having to generate large numbers of automations for the jukebox and makes moving it a bit simpler. It’s not the most optimal solution, but it’s a great generation 1 solution for my use cases.
I’m pretty excited now to design a new version of my ESP Deck with a tag reader built into it. I’m hoping I have enough IO on the ESP 8266 that fit in my current case design to handle it all.
Future Steps
- Select playback device using the NFC reader device ID
- Simplify adding new cards to the system (tag id, automation trigger, action)
- Create a variant of the ESP Deck with an NFC reader built in