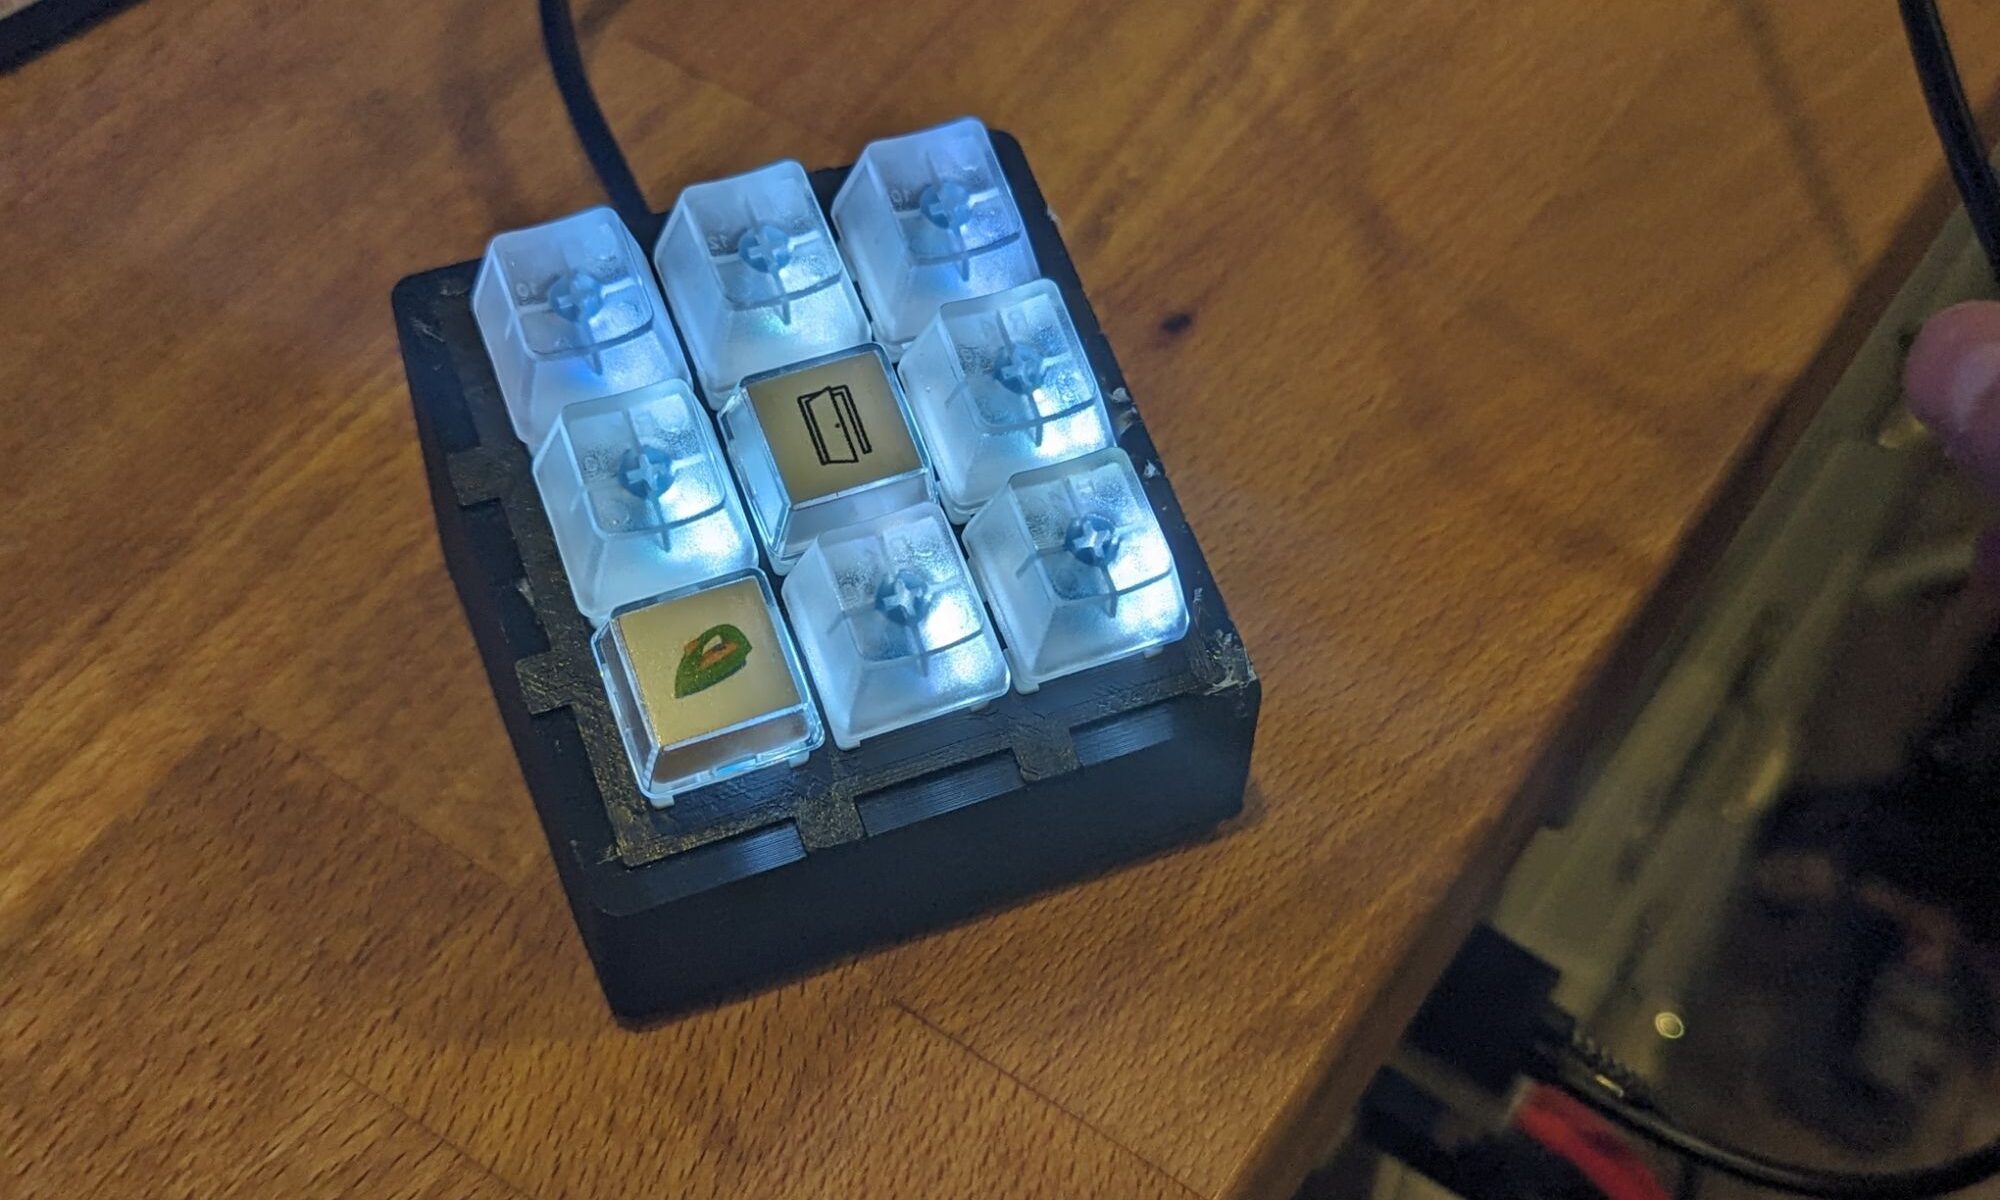
Ever since I integrated per key LEDs in the NFC Deck, I have wanted to update the ESP Deck design to incorporate them (and update some of my keypads to include them too). I finally got around to both of these, swapping the switches for clear switches on one of my ESP Decks and integrating in the LED lighting.
This is a relatively easy addition onto the EspDeck especially if it was originally assembled with clear key switches (RGB compatible).
Wiring Design
Wiring in the LEDs is simple. They need one GPIO pin and a connection to the 5v power.
- VIN to ESP VIN (5V +)
- DIN to ESP D2 (GPIO 4)
- GND to ESP GND
Hardware Update
If you didn’t use RGB capable (clear-ish) key switches like I did, installing per key lighting also means swapping your switches too. As long as they aren’t all very well hot glued in, it shouldn’t be too bad to swap. I swapped them one by one, de-soldering them, pulling the one switch out, replacing it with the new one and soldering in the new one.
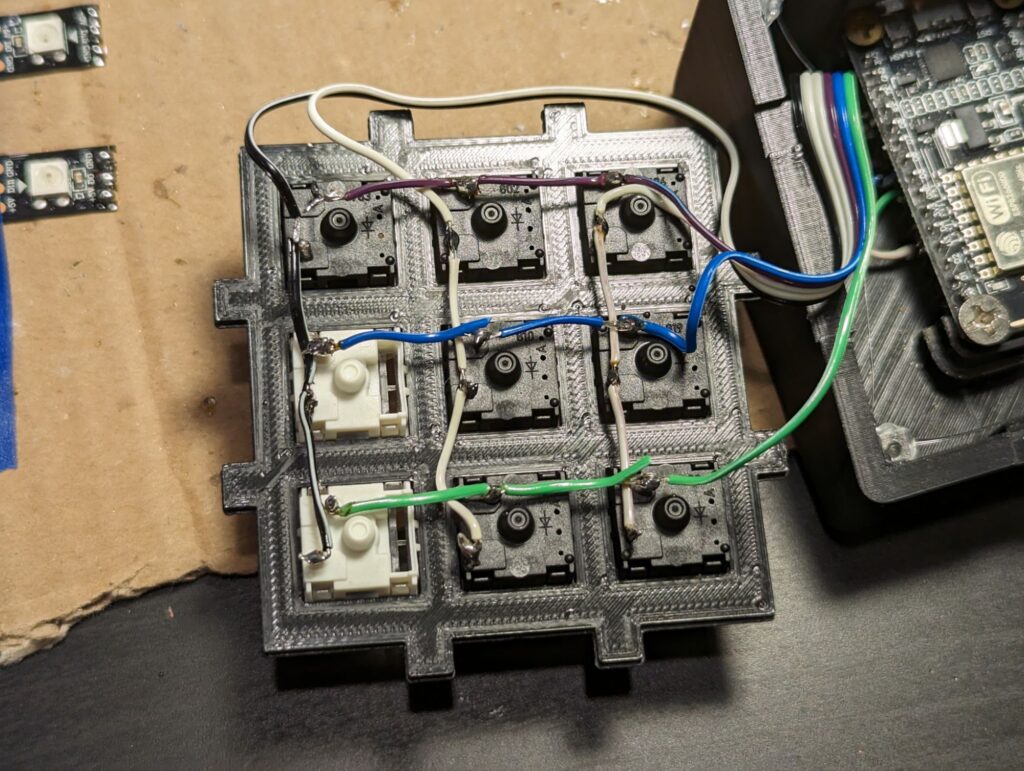
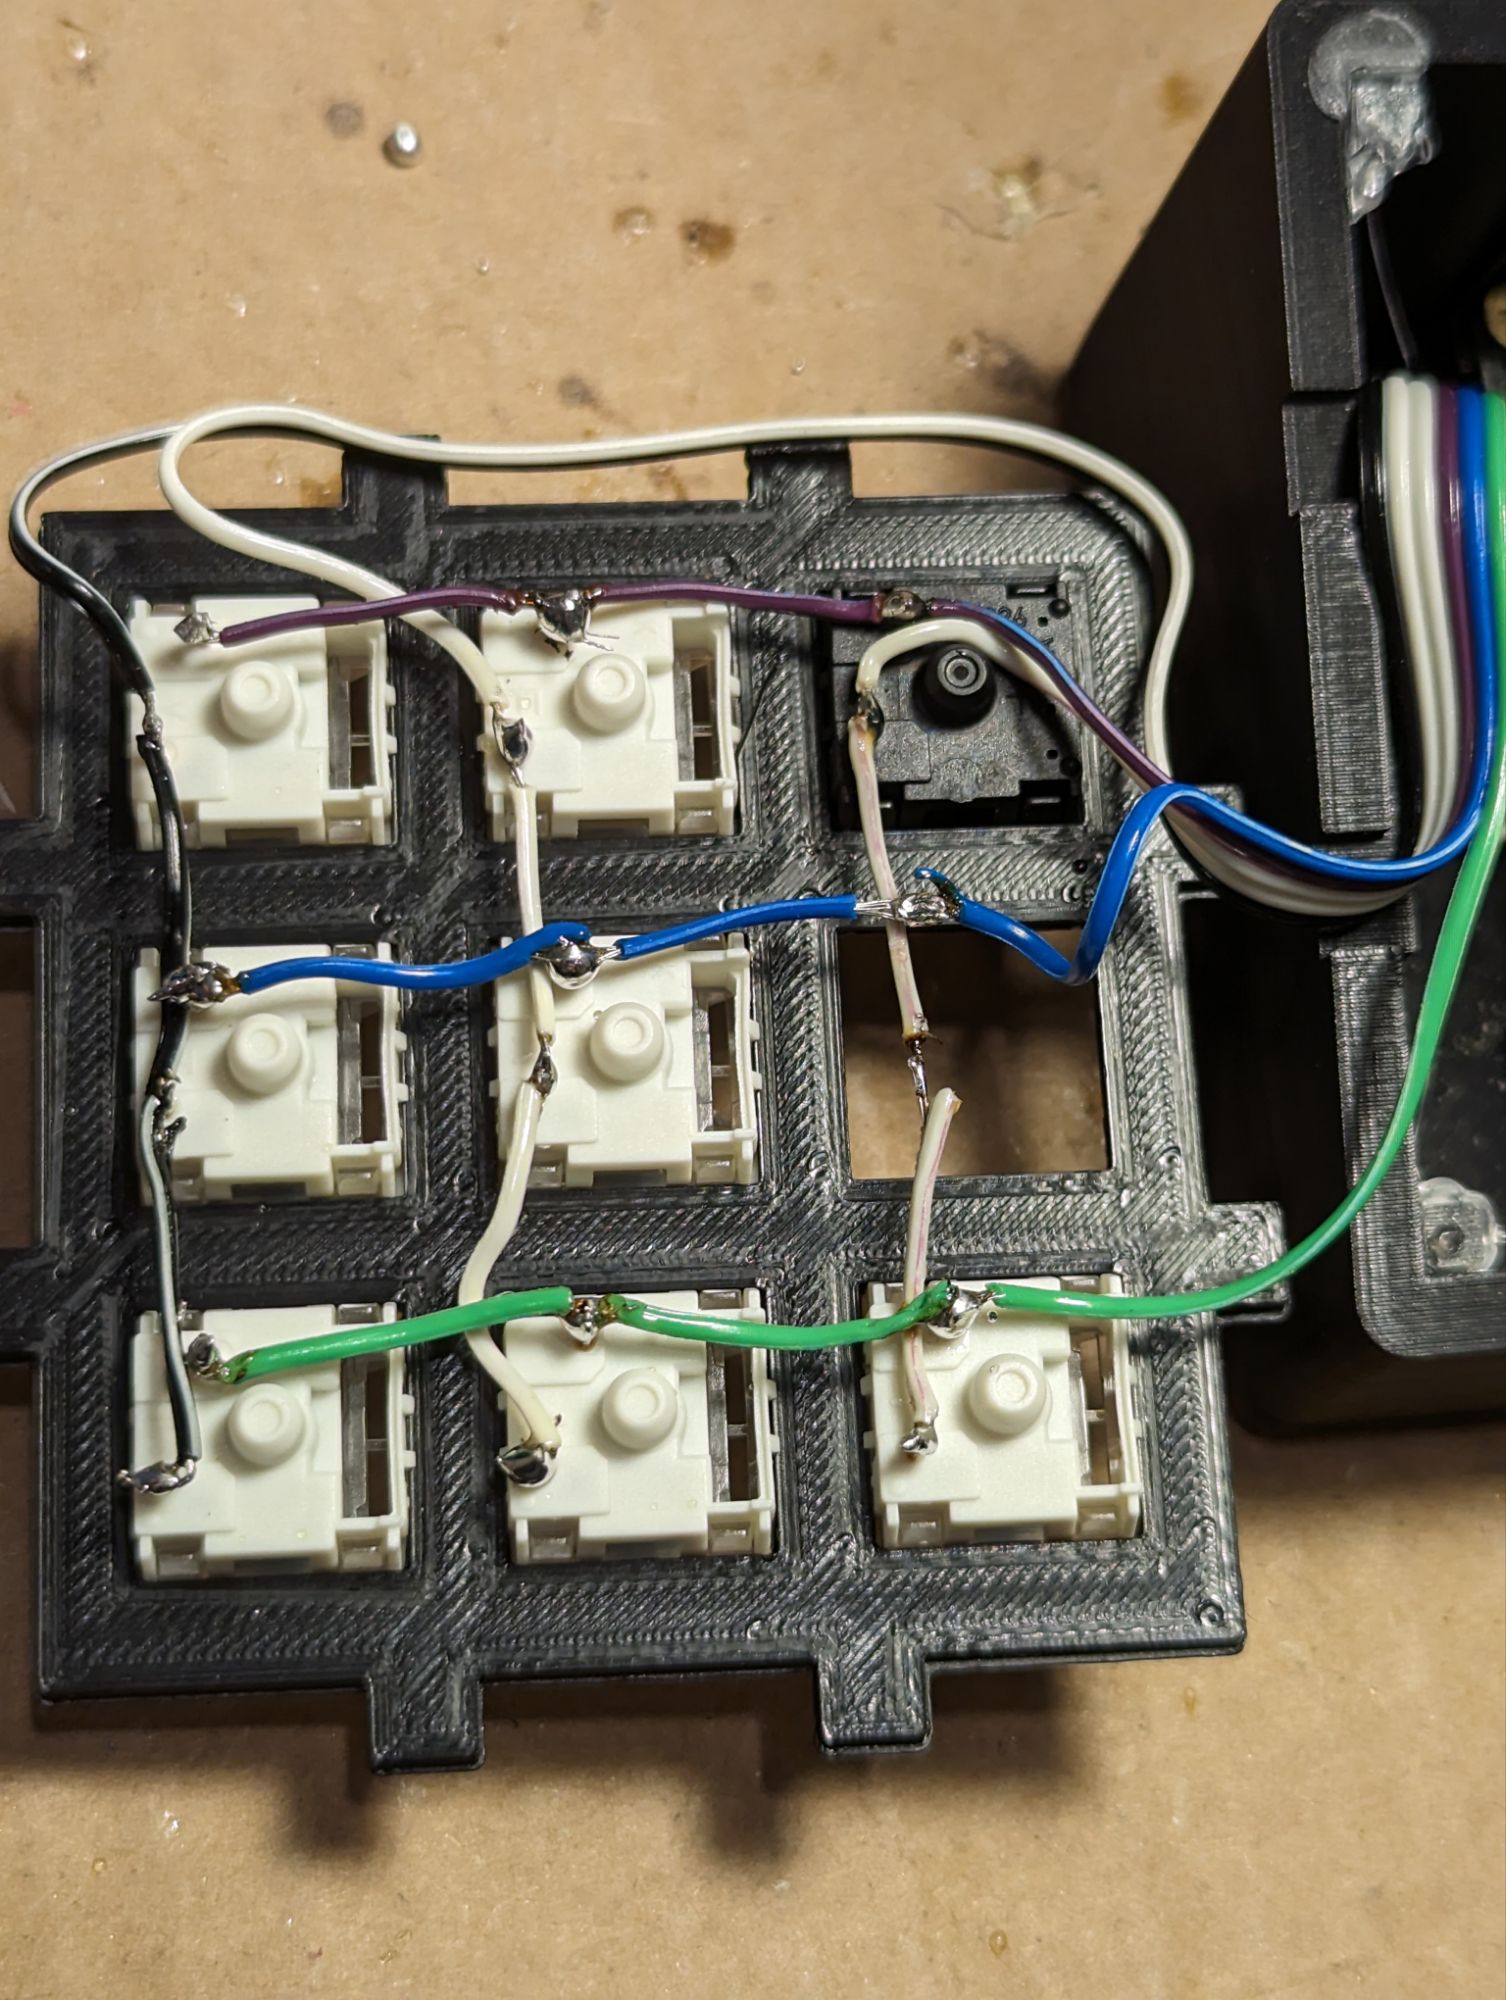
After all the switches are soldered in, the LEDs can be installed. I slid the LEDs under the wiring for the switches and into position. It’s a bit finicky if you don’t have much slack on the wires between the switches, but the LEDs are small enough to fit through the gaps.
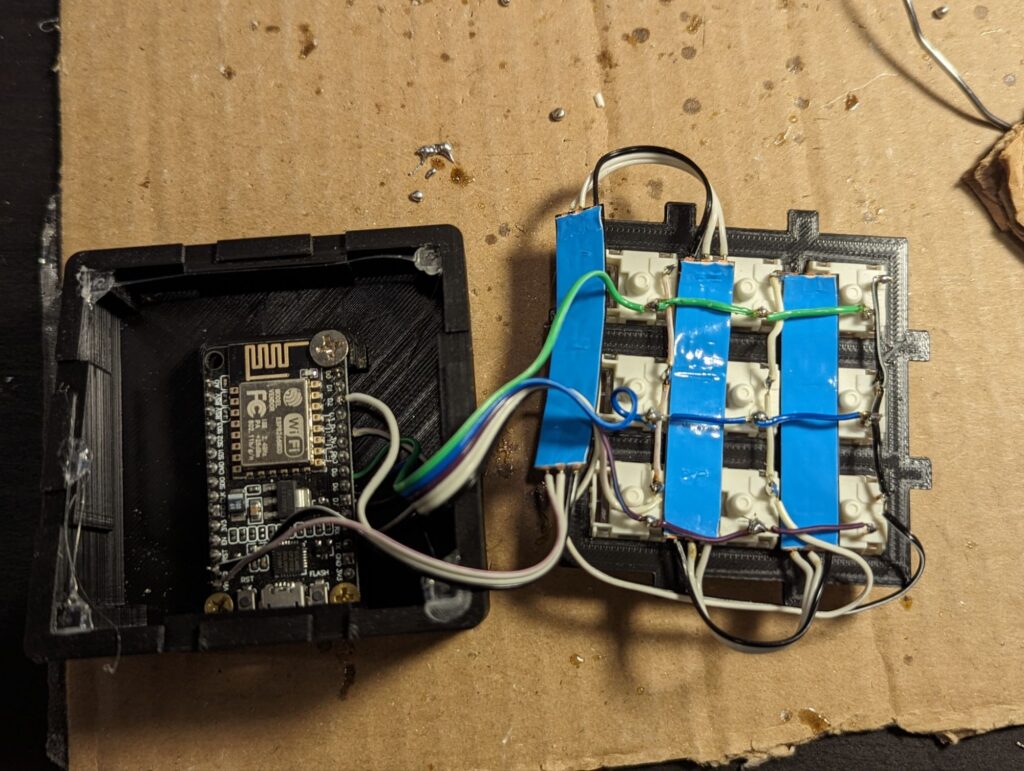
I used hot glue on the edges of the LEDs to keep them in place in the grid. They should align reasonably well with the middle LED in the little notch in the middle key switch. I also used this notch as the orienting piece to determine which direction the LEDs will run.
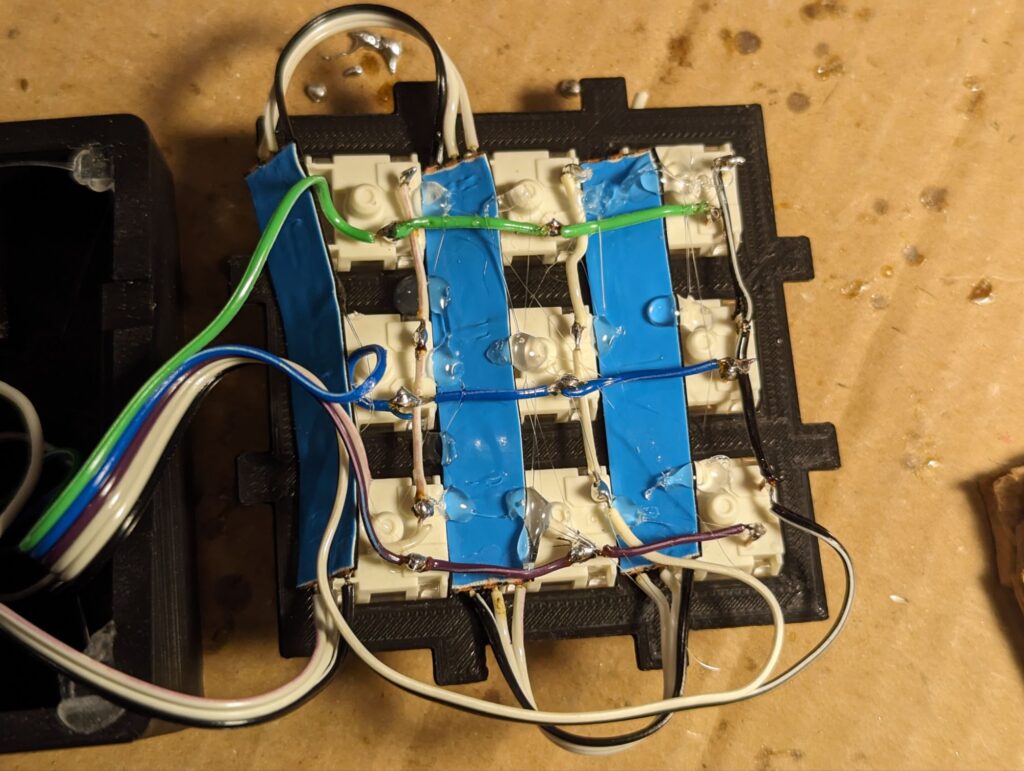
With the LEDs in place, we need to wire the LEDs to VIN, GND and D2. I soldered them to the top of the PCB without taking it out of the case.
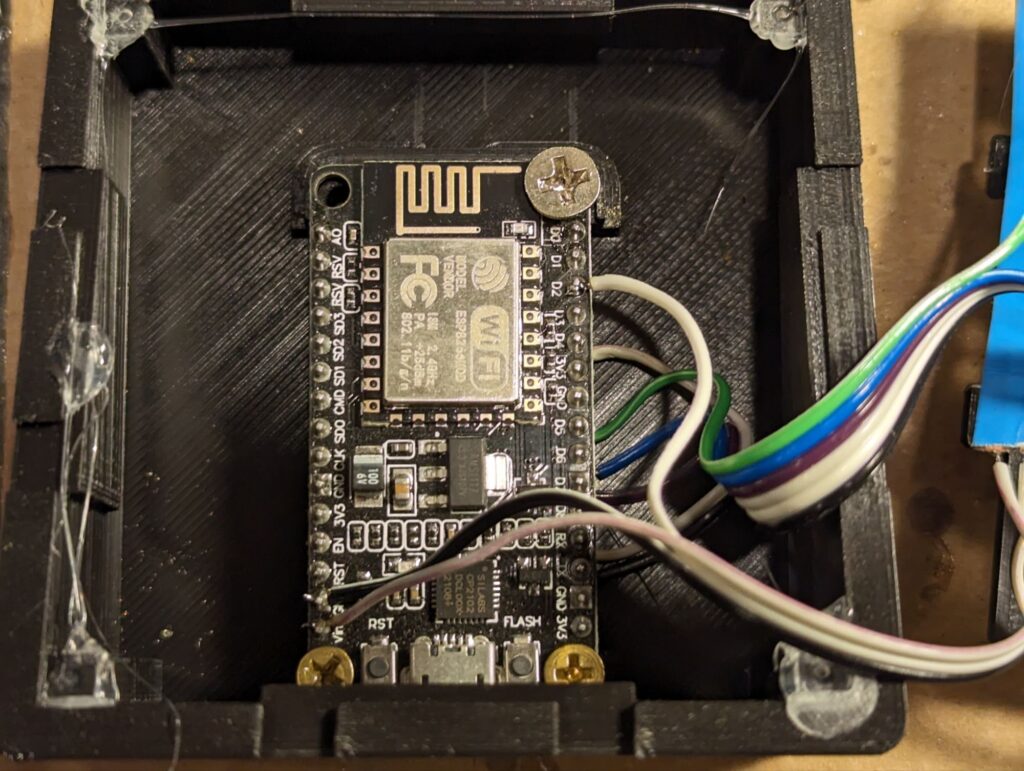
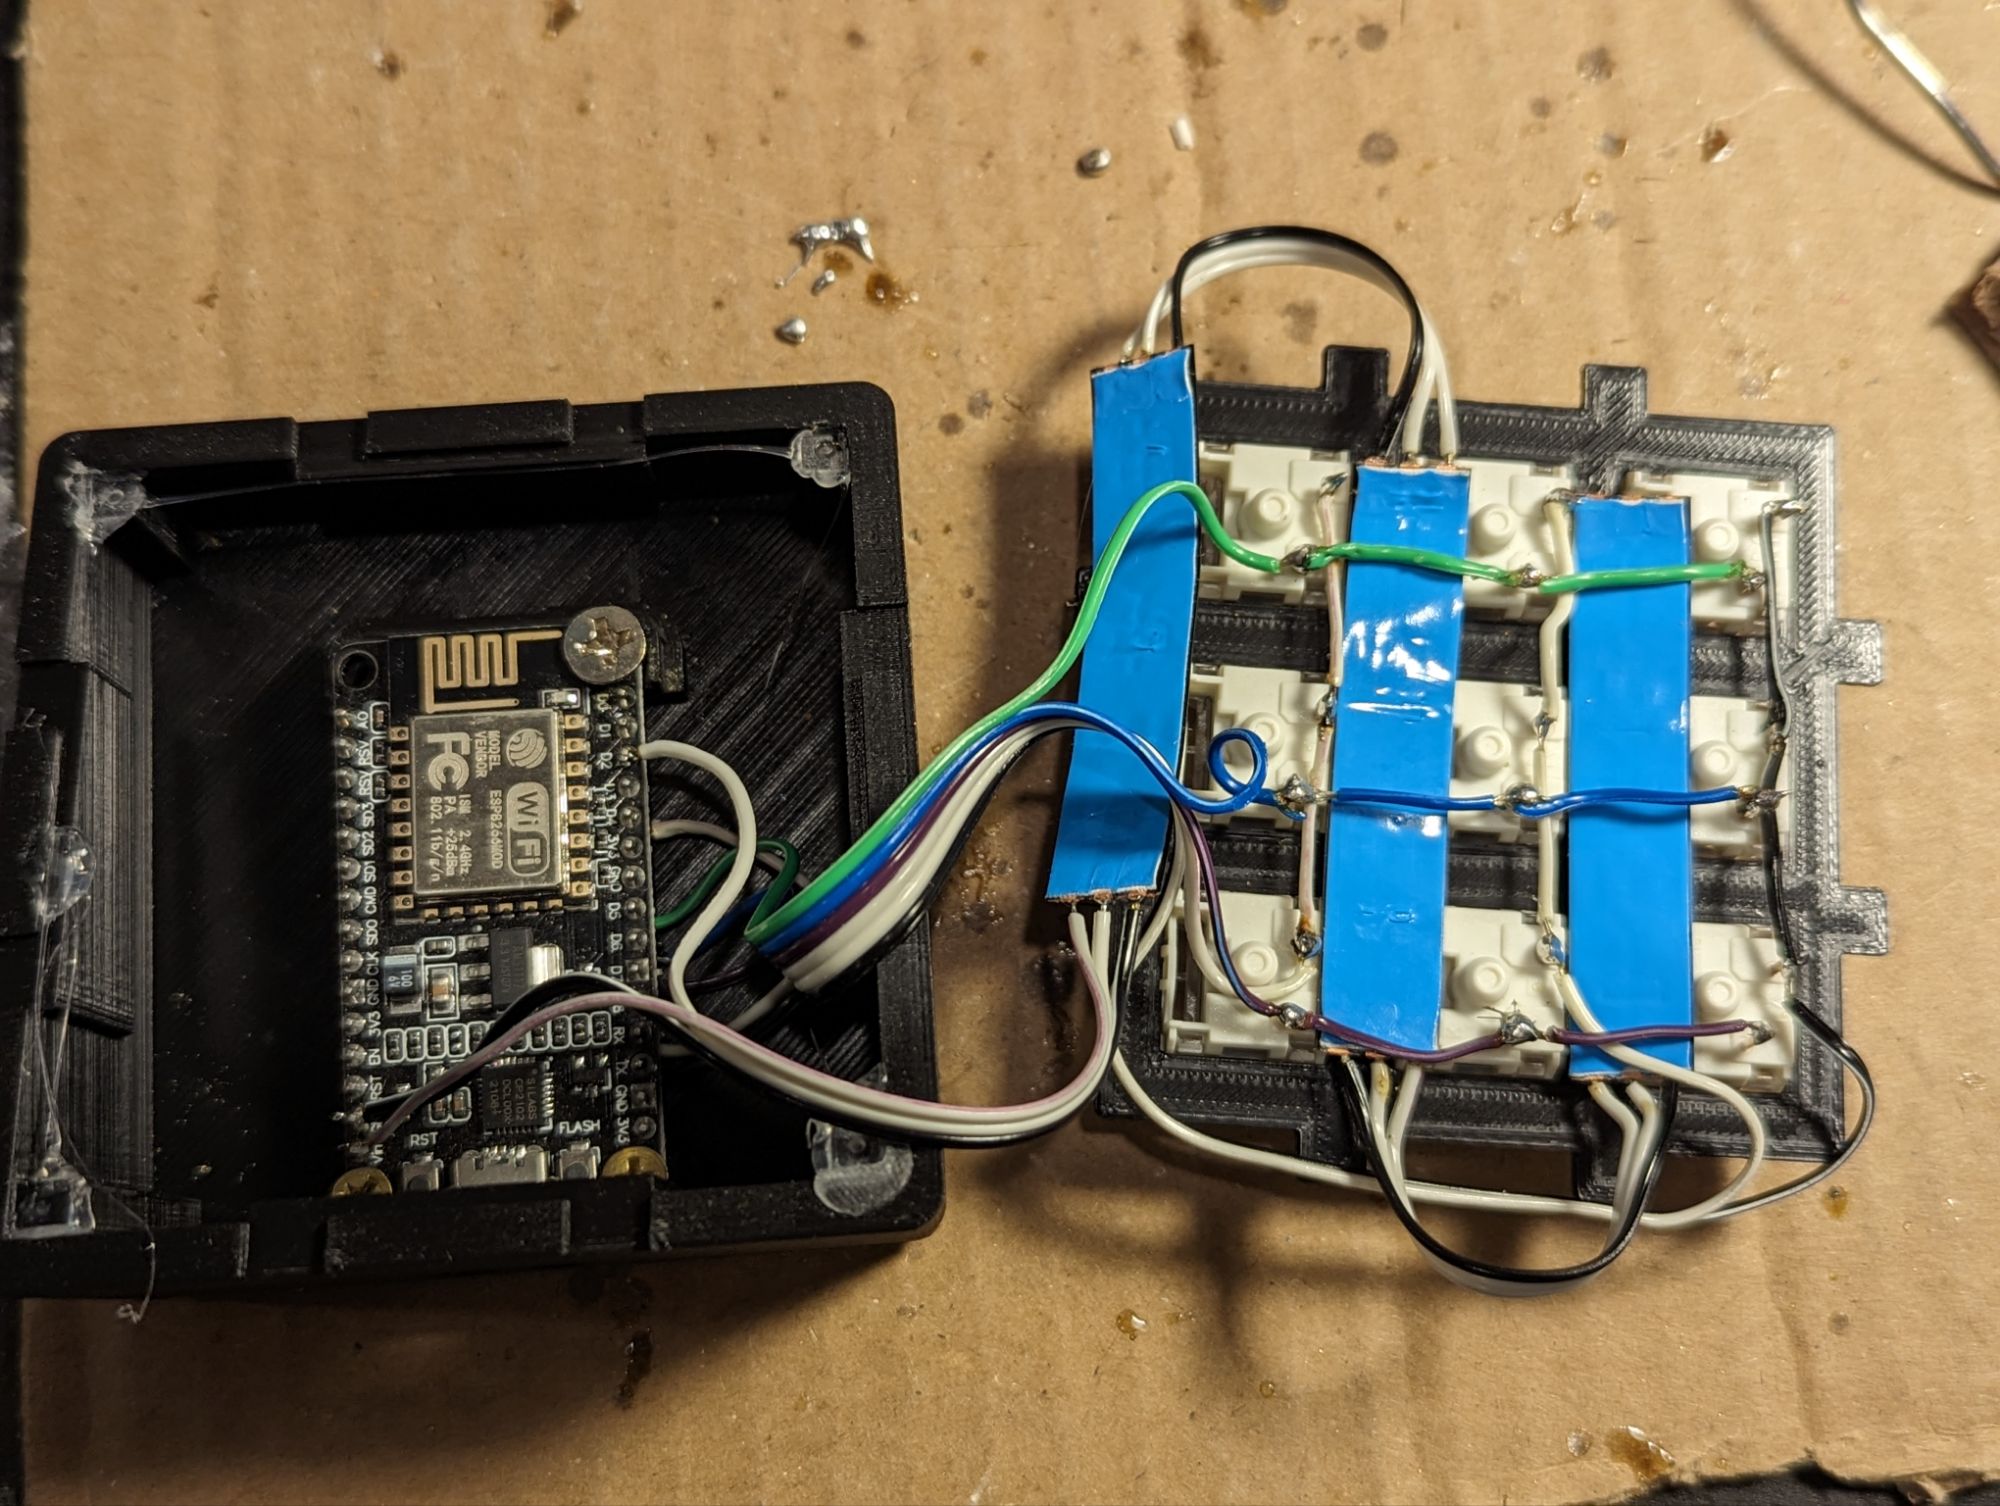
With the entire thing wired up, tested, and reassembled, we have LIGHTING!
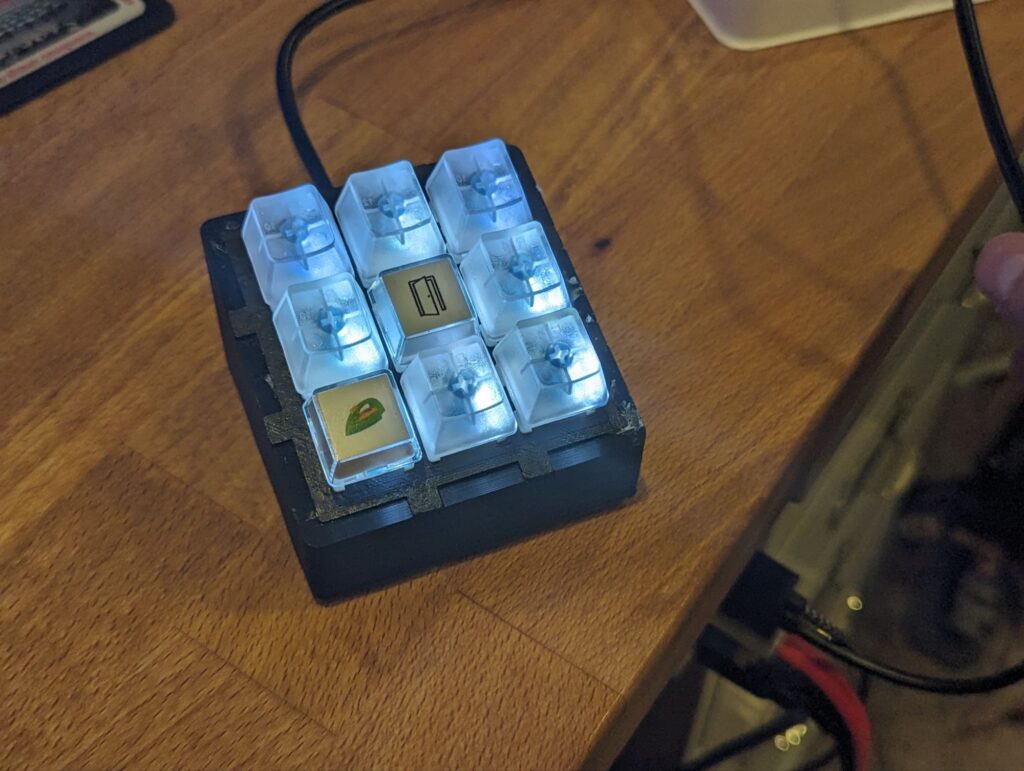
ESPHome YAML
With the LEDs in place, I updated the ESPHome YAML and uploaded the new firmware to the ESP.
# Configure LED
light:
  - platform: neopixelbus
    variant: WS2812
    pin: 4
    num_leds: 9
    flash_transition_length: 500ms
    type: GRB
    id: light_strip
    name: "${friendly_name} LED"
    restore_mode: ALWAYS_OFF
    effects:
      - addressable_lambda:
          name: "My Custom Effect"
          update_interval: 16ms
          lambda: |-
            for (int i = it.size() - 1; i > 0; i--) {
              it[i] = it[i - 1].get();
            }
            it[0] = Color::random_color();
            it.range(0, 8) = Color::BLACK;
            it.all().fade_to_black(10);
      - addressable_lambda:
          name: "Wipe In"
          update_interval: 12ms
          lambda: |-
            static int x = 0;
            if (initial_run) {
              x = 0;
              it.all() = ESPColor::BLACK;
            }
            if (x < it.size()) {
              it[x] = current_color;
              x += 1;
              delay(500);
            }
      - addressable_lambda:
          name: "Wipe Out"
          update_interval: 12ms
          lambda: |-
            static int x = 0;
            if (initial_run) {
              x = it.size();
            }
            if (x > 0) {
              x -= 1;
              it[x] = ESPColor::BLACK;
            }
  - platform: partition
    name: "Key 3 Light"
    id: activity_led
    segments:
      - id: light_strip
        from: 0
        to: 0
  - platform: partition
    name: "Key 6 Light"
    segments:
      - id: light_strip
        from: 1
        to: 1
  - platform: partition
    name: "Key 9 Light"
    segments:
      - id: light_strip
        from: 2
        to: 2
  - platform: partition
    name: "Key 8 Light"
    segments:
      - id: light_strip
        from: 3
        to: 3
  - platform: partition
    name: "Key 5 Light"
    segments:
      - id: light_strip
        from: 4
        to: 4
  - platform: partition
    name: "Key 2 Light"
    segments:
      - id: light_strip
        from: 5
        to: 5
  - platform: partition
    name: "Key 1 Light"
    segments:
      - id: light_strip
        from: 6
        to: 6
  - platform: partition
    name: "Key 4 Light"
    segments:
      - id: light_strip
        from: 7
        to: 7
  - platform: partition
    name: "Key 7 Light"
    segments:
      - id: light_strip
        from: 8
        to: 8
To make sure all the lights are numbered correctly in Home Assistant. Activate each light in home assistant, noting which button they come from, then update the YAML config so that it all matches what you’re expecting in my case, my LEDs are not going left to right, but top to bottom.
Automations making use of it
For an example of automations making use of this feature, you can see my LED Notifications post, which uses the NFC Deck backlit keys, but will work exactly the same as with the ESPDeck here.
Conclusion
Adding LED backlighting to the ESP Deck gives the unit some feedback and information it can provide back to the user. It’s also pretty simple to add either while making it or even after the fact in this case. I certainly won’t be leaving it out of future keypads that I build.

