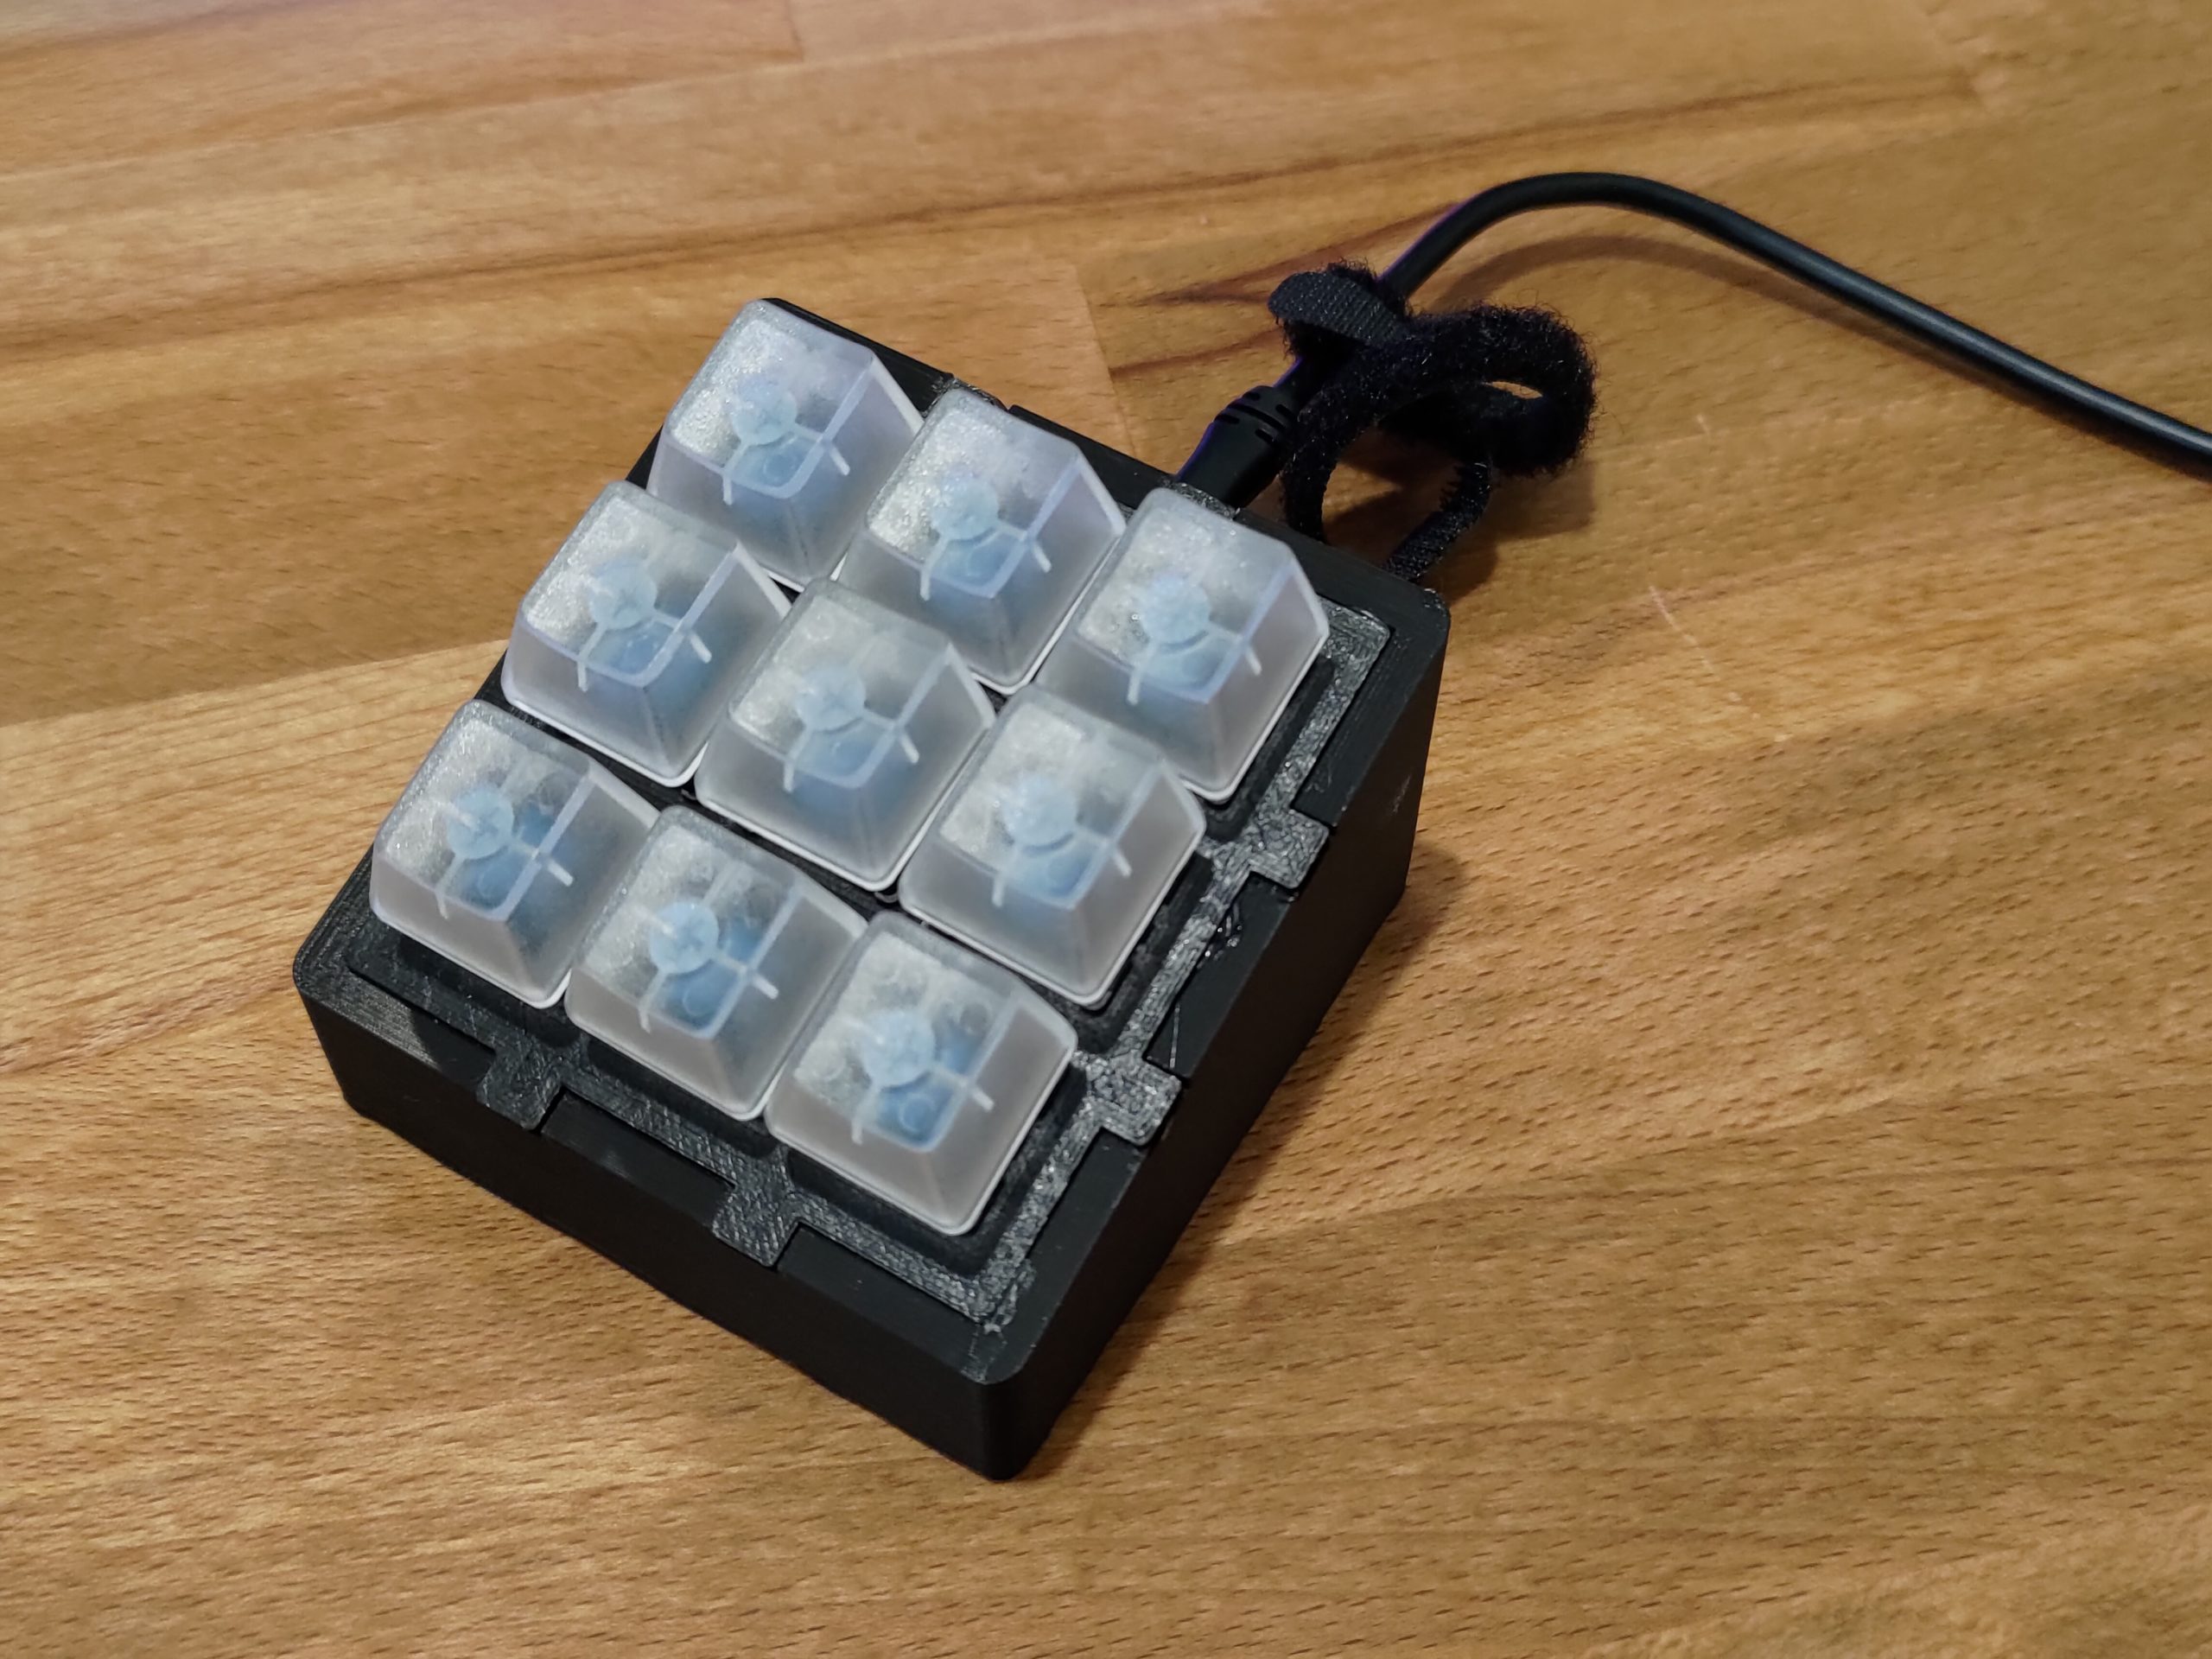
Just trying a new thing here I guess, just a gallery of projects, linking out to the blog posts covering them. Not sure if I’ll do this often, probably not though.

Just another tech blag
This is another project I started quite a few years ago. I printed out a number of the small parts for the mask, though never got to the larger parts of the print, and still had plenty left to do on it. I didn’t intend to make it wearable, so that will at least simplify some of the construction.
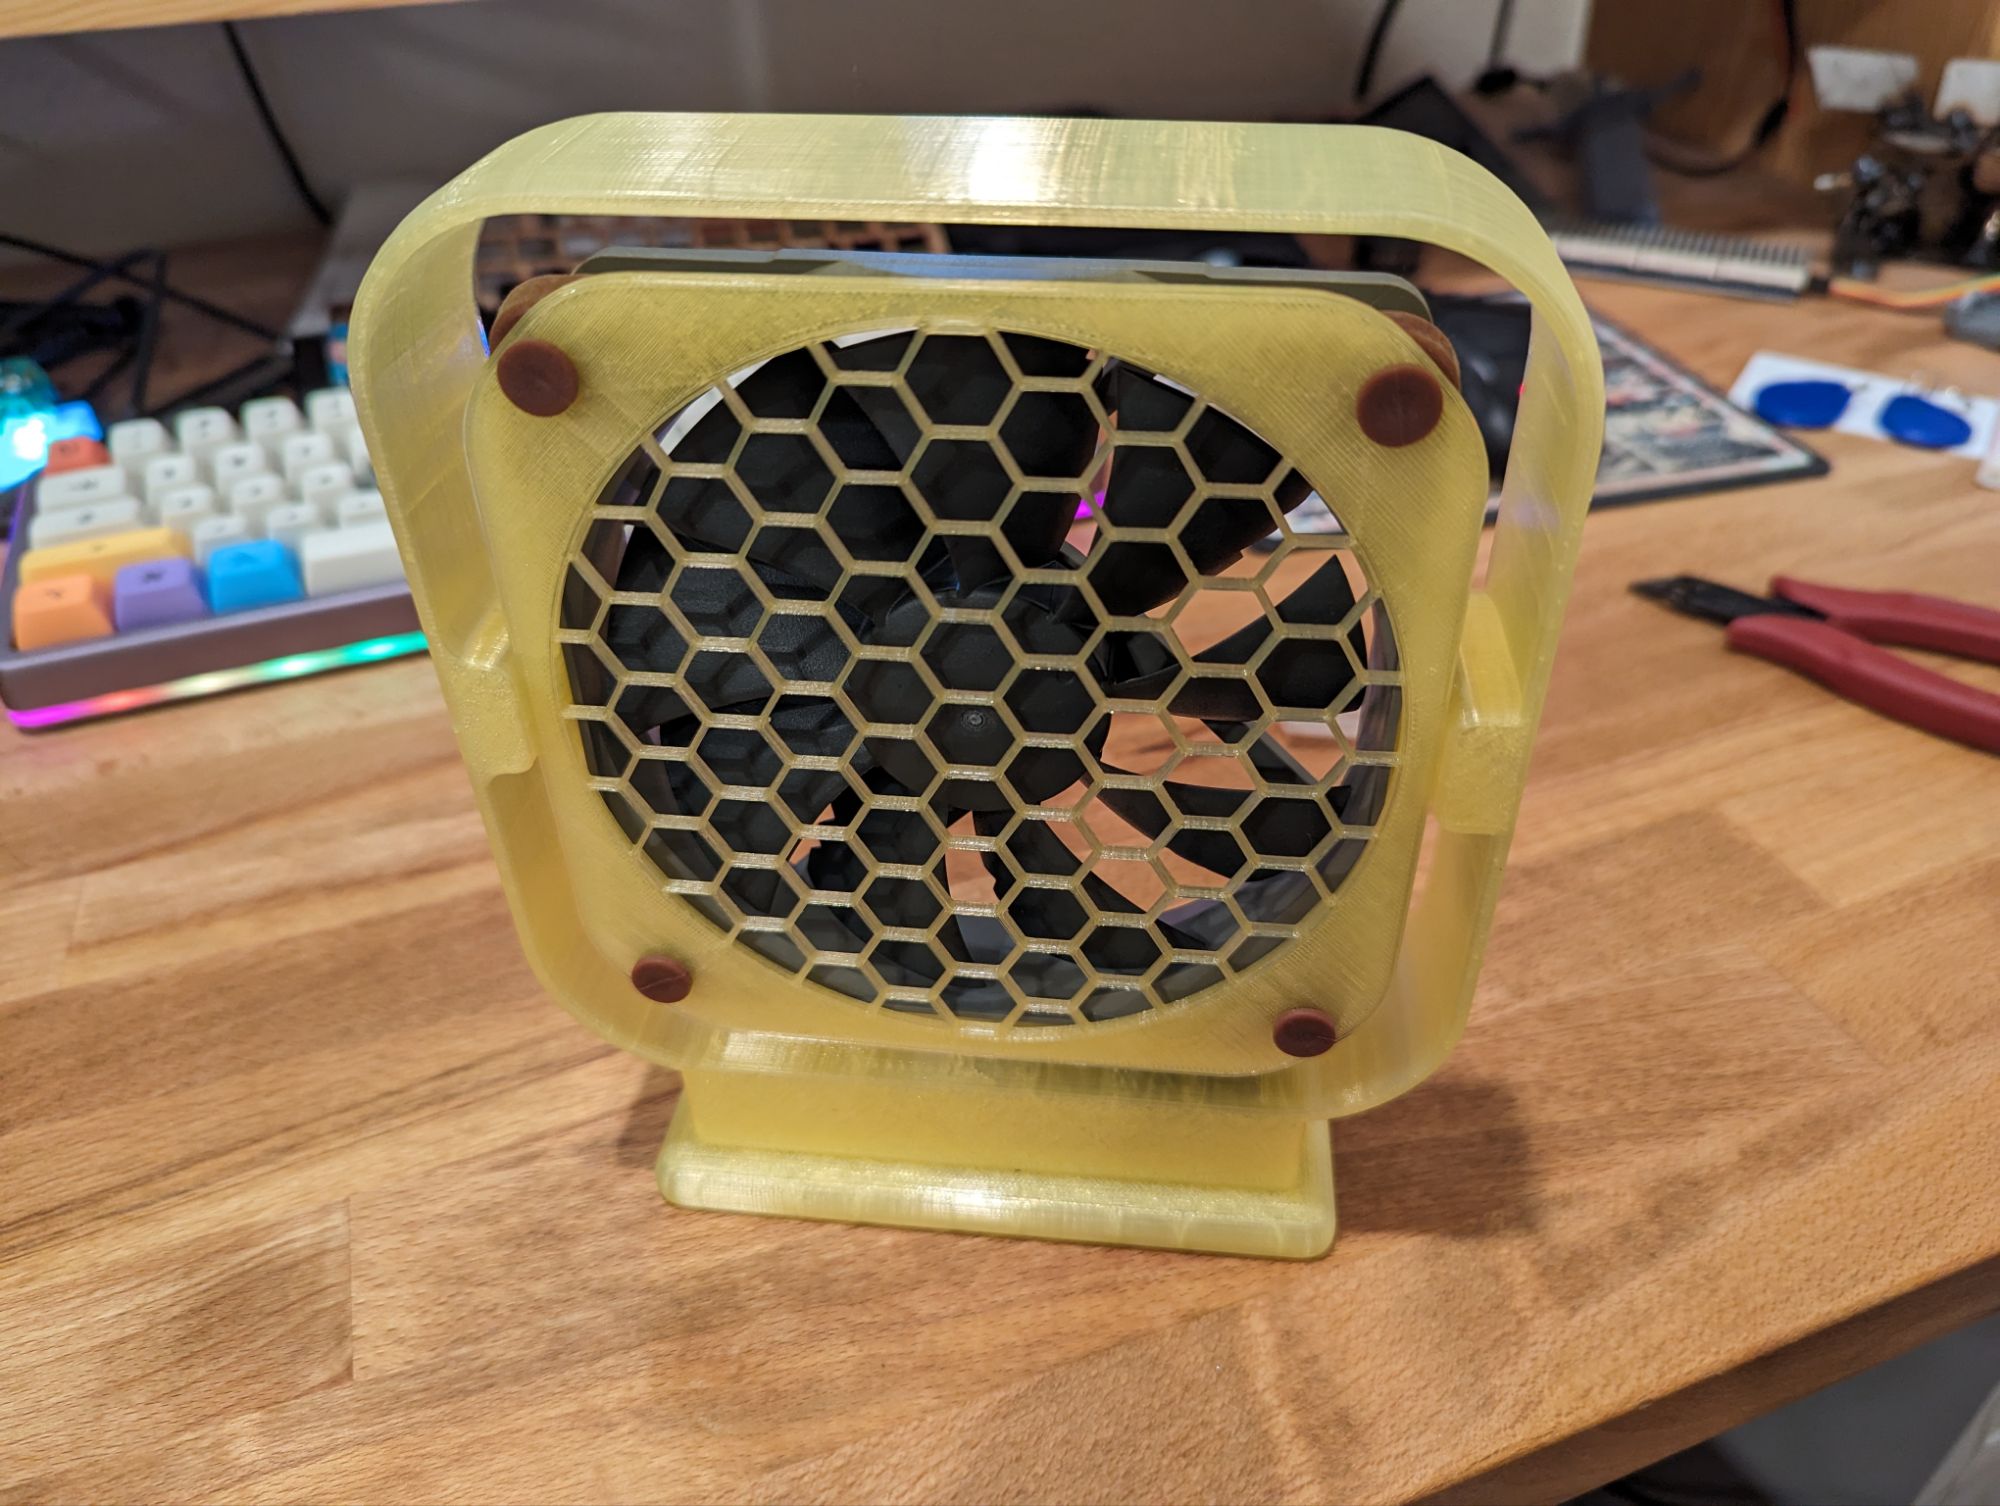
Continue reading “Finishing Old Projects 3 – Dishonored (Corvo’s) Mask”As I’ve been doing more soldering and creating air quality sensors, I’ve noticed an extreme drop in quality when I’m soldering. This doesn’t surprise me, but seeing the magnitude of it gives me good reason to work on a small soldering fume extractor and filter.
Continue reading “ESPHome Powered Solder Fume Filtration/Extraction”This second project is the pistol from Bioshock, it is primarily 3d printed with some extra materials thrown in. I picked up a toy pistol, cleaned out some old cans, and printed off some of the pieces to mod it into the fully upgraded pistol from the game. Except the problem is I never got further than painting a few of the printed parts, no assembly was ever started, so now it’s time to fix that.
Continue reading “Finishing Old Projects 2 – Bioshock Pistol”After the BliKVM PCIE failed to work at all, I decided to try one of the new little IP KVM units out there. I went with the JetKVM because its main distributor isn’t AliExpress (after the BliKVM didn’t work at all), and seemed to be pretty high quality on top of that. I wanted to set it up to have the ability to remote power on my NVR as well as to monitor it.
Continue reading “JetKVM”I have a number of old projects I started years ago and never got around to finishing. Some of these have electronics in the plans, others are just 3d prints. Many of them I purchased parts for, or printed parts of them, but I just never managed to finish them. So I plan on getting them done, cutting a few corners to do so, but it’s better than not doing them at all.
Continue reading “Finishing Old Projects 1 – Adafruit Gas Mask”I’ve been watching some YouTube videos featuring 3d printed battle bots recently. One of the form factors that looked neat were the antweight robots (150g), due to their small size and small price for components. I decided to design and build something similar (though no weapon) just to drive around for fun, tormenting the pets, and practicing some design work. I figure I’ll design it so a tail can be tied on with feathers for the cat to chase (the dog will chase it just because it makes noise).
Continue reading “RC Mini Bot”I saw this model while looking for some type of laser toy for a cat. It looked neat, integrated with home assistant, and it didn’t require many parts, so I figured why not try and see if my cat would be interested with it.
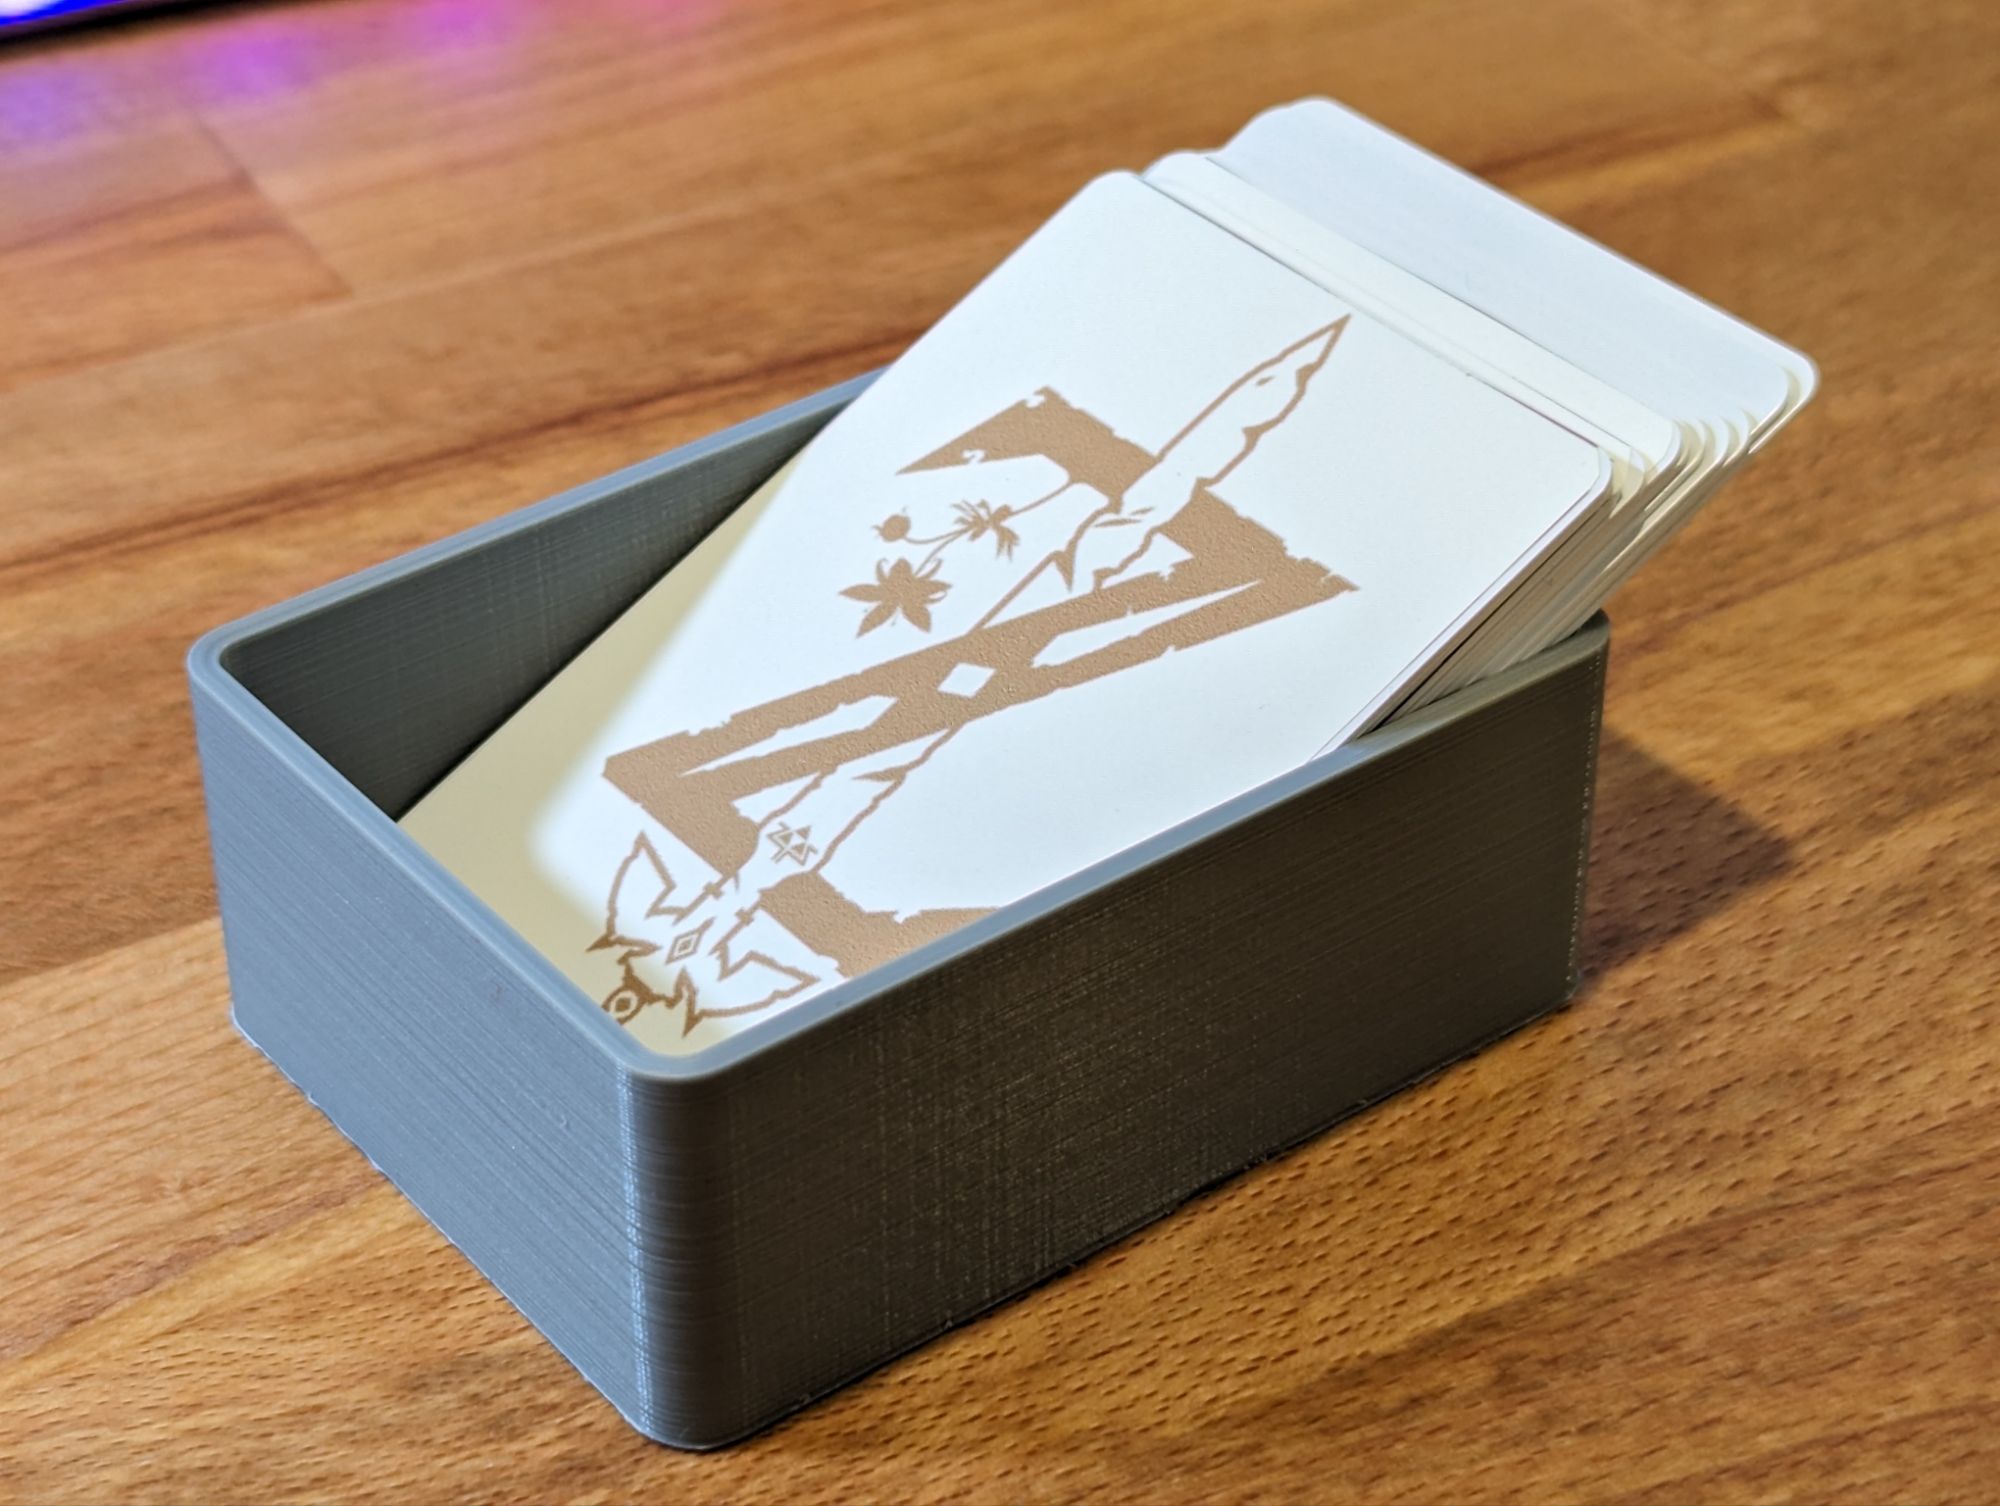
Continue reading “Catomater”I’ve printed a few multi color prints with my bambu printers and yet I still have no way to collect the filament poops other than grabbing them off the floor. How about I try to fix that.
Continue reading “Bambu Lab X1C Poop Bin”So far I’ve been using relegendable key caps for my macro pads and ESP Decks, but I’ve recently found another way. There is an open source keycap generator that can create multi color key caps that can be printed on my Bambu printers. There are a lot of pre-generated caps included with the repository, but I’d like to be able to generate my own custom ones too.
Continue reading “Custom Printed Keycaps”