This second project is the pistol from Bioshock, it is primarily 3d printed with some extra materials thrown in. I picked up a toy pistol, cleaned out some old cans, and printed off some of the pieces to mod it into the fully upgraded pistol from the game. Except the problem is I never got further than painting a few of the printed parts, no assembly was ever started, so now it’s time to fix that.
Starting Parts
I started out with a few parts, though was certainly missing plenty of things needed to finish up the pistol in the end. Below are the parts I started with:
- 2 tin cans
- Toy gun
- Some 3d printed parts
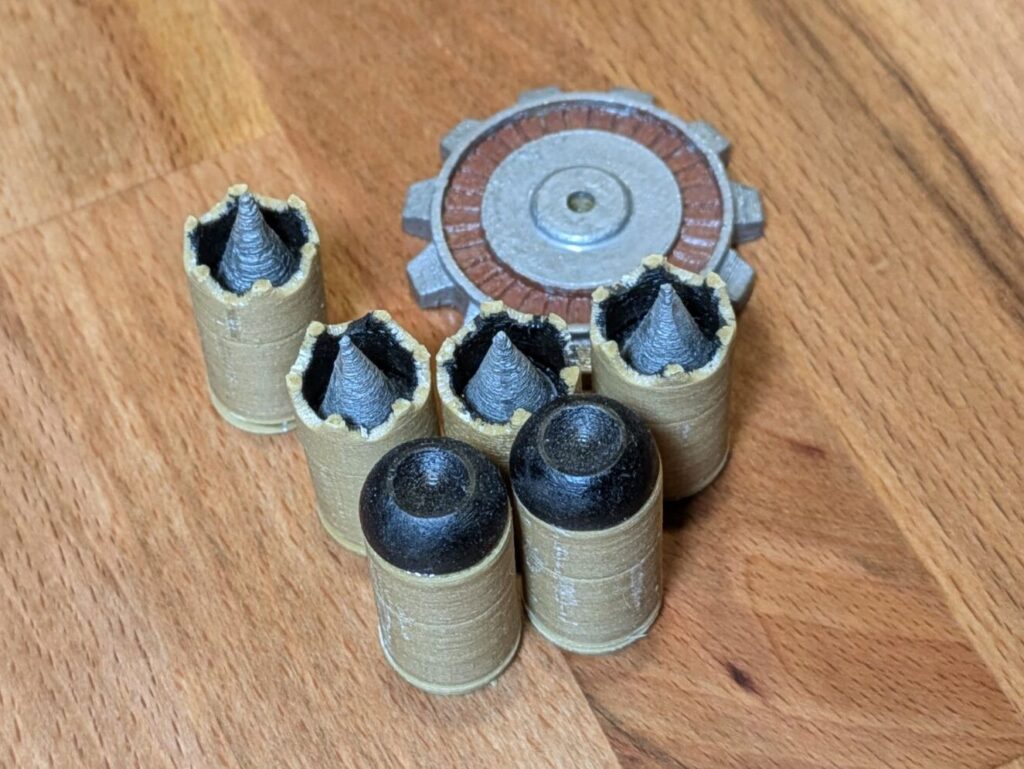
- Various rounds
- Ammo can gear
- Barrel mount for the damage mod (though the wrong size)
- Ammo can center
- Testors model paint (rust, steel, black)
Parts Remaining
After going over the current printed parts, and the references I came up with a list of items I needed to finish up the creation.
- Custom 3d printed parts for my toy gun
- Extra details printed
- ammo reload segment
- front plate for the can
- backplate for the can
- top and bottom mounts for the can
- damage mod side light
- correctly sized barrel front piece
- stand
- clip spacer
- Copper wire (household wire works)
- Additional Testors model paint
- metallic gold
- flat brass
- Bolts and nuts
Paints Used
- Testors flat steel
- Testors flat rust
- Testors metallic gold
- Testors flat brass
- Testors flat black
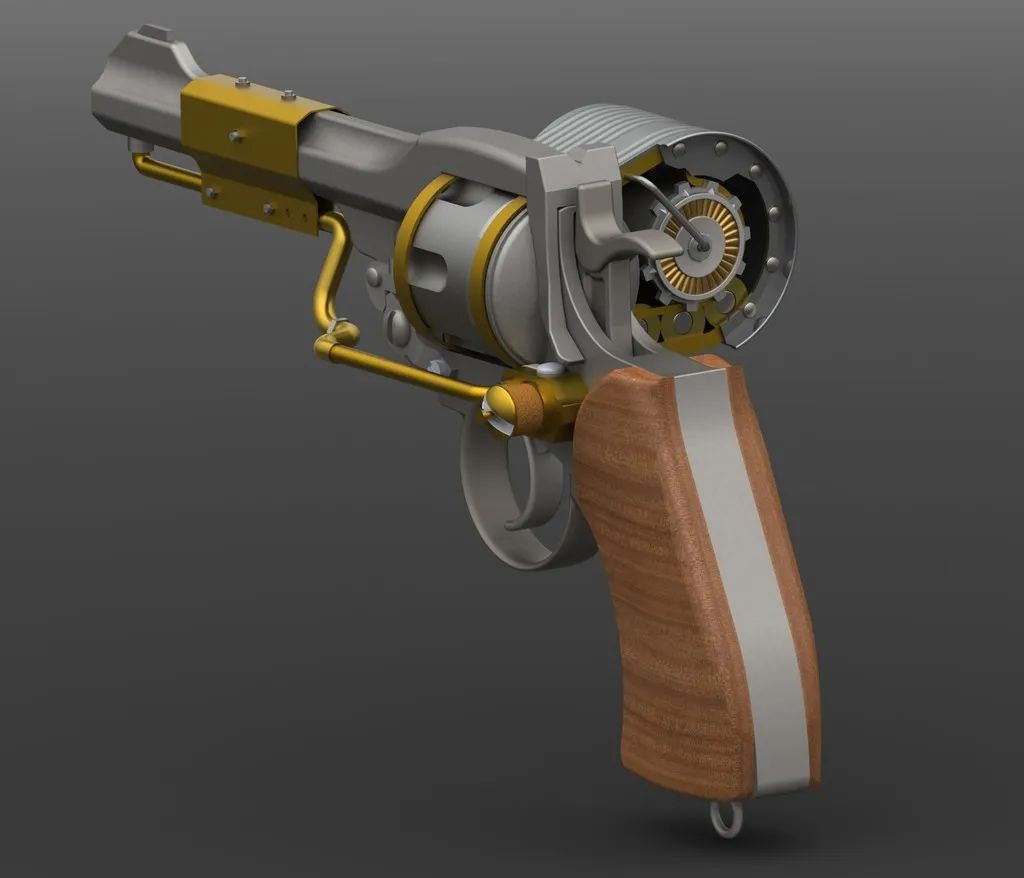
Reference Photos
For my design/modifications, I used both in game shots of the pistol as well as images of other 3d printed versions of it. I know my design in the end won’t be perfectly game accurate, but I want it to be recognizable as from the game either way.
Front Mount
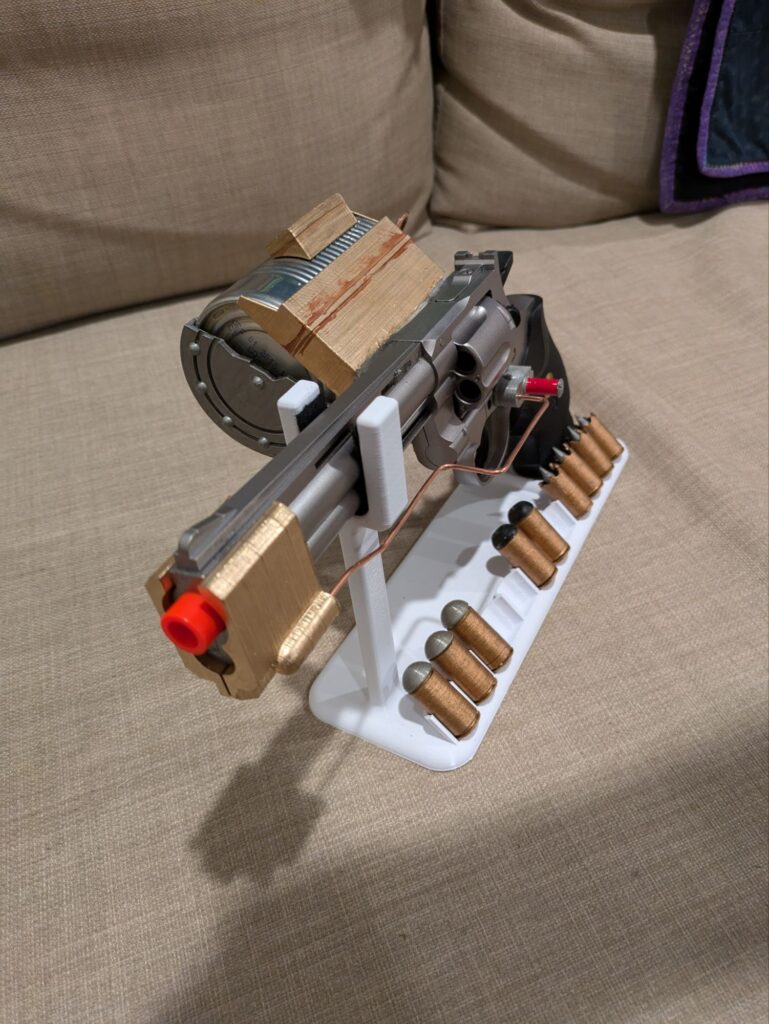
The original models I used for my baseline included the damage mod for the front of the pistol in the Bioshock style with the only problem being they wouldn’t fit my pistol. Time to CAD up a new design that fits the original style while being made for my gun! I designed and printed a new unit for the front that only needed a “little” dremelling to get it to fit right, and mounted that to the gun (with epoxy). I ended up painting it metallic gold after these photos were taken as I preferred that gold look over the gold ABS I had printed it in.
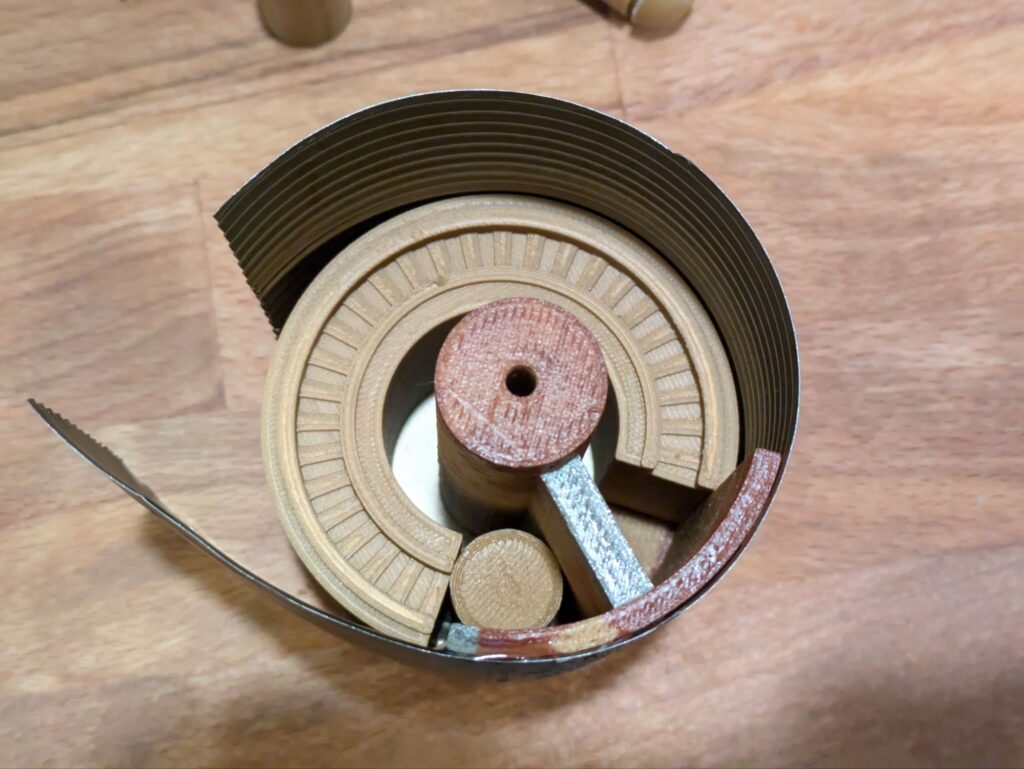
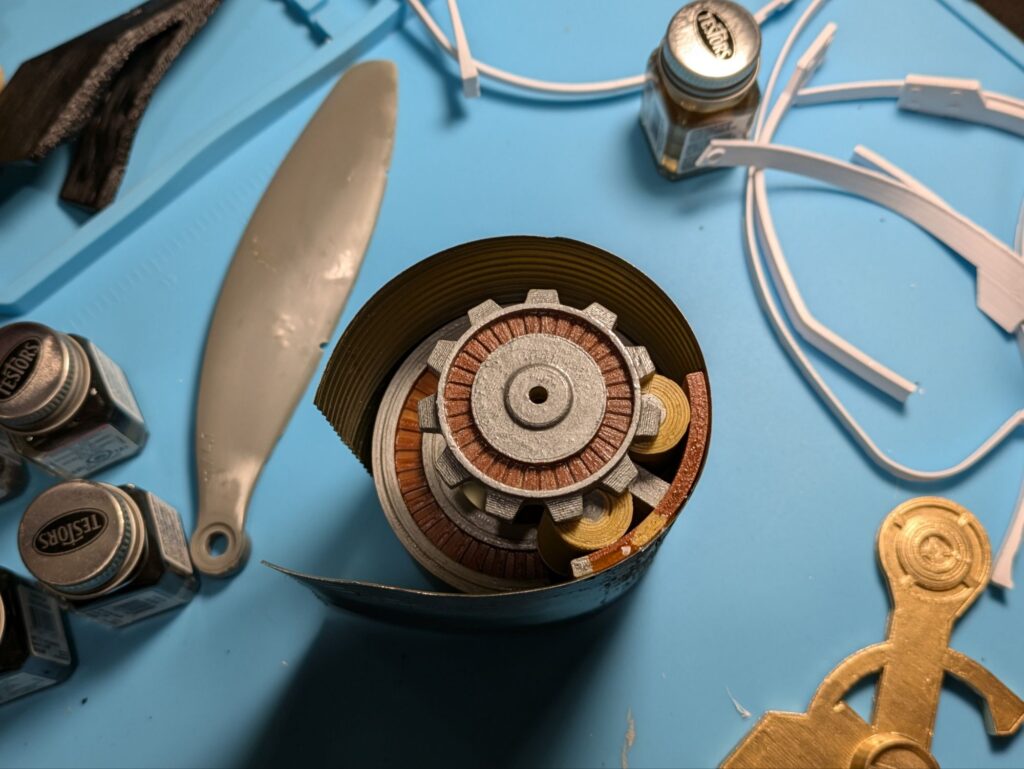
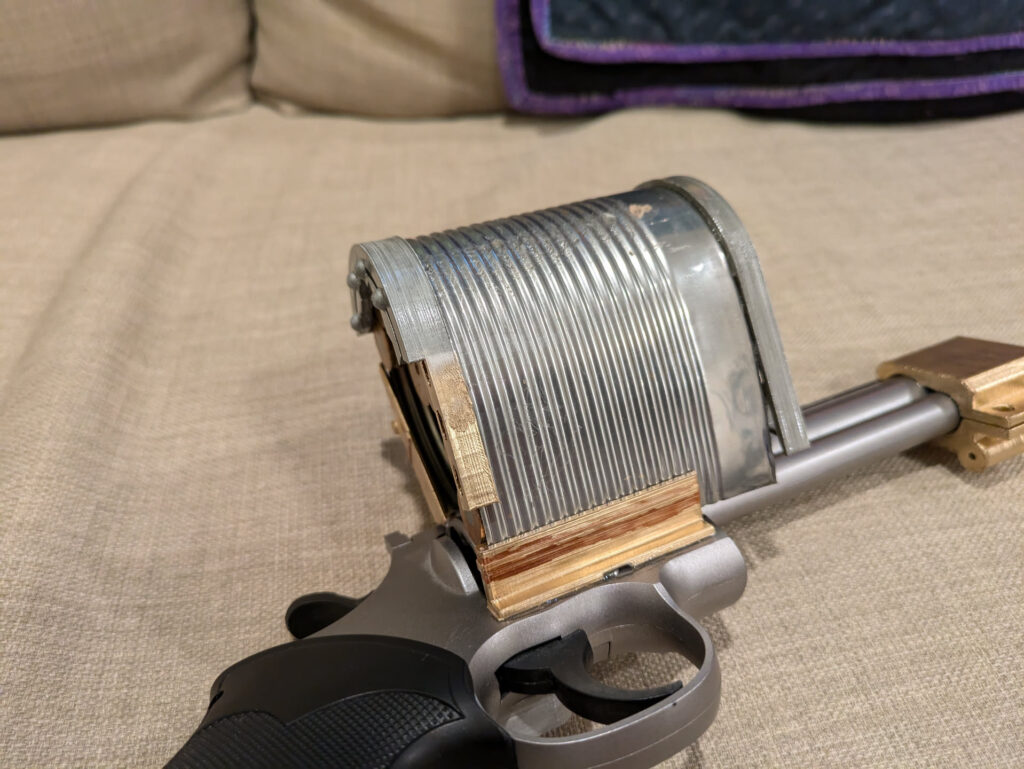
Ammo Can
I cut down the can’s length to be closer to that of the center piece I had printed off (if I were to redesign it, I’d probably reduce the length of the center piece and can to closer match the rounds). I installed the magazine can center with 5 minute epoxy and then went to cutting the can and opening up the side. I decided to use the centerpiece to stabilize the edge that I cut open, though that choice isn’t quite as aesthetic as putting it near the top would have been (since the bottom area there will be somewhat open).
I printed off a spacer to sit in the bottom of the can and hold the bullets up near the top/gear area. This fit well and was designed to have a similar style to the gear itself. It will be painted before being permanently installed. I did need some extra spacers around where the centerpiece is mounted since I didn’t want to worry about overlapping that with my spacer.
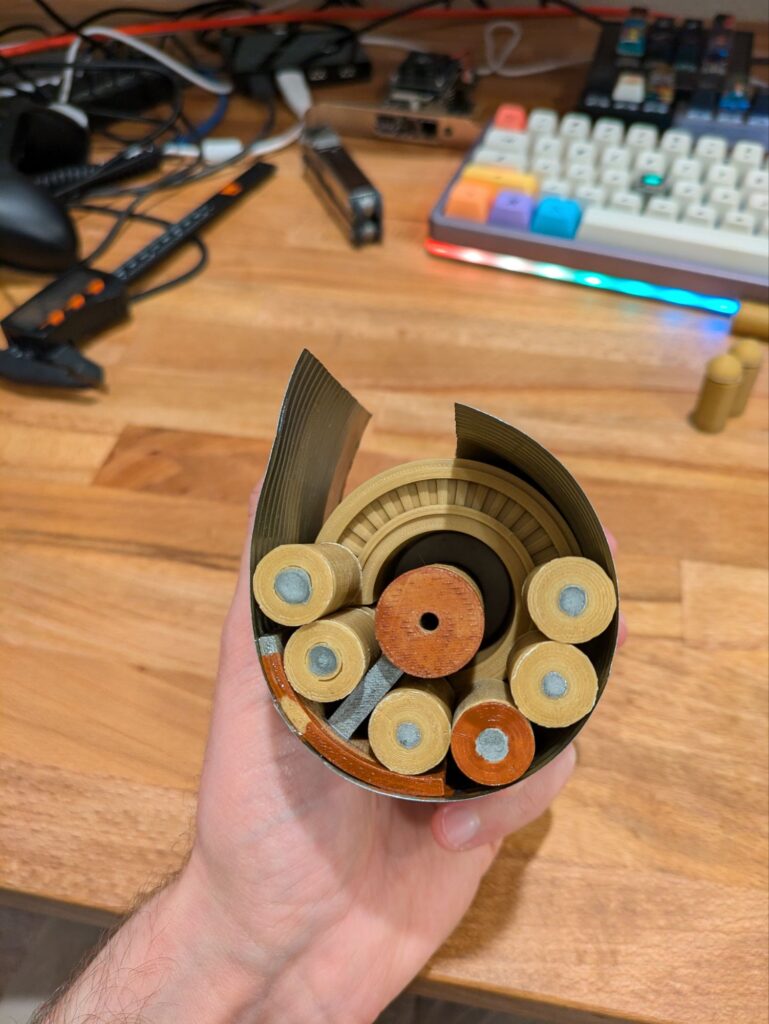
With some of it painted/mounted, it’ll end up looking closer to this.

Magazine Can Round Inlet
The round inlet is a small piece added onto the ammo can near the top. It’s a minor detail in the game but it’s those small details that help give the design more character.

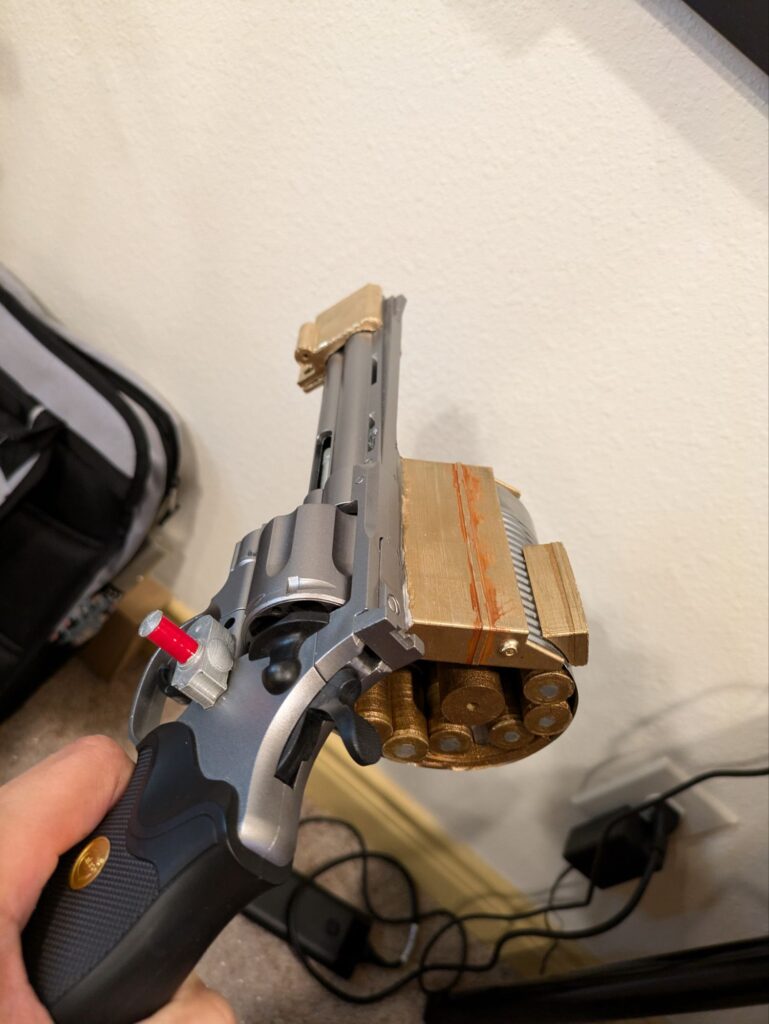
Magazine Can Lower Mount
The lower can mount holds the cut segment of the can down towards the bottom of the cylinder of the original toy gun. I ended up with two designs for it, the original has a flat bottom and the one I ended up using for my build has a notch for a screw head to go into from the toy gun.
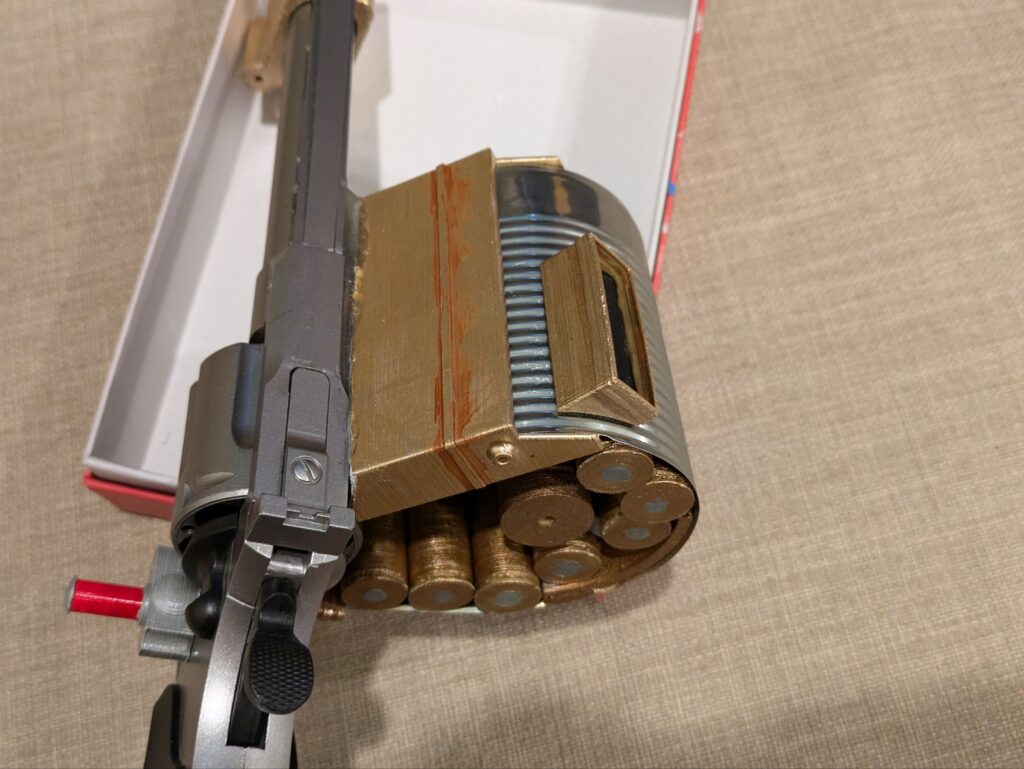
Magazine Can Upper Mount
The magazine upper mount wraps around the entire length of the can and mounts to the toy gun just above the cylinder. I dremelled it down to better fit the side of the gun, rather than trying to model it perfectly into place (I was also unsure of the final location I wanted it to be in while modeling it). I might have gone a bit wild with the epoxy to make sure this piece was mounted solidly.
Damage Mod Light
The damage mod light has a small hole just big enough for some household copper wire to fit it. I also modeled a slot on the bottom to go over a screw in the toy gun.

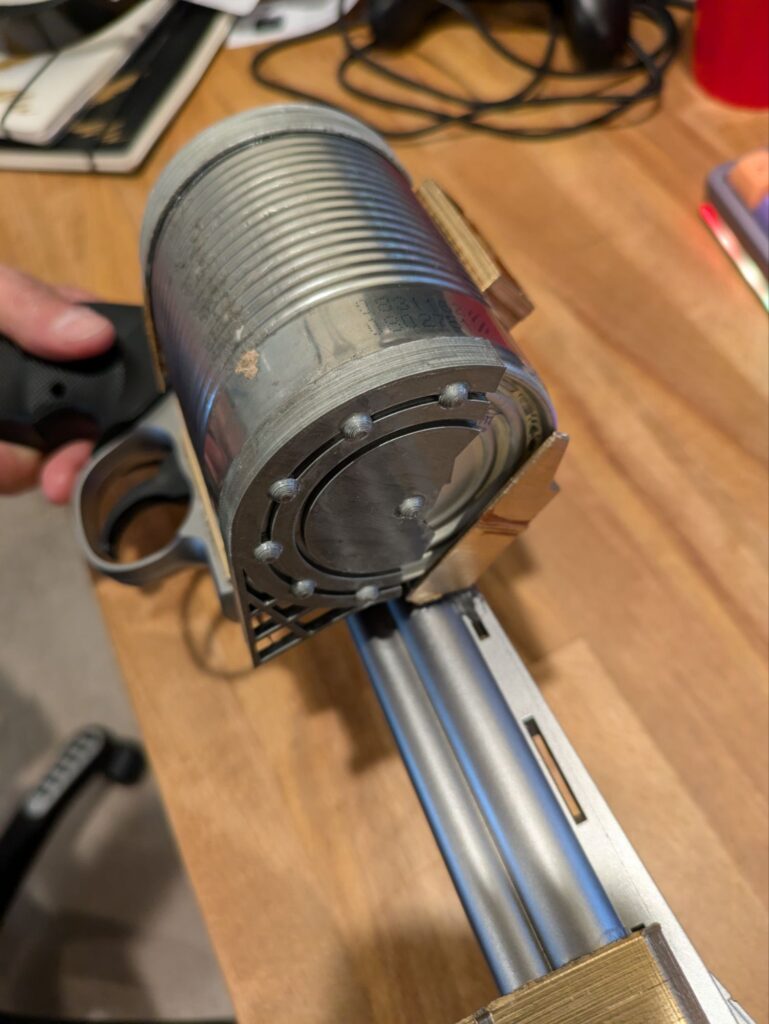
Can Front
The front plate for the can was mostly to cover up the gap and provide some visual interest. I tried to give it a bit of a scrap metal look to go with the rest of the vibe.
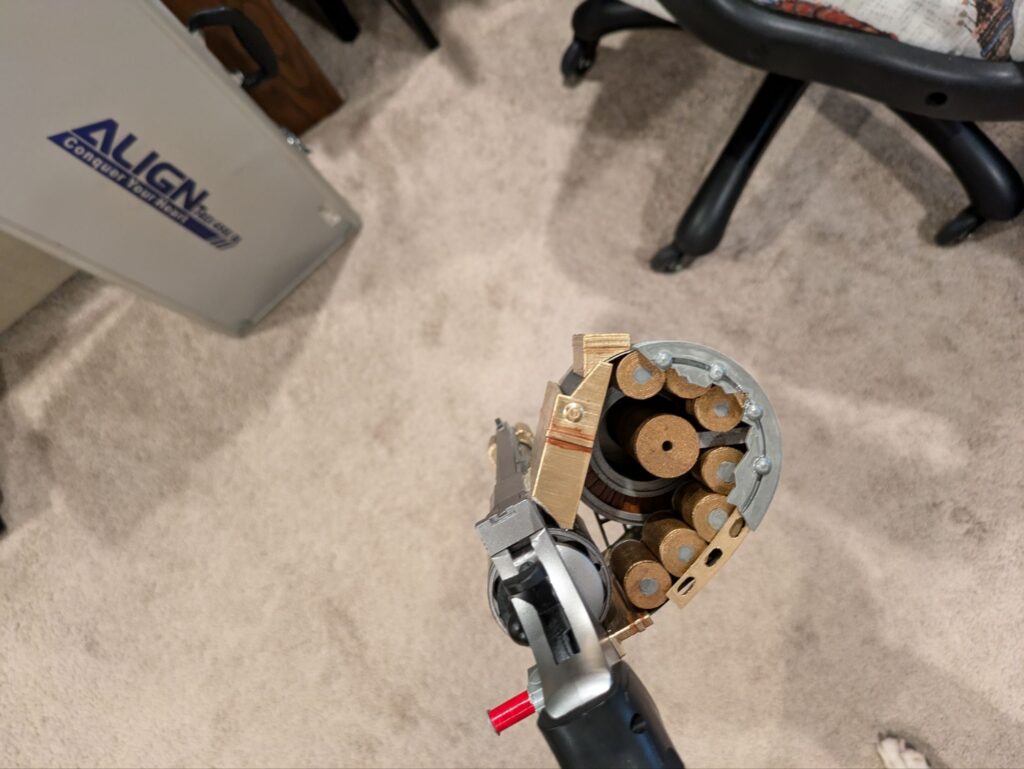
Can Back
The back of the can carries the same scrap metal look but also has to play a part in the ammo story. It keeps the rounds from falling out as they go from the can to the cylinder.
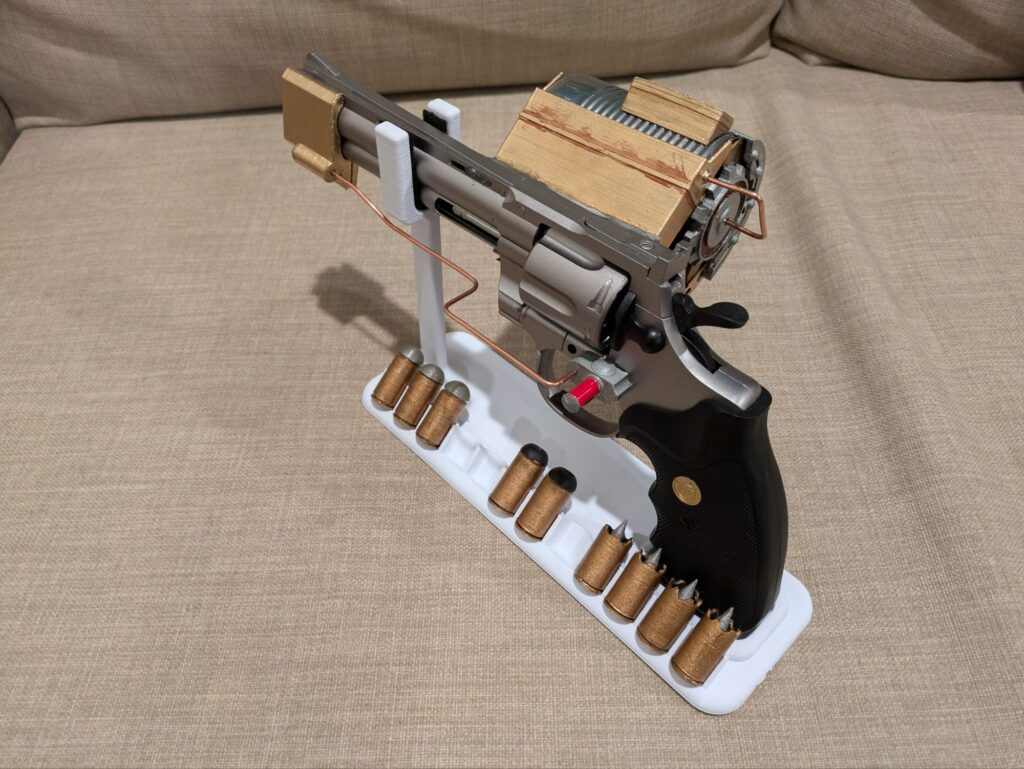
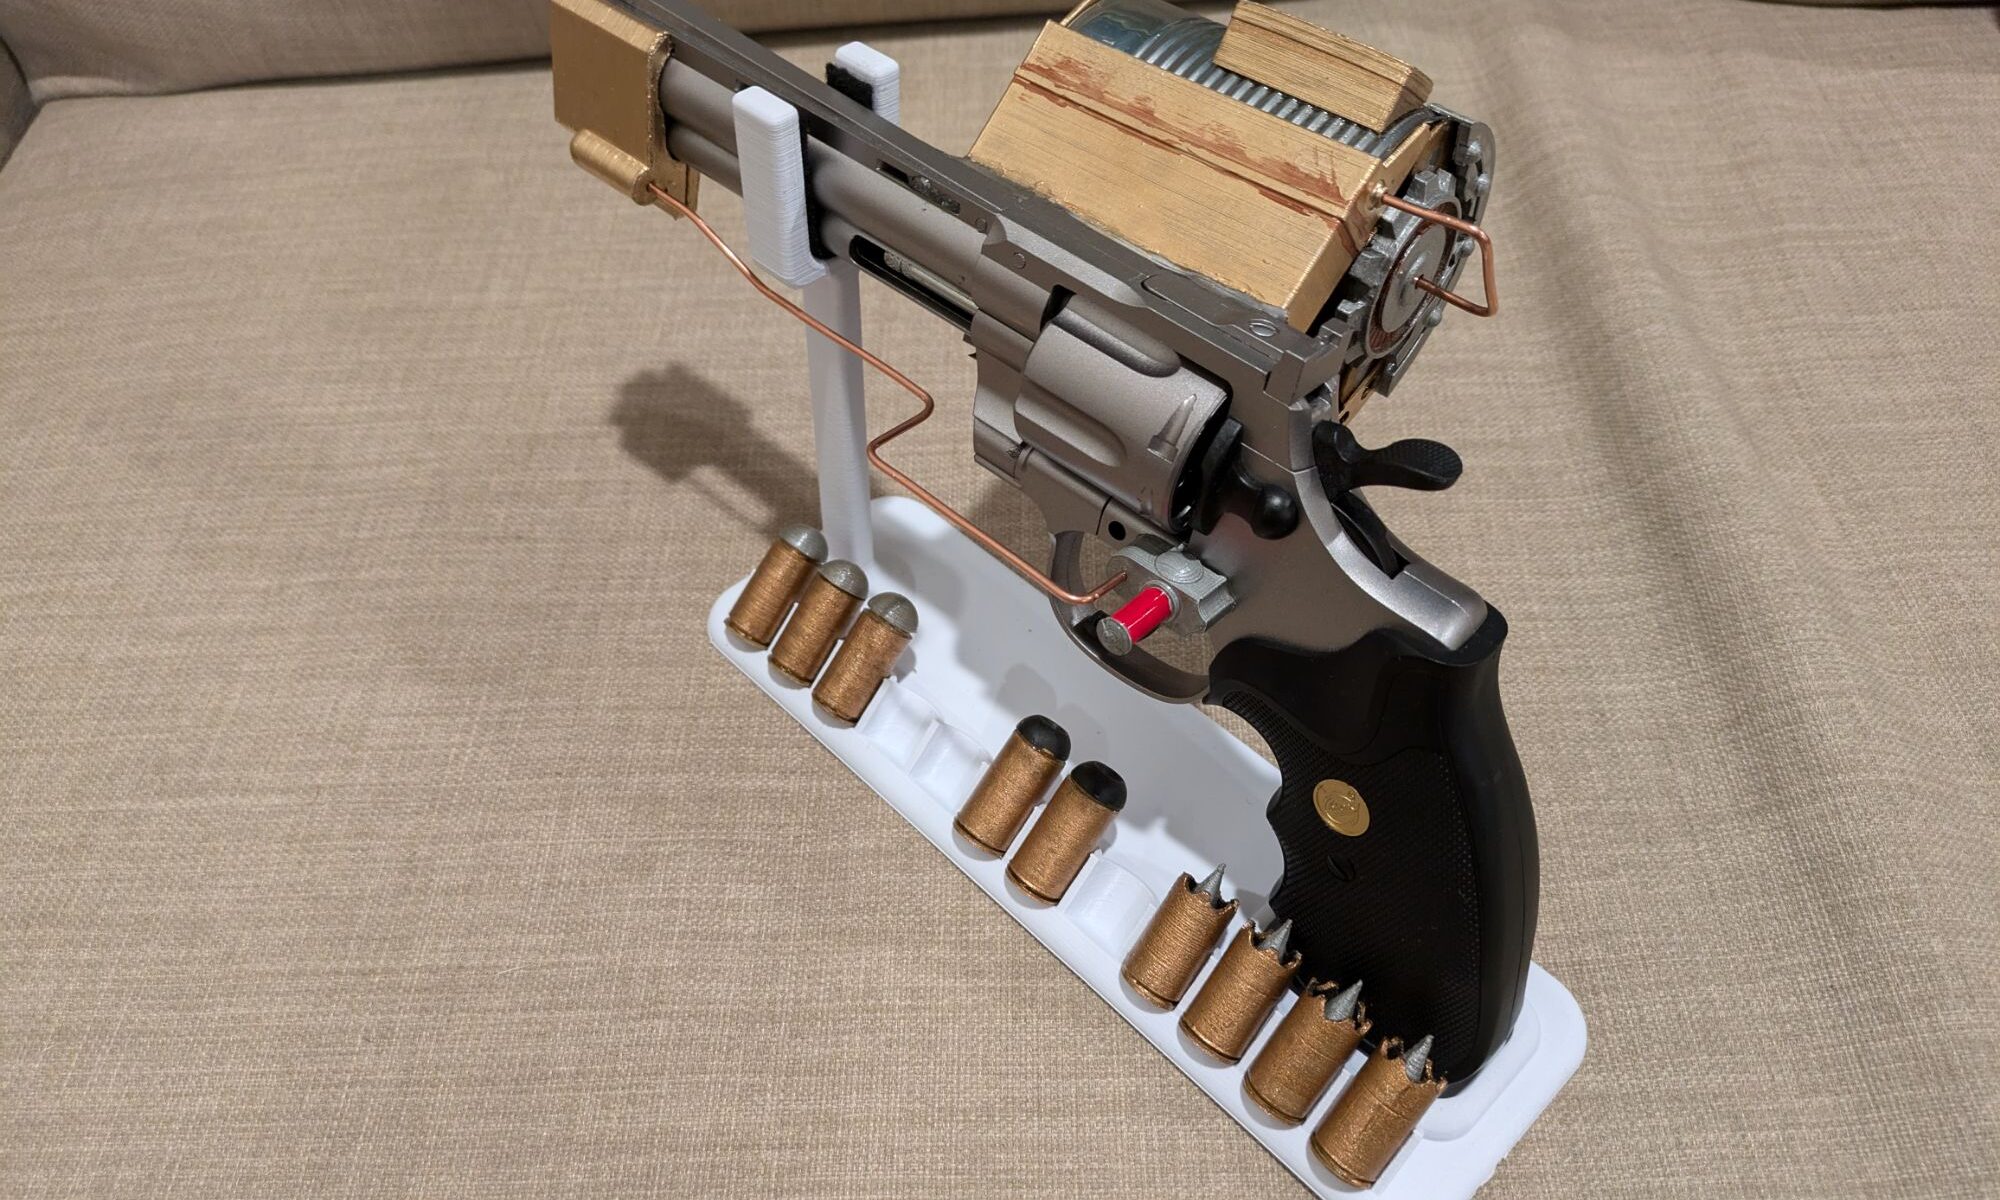
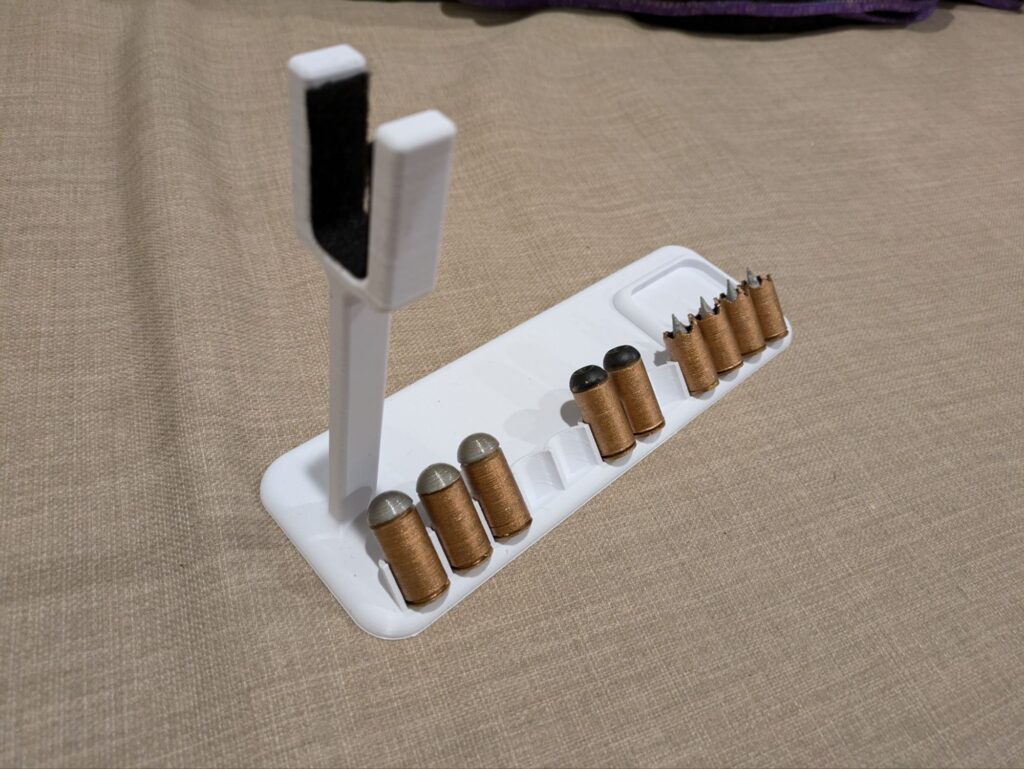
Stand
I modeled up the stand with spots to place rounds for the pistol. I wanted someplace to add the HP, AP, and standard rounds that all go with it. I did however run into a problem with the original design, it was too big for my Ultimaker 2. I ended up shaving down the size until it was just barely able to fit on the build plate. I wish it were a bit wider for stability but it’s not not tipping over at least.
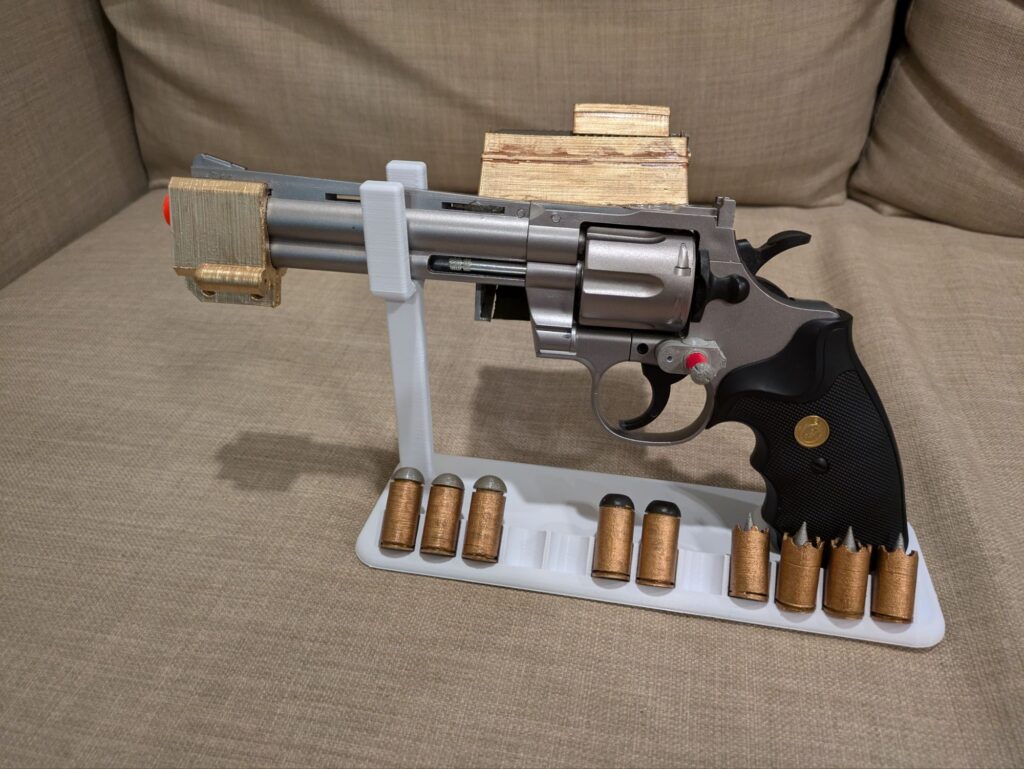
After the print was a few hours in, I realized I should have just made it out of wood, as the additional texture/material variety would add to the overall project. I did however add felt to it to help hold things in place. I feel like material variety helps carry a project like this up a few levels.
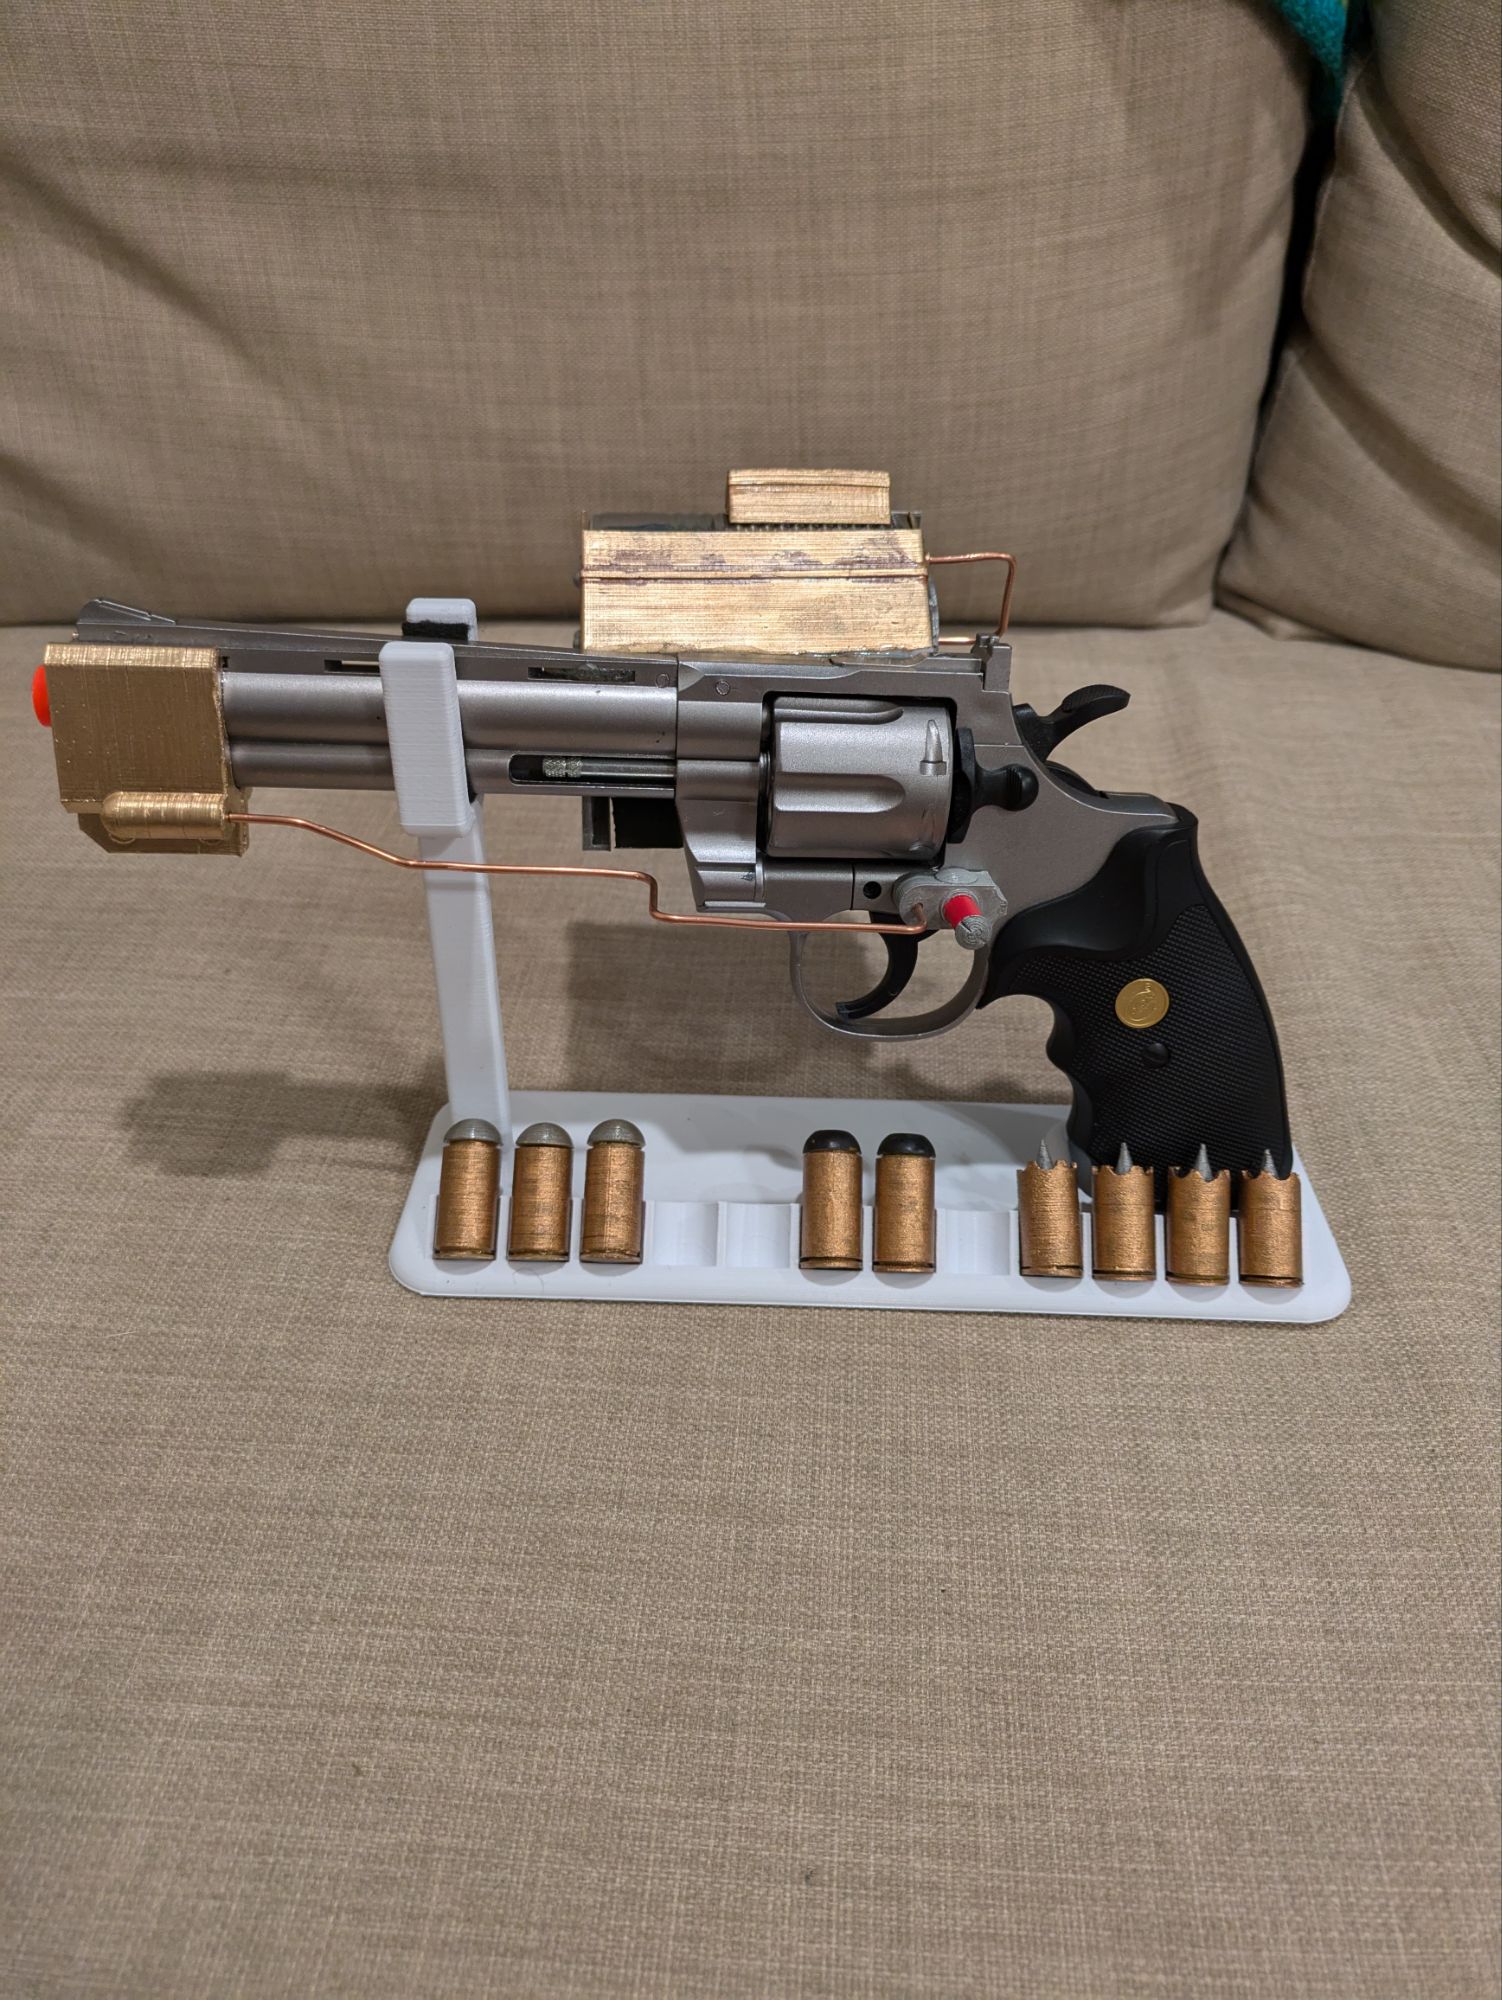
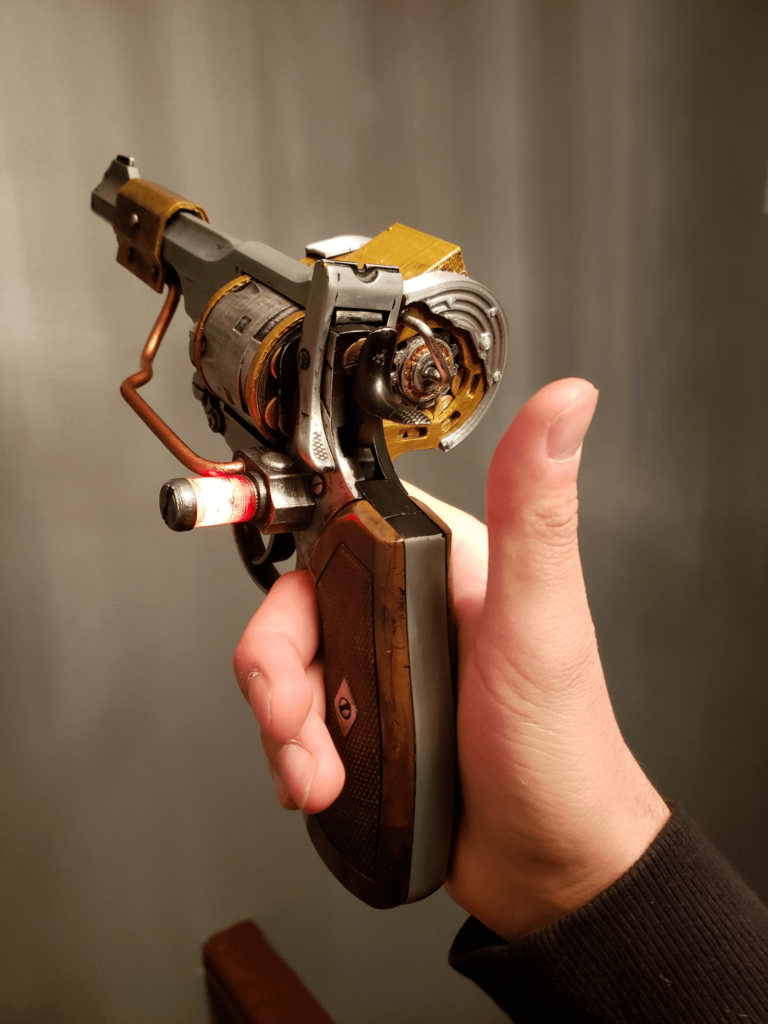
Finishing Touches
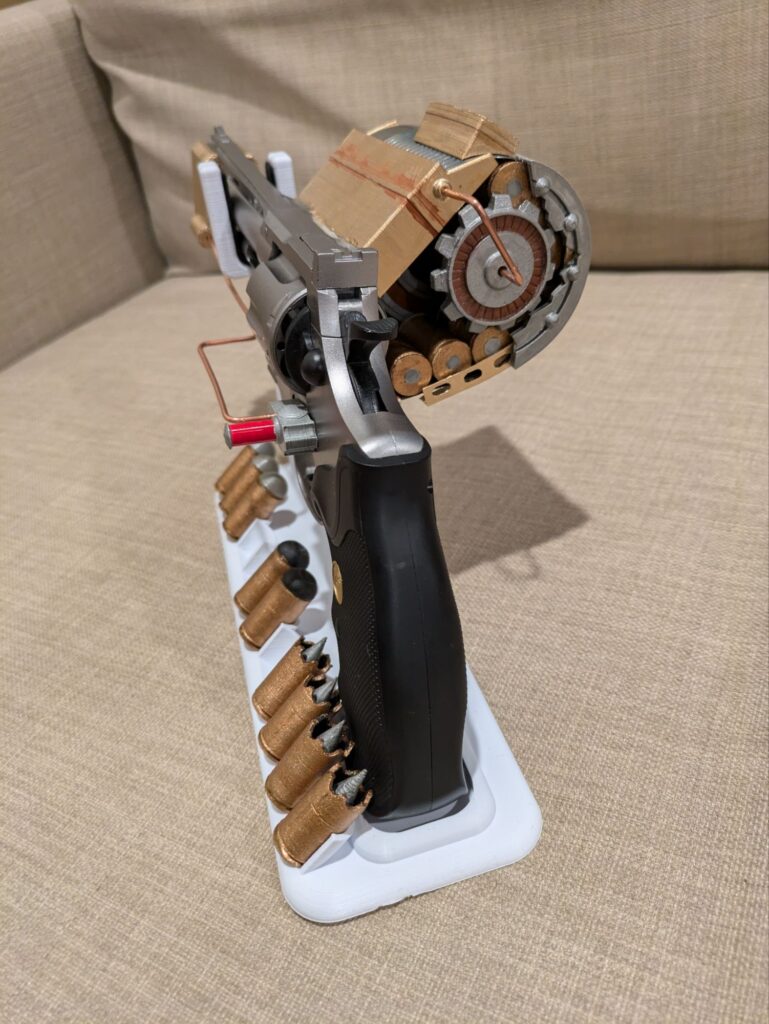
The last details I added were the copper wires bent into shape around the entire pistol. With the one in the back, I also mounted the magazine gear into place. I tried to route the damage mod to vaguely match the game and also provide some visual interest.