
I have wanted to add a tablet to control home assistant from for a while. I originally started by using my Nexus 7 2012 as the machine, got WallPanel installed, and found out that the embedded browser in that version of Android was too out of date and crippled to run the home assistant webui. So I decided to pick up an Amazon fire tablet for cheap to try using. I figured if I liked using it, I could use a better tablet in the future (or go through the effort of rooting the tablet and installing regular Android on it).
Hardware
- Fire tablet HD8
- CloudFree Smart Plug
- USB wall charger and cable
- 3d printed wall mount
WallPanel Installation
Installing WallPanel was a tad annoying due to Amazon being Amazon. I went to their app store and couldn’t find it, although searching for the app on their website did show it as available, although they had some excuse as to why it wouldn’t run on the HD8. So it was on to plan B, downloading the APK and manually installing it.
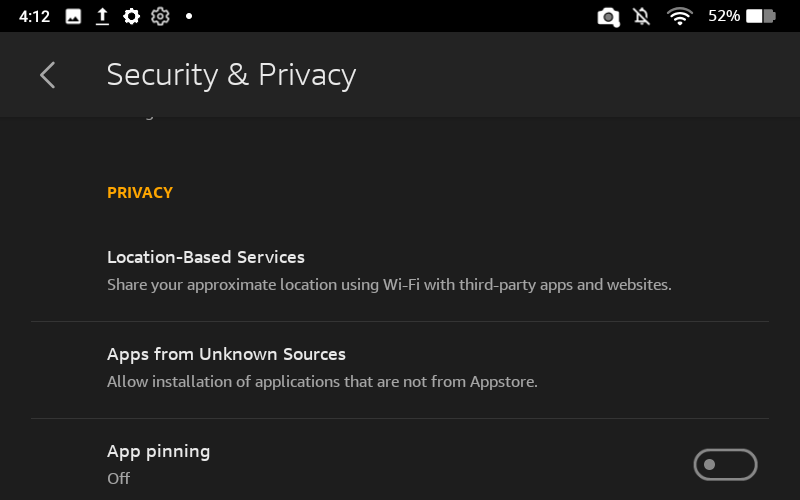
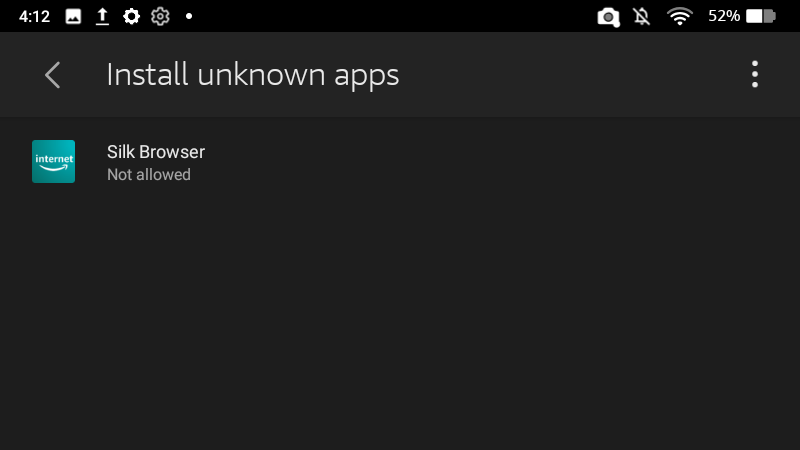
To install it manually, I first had to provide permissions for the browser app to install apps from unknown sources. This is available from the Settings -> Security & Privacy menu.
After that was done, I went ahead and downloaded the APK from their GitHub page, or at least I tried. I went to the GitHub repo and found the latest release of WallPanel, downloaded the APK, and it froze at 99% downloaded, I missed the “are you sure you want to keep this” pop-up at the very bottom of the browser. After saying yes I did, I could finally install the app via the downloaded APK.
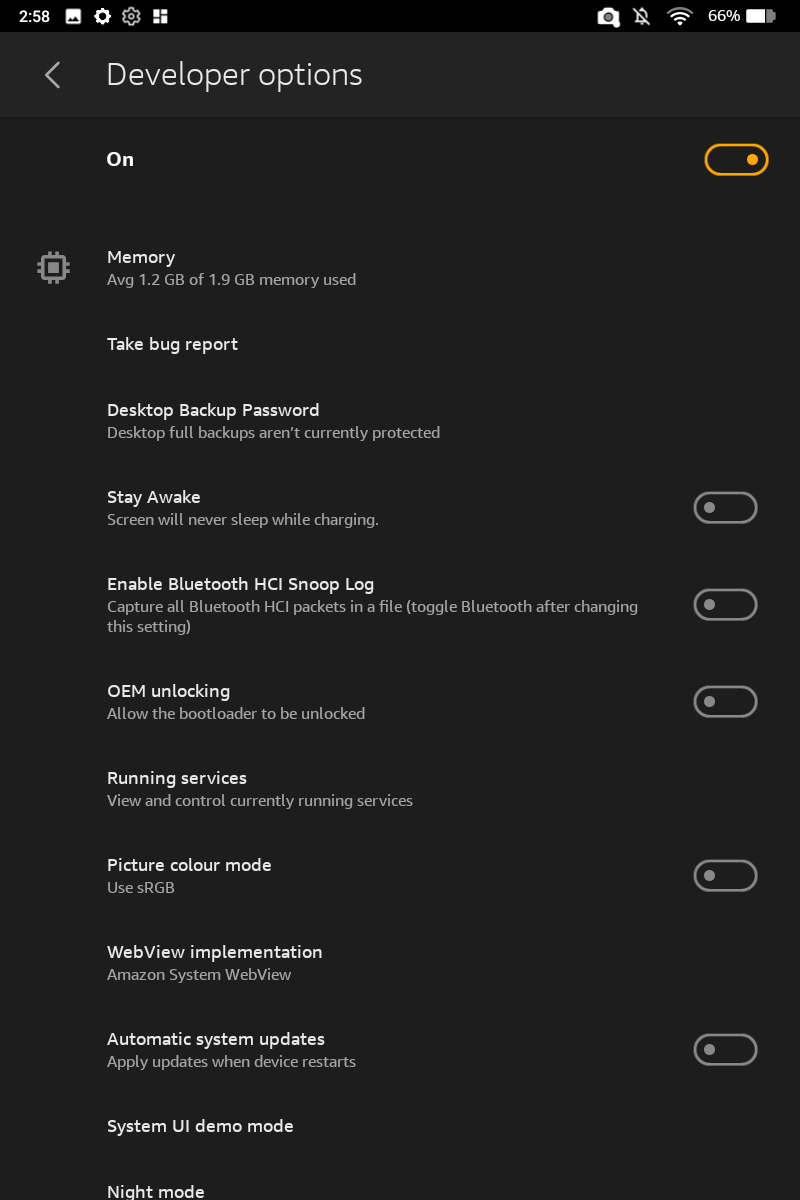
Developer Options
While developer options wasn’t needed to side-load apps onto the tablet unlike other Android iterations, it does provide a number of very useful settings. Due to this, we’ll also be enabling developer options and turning on some settings.
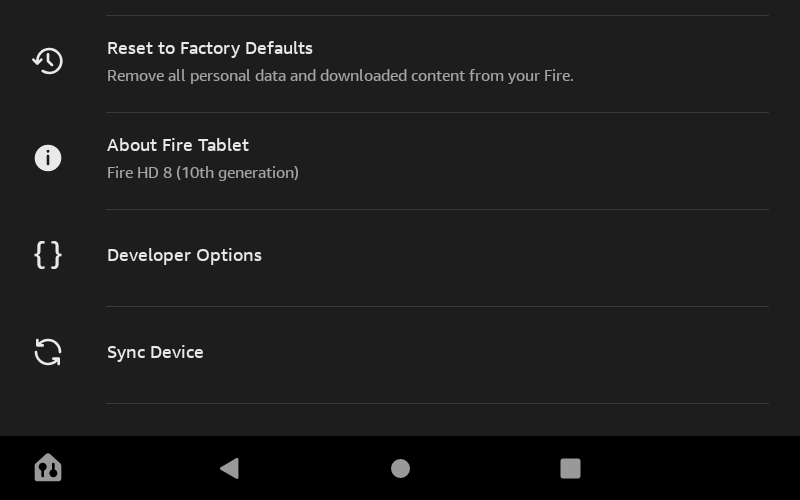
- Go to Settings > Device Options > About Fire Tablet.
- Tap your Serial Number seven times.
- Return to Device Options. A new menu appears called “Developer Options.”
Now we’ll be disabling “automatic system updates”. The system updates will reset the various options we want to keep, including those performed further on with the Fire Toolbox. As such, we want to disable the option.
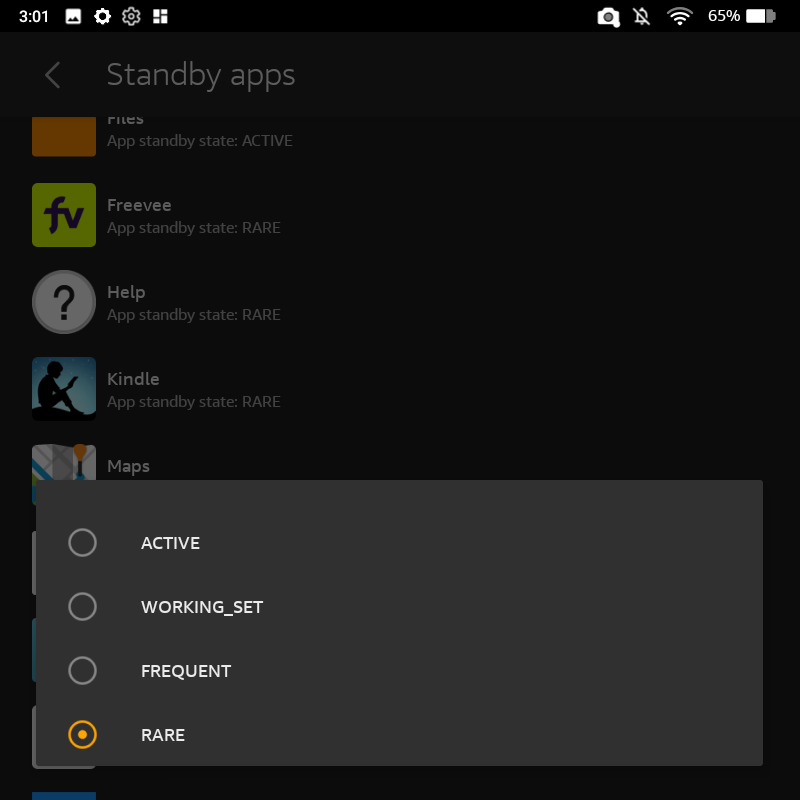
The other option we’ll be using at this point is the “Standby Apps” settings. Standby mode will prevent WallPanel from sending MQTT data to home assistant, and also block the auto-wake on camera motion. We want to set WallPanel to “Rare” so that it isn’t put into standby mode except in a rare occurrence. So we find WallPanel in the apps list here and select it, choosing the RARE option from the popup.
Now that we have those settings in place, it’s onwards to home assistant.
Home Assistant Configuration
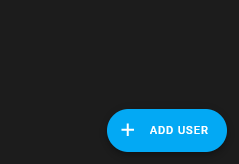
I made a few configuration changes to home assistant in support of the tablet display. I started by creating a new user for the tablet to log into home assistant with.
Go to Settings -> People -> Users
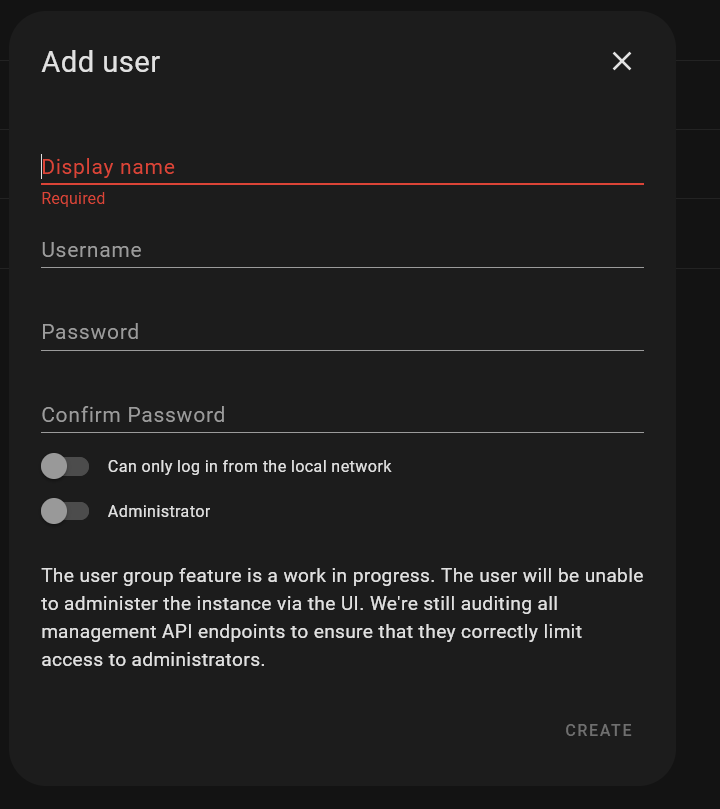
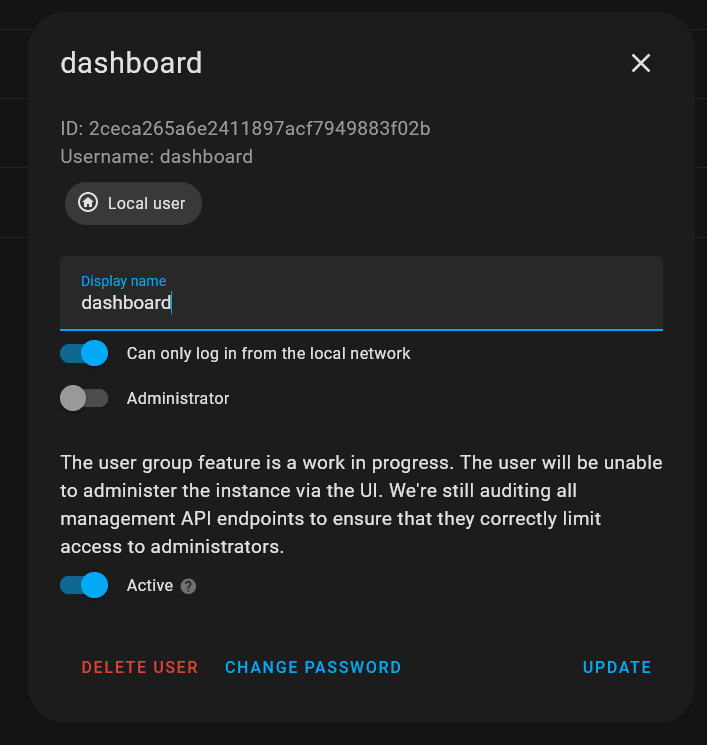
Once I had the user in place, I could log into home assistant from wall panel. Now that it was all running, I wanted to create a new dashboard specifically for the tablet.
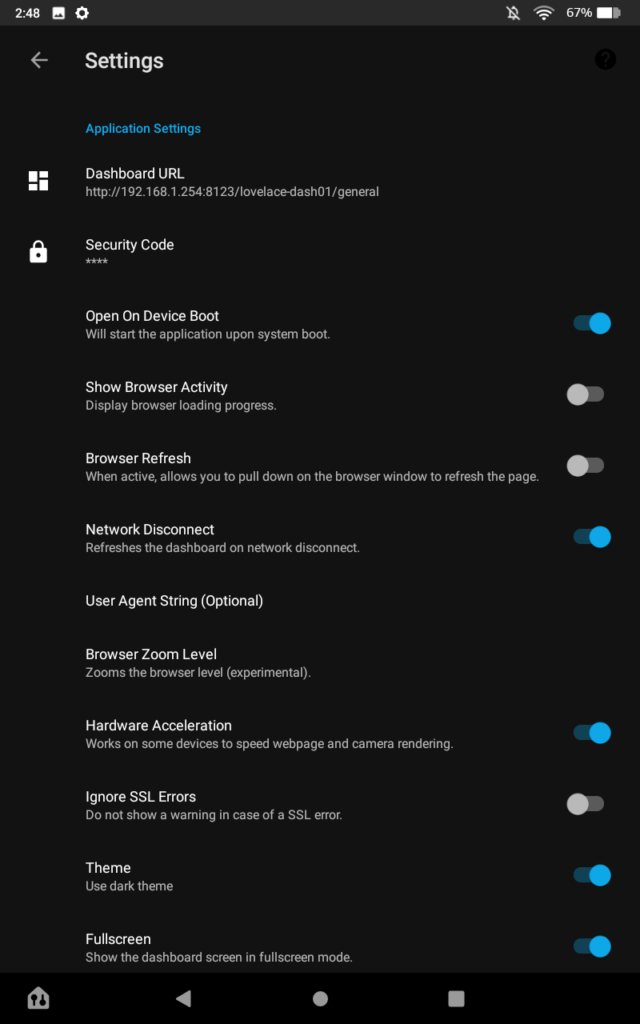
WallPanel Webpage Settings
From a web browser, I got the URL to my new dashboard, and used that URL as the dashboard URL. This way on startup, it would be the default for the tablet UI which is exactly what I wanted. Also in the general configuration, I gave it the dashboard username and password to log into home assistant with.
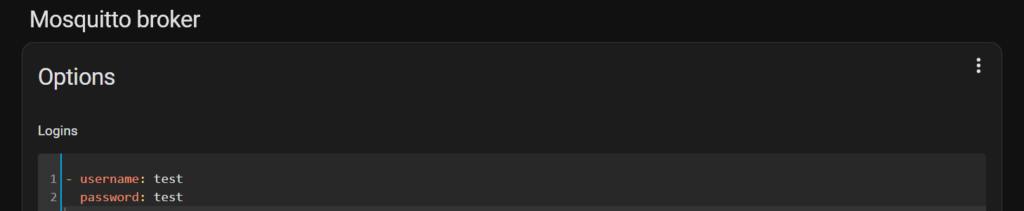
MQTT Settings
Setting up MQTT gets us our device insight into home assistant, this will let us get charge level among other things, which we’ll use to prevent over charging, and dying from low battery.
I setup a unique username and password for the tablet in my mosquitto broker settings. These were then provided to wallpanel for logging in.
Next up we go back to our tablet and setup the WallPanel MQTT settings.
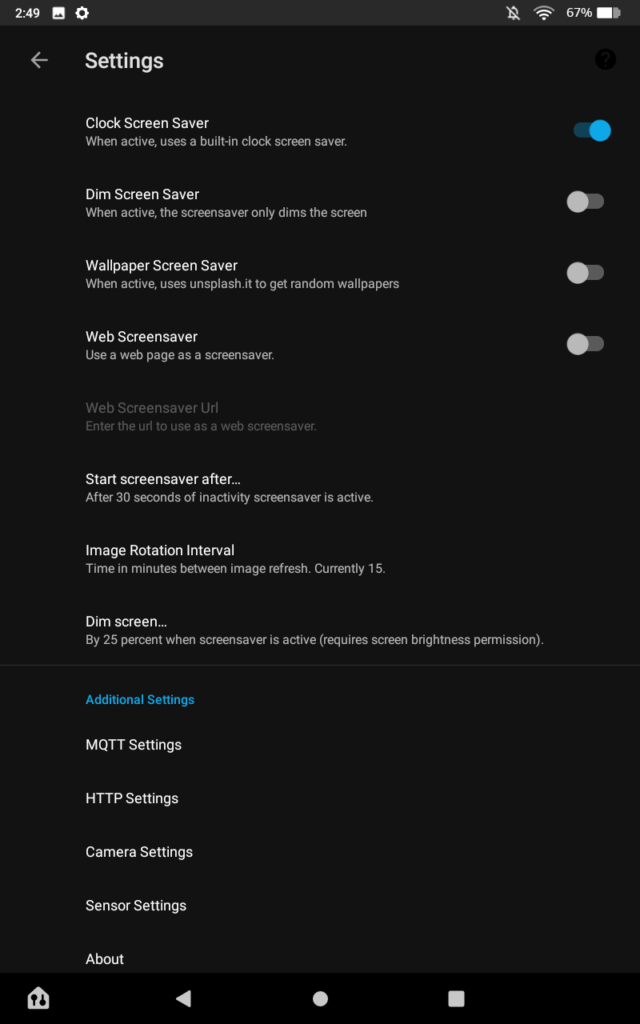
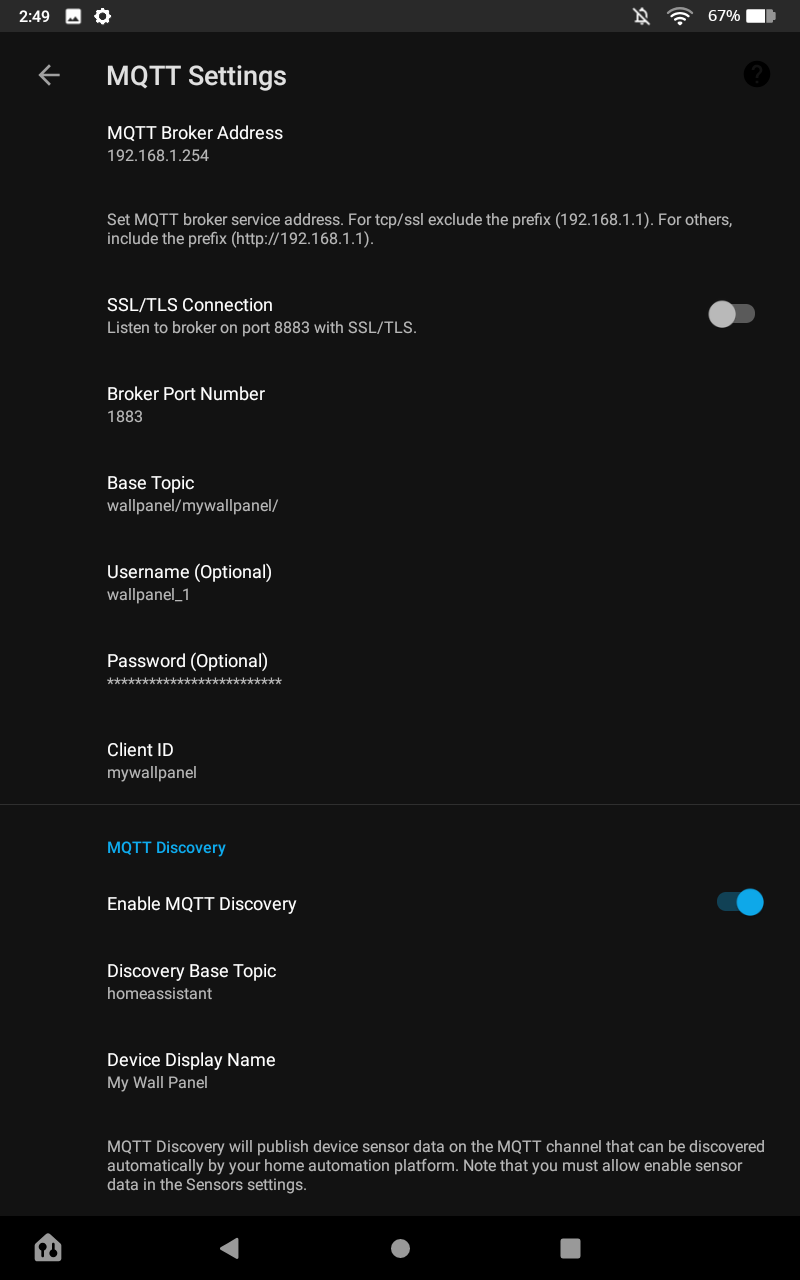
Set the URL for the home assistant instance running mosquitto, or the URL of your MQTT broker of it’s separate from home assistant, input the configured username and password as well. Those are all the settings needed to connect. Though there’s one other option we want to turn on.
We also want to enable MQTT discovery so that home assistant can find the tablet automatically and start communicating right away. I left the default device name as it’s my only tablet display so far, and kept the discovery base topic so that it would work with home assistant.
Fire Toolbox
I didn’t get any good screenshots of this part, but generally what I did was:
- Disable ads
- Disable auto updates
- Disable lock screen
- Remove pre-installed apps
Automatic updates will end up wiping out some of our configuration changes, so we’ll be disabling those. They’ll also cause extra reboots of the tablet and close out WallPanel. With the lock screen and auto lock timeouts disabled, I can rely on WallPanel’s camera to turn on the screen with consistency. Removing pre-installed apps was just a bonus to remove cluttering useless apps.
Battery charge maintenance
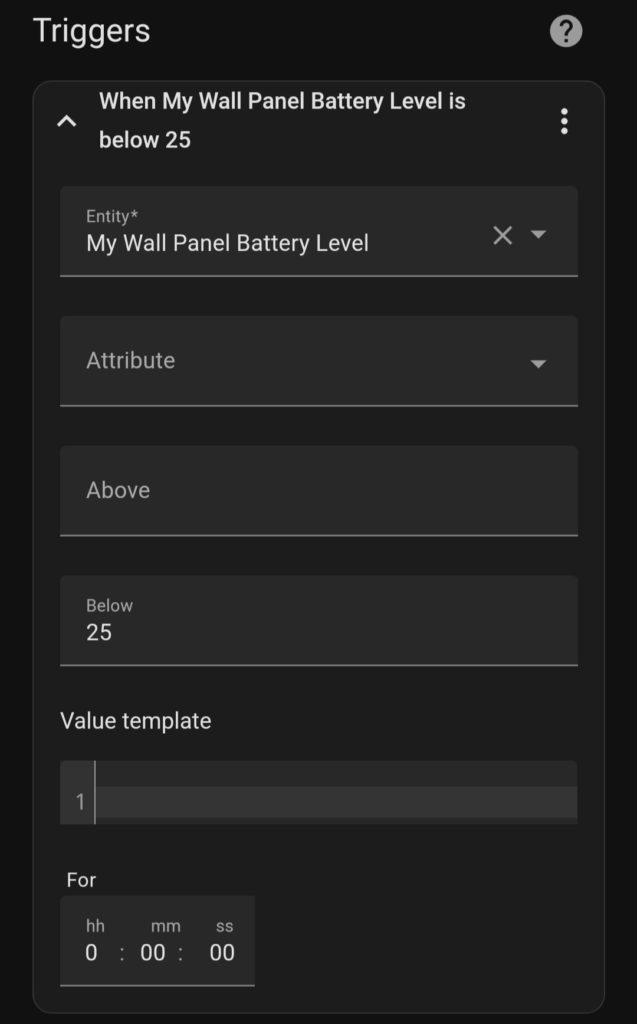
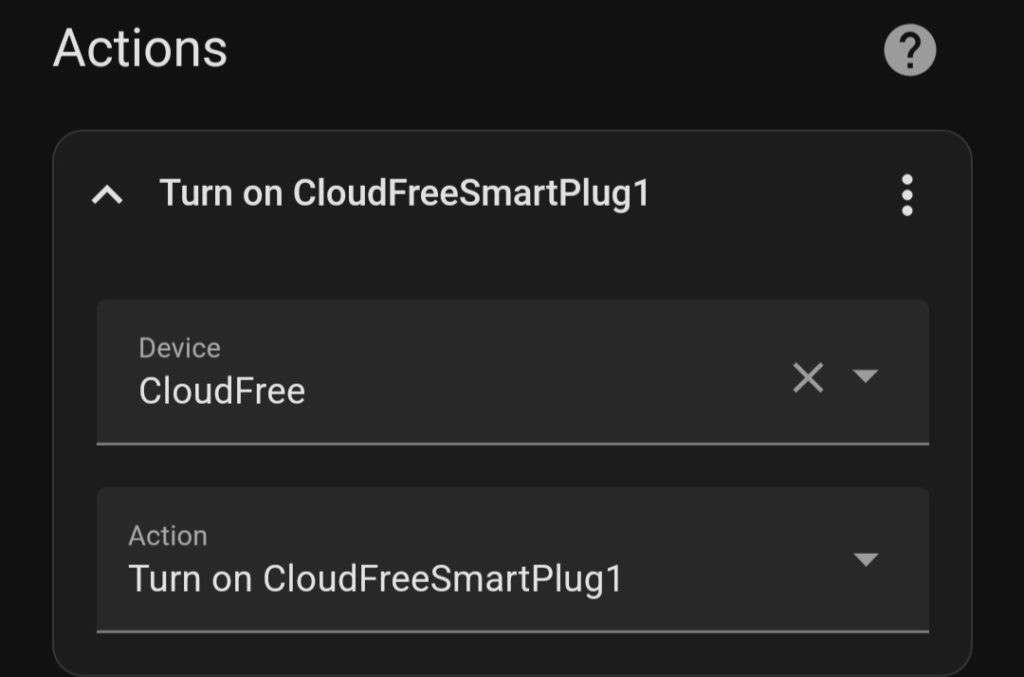
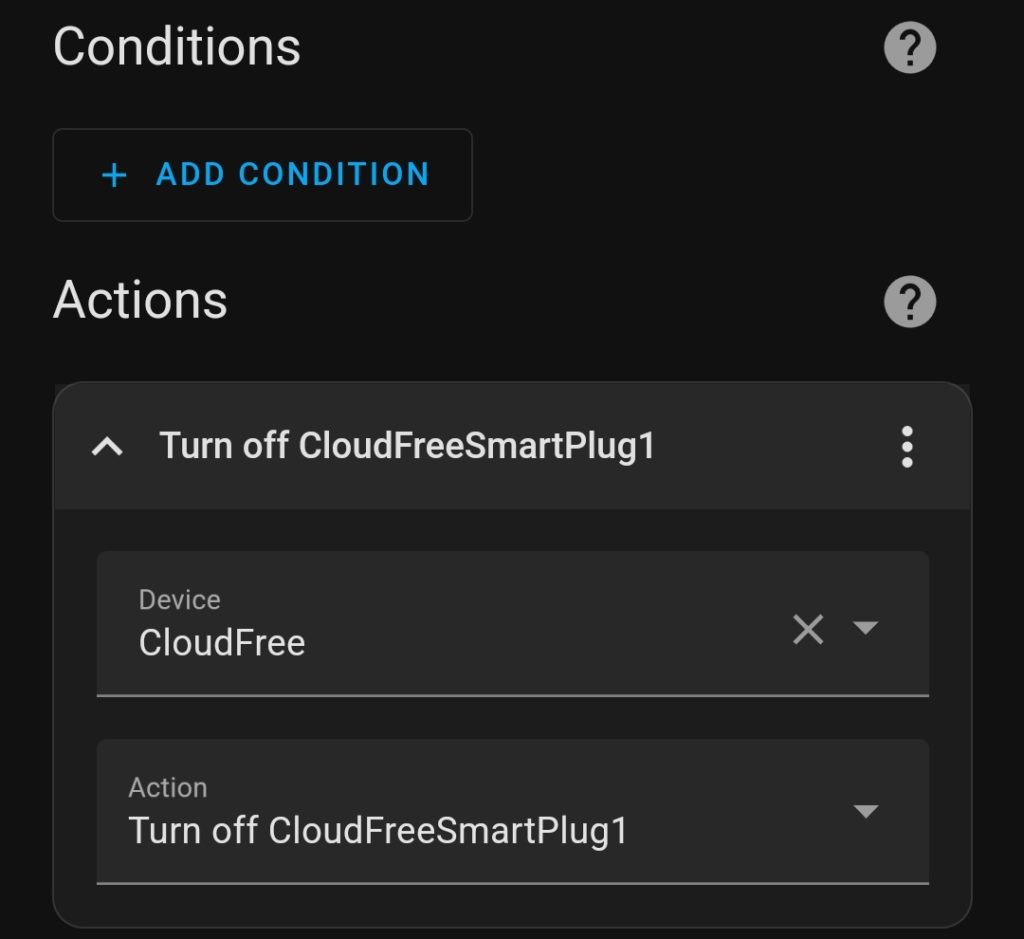
Since lithium batteries don’t take very well to being plugged in 24/7, and the fire tablets don’t have built in battery management, I decided to setup some automations for the wall mounted tablet to control it’s battery charging. This would let me leave it plugged in 24/7 while mounted, but avoid being at 100% plugged in all the time. These automations will keep the tablet between 25 and 80% charge.
As long as WallPanel is running, these automations will have current data to act on and keep the tablet in the right zone for charge state. I have had WallPanel get killed by the OS which caused it to drain the battery to zero, but that was before it was put into production and being monitored more frequently.
Wall Mount
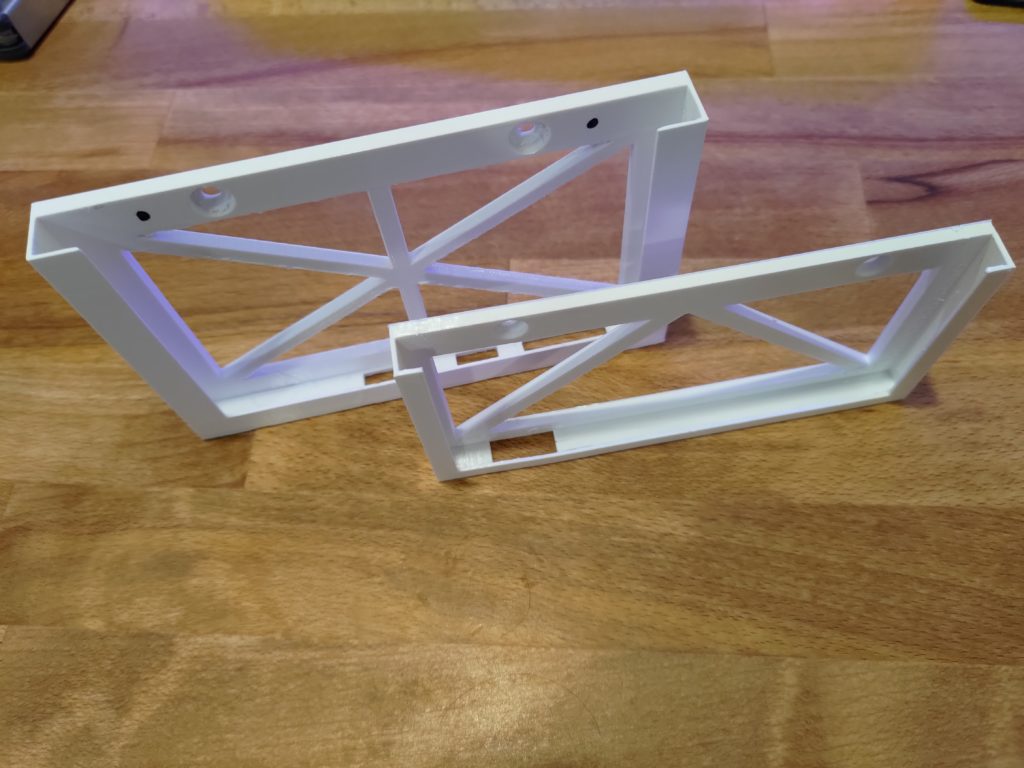
We both liked the portrait display, so I designed a mount for that. Many exist online for landscape but my searches didn’t bring up any portrait mounts, except one that looked promising. Once I had printed it out, it was no longer very promising. It was far too small for the tablet I had. I ended up using its look/design as a baseline for my own. Below is a picture of the two for size comparison.
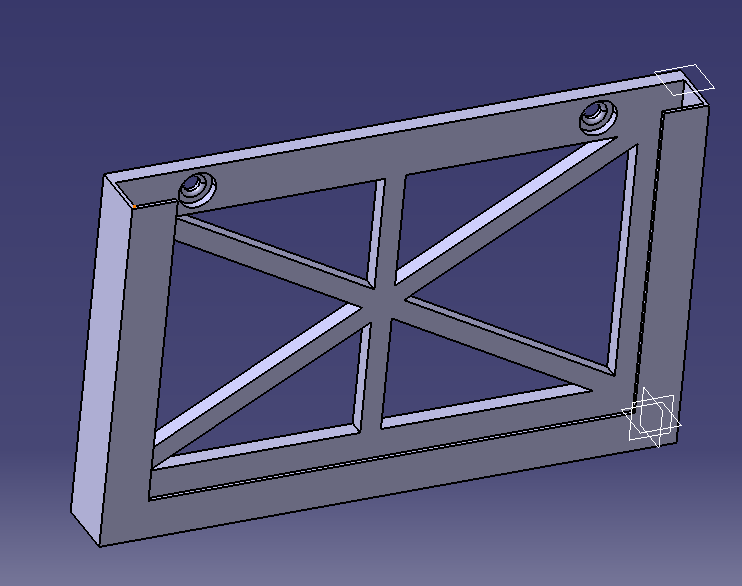
The final design I made is below, the hole spacing is a bit wider than the one above as that way it could fit the stud spacing on the wall section I was going to mount it too. This also was slightly wider and had a better screw inset from the original prototype.
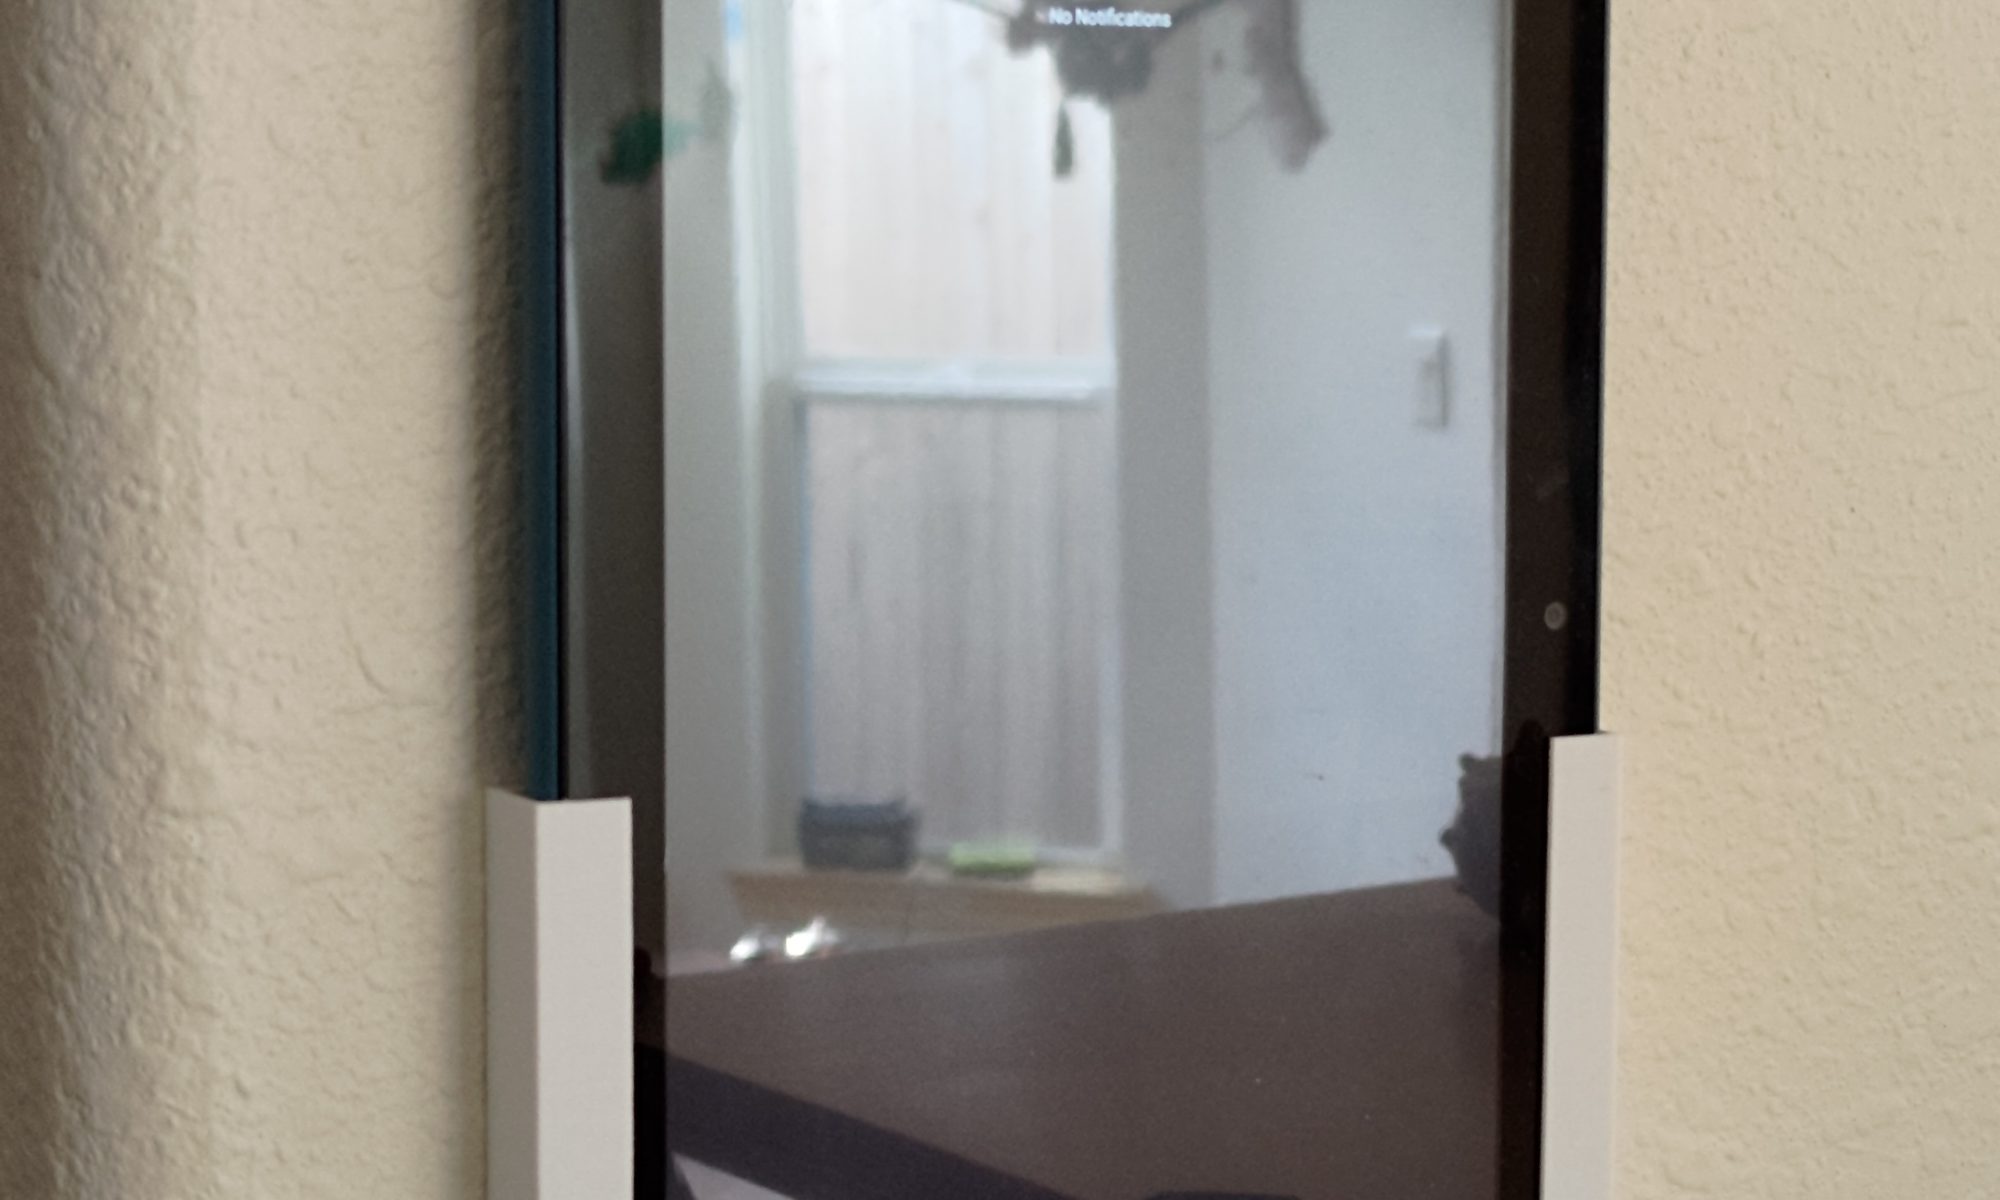
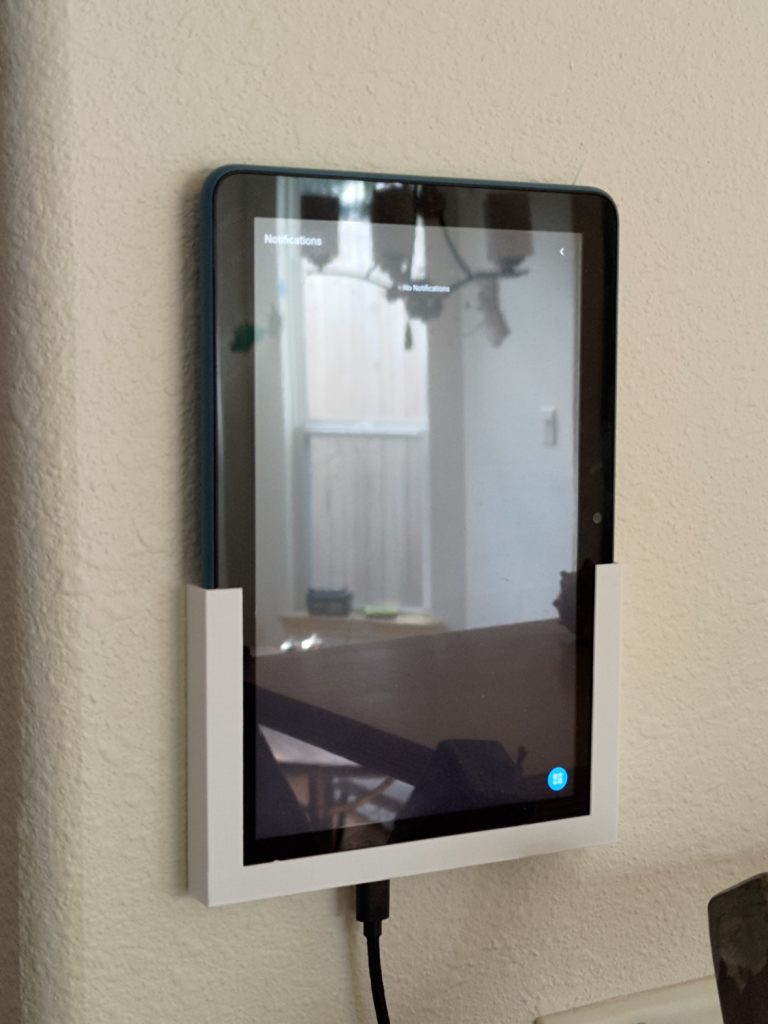
Now we have it mounted on the wall with the tablet installed.
Conclusion
The software all works pretty well together. On occasion the OS will kill WallPanel, which I have to figure out how to prevent (finding the standby apps setting in the developer options was pretty recent, so maybe that fixes it) . This stops the automations handling the battery power and can cause the battery to die if it’s not noticed soon enough. This isn’t a deal breaker for me, though it does lean me towards a proper Android tablet if I like this and make use of it heavily enough.