
I ran into some issues with my unraid server recently. The docker image usage started skyrocketing at an alarming rate. I started digging into multiple ways it could be getting filled up and ran into a very odd file while doing so (sadly it didn’t contribute to the docker image usage, but good to have it removed anyway). I ran into a 20GB log file being generated by docker.
Continue reading “Docker Log File Usage”NAS V2.0
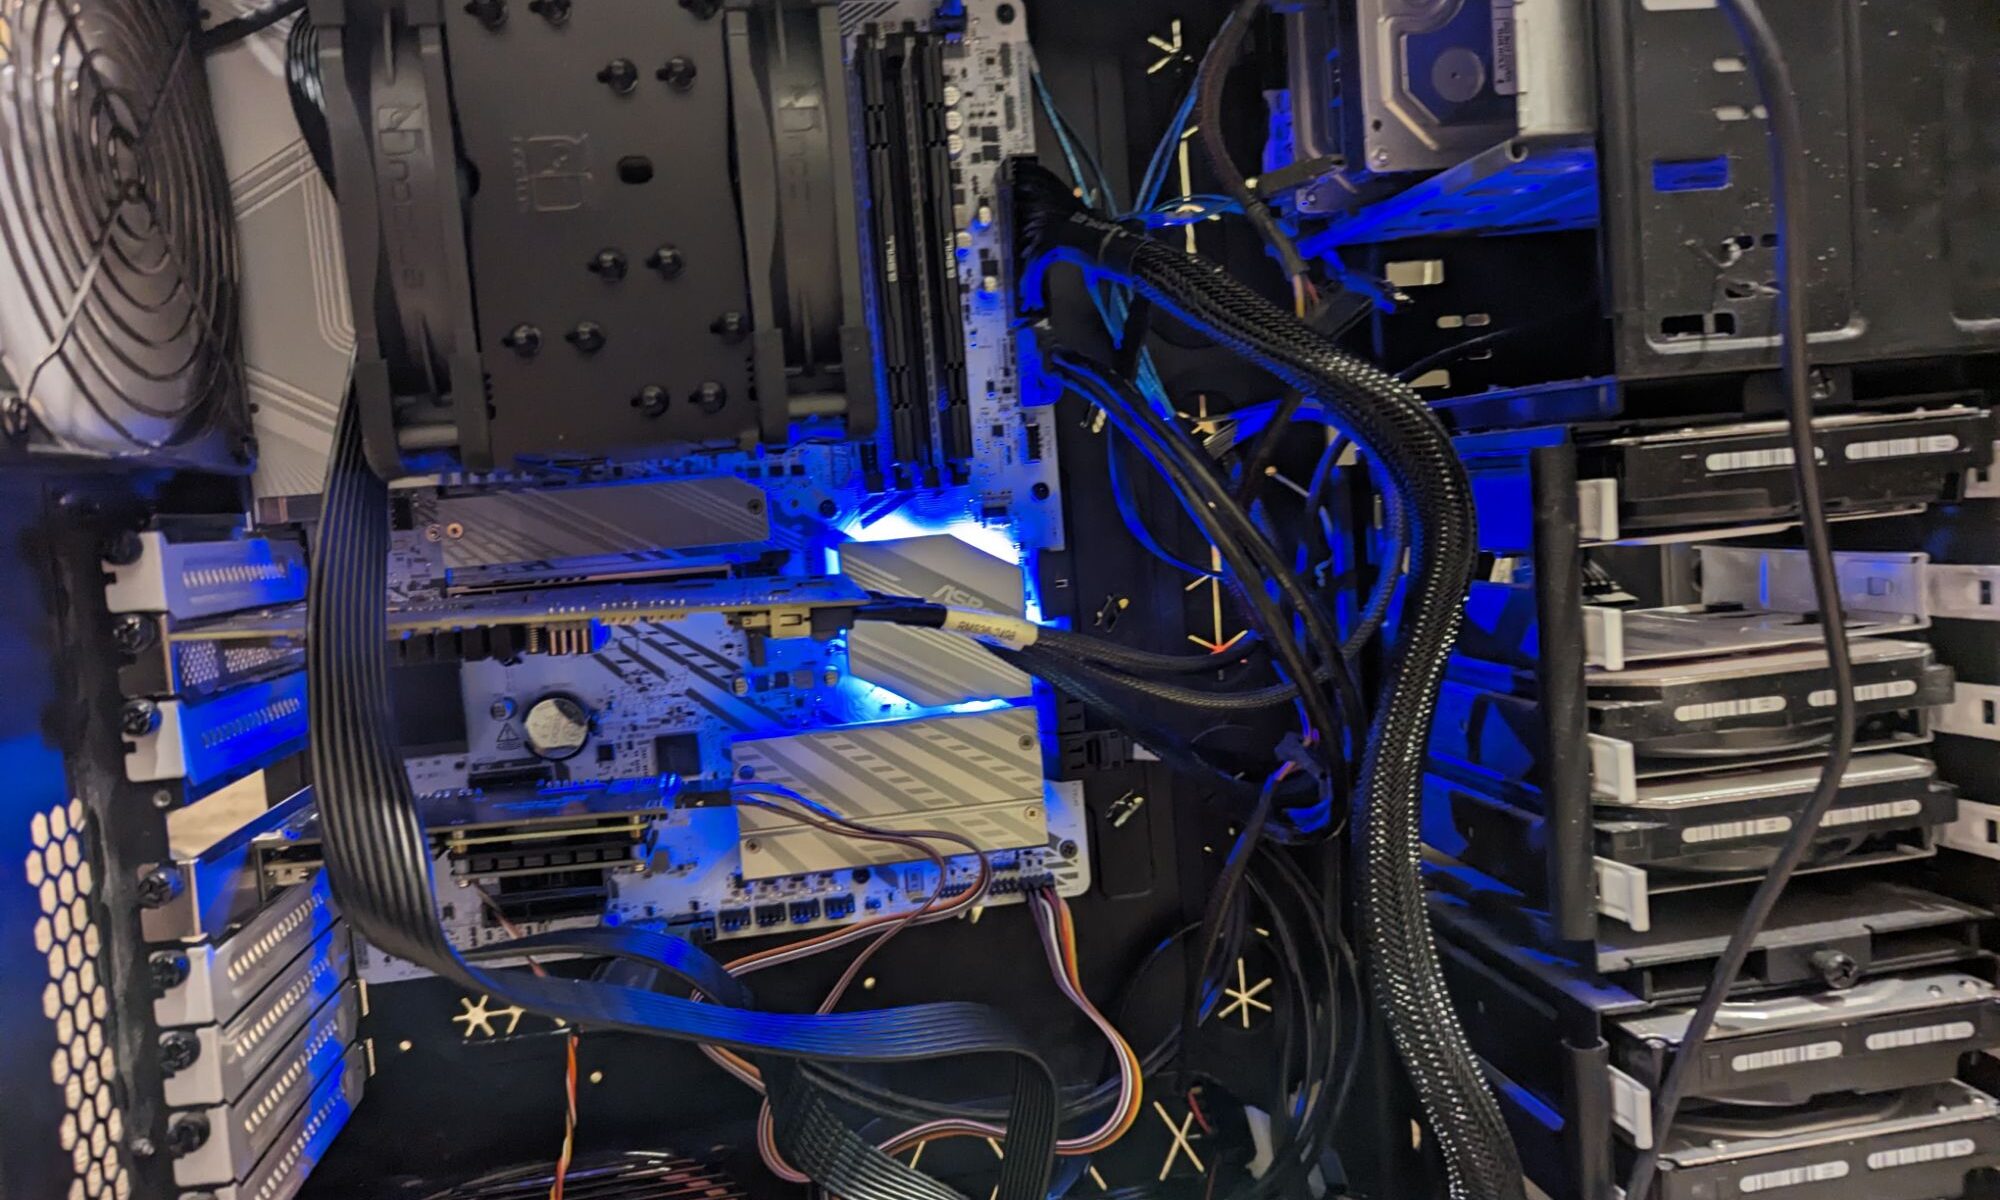
My NAS has been getting old, and it’s been getting more and more noticeable over time. Considering that I built it in 2013, I’d say it’s had a good 10+ year lifespan and could use a solid upgrade. I plan on reusing a fair bit of hardware, but I also plan on moving to ZFS for my primary storage, so I’ll be getting new drives to use in a new ZFS backed array.
Continue reading “NAS V2.0”Unraid Disk Shown as “New Device” When Its Full of Data
While working on setting up my new hardware and bringing my unraid pool back online on it, I encountered an odd problem that made me sweat. I started my array and immediately it gave an error that the cache drive failed. This was odd since that drive was fine just before I started installing the new hardware, so what changed now. I stopped the array and looked, and it was no longer assigned as the cache drive. When I went and added it to the cache again, unraid claimed it was a “new drive” and would be wiped when the array was started.
This was very wrong, this wasn’t a new cache drive, it was the same one as before. It also has a large amount of data on it that I’d like to keep, and docker settings. So I had to figure out how to tell unraid that the drive was fine and to just use it.
I found out that this was one of the situations the “new config” option was added to the tools for. So I went to tools -> new config and applied it while saving the disk locations in the pool. I double checked them after applying the new config, went to the main page, and checked the box stating that the parity should be assumed correct. After starting the array, everything was in order again. All my containers started, data was all there, and everything was back working again.
Using Qemu Tools
While moving virtual machines from my unraid NAS to my new proxmox node way back when, I ended up needing to use a few of the qemu-img tools. This is a toolset for handling virtual disks used by kvm/qemu.
Conversions
Something I hadn’t realized while using unraid as my kvm host was that it wasn’t always using qcow2 format, which was my go to format, despite that the webui saying that the file format was qcow2. There were also a few virtual machines I made that ended up in different forms, so to handle these, I ended up having to convert the machines using the following commands.
The first command is to convert from a raw image to a qcow2 file.
qemu-img convert -f raw - O qcow2 /path/to/file.img
The second command is to convert from a qcow to a qcow2 file.
qemu-img convert -f qcow2 -O qcow2 /path/to/img.qcow
File Information
The other command I made use of was the info command from the qemu-img tool. This gives out useful file information for the file input to the command.
qemu-img info
These are just some useful, small commands in the qemu toolbox that can help significantly when working with the VM disk files directly.
Proxmox Backup Server on Unraid
I’ve learned that the proxmox backup server can save a lot of space, and my vm backups are a large amount of storage on both my NAS and in my cloud backups. So I’m going to try setting up Proxmox backup server on docker in unraid to server as my Proxmox backup destination.
Continue reading “Proxmox Backup Server on Unraid”Docker Compose on Unraid
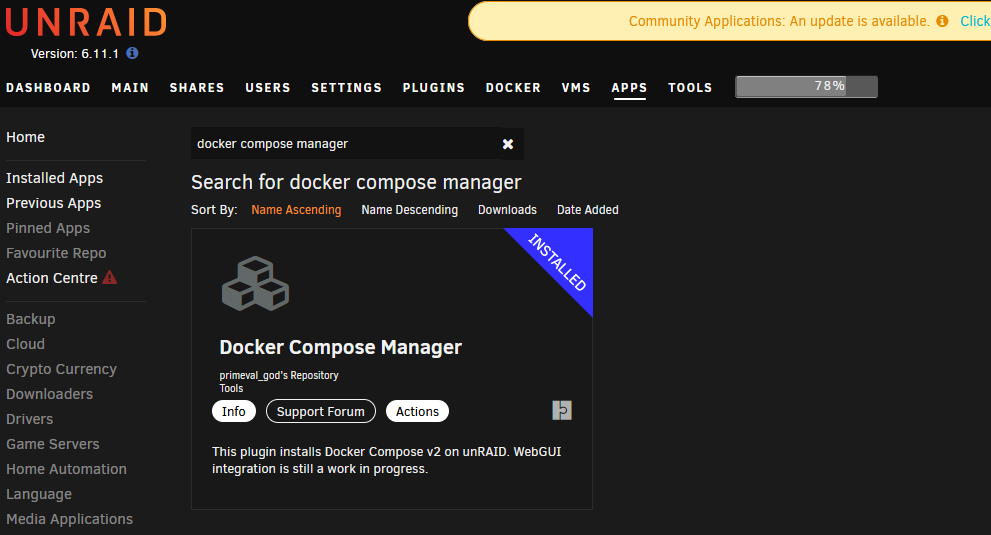
Recently I restarted my journey towards a self hosted photos system again. This time I was planning on trying it immich. Immich provides a docker compose file to startup their entire stack of 6+ containers, which I wanted to run on unraid that lacks compose in the default configuration. Queue journey to get docker compose capabilities on unraid.
Continue reading “Docker Compose on Unraid”Docker Hub Login on Unraid
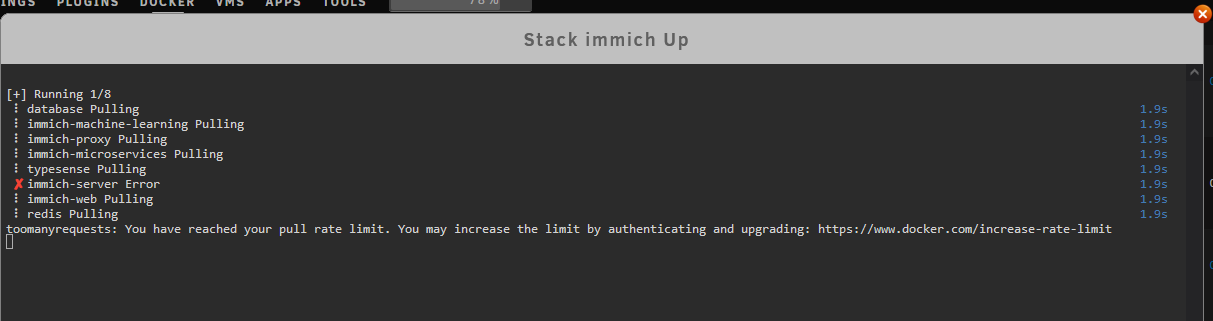
I’ve had a few times now where I can’t grab a new container image to startup due to their rates limits on docker hub. This has been quite annoying, and there is a free plan for double the image pulls. Here is how you can login on unraid and setup the go file so it persists between reboots.
Continue reading “Docker Hub Login on Unraid”Using ntfy.sh to send unRAID notifications
unRAID supports multiple notification platforms for keeping you informed about what the server is doing, the only problem is, I don’t use any of those notification platforms. I have however started using ntfy.sh, which has been working well for my home assistant notifications, and is a very simple platform. What I’d like to do is integrate it into unRAID so that I can make use of it there as well.
Continue reading “Using ntfy.sh to send unRAID notifications”UnRAID XFS MetaData Corruption
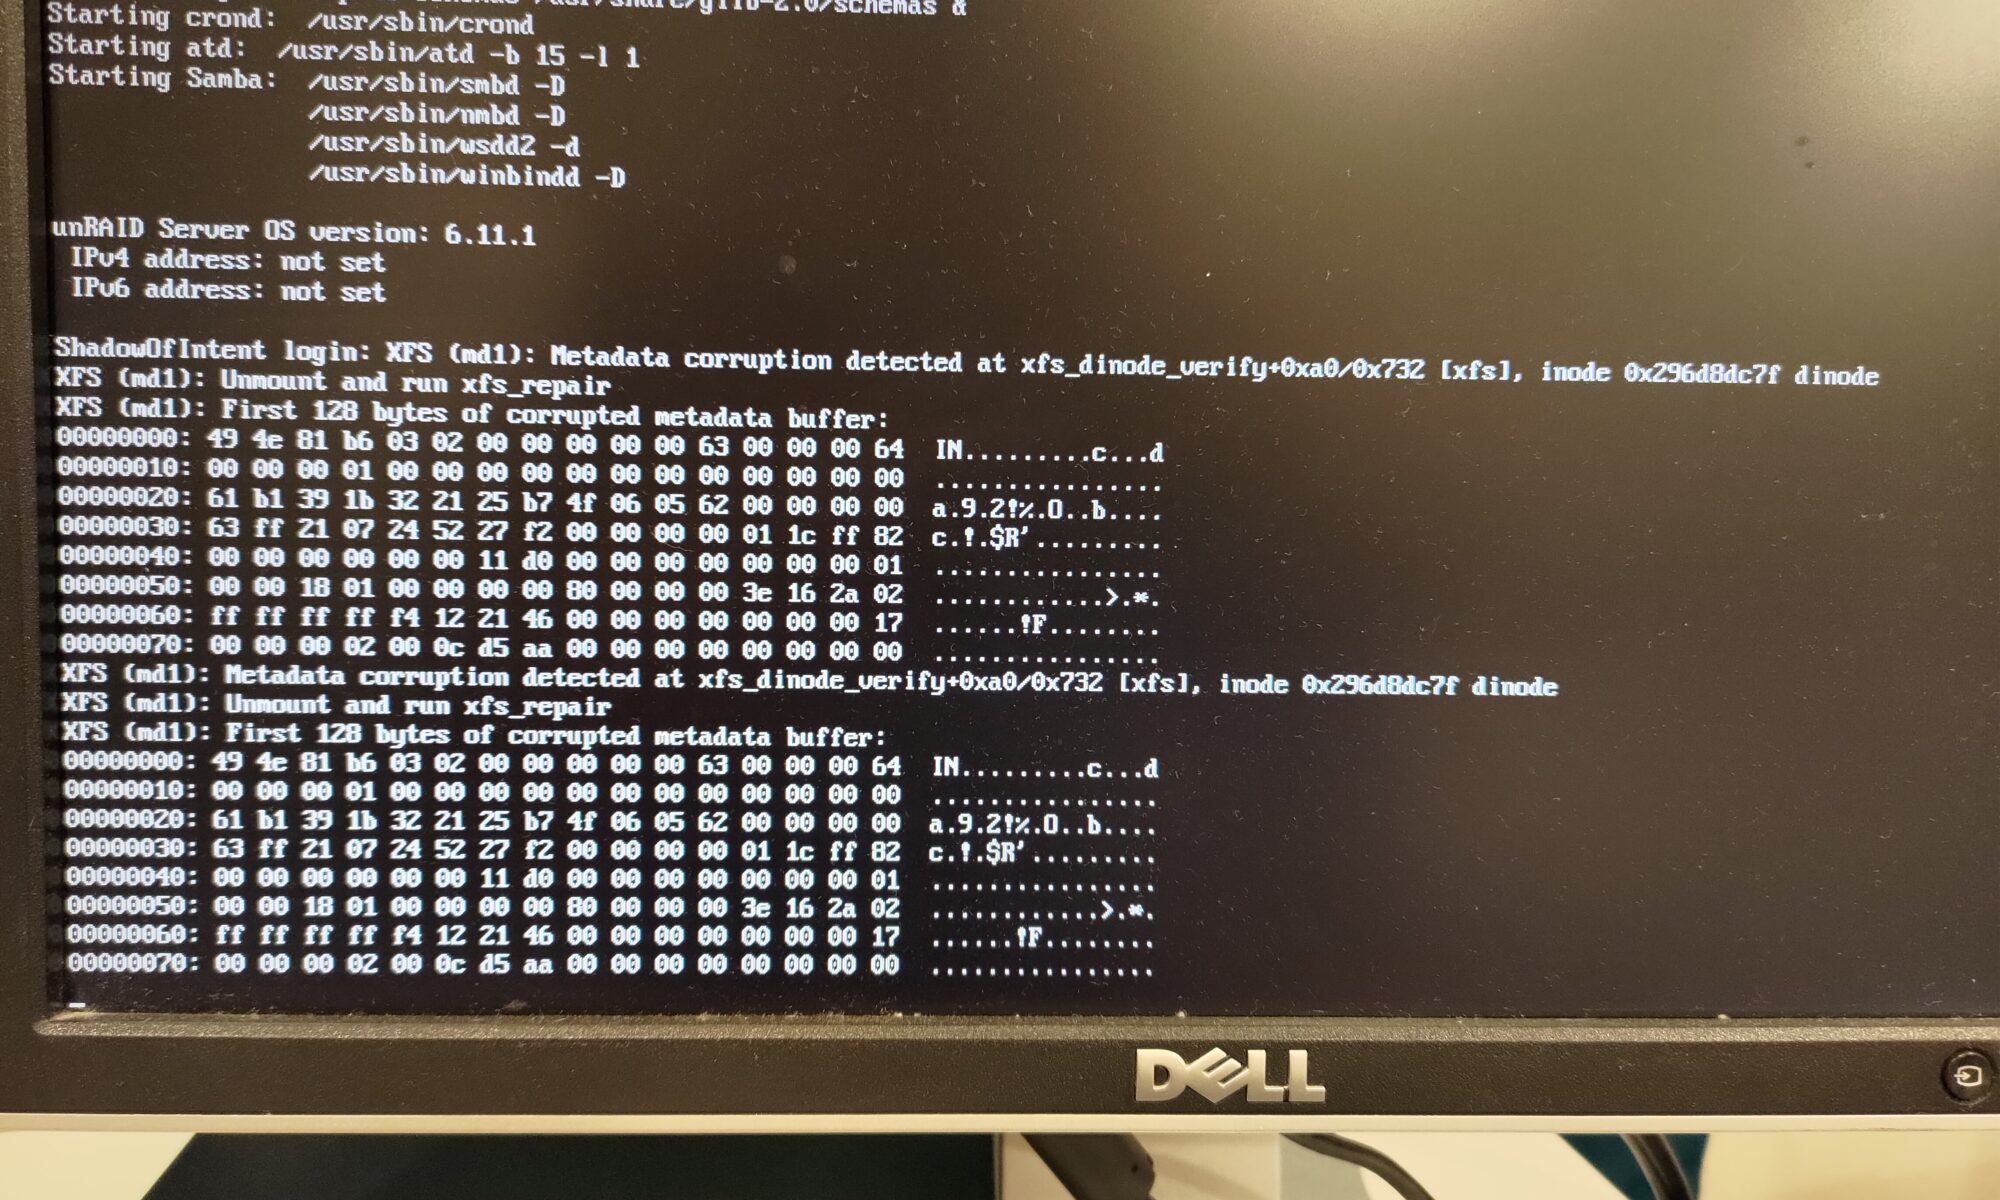
One thing you never want to see when you look at the screen for your file server is an error about corrupted data. Let alone after seeing read errors from one of your disks during a parity check. I recently had that sort of fun with my NAS.
Continue reading “UnRAID XFS MetaData Corruption”unRAID API and Home Assistant
In a drive to add more things to home assistant, I found the unRAID API. This container provides unRAID server information to home assistant via MQTT. I figured this could be interesting to add to my stack, and potentially pretty useful in the long run, so I decided to get it going.
Continue reading “unRAID API and Home Assistant”