Circuit-Diagram-CLI

I use the circuit diagram editor from this site for all of my circuit diagrams for my projects. It generally has all the elements I want to use easily available, at least until now. I wanted to add an 8 pin din connector to my diagram so that I could include the pinout for the connection, however it wasn’t available in the default package, you needed to use the extended symbols, which are not available on the Web version.

In order to use the symbol, I had to install the desktop version (which is fairly old). The desktop version however doesn’t support the newer XML format provided in the repo, so we need another tool to do the conversion.

We download circuit-diagram-cli, and use the arguments below to do the conversion, drop that into the desktop tools folder, and restart it for everything to finally work.

C:\Users\steve\Downloads>circuit-diagram-cli.exe component mini-din-8.xml -o mini-din-8.cdcom --verbose
Mapping resources as key-file pairs.
Input is a file.
Starting 'mini-din-8.xml'
mini-din-8.xml
Starting binary generation.
Compiling C:\Users\thest\Downloads\mini-din-8.xml
Icon minidin8_32.png not found.
Icon minidin8_64.png not found.
Compiled to C:\Users\thest\Downloads\mini-din-8.cdcom
binary -> mini-din-8.cdcom
Finshed 'mini-din-8.xml'

Time Sync through Firewalls for Valetudo

Valetudo has some built in functionality that makes use of the current time, however my vacuum is on a VLAN with absolutely no internet access. I would like to try out some of the time based features without needing to punch a hole in my firewall for internet based NTP, luckily this ended up being easier than expected.

Valetudo does let you configure the NTP time servers, and my vacuum can access home assistant. So why not run an NTP server there, which can sync to the internet, and provide time to my internal network, including valetudo. This all worked out well, so for others running valetudo and home assistant, just run the chrony app and point valetudo’s NTP settings at it and you’re off to the races.

Linux USB WiFi

I needed a Linux desktop with Wi-Fi capabilities for a project I was working on, flashing valetudo to a dreame x40. The only problem is that my extra computer that I could install the specified Linux flavor on, was a mini PC with no onboard Wi-Fi. So I did some research and found this adapter that has good Linux support:

Panda Wireless PAU0F AXE3000

For Debian, the driver install is a single quick install away.

sudo apt install firmware-mediatek

The adapter ended up working out great and I was able to finish up the valetudo setup with it.

DokuWiki Android App

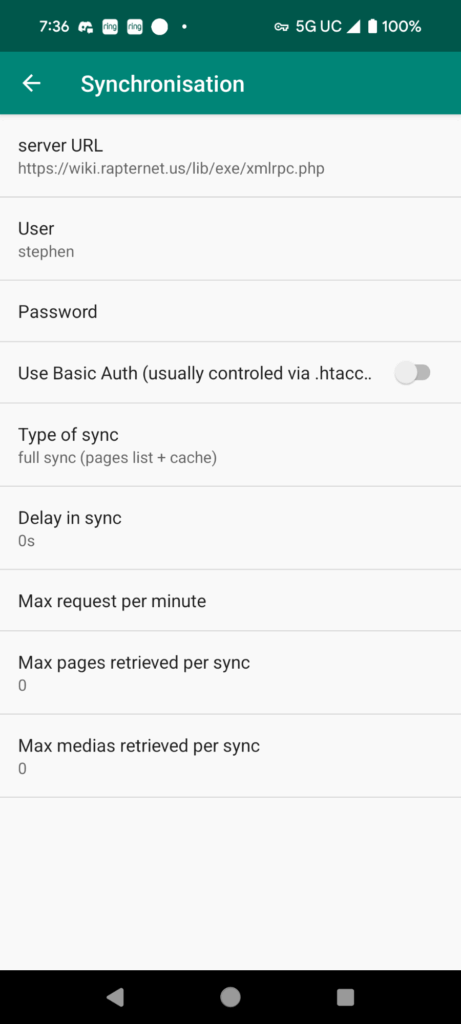
I recently setup the dokuwiki Android app on my phone. The setup was simple enough with one catch. The server URL had to be the URL to the xmlrpc.php file on the server. This couldn’t be just the wiki domain to function. I’m not sure if I missed the note in the setup docs, but felt like ensuring it’s included here for reference.

Pre requisite settings on the install.
App settings with the xmlrpc URL

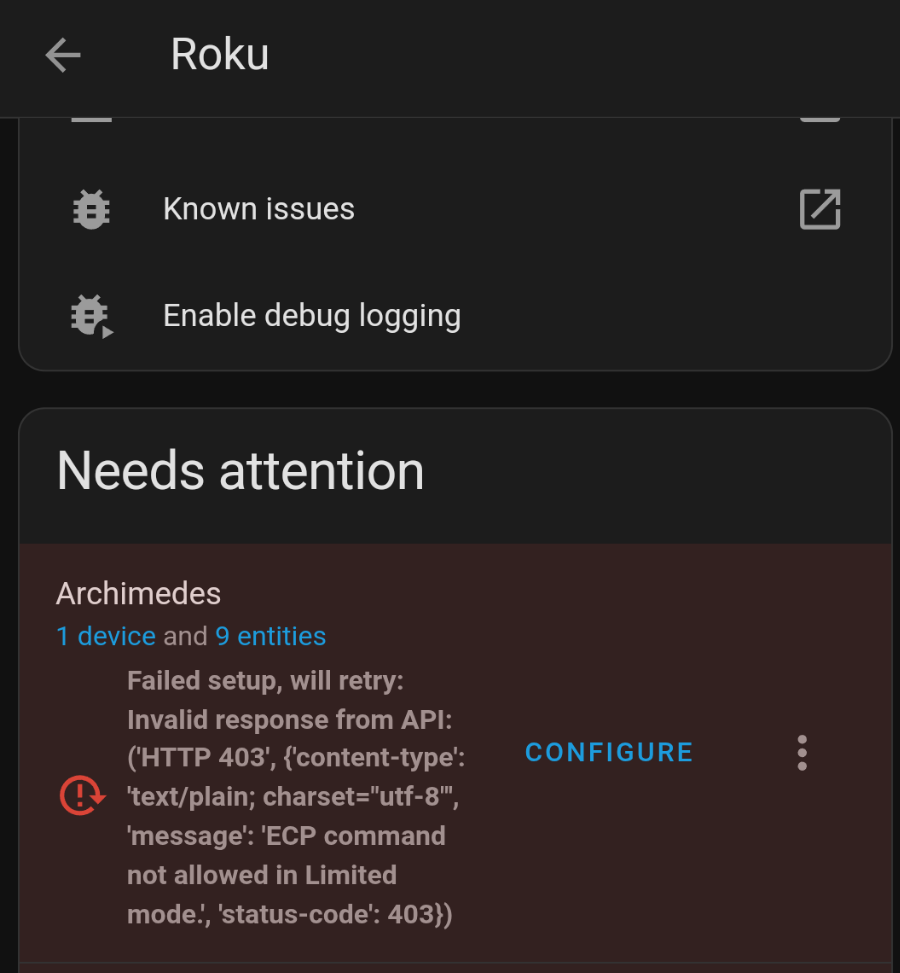
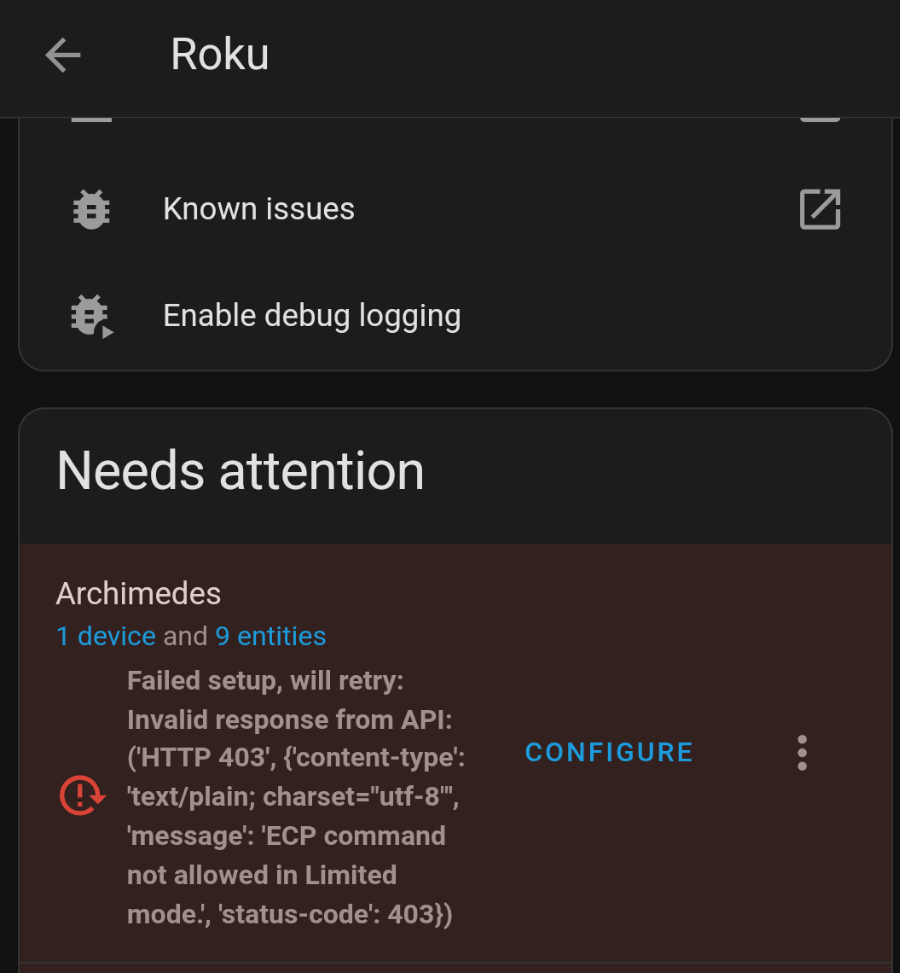
Roku Integration ECP Command Not Allowed

I noticed that my roku integrations in home assistant weren’t functioning. They were instead throwing an error that “ECP command not allowed in Limited mode”. Luckily this is a pretty easy thing to fix in Roku settings.

The Error I Encountered

Additional options were added to Settings > System > Advanced System Settings > Control by mobile apps > Network access. This is now defaulted to “Limited mode” which disables the access the integration needs. Putting this setting into “Permissive” or “Enabled” will fix the issue.

Resources:

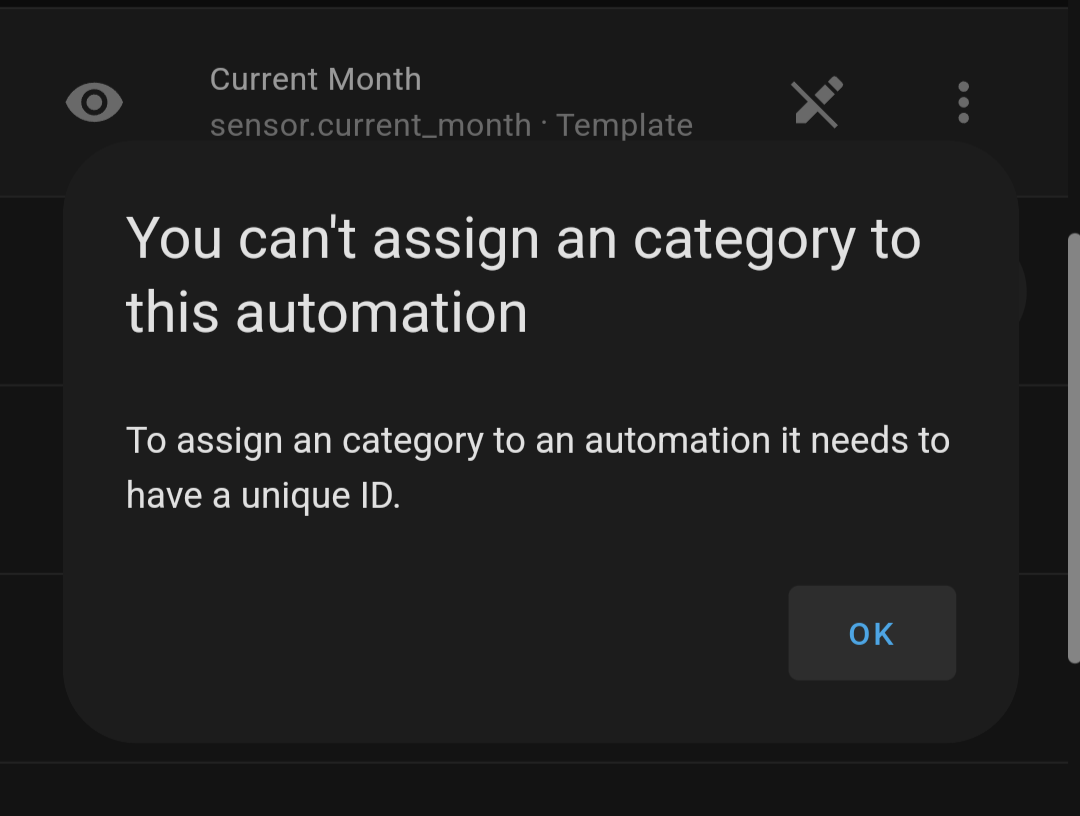
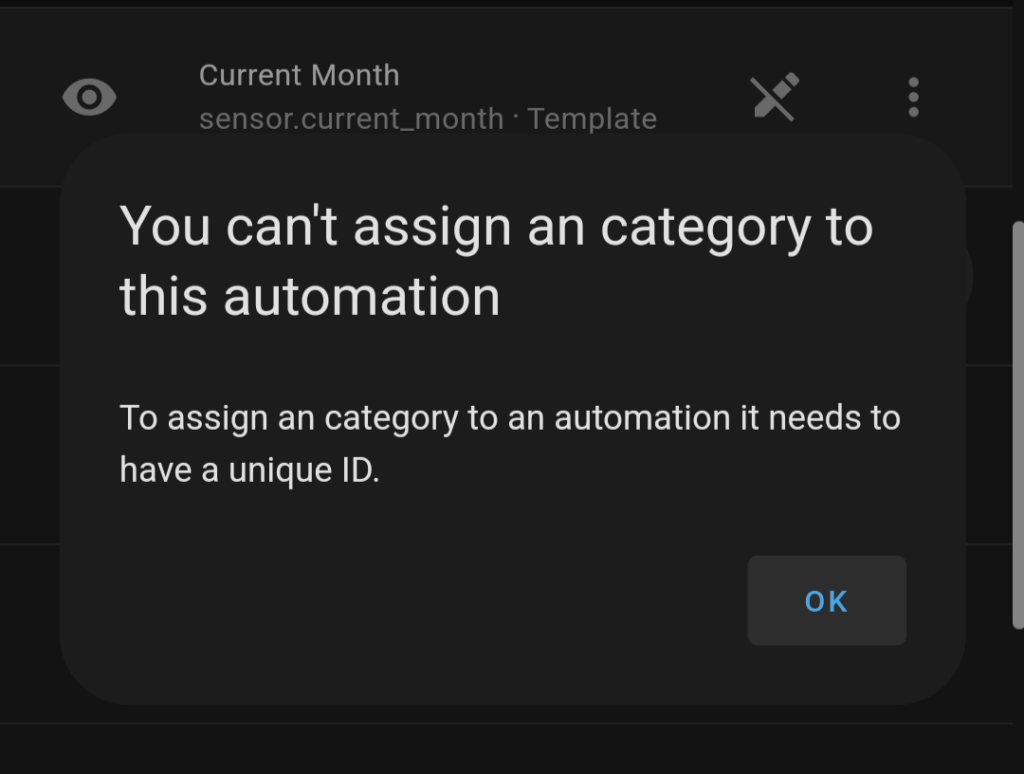
Assigning Unique IDs to Template Helpers

I ran into an odd issue while trying to use a template sensor, home assistant gave me an error that I needed to have a unique id in order to use the sensor. Luckily, this is surprisingly simple to add.

It really is just a one line addition to the yaml for the sensor to add a unique ID. You can also use an online generator to create the ID to make sure conflicts are avoided.

- sensor:
    unique_id: asdf
    name: a_to_b

Resources:

Unraid Disk Shown as “New Device” When Its Full of Data

While working on setting up my new hardware and bringing my unraid pool back online on it, I encountered an odd problem that made me sweat. I started my array and immediately it gave an error that the cache drive failed. This was odd since that drive was fine just before I started installing the new hardware, so what changed now. I stopped the array and looked, and it was no longer assigned as the cache drive. When I went and added it to the cache again, unraid claimed it was a “new drive” and would be wiped when the array was started.

This was very wrong, this wasn’t a new cache drive, it was the same one as before. It also has a large amount of data on it that I’d like to keep, and docker settings. So I had to figure out how to tell unraid that the drive was fine and to just use it.

I found out that this was one of the situations the “new config” option was added to the tools for. So I went to tools -> new config and applied it while saving the disk locations in the pool. I double checked them after applying the new config, went to the main page, and checked the box stating that the parity should be assumed correct. After starting the array, everything was in order again. All my containers started, data was all there, and everything was back working again.

Moving a View between two Home Assistant Dashboards

I decided to reorganize my home assistant dashboards which culminated in adding a new dashboard and moving a number of views from other dashboards to it. What I didn’t realize was that this wasn’t as easy as going into the UI and hitting copy on the view, though it wasn’t hard to do in the end (basically one more step and then hitting copy).

Continue reading “Moving a View between two Home Assistant Dashboards”

Updating the Webserver to Ubuntu 24.04

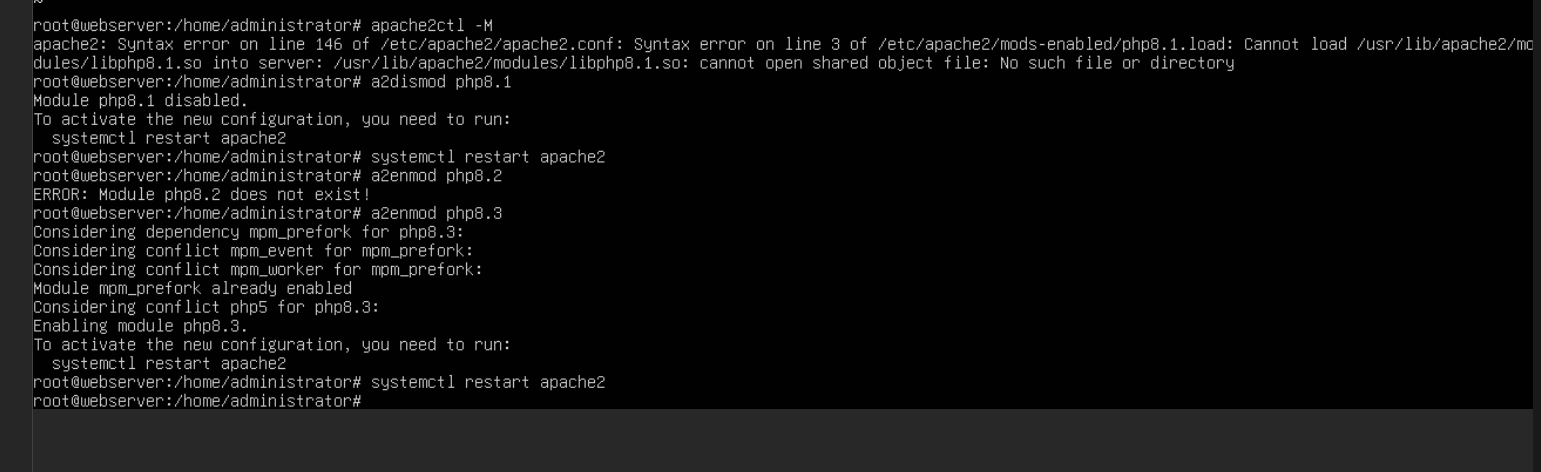
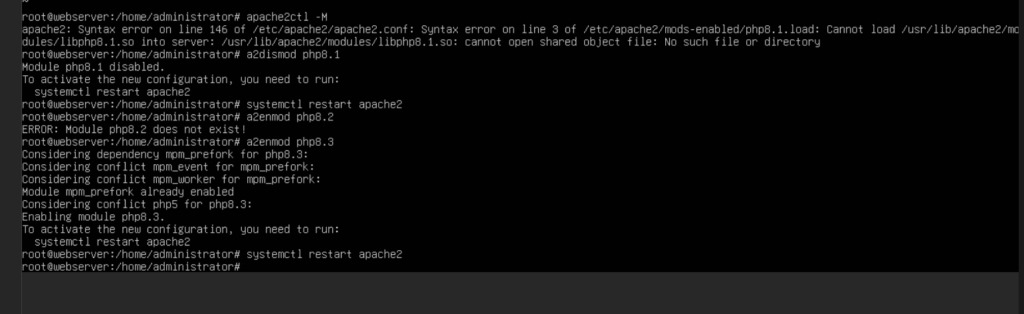
I upgraded my webserver to Ubuntu 24.04 LTS recently and ran into an odd little issue. Apache2 refused to start up due to a PHP plugin failing to load. This was specifically PHP 8.1 failing to load as it was replaced in the repos with 8.3. This ended up having a quick fix to get things in order.

The Problem

All I needed to do was disable the old PHP mod and enable the new one. I used this reference for which versions would be supported in 24.04 to enable the correct version. Overall a nice quick fix and my webserver was back operational

> sudo a2dismod php8.1
> sudo systemctl restart apache2
> sudo a2enmod php8.3
> sudo systemctl restart apache2