
As I’ve been doing more soldering and creating air quality sensors, I’ve noticed an extreme drop in quality when I’m soldering. This doesn’t surprise me, but seeing the magnitude of it gives me good reason to work on a small soldering fume extractor and filter.
My plan is to use an ESP32 to control PWM fan for the fume extraction. I also want to filter the air (carbon and HEPA) to clean it up rather than just throwing all the particulate around the room.
I’m also going to try and use a BME680 to measure gas resistance and try to control the fan automatically in my soldering area. If this doesn’t pan out, it’s not the end of the world, I’ll just control the fan from my ESP Deck. (After testing, the BME didn’t pick up the fumes, so we won’t be referencing it in the design after this point)
Hardware
- ESP32
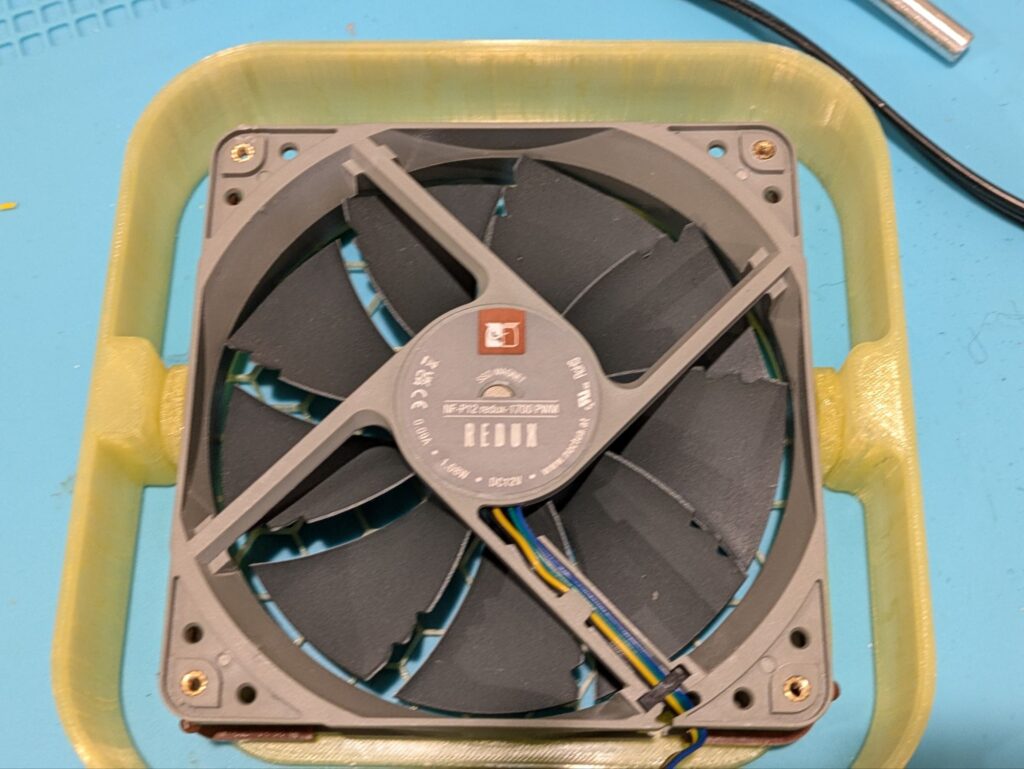
- 120mm PC Fan (high static pressure)
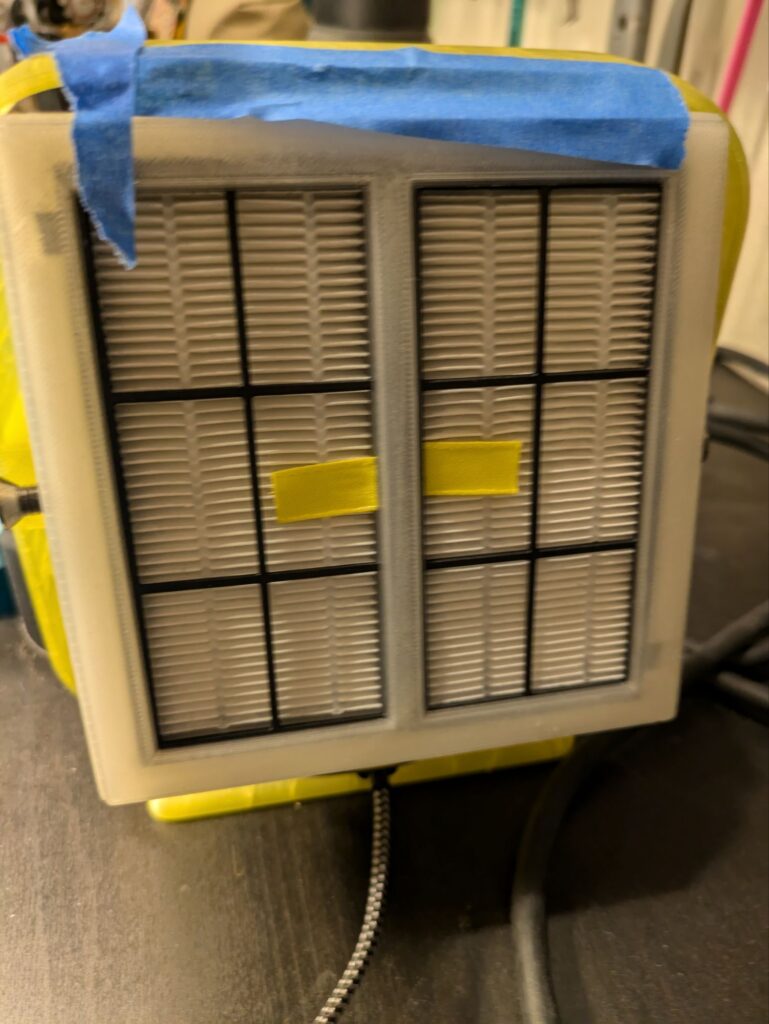
- HEPA filters – You have a lot of choices here. Maybe you will find cheaper ones in your store because homemade robots are becoming very popular and that’s a good direction for us. They must be standard “iRobot Roomba 800”.
- Activated carbon filters – there are so many on the market, but I found ones that fit the design and most importantly, will last a long time with the minimal loss after trimming (because they are made to measure).
- DC Boost/Step up converter
- Micro USB breakout board
- M3x20mm screws
- M3x5 heat set inserts
Design
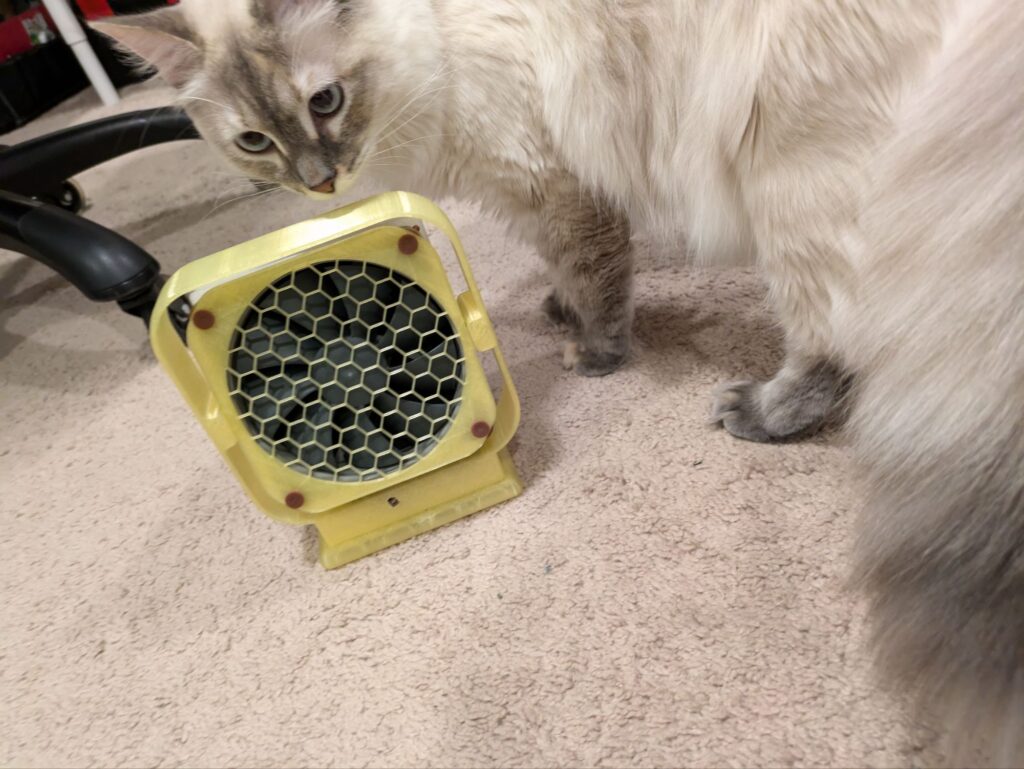
For the design, my primary requirements were to mount both an activated carbon filter and HEPA filter to a PC fan that could push enough air through to filter incoming solder fumes and prevent my AQI from dropping like a ton of bricks when working on a project.
V1
My original idea was to design my own filter holder for this home assistant fan design. My initial filter build didn’t work well though. It was leaking around the filter rather than flowing through and let the fumes back out into the room (and leaking really badly even after taping around the entire outside to seal the edges)
V2
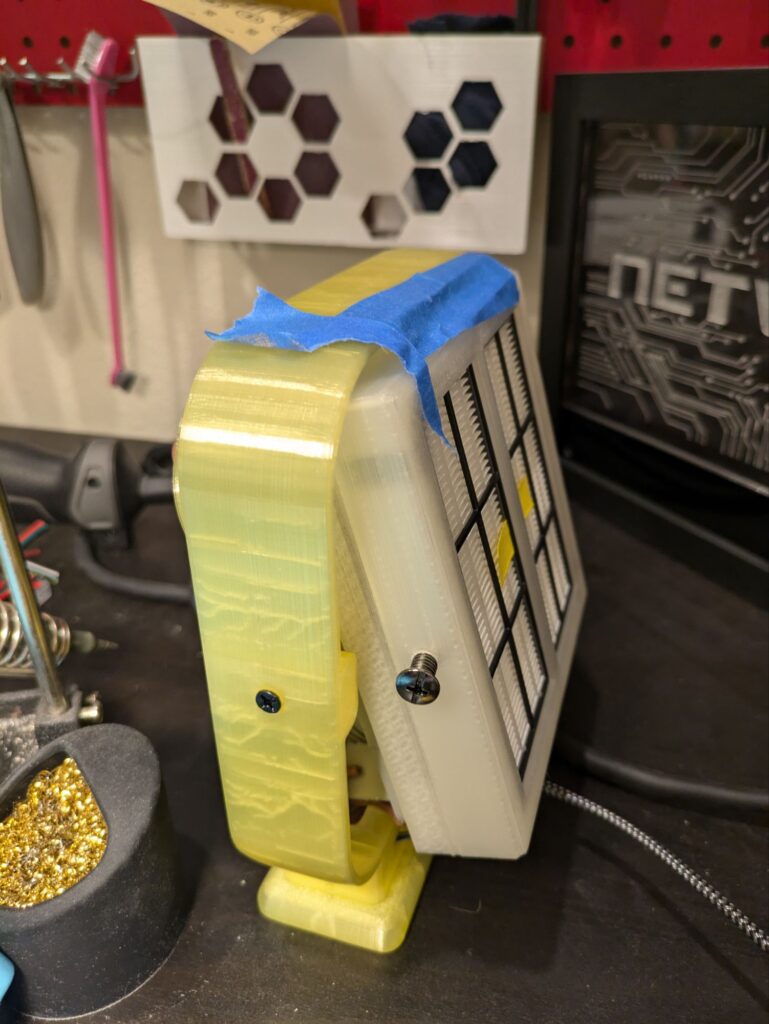
I found a design for a 3d printer filtration system that uses a 120mm fan, roomba vaccuum filters, and activated charcoal filters. I decided to use that in combination with my little desktop fan design hopefully for a combo unit to beat them all. The filter design from that system just bolts onto the back of a fan, so adapting it to the ESP powered fan is as simple as just screwing it onto the back.
Final Design
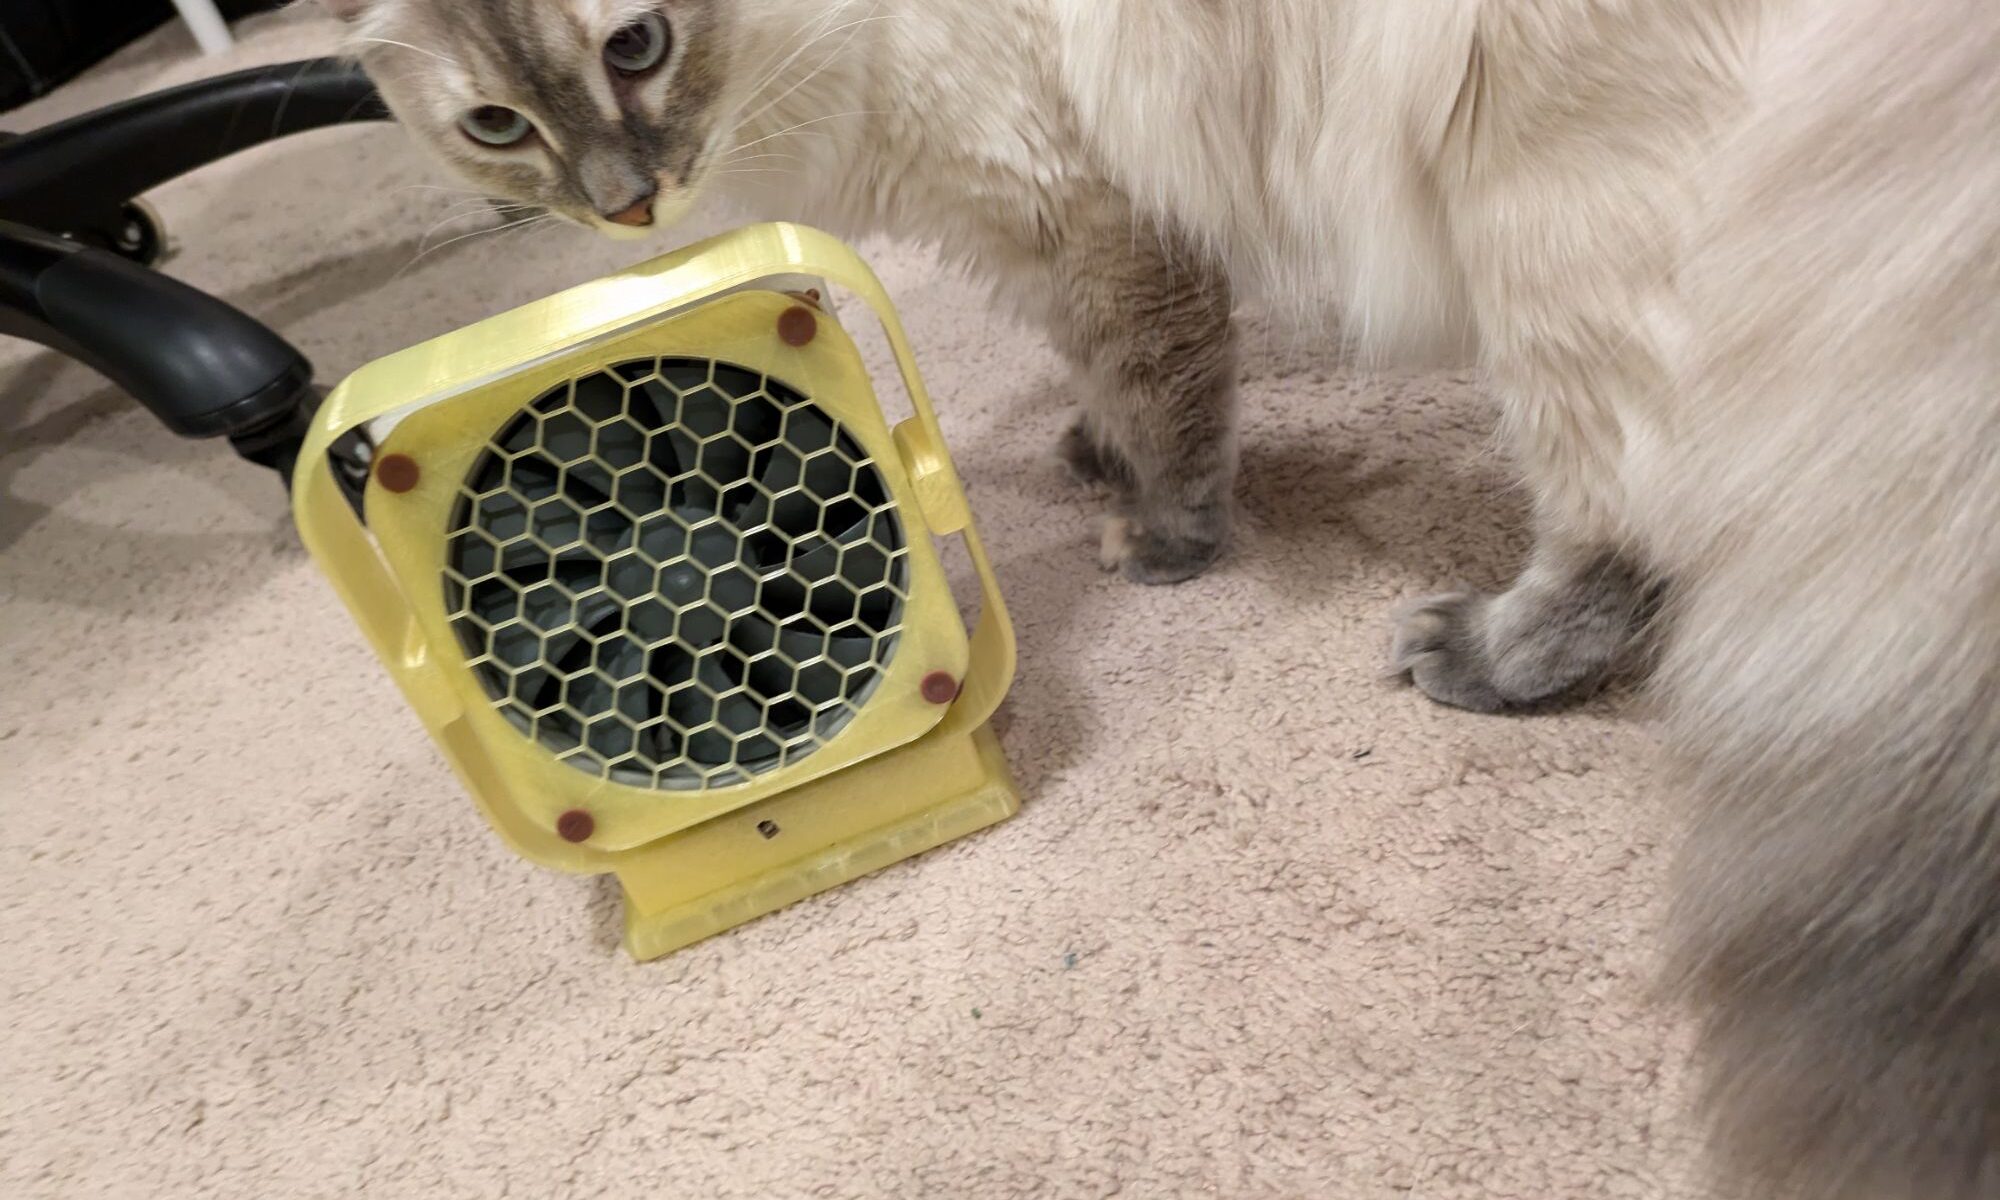
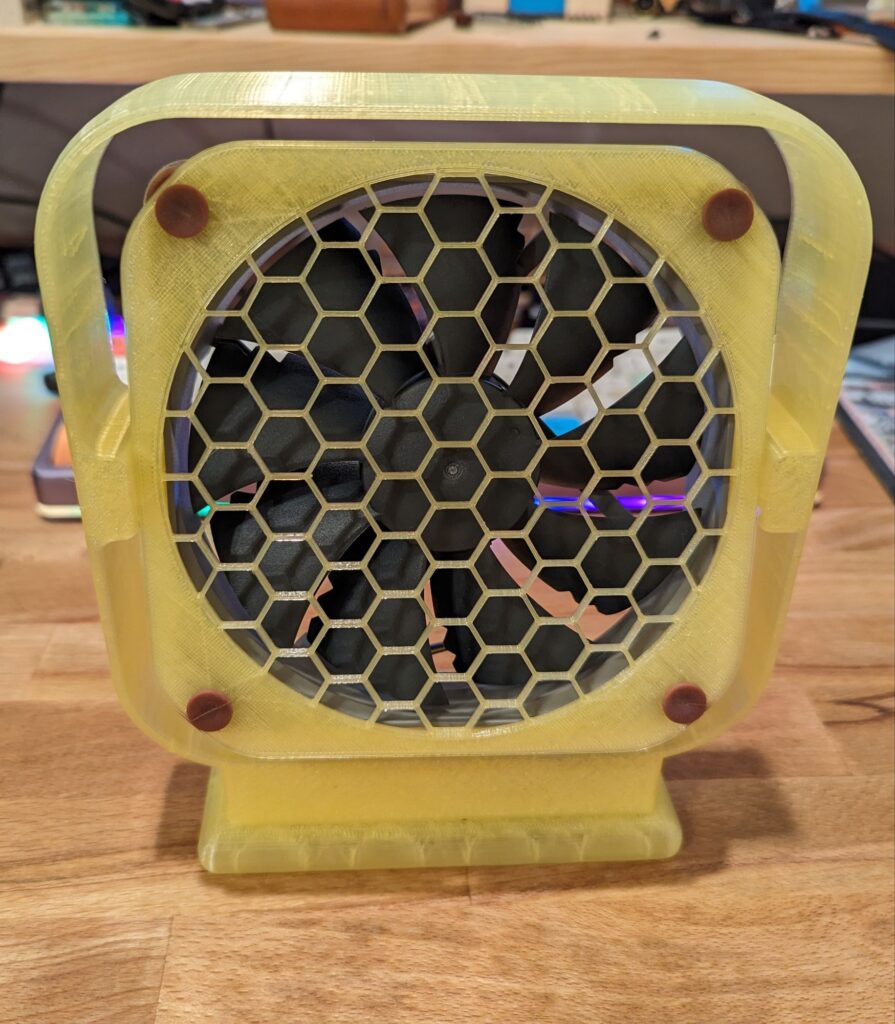
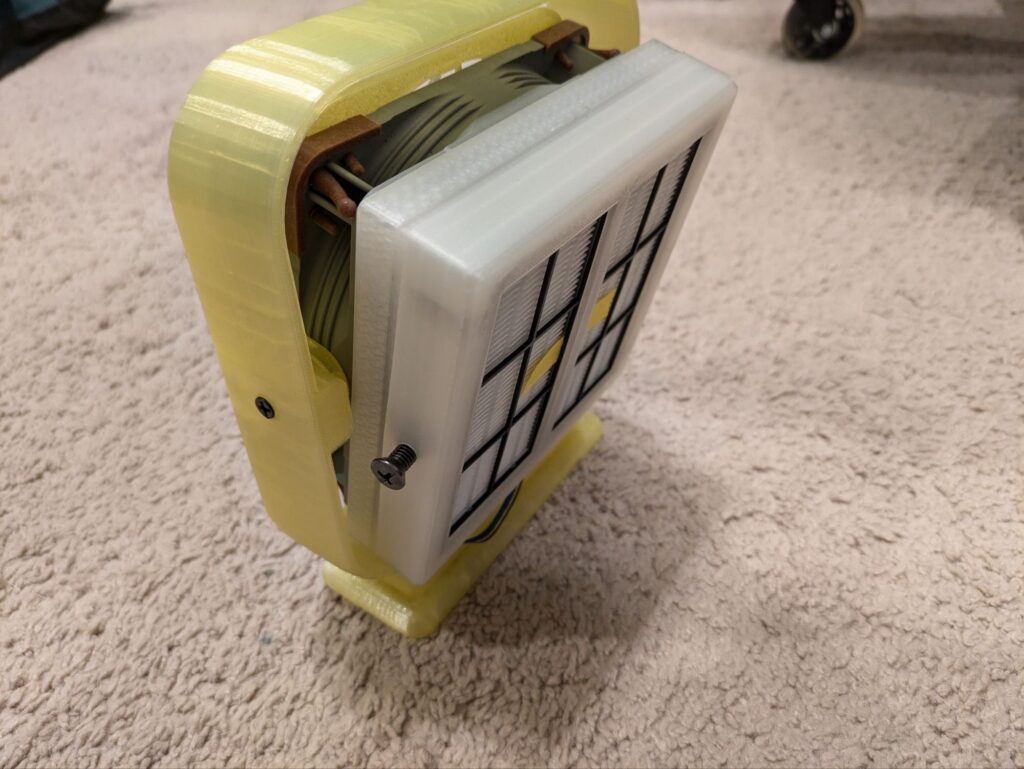
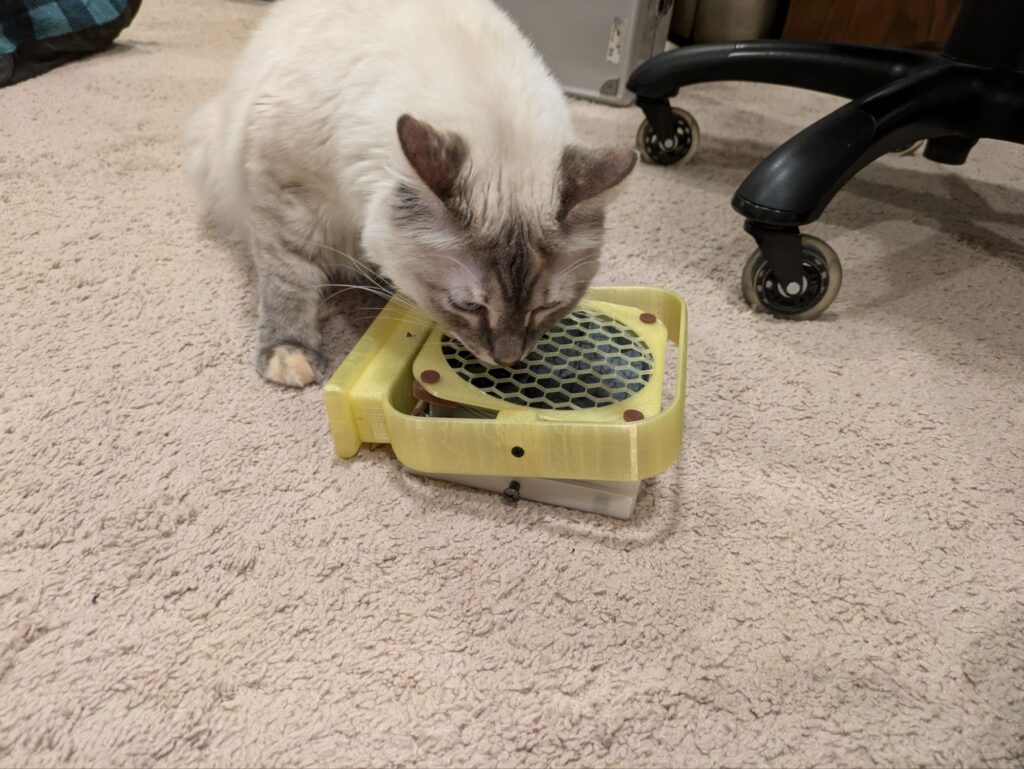
My final design smacked the original fan and filter designs together. I took the back plate off the original desk fan, and added the filter stack onto it in order to provide a desk top fan filter stack
Assembly
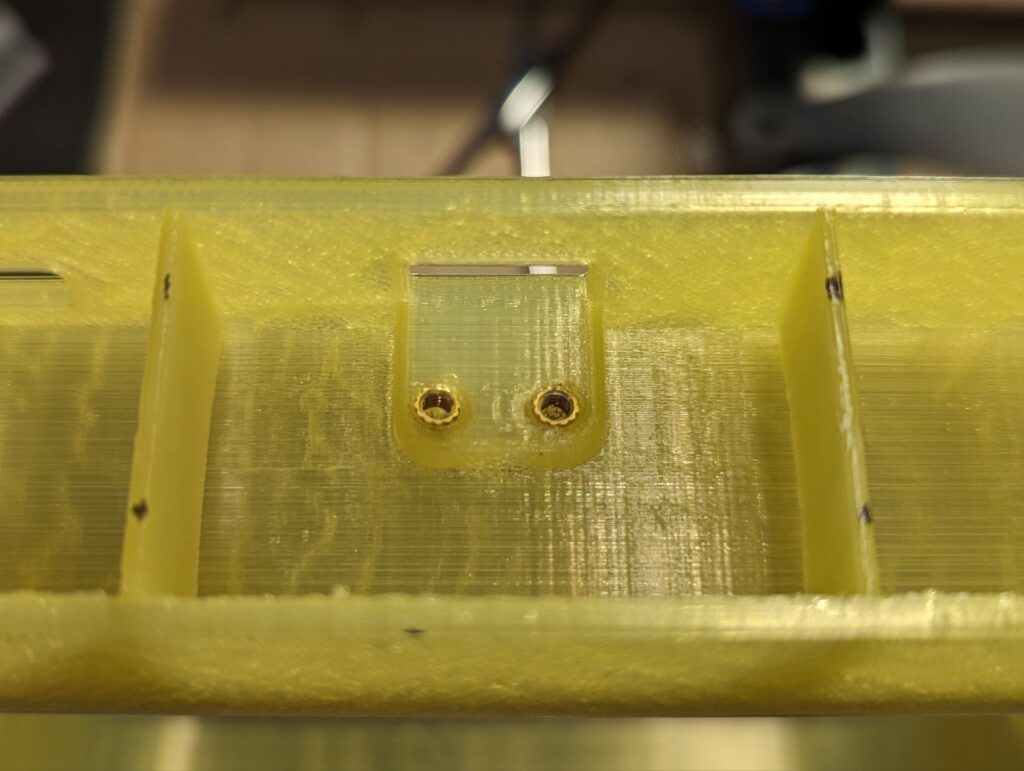
Assembly of the fan unit is rather straightforward. There are two heat set inserts used to mount the USB port in the bottom of the unit.
I just used the Noctua vibration dampening mounts to attach my fan to the frame. Screws would work fine here as well if you don’t have vibration mounts like that with your fan.
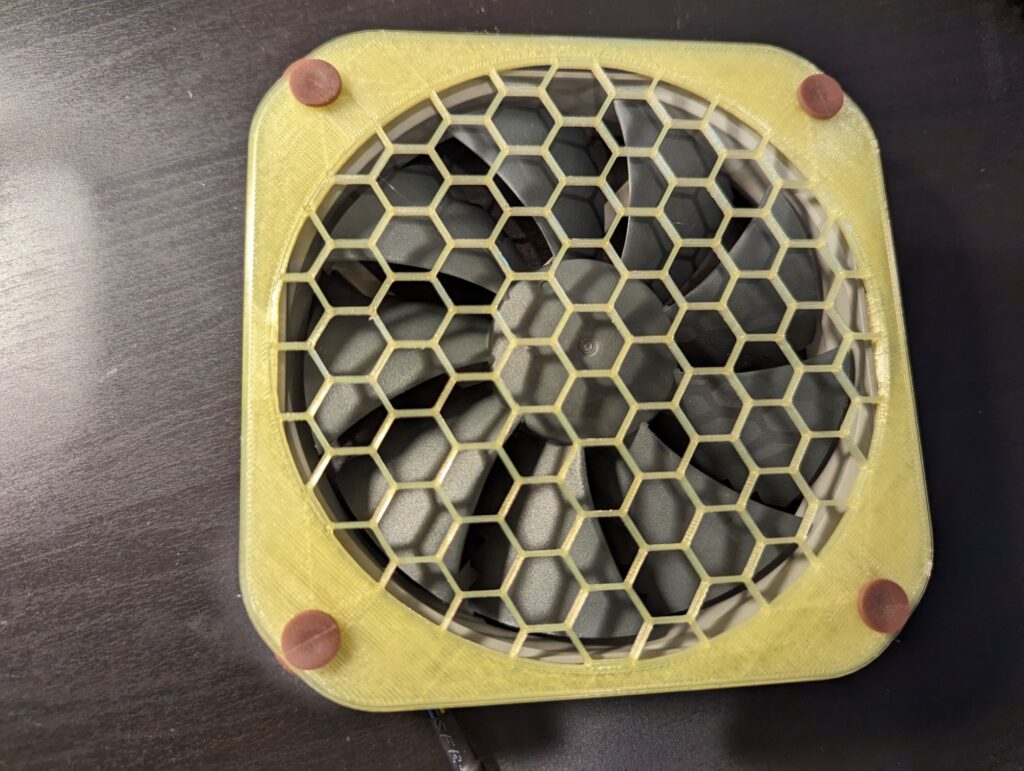
I used some spare screws of unknown size to then mount the inner frame to the outer one.
The next steps in the assembly are for assembling and mounting the filter system to the back of the fan. This starts with adding heat set inserts to the fan itself to mount the filter system to.
And I don’t have pictures of the in-between of the assembly (woops). So here’s a full breakdown:
Cut out the activated carbon filter to fit in layer 4 (carbon filter frame) and fit it into the layer. Put later 4 and 5 (HEPA Frame) together, run the M3 screws through and thread them into the heat set inserts in the fan. Add the HEPA filters into layer 5, and then add layer 6 (end frame) over the top of the HEPA frame. Screw in the end frame to the HEPA frame and its complete.
Software
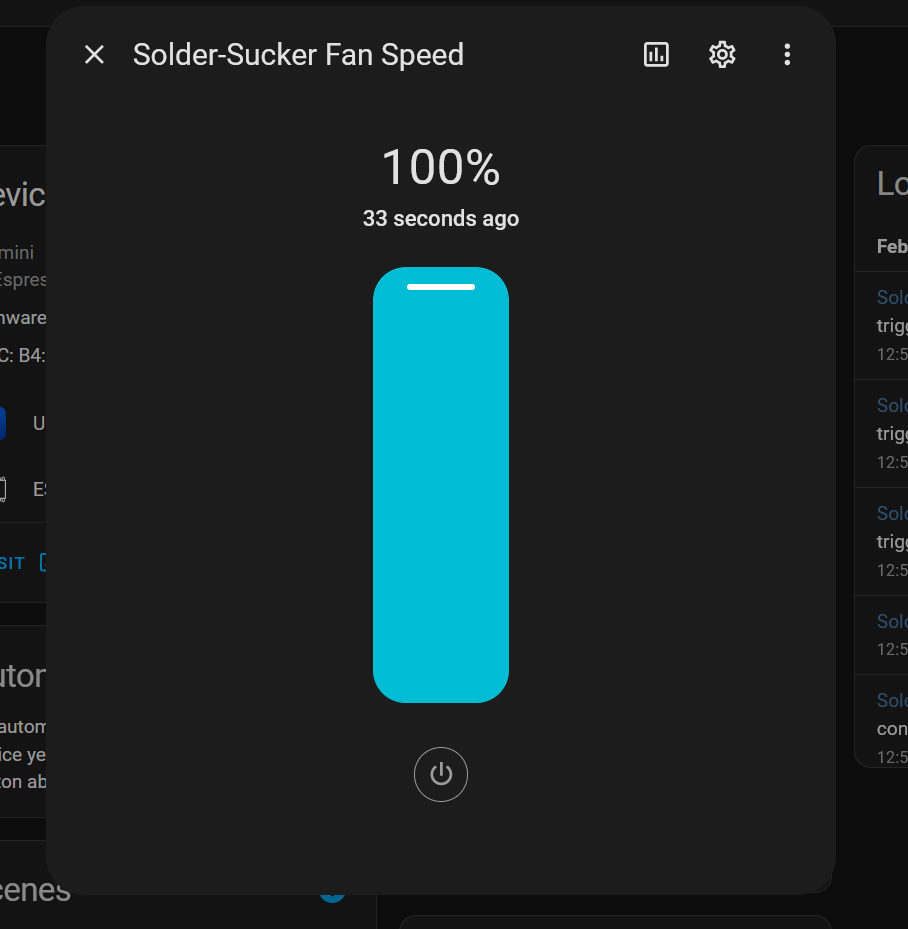
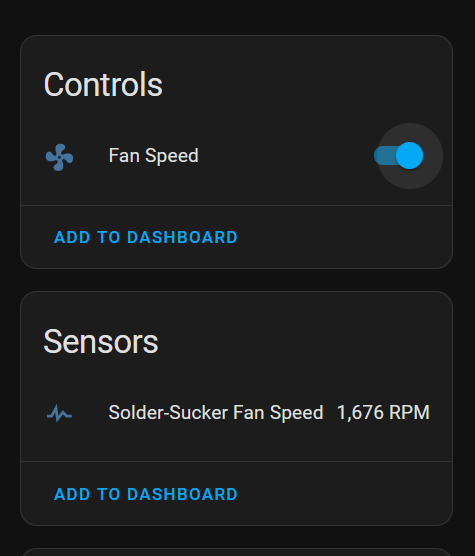
The EspHome configuration for this is fairly simple with one PWM output and one input. I don’t like leaving sensor data on the table so I included the feedback RPM speeds provided by the fan in my configuration (though this is optional data).
Conclusion
The fan did do a good job pulling in fumes when it was near my soldering spot, but I did have to move it around to follow me if I was soldering too far away from it. I think a higher static pressure fan will do better forcing air through the filter stack and ensuring better filtration of the fumes.
My screws also aren’t quite the right size to really hold the fan and filter in place. If I were to change the design in the future, it would be to shift the mount point back and use heat set inserts for those screws to better balance and hold the entire unit in place. In the meantime, I have structurally required blue tape.
Overall though I’m pretty happy with the design, the issues aren’t deal breakers and can be easily remedied by picking better components to start with and using them.