
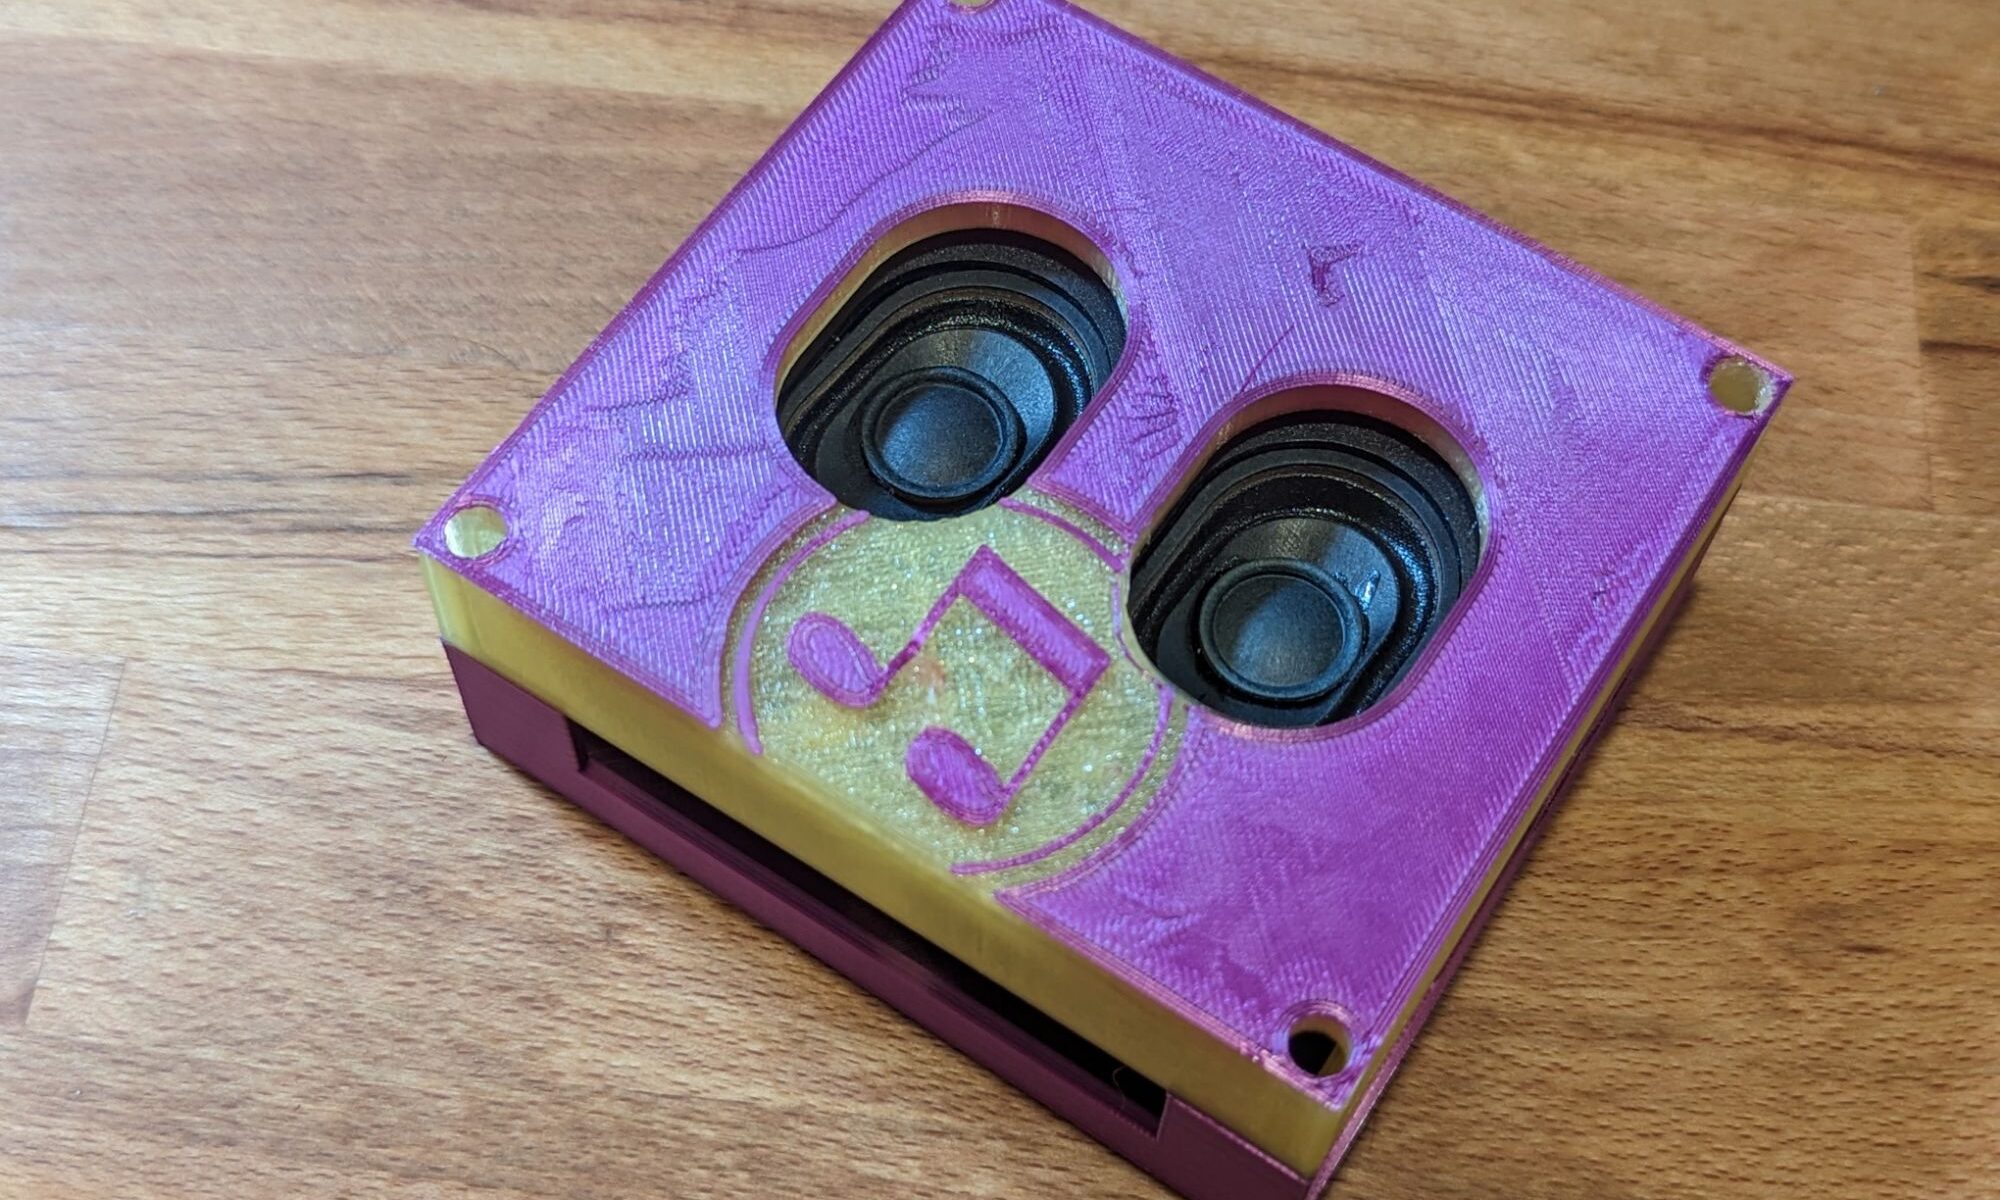
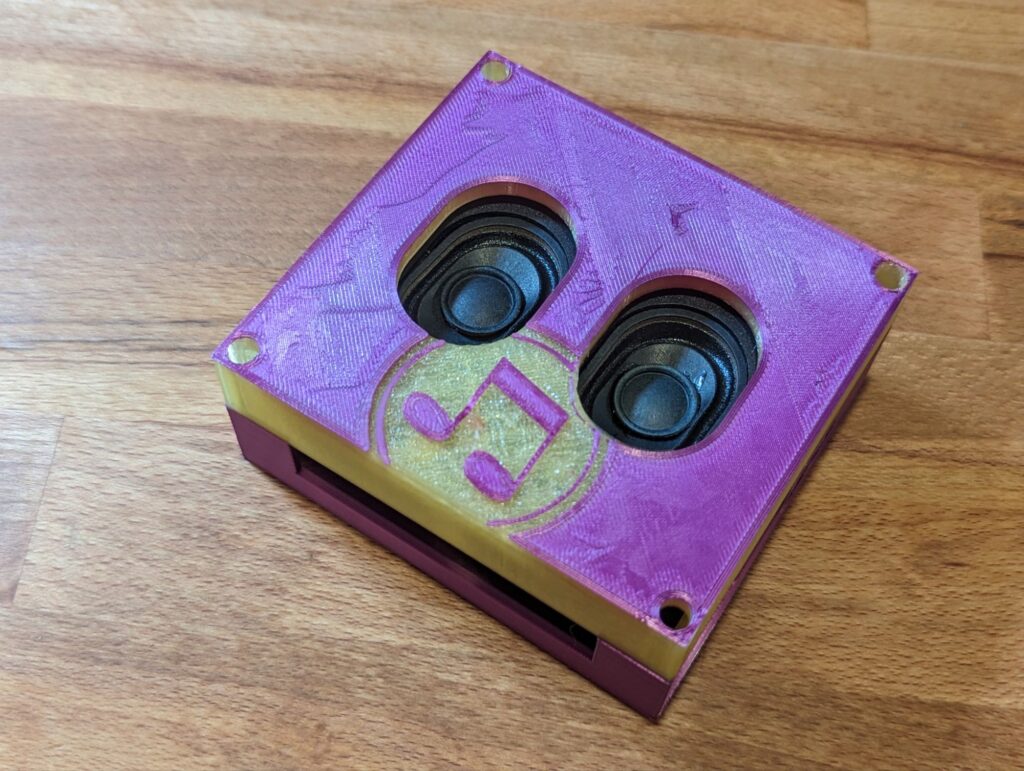
Since I found the ESP32 audio kit and it’s support for squeezelite, I decided to try making 2 small 3w speakers with it. One of them I’d use an existing speaker as the base and the second I’d custom build. This is my little custom built squeezelite speaker unit with its two built in 3w speakers.
I decided this time around to use Ondsel to make my CAD models. It’s based on FreeCad which I’ve been wanting to learn a bit more, and this case is fairly simple shapes so it should be a great test subject. I also wanted to make use of heat set inserts in the design as I only just started using them in my designs with the NFC Deck (and I haven’t really designed anything that would need them since then).
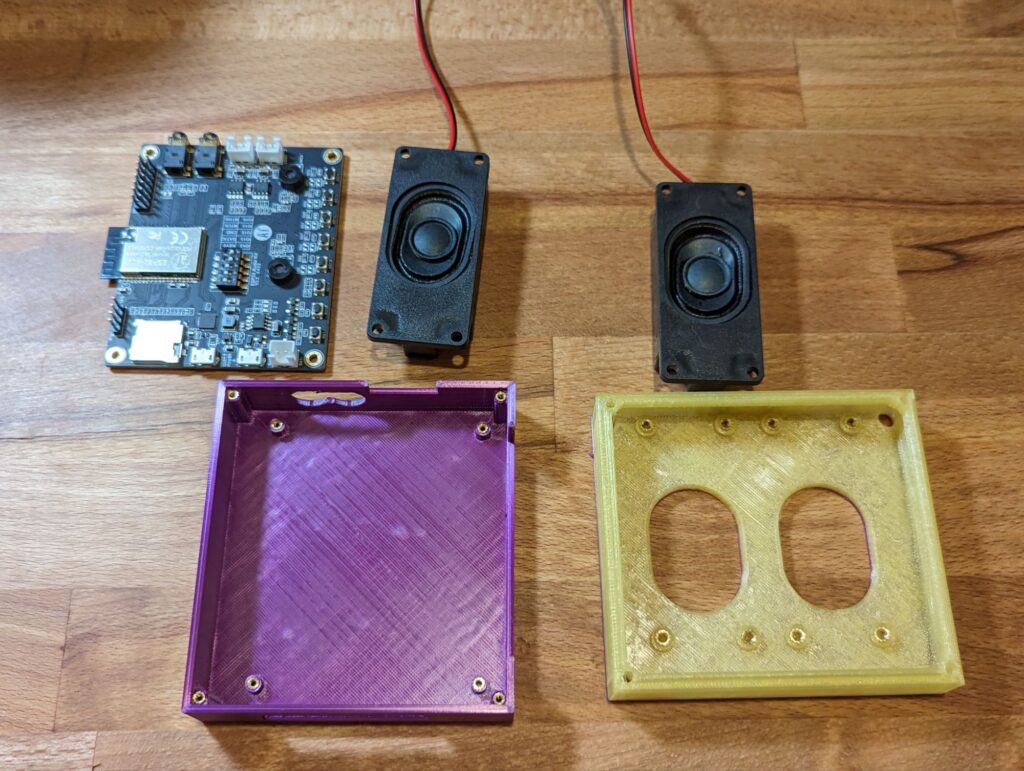
Hardware
- ESP32-A1S Audio Kit
- Adafruit Stero Speaker Set 3W 4 Ohm
- M3 x 6mm screws, 8 (for speakers)
- M3 H4 heat set inserts, 8 (for speakers)
- M2 H4 heat set inserts, 4 (case half assembly)
- M2 H2 or H4 heat set inserts, 4 (circuit board)
Design
While plugging and unplugging the USB cable into the original case I printed, I ended up breaking all the plastic pins that went through the circuit board in that design. Due to this, I wanted my design to use heat set inserts for those mount points.
The original case design screwed the lid into the base just straight into the plastic, luckily though these holes were big enough already for m2 heat set inserts, so I just kept that part the same.
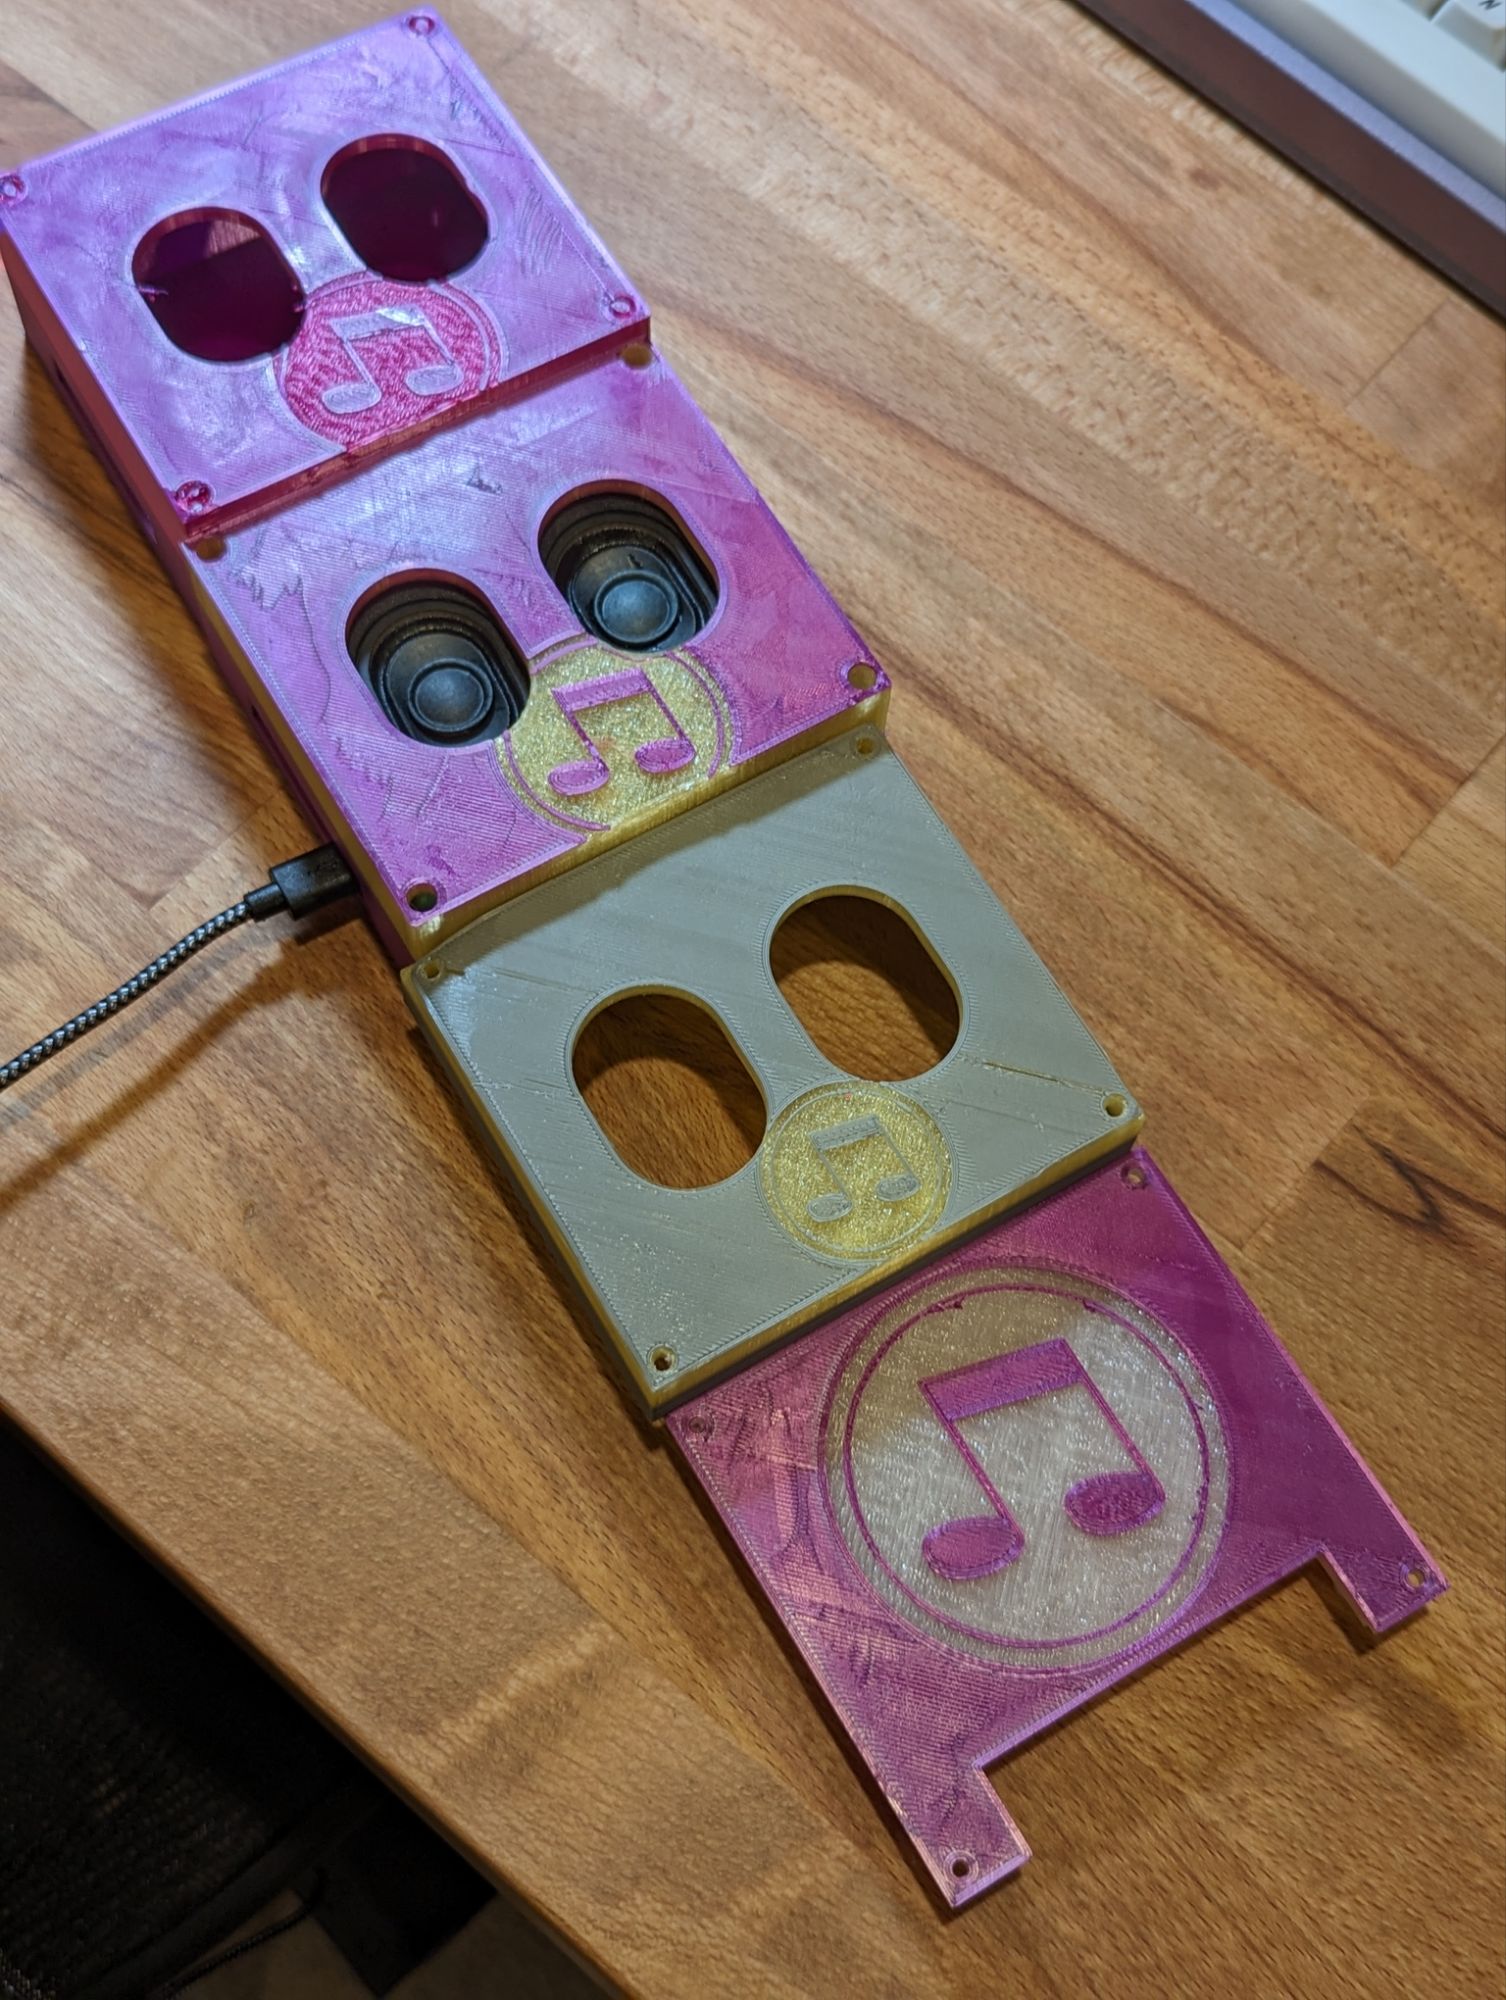
I also modeled in mount points to the speakers using heat set inserts, and threw a little music logo on the lid to give it a bit of flair and some fun when printing with different colors for the first layer vs the rest of the print.
Assembly
The lid gets 8 m3 heat set inserts added for mounting the speakers, while the base gets 8 m2 heat set inserts for mounting the ESP board and for assembling the two cases halves.
Once the heat set inserts are installed, mount the speakers and ESP, then mount the two case halves together.
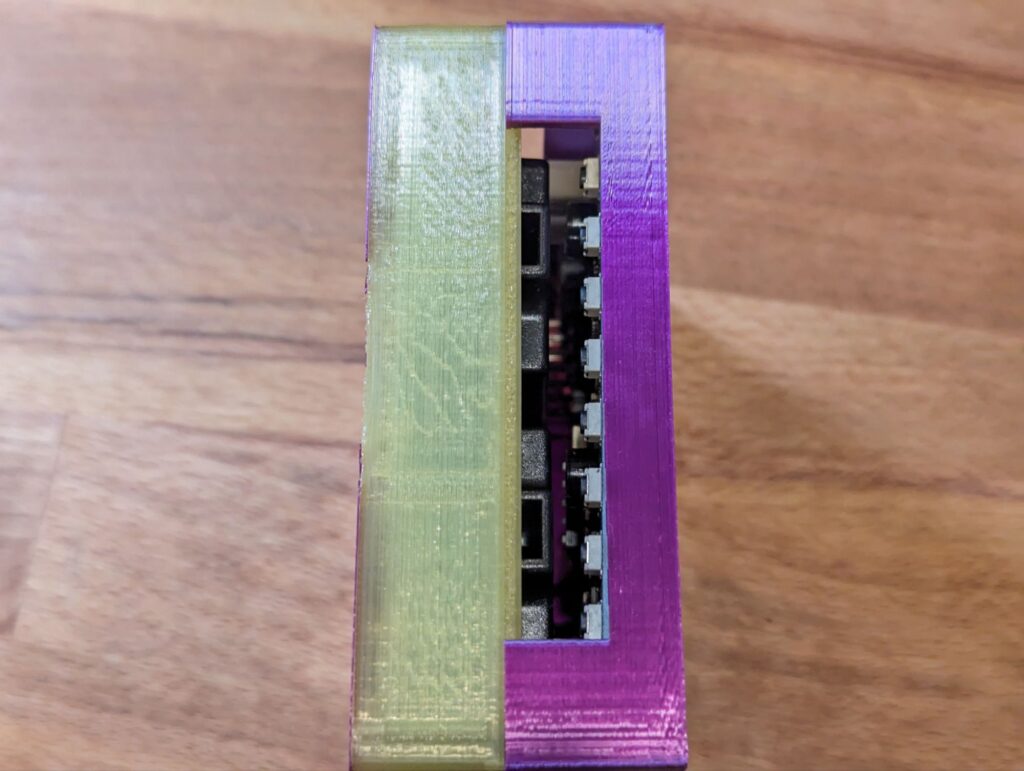
While test fitting the case I did find that the speakers intersected the GPIO pins at the top of the ESP board. I didn’t take into account the mild height offset of the speakers to fit the heat set inserts in when I added the speaker height to the case. For this Gen 1 that I assembled then, I bent the pins a few degrees and called it good. I’ll update the case design before I make it public though.
One quick modification and a quick print later to make sure sizes look about right, and it looks good to go.
Conclusion
I’ll be keeping both iterations of the case as the slightly squished version is still perfectly fine to use even if it has some bent GPIO pins. I’m glad the case turned out well and gave me a bit more experience using Ondsel too. The entire unit feels robust, and well built, so it should hold up to some abuse. The model is also available here on printables.