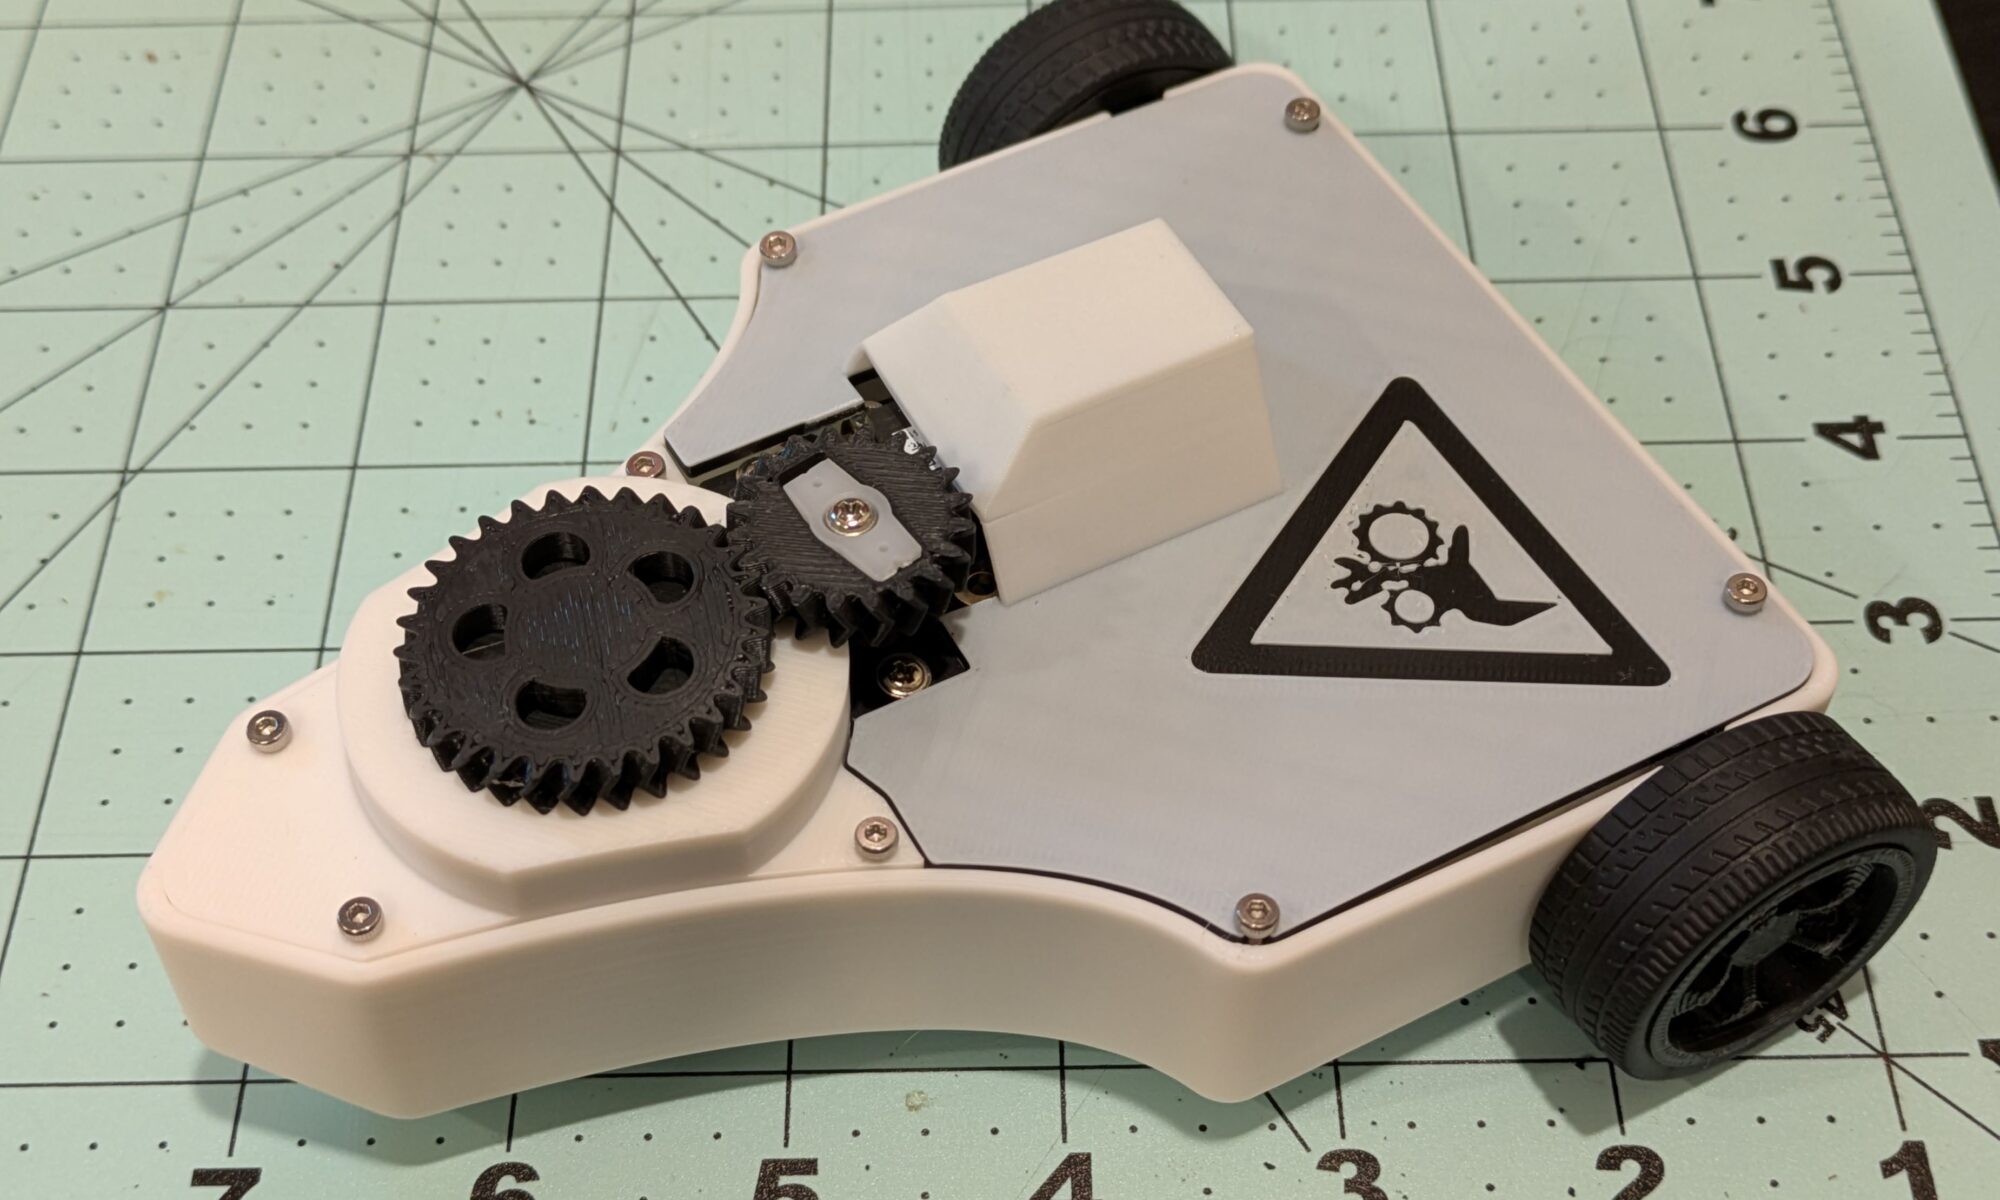
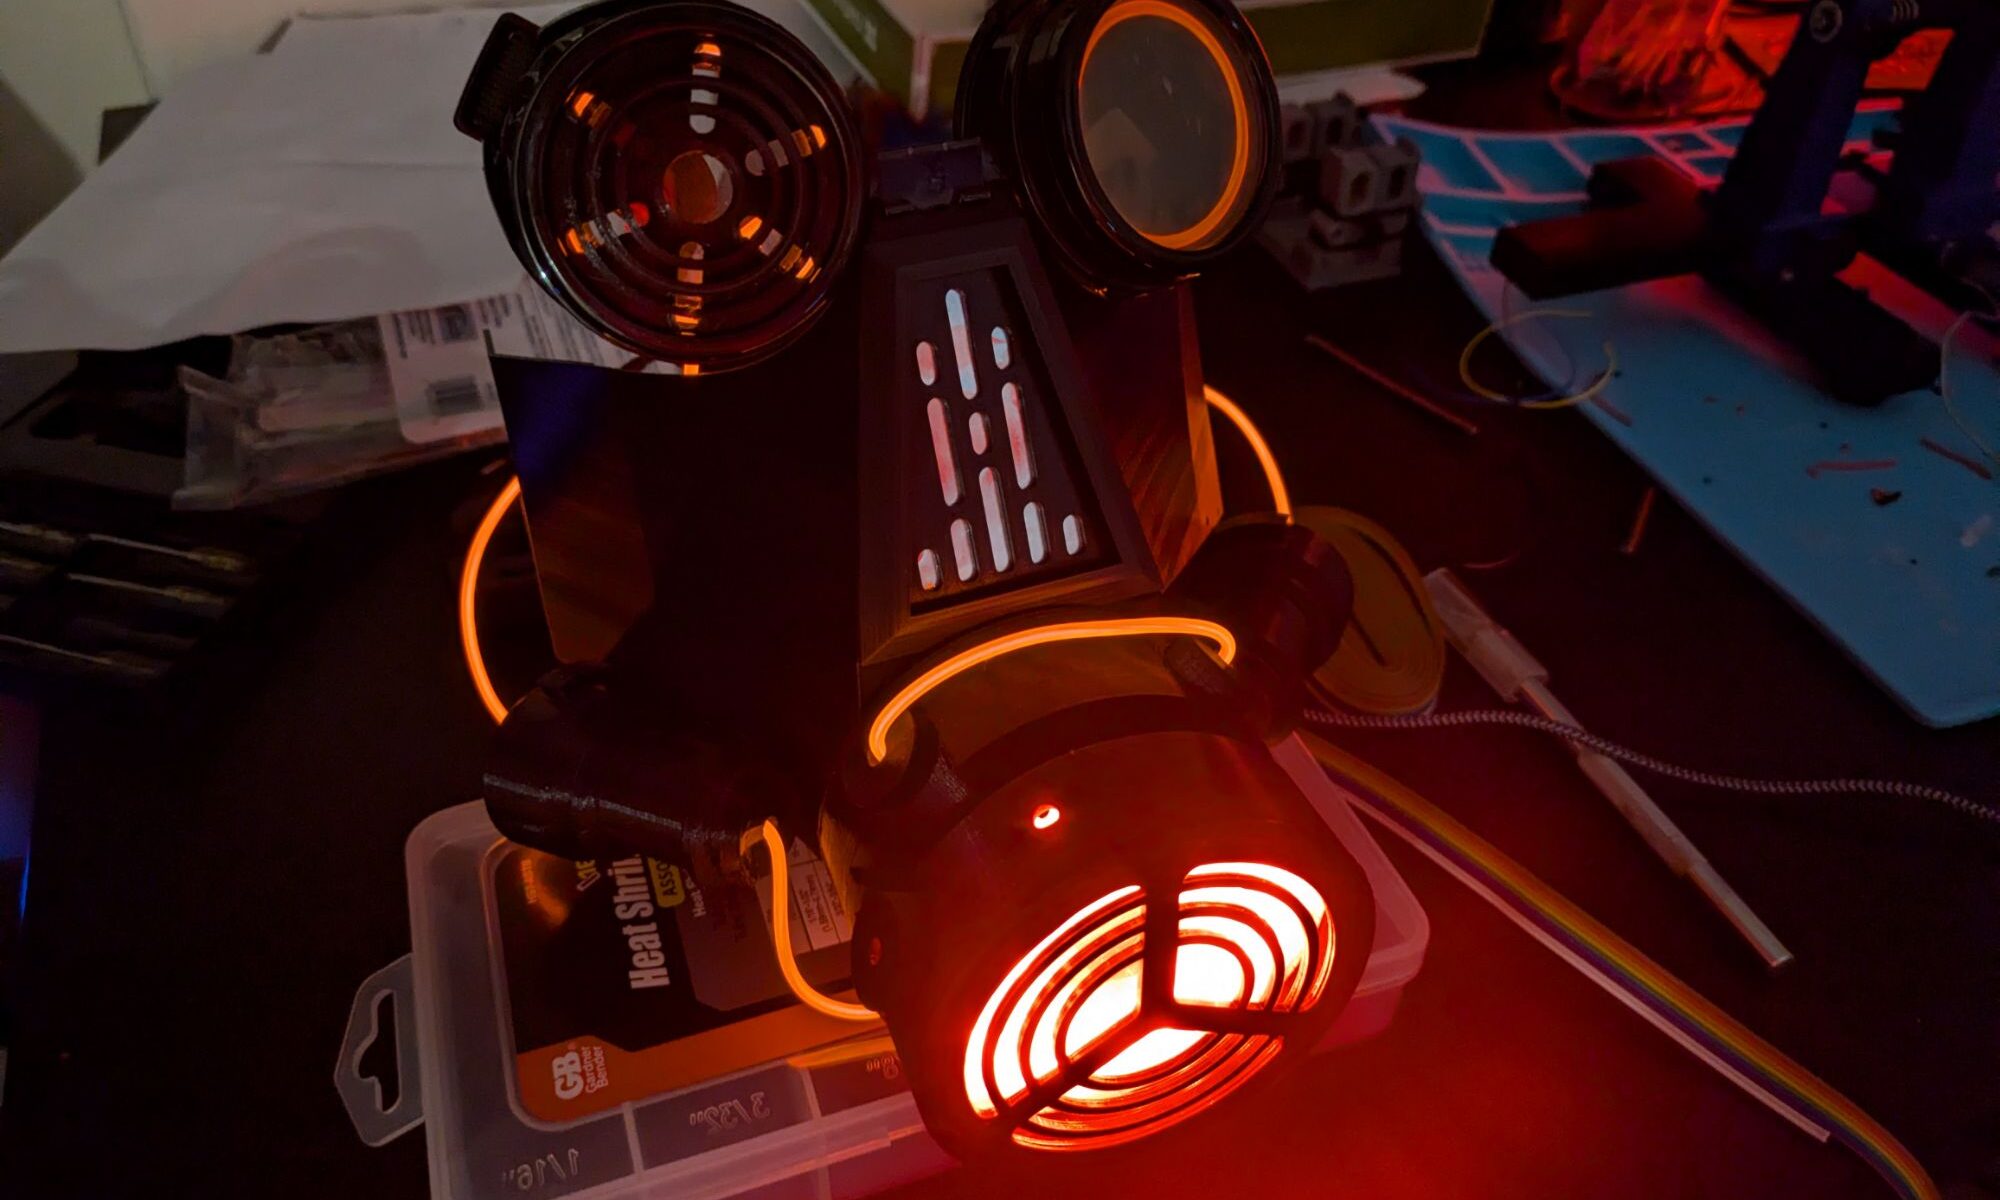
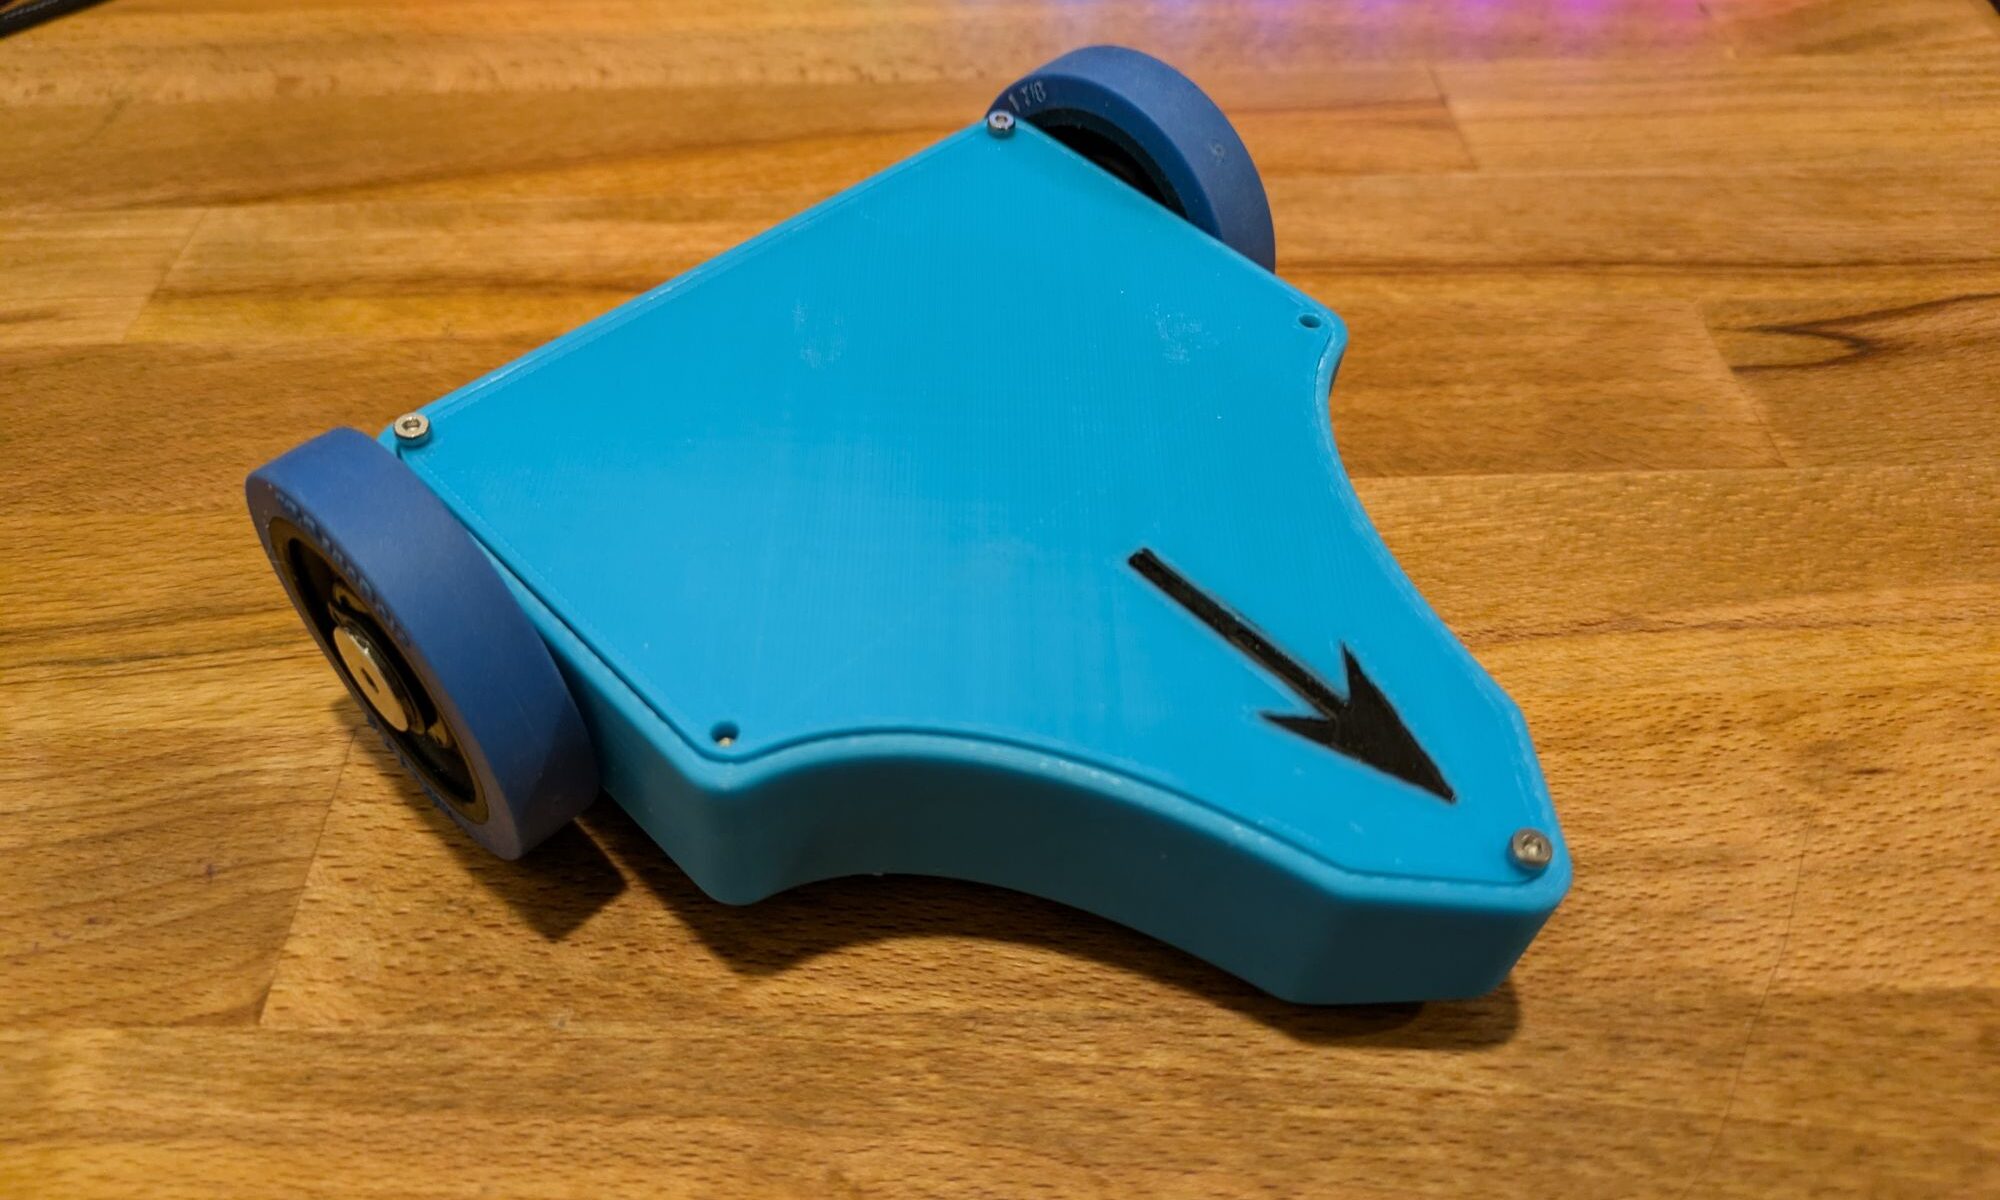
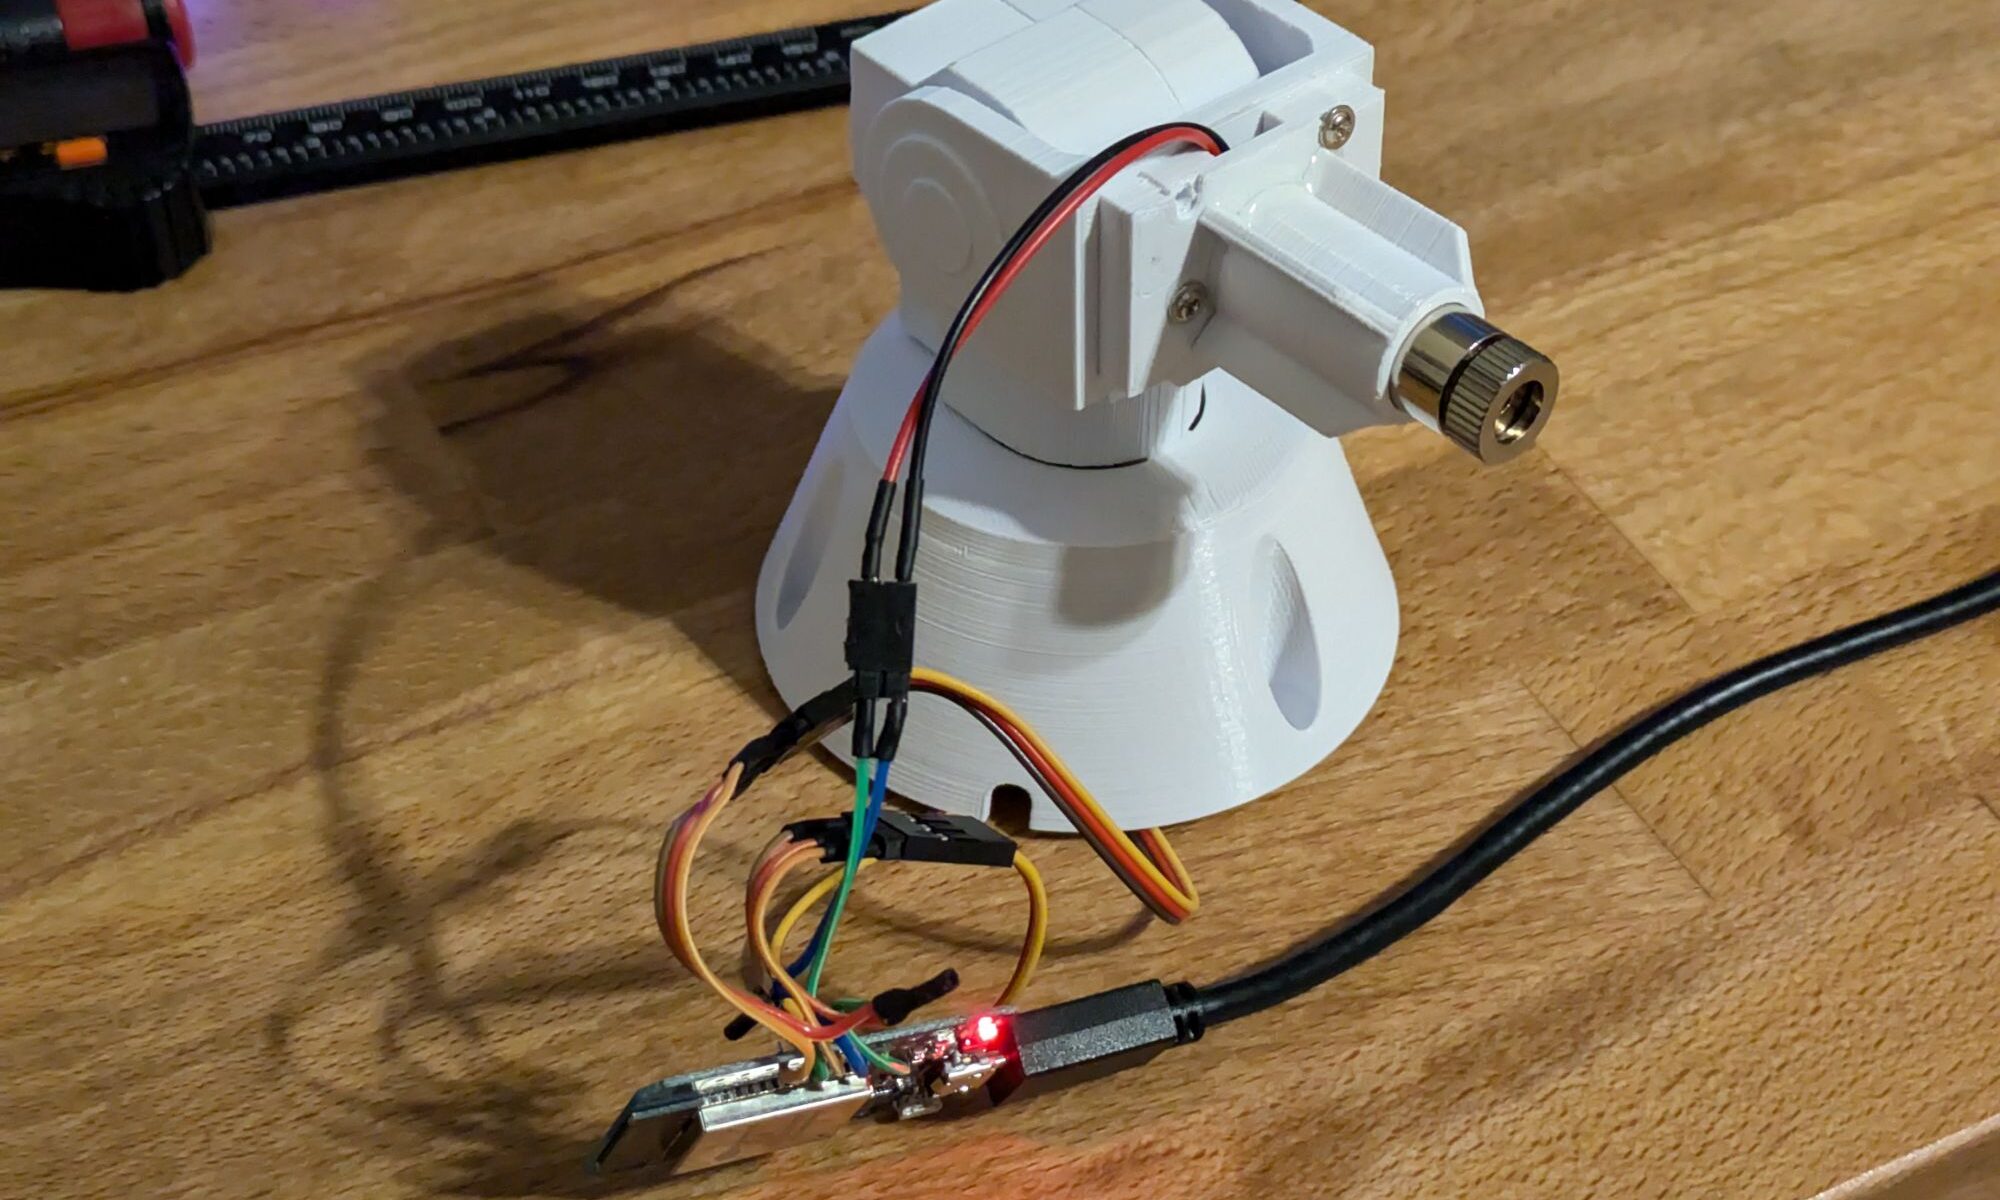
I picked up some extra sensors for my AirGradient DIY kits and didn’t realize at the time that they’re not officially supported in EspHome. So with that I went on the journey of adding my own custom sensor code to EspHome to run them.
Continue reading “Adding an LPS22 to AirGradient and Building a Custom Sensor in EspHome”Using DeepNest and LightBurn to Optimize Laser Cutting
DeepNest is a software package to optimize part placement in laser cutting designs. It works out very well for maximizing your usage of material and avoiding unnecessary waste. I’ve started using it combined with Boxes.py in order to part out wooden boxes and position them onto sheets to try and maximize the number of boxes fitting.
Continue reading “Using DeepNest and LightBurn to Optimize Laser Cutting”Catia V5 Shortcut Keys
I’ve had an 8 key macro pad on my desk for a while now and haven’t been making very good use of it. Since I’ve been doing a bit more CAD work, why not setup some macros for CATIA.
Continue reading “Catia V5 Shortcut Keys”Various CAD Designs
This is just a showcase of some of the CAD designs I’ve made for various projects. I’ve made some functional enclosures as well as some pieces to hold art. Most of these are 100% designed by me, but the EspDeck case I used a few designs from Thingiverse as sources, and merged them together in a way that best suited my end goal.
Continue reading “Various CAD Designs”Cutting Fabric with the Ortur Laser Master 2 & SVG Types
While trying to cut some fabric with the Ortur Laser Master 2, we ran into a strange curiosity in light burn. We found that different SVG types generated different GCode for the same shape. After this we managed to put together a table of cutting settings for various fabric colors.
Continue reading “Cutting Fabric with the Ortur Laser Master 2 & SVG Types”Improve CATIA STL Output Accuracy
CATIA is pretty good at times at hiding options, so here we’ll find out how to increase the export accuracy of STL files from CATIA. The defaults used give some pretty rough models especially around curves, so we’ll be increasing the accuracy to get smoother models to use on our 3d printer.
Continue reading “Improve CATIA STL Output Accuracy”New LightBurn Features (aka I probably didn’t read the release notes months ago)
I can’t believe I missed this option being added to LightBurn. In the device settings, there is now an option to enable is the laser on when framing option. This turns on the laser with a low power setting when running the frame to make it obvious where you will be cutting/engraving. This replaces holding shift when hitting the frame button from older releases. This small quality of life improvement is much appreciated here.

Tracing Images in Catia
I found an online fractal generator that creates PNG images of the fractals it generates. I wanted to make use of them in my laser cutting. To do this, I have two options, grab the JS and rework it to generate SVG files, or I can trace the images in CATIA and export SVG files for use. I decided to do the latter for a few fractals to use in some laser cutting.
Continue reading “Tracing Images in Catia”3D Printing Bed Treatment
We have one material for my 3D printer that is very temperamental on the build plate. Printing using it and a clean build plate will lead to the print not sticking midway through and failing, while printing on glue stick or tape leads to it sticking so well it takes 30 minutes with a razor blade to remove it. Anything that seems to help it stick, helps it stick a bit too much, and my build plate is glass, so i can’t flex it to pop the print off. In comes the dumb idea, why not use a sticky note underneath the tape. This will let us flex the print just enough to break the seal with the build plate. It worked. So here’s how to do it.
Continue reading “3D Printing Bed Treatment”Laser Cutting Paper on a Diode Laser
Laser cutting paper can be a mix of a science and art-form. The paper manufacturer, glossiness, color, and weight all come into play to make a successful cut. I’ve done some experimenting with a few different types of paper, basic printer paper to card stock.
Finding a good paper is key, I went through a number of different manufacturers/types till I found one that worked well. I found the darker colored papers were best (and in this case, color didn’t matter), so I used those. The dark color hides soot marks and makes the paper absorb more laser light, getting a better cut. AstroBright Grocer Kraft is a good paper and color. These have been seen to work better than generic white card stock. The white card stock had too much of a sheen to it, the laser could cut it, but it took slower passes or multiple passes to do so, while sooting far more than the AstroBright paper.
Next up is a good lens, I found that the G8 lens is better than the stock ortur laser master 2 lens for paper cutting. Using the G8, I’m able to cut paper in fewer passes with less scorching and a smaller focus size. Using this lens may even work quickly through the bright whites that the stock lens couldn’t handle (more experimentation is needed).
Holding It Down
I’ve used a few different hold down methods, none, blue tape, and a vacuum table. While using nothing to hold down the paper, the paper would curl up during the cutting, causing the cuts to lose accuracy, it could also shift around from other forces in the environment (air conditioning) which caused issues.
Blue tape worked okay but using it meant the edges of the paper weren’t cut completely through and everything had to be gently removed to prevent damage to the paper. I could cut through the edges completely with slower speeds or more passes, but this meant more scorching of the rest of the paper that didn’t need the extra power and this was undesirable.
The final stop was using a vacuum table to control the fumes and hold the paper down, this works the best as it holds the paper so it doesn’t bend upwards during cutting while also pulling the fumes to prevent as much sooting. This can also prevent scorching by reducing flareups during cutting.
Conclusion
Paper cutting on the laser master isn’t bad once you have everything tuned, running the G8 lens, darker card stock, and a vacuum table if possible. This all comes together to provide the quickest and cleanest cuts.