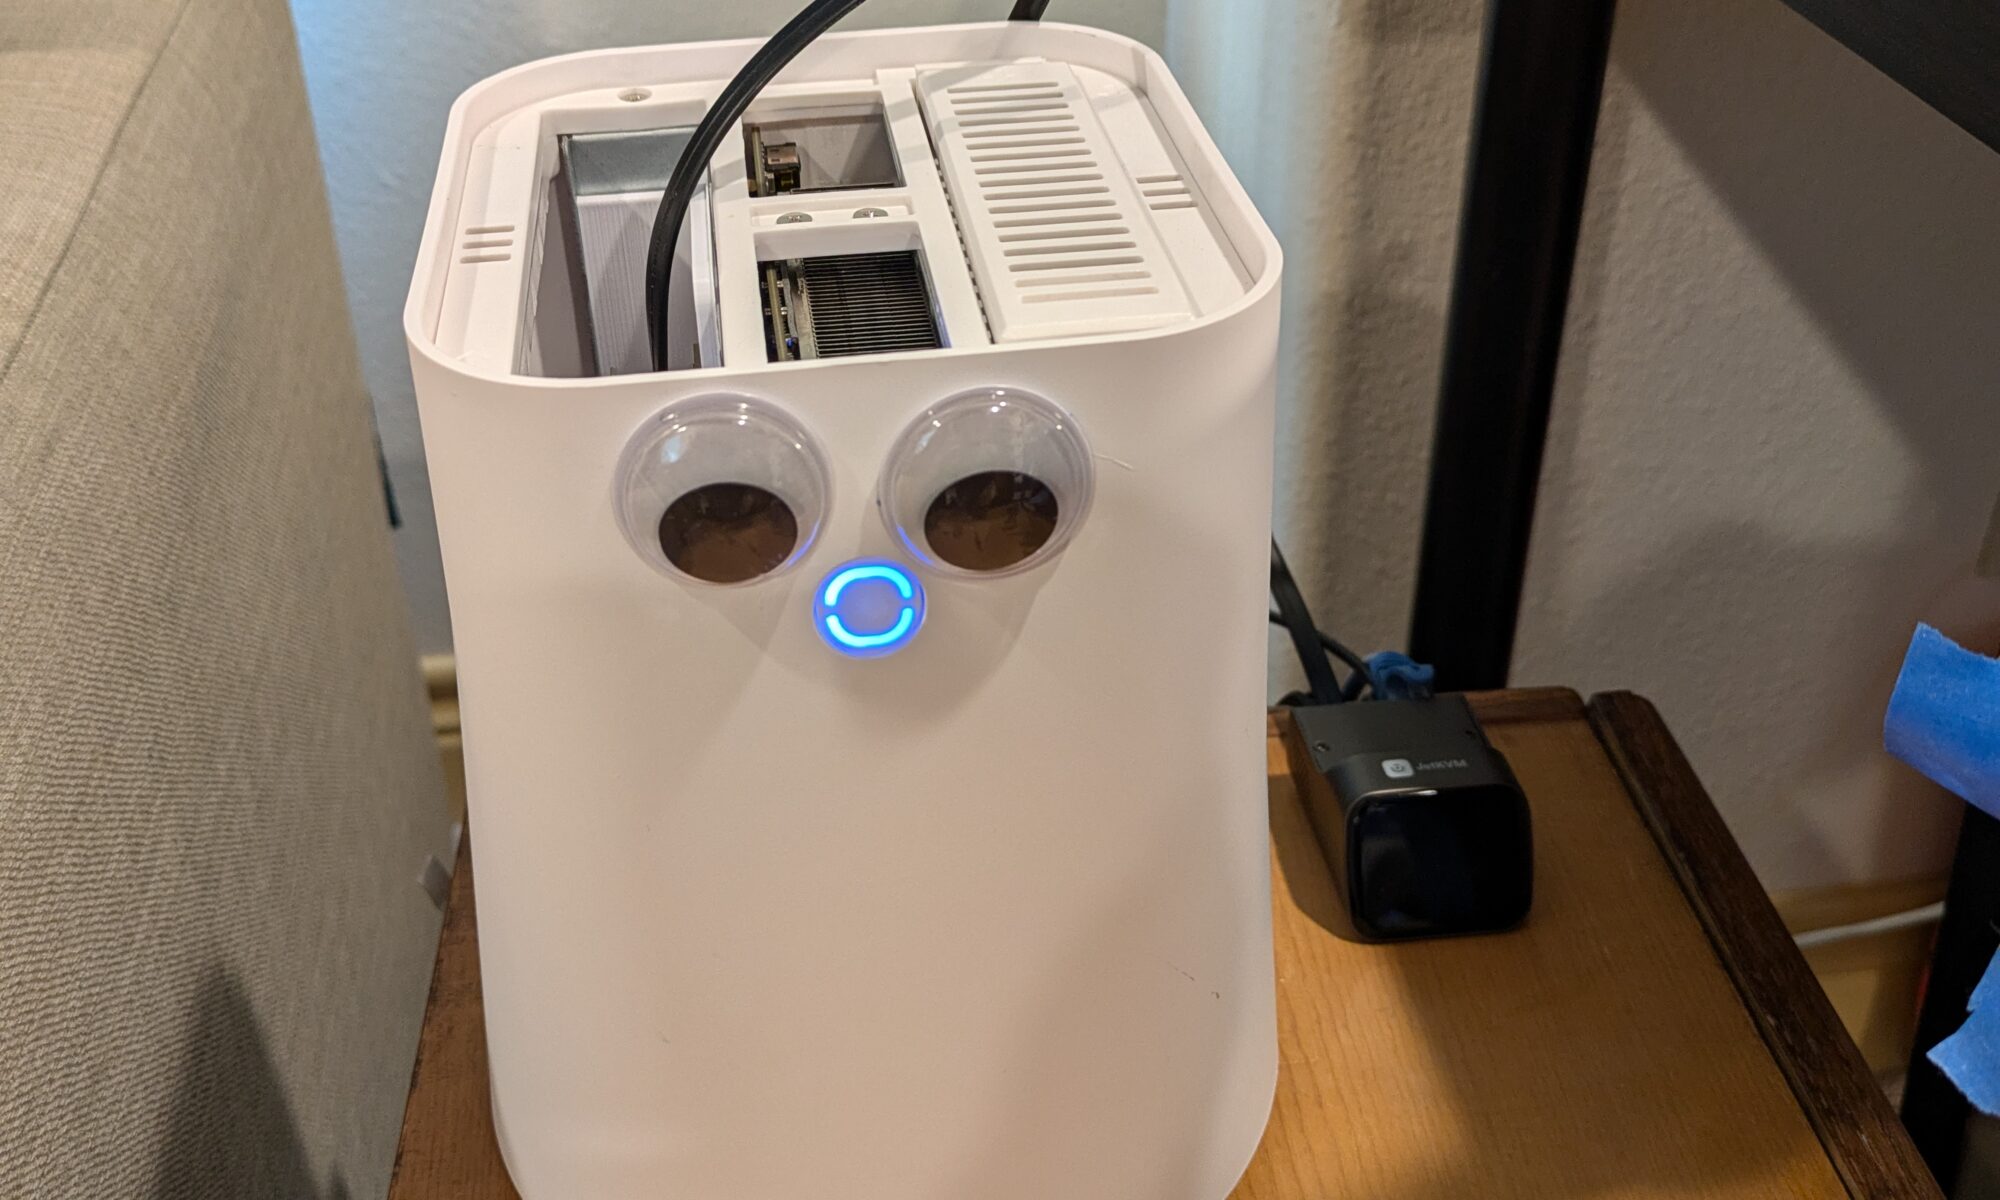
After the BliKVM PCIE failed to work at all, I decided to try one of the new little IP KVM units out there. I went with the JetKVM because its main distributor isn’t AliExpress (after the BliKVM didn’t work at all), and seemed to be pretty high quality on top of that. I wanted to set it up to have the ability to remote power on my NVR as well as to monitor it.
The JetKVM came in 2 boxes, the first with the JetKVM itself, and the second with all the add-on hardware (the ATX control board and PCIE slot mounts for that control board).


Initial setup was an utter breeze. Basically plug it in, give it power and network, and you’re done. The screen shows you the IP address and you can just navigate there and you’re good to go.

Mounting the Control Board
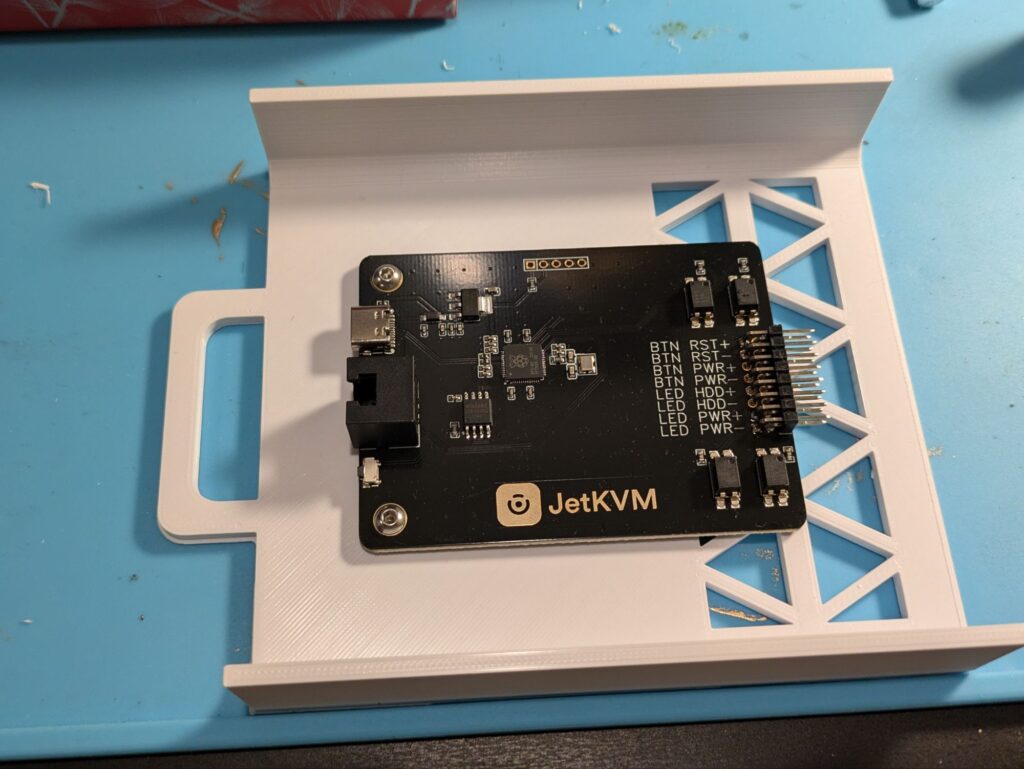
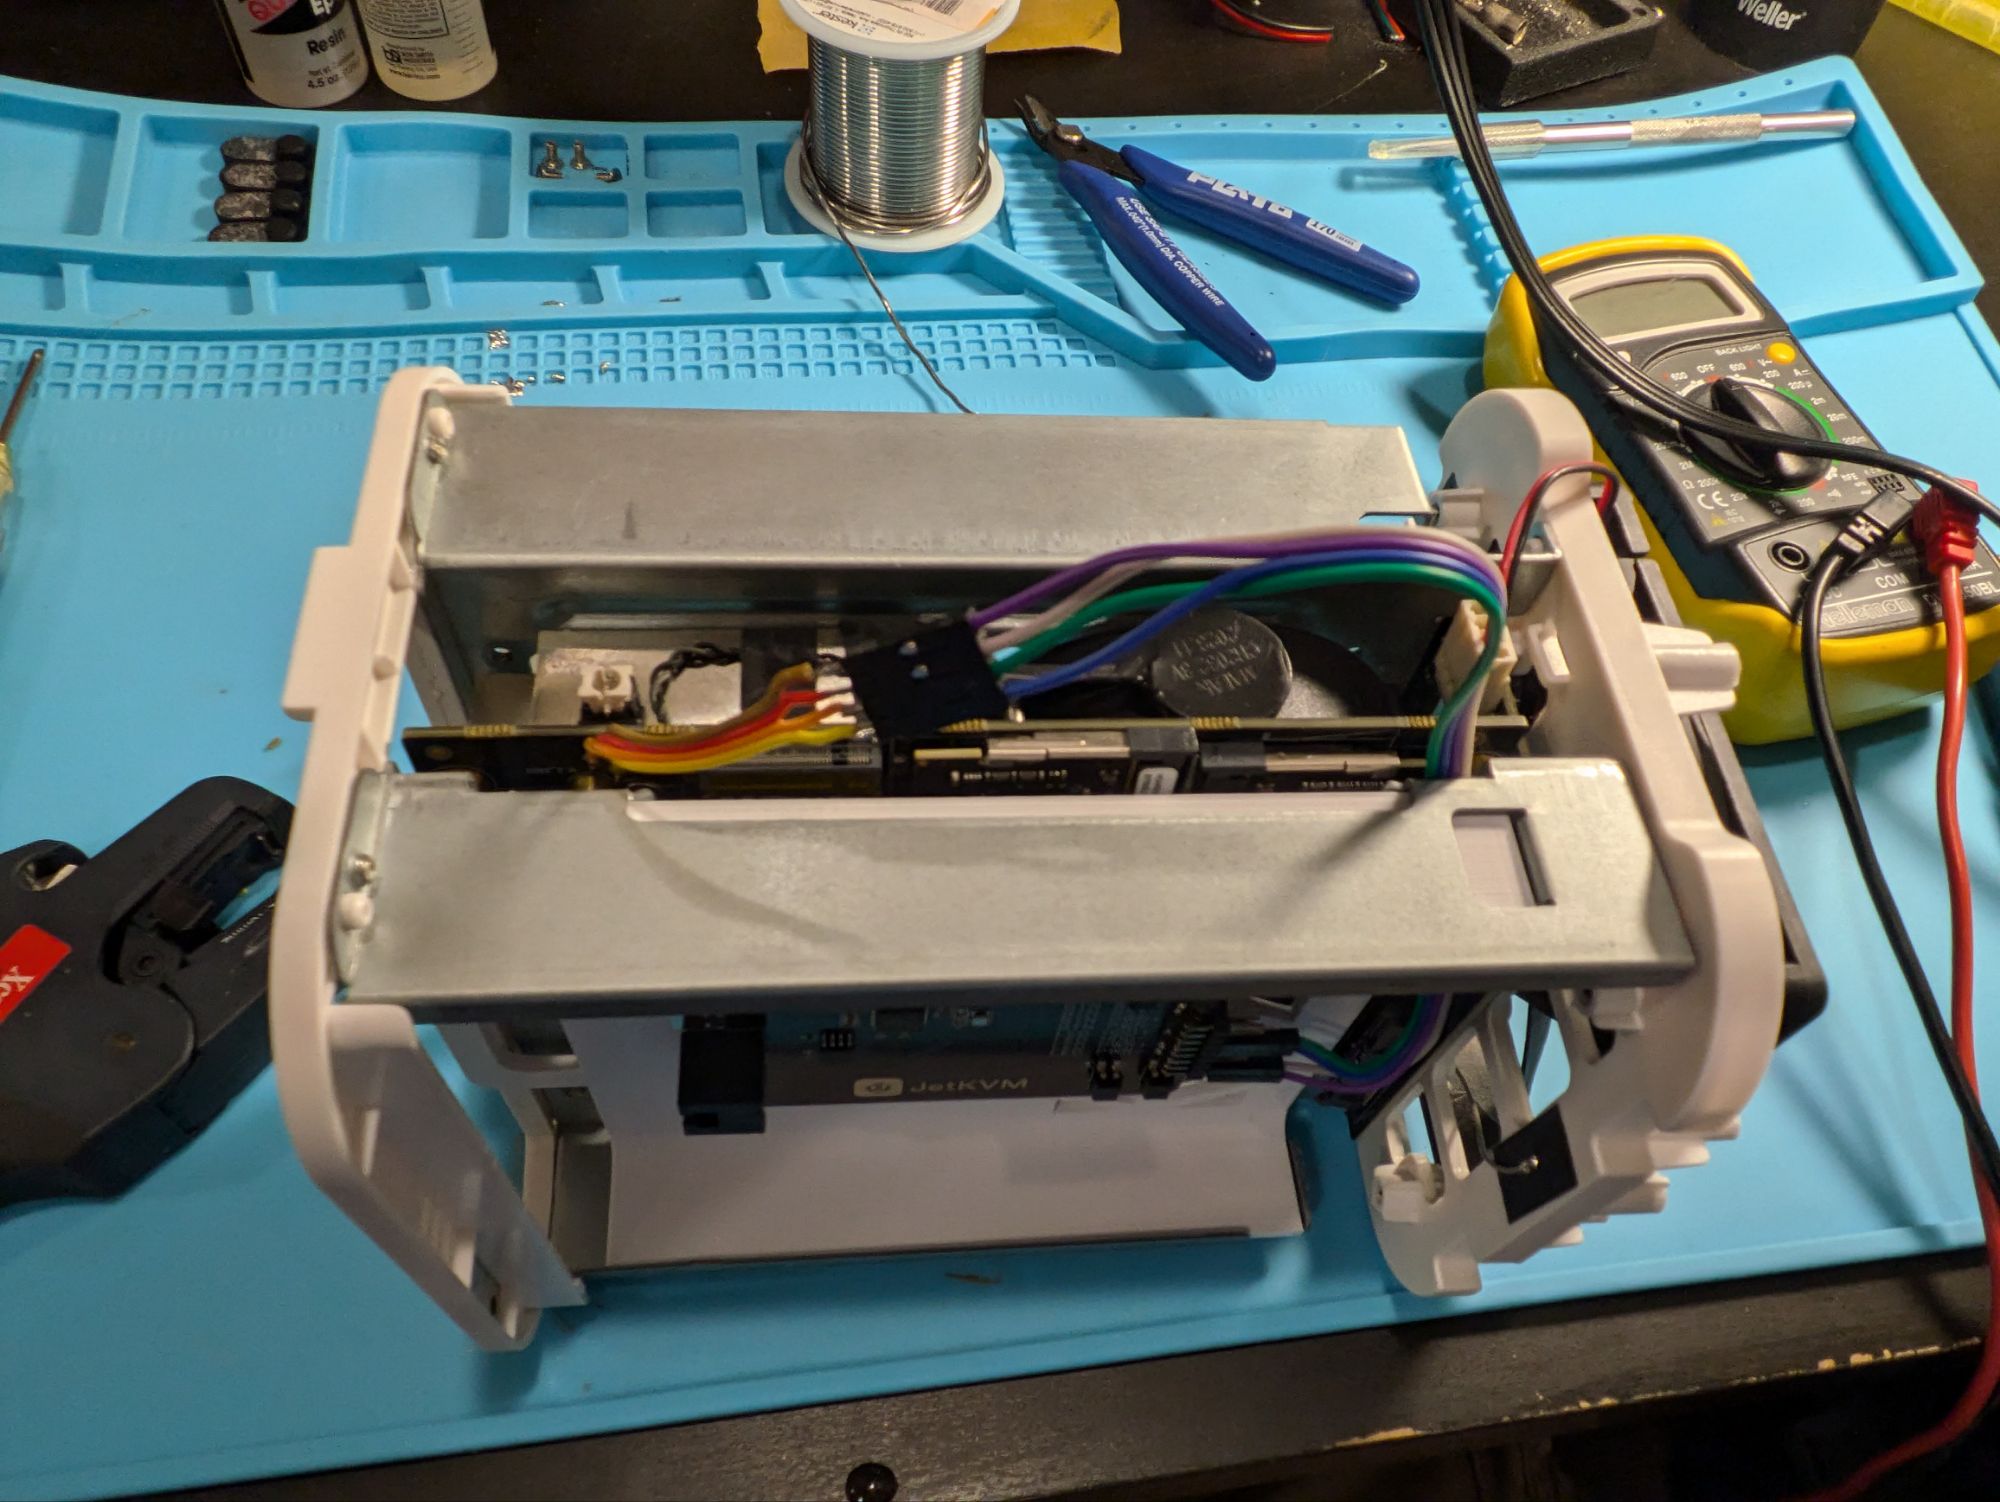
Since my plan was to use this to control an SFF mini PC. I needed a slightly out of the ordinary mount. I created a HDD adapter mount since my mini PC has two HDD slots, and I only use one of those. This would get the board in the mini PC, though I’d still have to solder on connectors to the power button to get control that way.

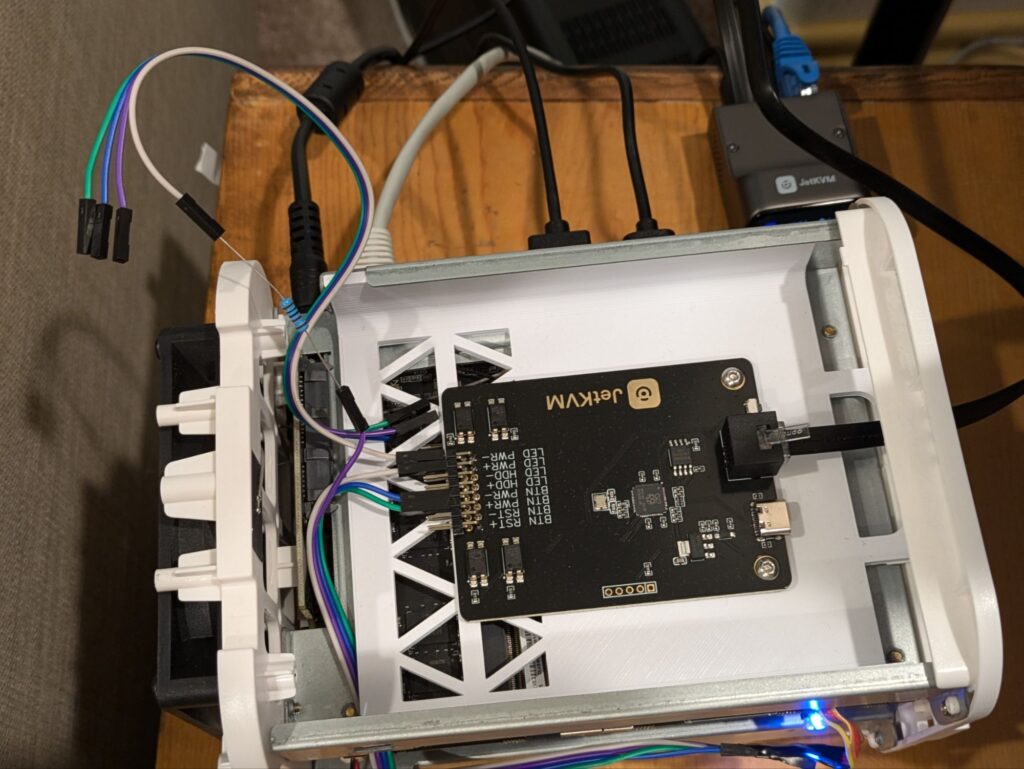
I will probably model up a mount for the JetKVM itself to attach onto the top of the mini PC, but for now, I think this is good enough for getting things going. I’m not too worried about the cable between the two considering all the other cables between them.
Wiring
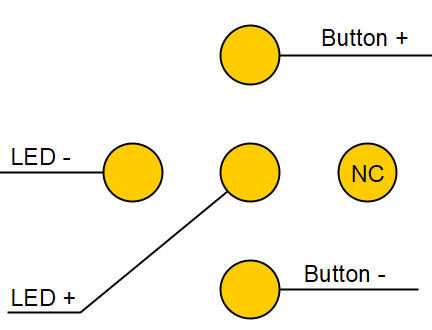
I started out with the pin positions on the mainboard. There were 5 connection points underneath the power button. I needed 4 pins to be active, 2 for the power button, and two for the LED. I assumed the ground was not common between them (though that could have been a bad assumption, in this case, it was correct).
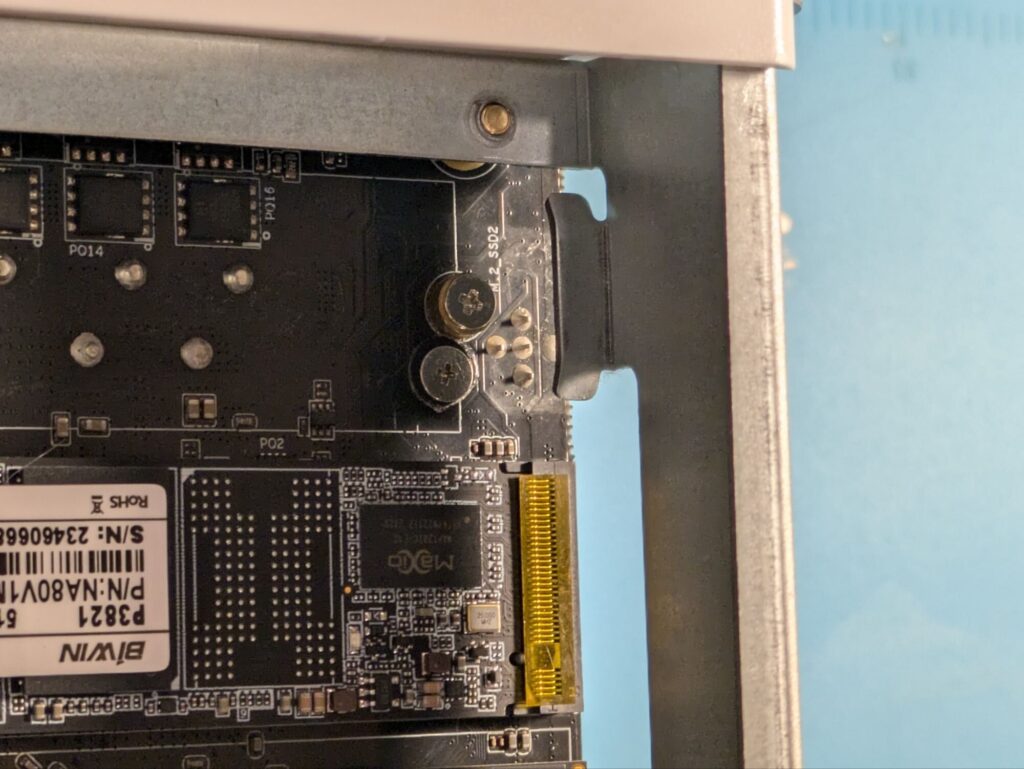
I assumed the connection without a pin was not connected to anything and was just support for the power button. So from there, I turned off and unplugged the PC, took my multimeter and set it to continuity beep. I tried different combinations of pads with the multi-meter while pushing the button. Whichever pair beeped when the button was pressed was assumed to be the correct pair of connections for the power button. I then carefully tried measuring voltage on the other pair of pins while the machine was on to determine the combination for those.
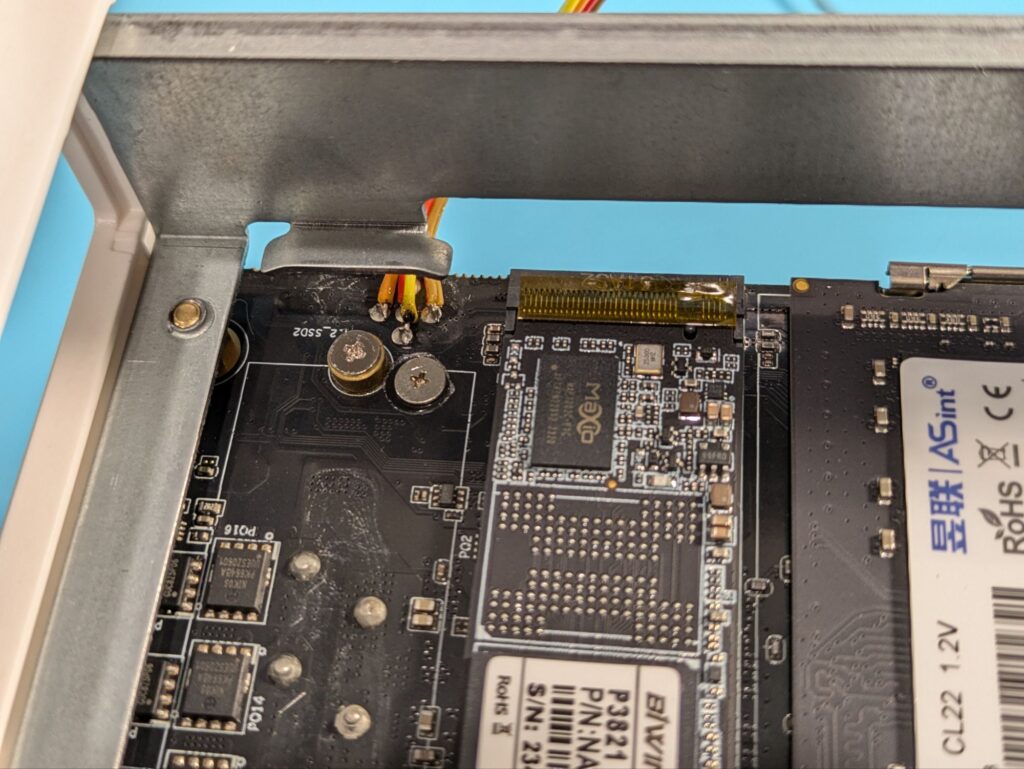
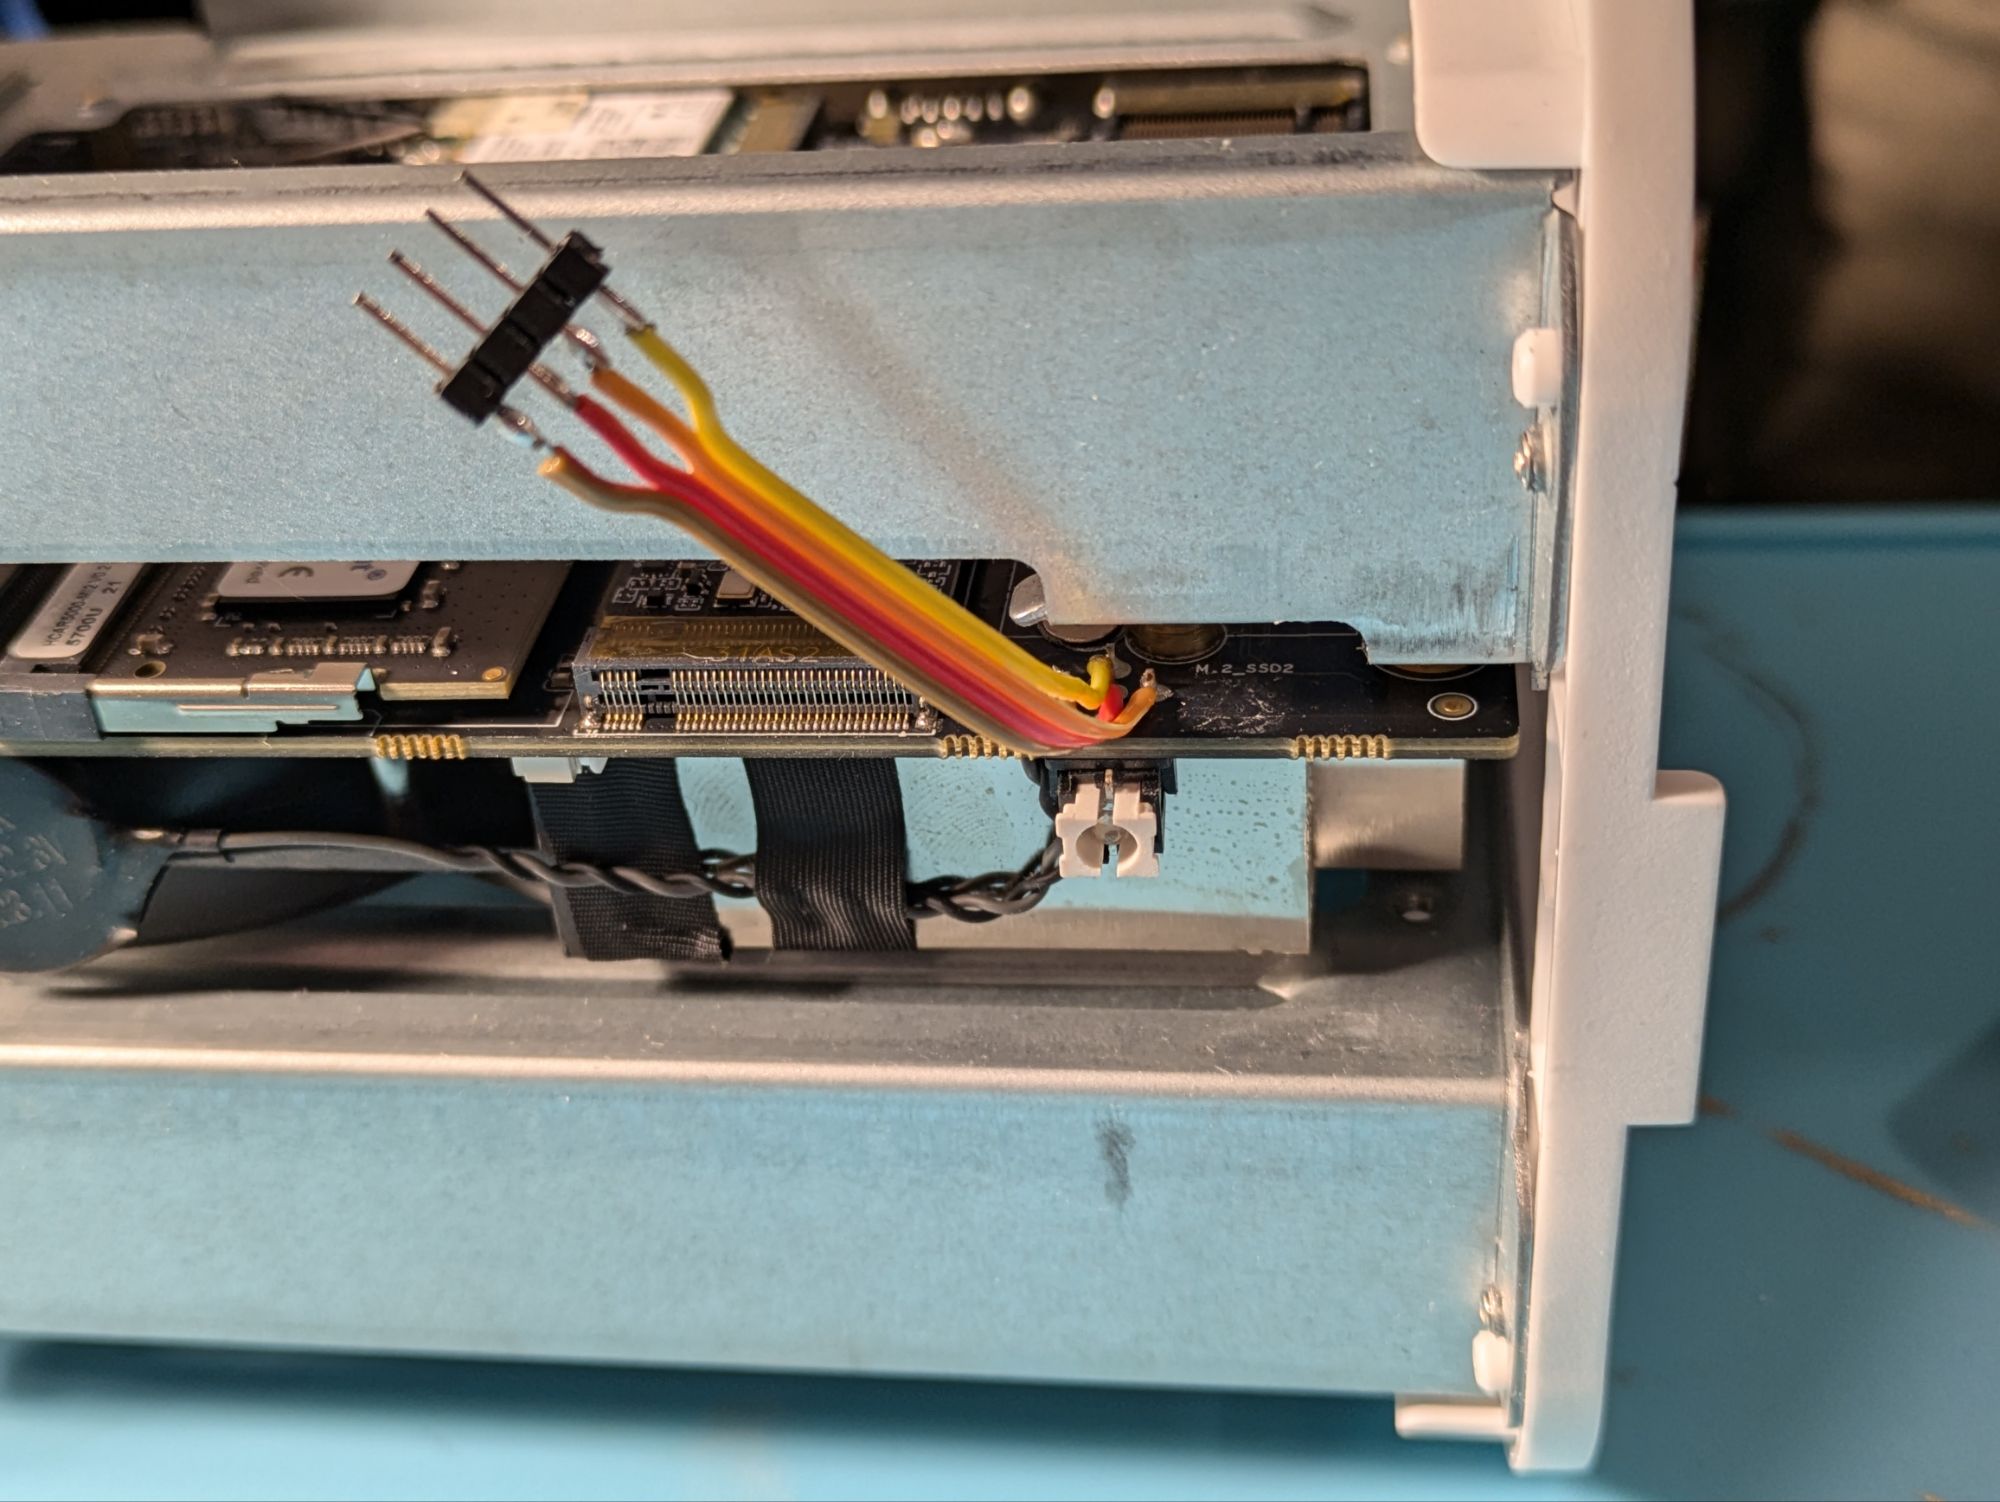
After determining the pinout, I went and hooked up some headers to the pins and routed the wiring underneath and to the side. I connected those to some jumpers to go back to the JetKVM ATX control board.
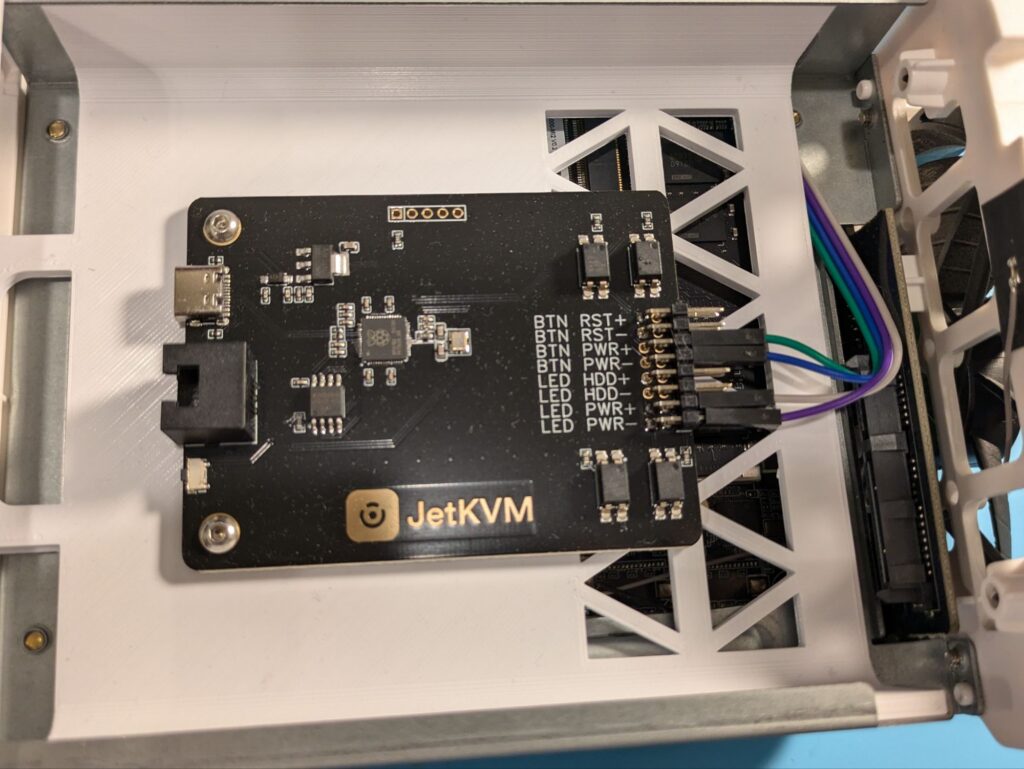
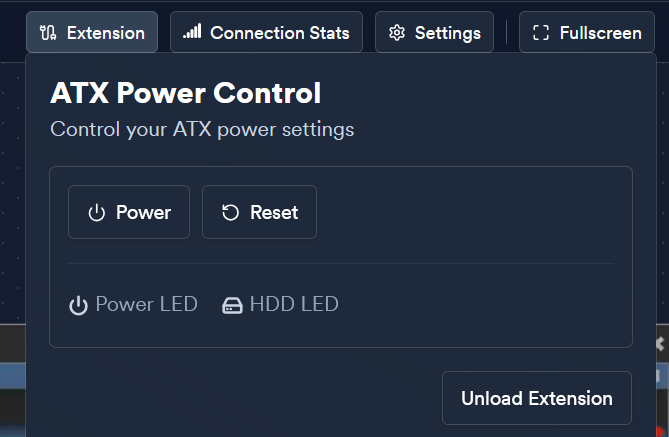
Right after hooking up the ATX control board to my mini PC. The power button seemed to be working fine, but the power LED input had an oddity that happens. If I plug the LED cables in correctly to the ATX board, the JetKVM software will show me the LED status nominally, BUT the physical LED will turn off. If I plug the LED cables in the wrong way to the ATX control board, the JetKVM software will not show me the LED status (expected) but the Physical LED will remain on.
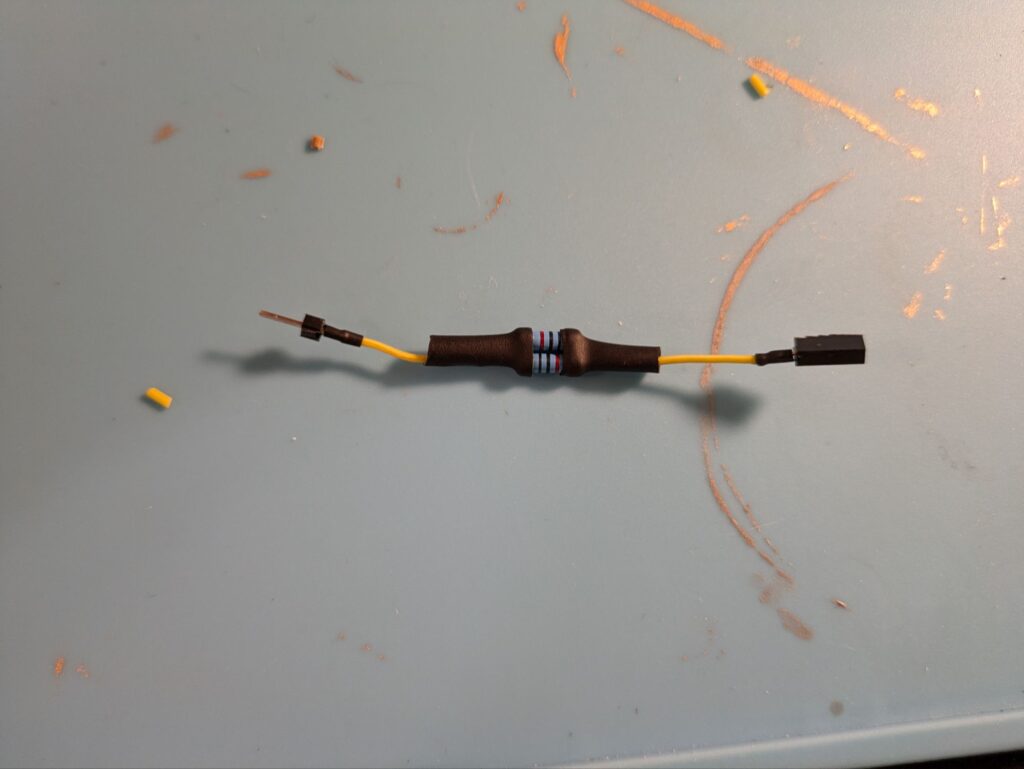
I was wondering if it was voltage drop on the LED power line causing the LED to turn off when hooked up to the ATX control board, so I decided to get some measurements. The mini PC LED voltage is 2.5v without the ATX control board, and is 2.17v when plugged into the ATX board. So I decided to try adding some resistors in line to reduce the voltage drop to the LED itself. I tried adding a 10 ohm and 2.2 ohm resistor in line with the board, neither worked.
- 2.2 ohm – was detected by JetKVM, but the physical LED was off
- 10 ohm – was not detected by JetKVM, but the physical LED was on
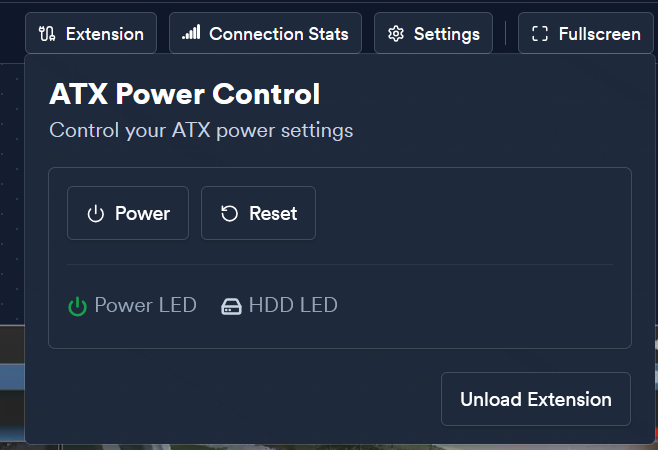
Since the sweet spot seemed to be somewhere between 2.2 ohm and 10 ohm, I tried 2 x 10 ohm resistors in parallel, since this would be 5 ohm. This ended up showing the physical LED as on and the JetKVM power LED status being on as well. So this seemed to be the right resistance in line.
Now after doing all these experiments, I ended up wiring things up wrong for the power button and the LED. I didn’t notice this though, so I ended up with a giant list of oddities happening to myself. These included:
- When fully powered off, the power LED on the hardware is off, but the power LED in JetKVM is on
- In the powered off state, there is about 1.42v seen off the LED lines
- With the resistor mod removed, its 2.17v seen off the LED lines while powered off
- It only turns off when unplugging the power from the unit completely
- When fully powered off, the power button in JetKVM does NOT work
- When powered on, the power button in JetKVM DOES work
- Changing the resistor mod to 7ohms makes jetkvm see the power LED as “off” when it is off, but it doesn’t turn on
Now all these problems were simply due to me hooking up the ATX board incorrectly to my pinout. I only figured this out when I tried to “push” the power button by shorting the power button connections. When this didn’t work, I knew something is up. I went down a bit of a rabbit hole which ended in me mapping my wire colors to their physical connections and then hooking things back up right.
But now that its all working, I can even see the power LED blinking in JetKVM when the unit is sleeping, and I can power on from a completely powered off state, etc. I’m happy with the unit so far and will see how it works over the years.