My NAS has been getting old, and it’s been getting more and more noticeable over time. Considering that I built it in 2013, I’d say it’s had a good 10+ year lifespan and could use a solid upgrade. I plan on reusing a fair bit of hardware, but I also plan on moving to ZFS for my primary storage, so I’ll be getting new drives to use in a new ZFS backed array.
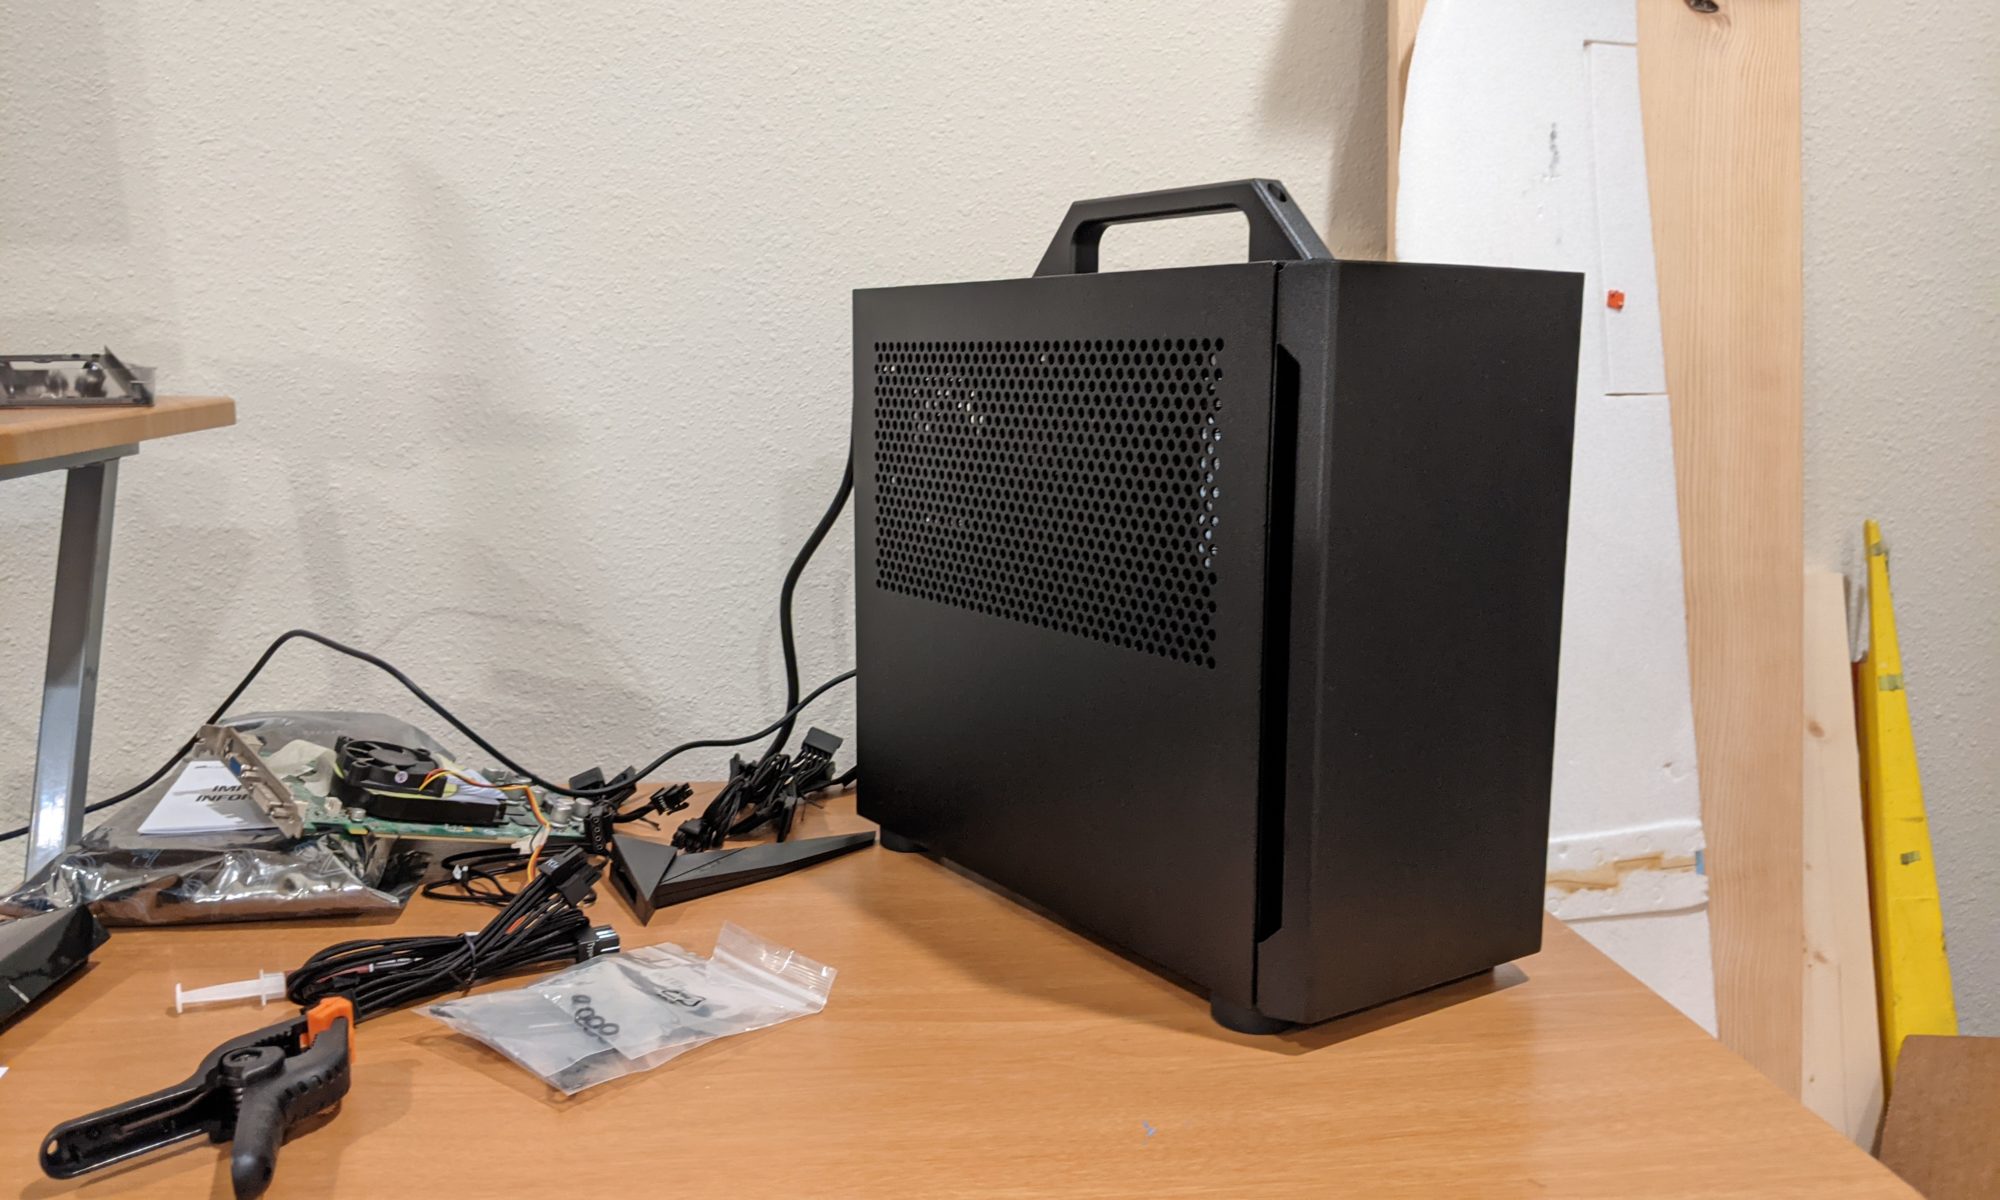
I’ve been using a small 1U server (Running an E3 V2 CPU) to run Blue Iris for a few years now, and in an attempt to find power savings in my electric bill (and subsequent AC savings too) I decided to do some digging for a replacement. I gathered some metrics on the old server and found it using 80-100 watts, so I was aiming to reduce that by 50%. I ended up finding a cute little 2 bay “NAS” online that supports a low power AMD CPU and can handle the HDD space I need for the video recordings.
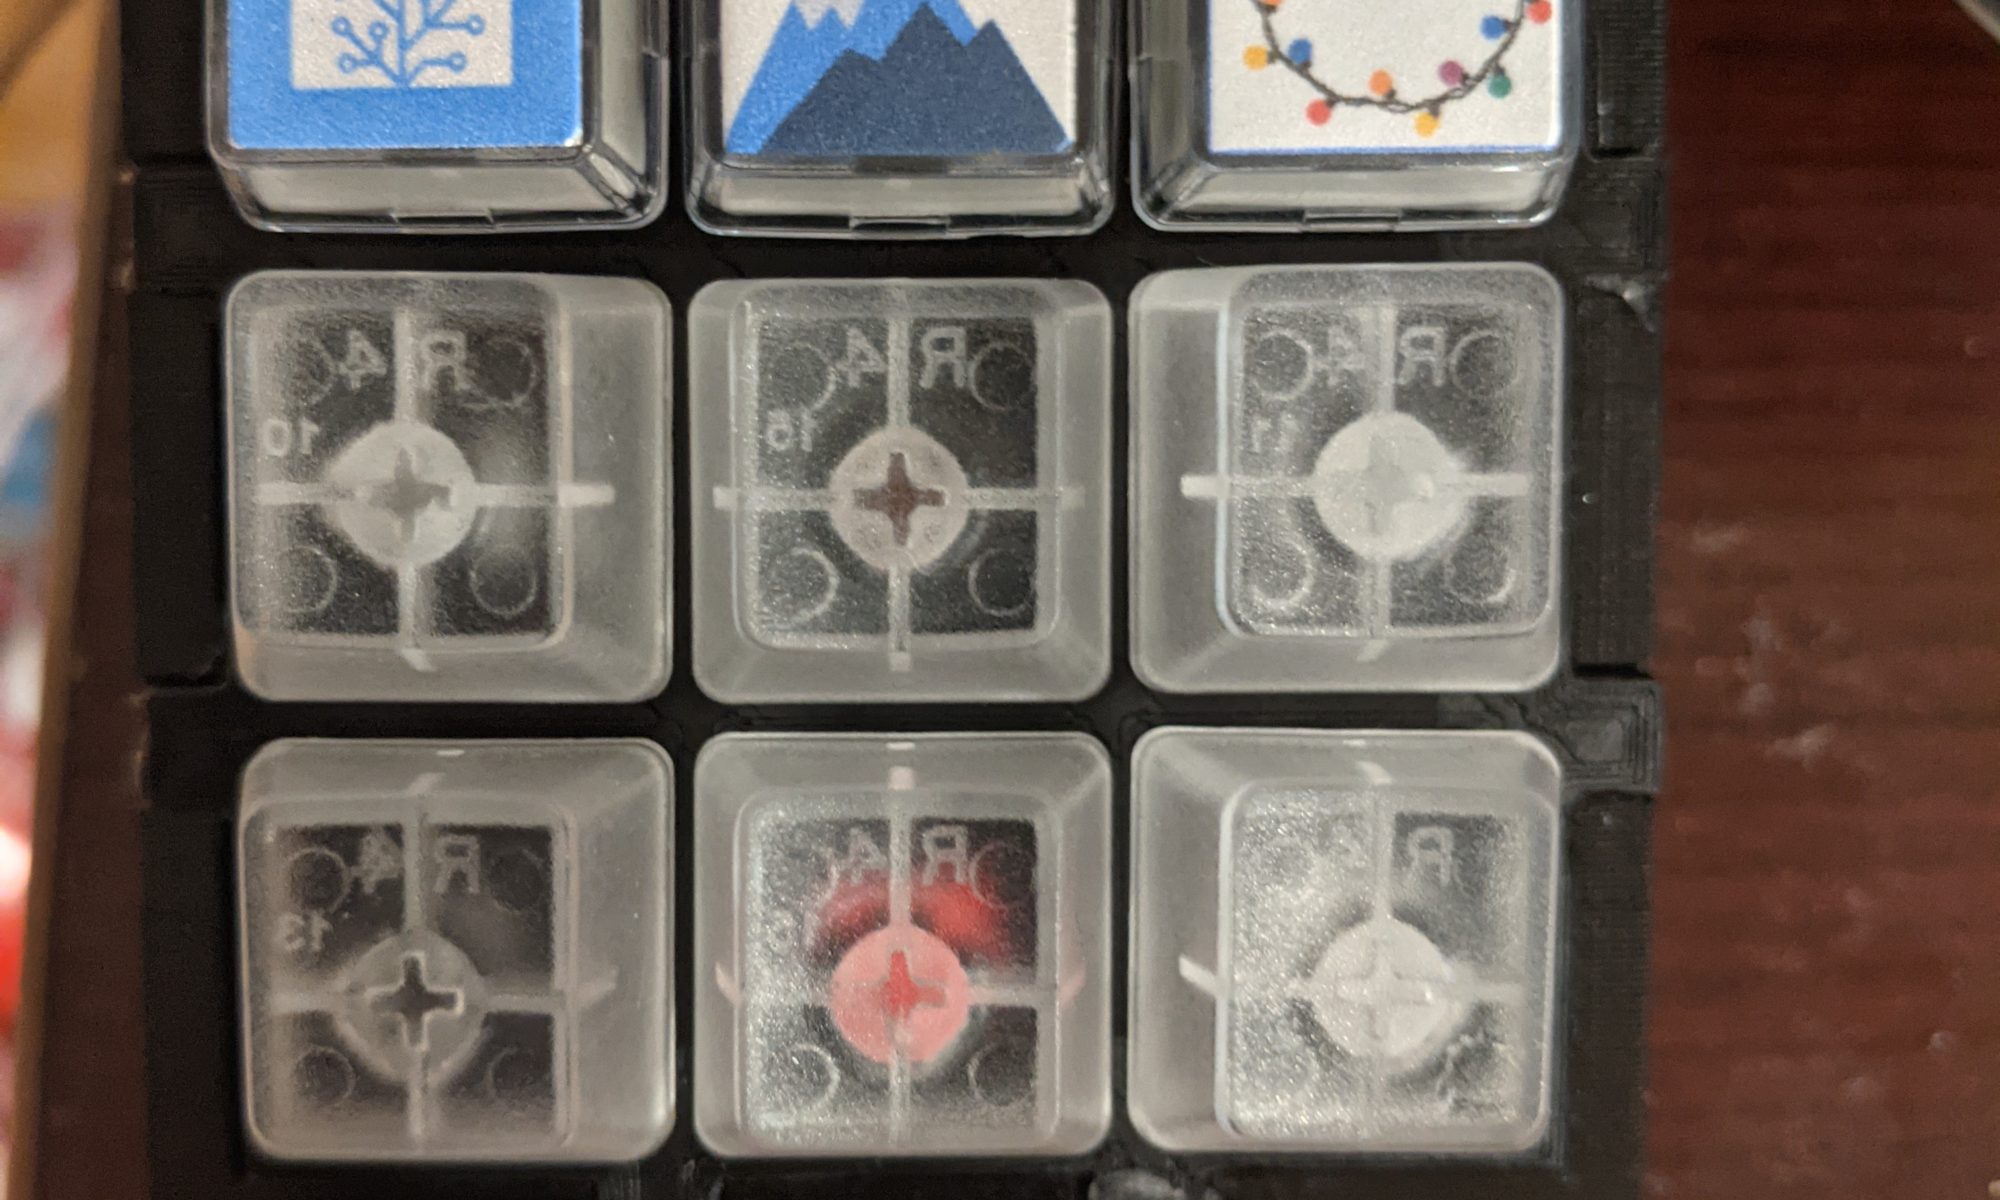
I saw a cute keyboard online at one point, an absurdly small keyboard, 35%. I decided to build one myself, there’s a kit available with the circuit board and diodes, just add switches, micro controller, and case. I did end up complicating things a bit though, adding hot swap sockets and I plan on eventually adding a plate as well.
With the latest iteration of EspHome bringing in matrix keypad support, and the parts ready for a third espdeck build, I decided to redesign it yet again to try and optimize things further.
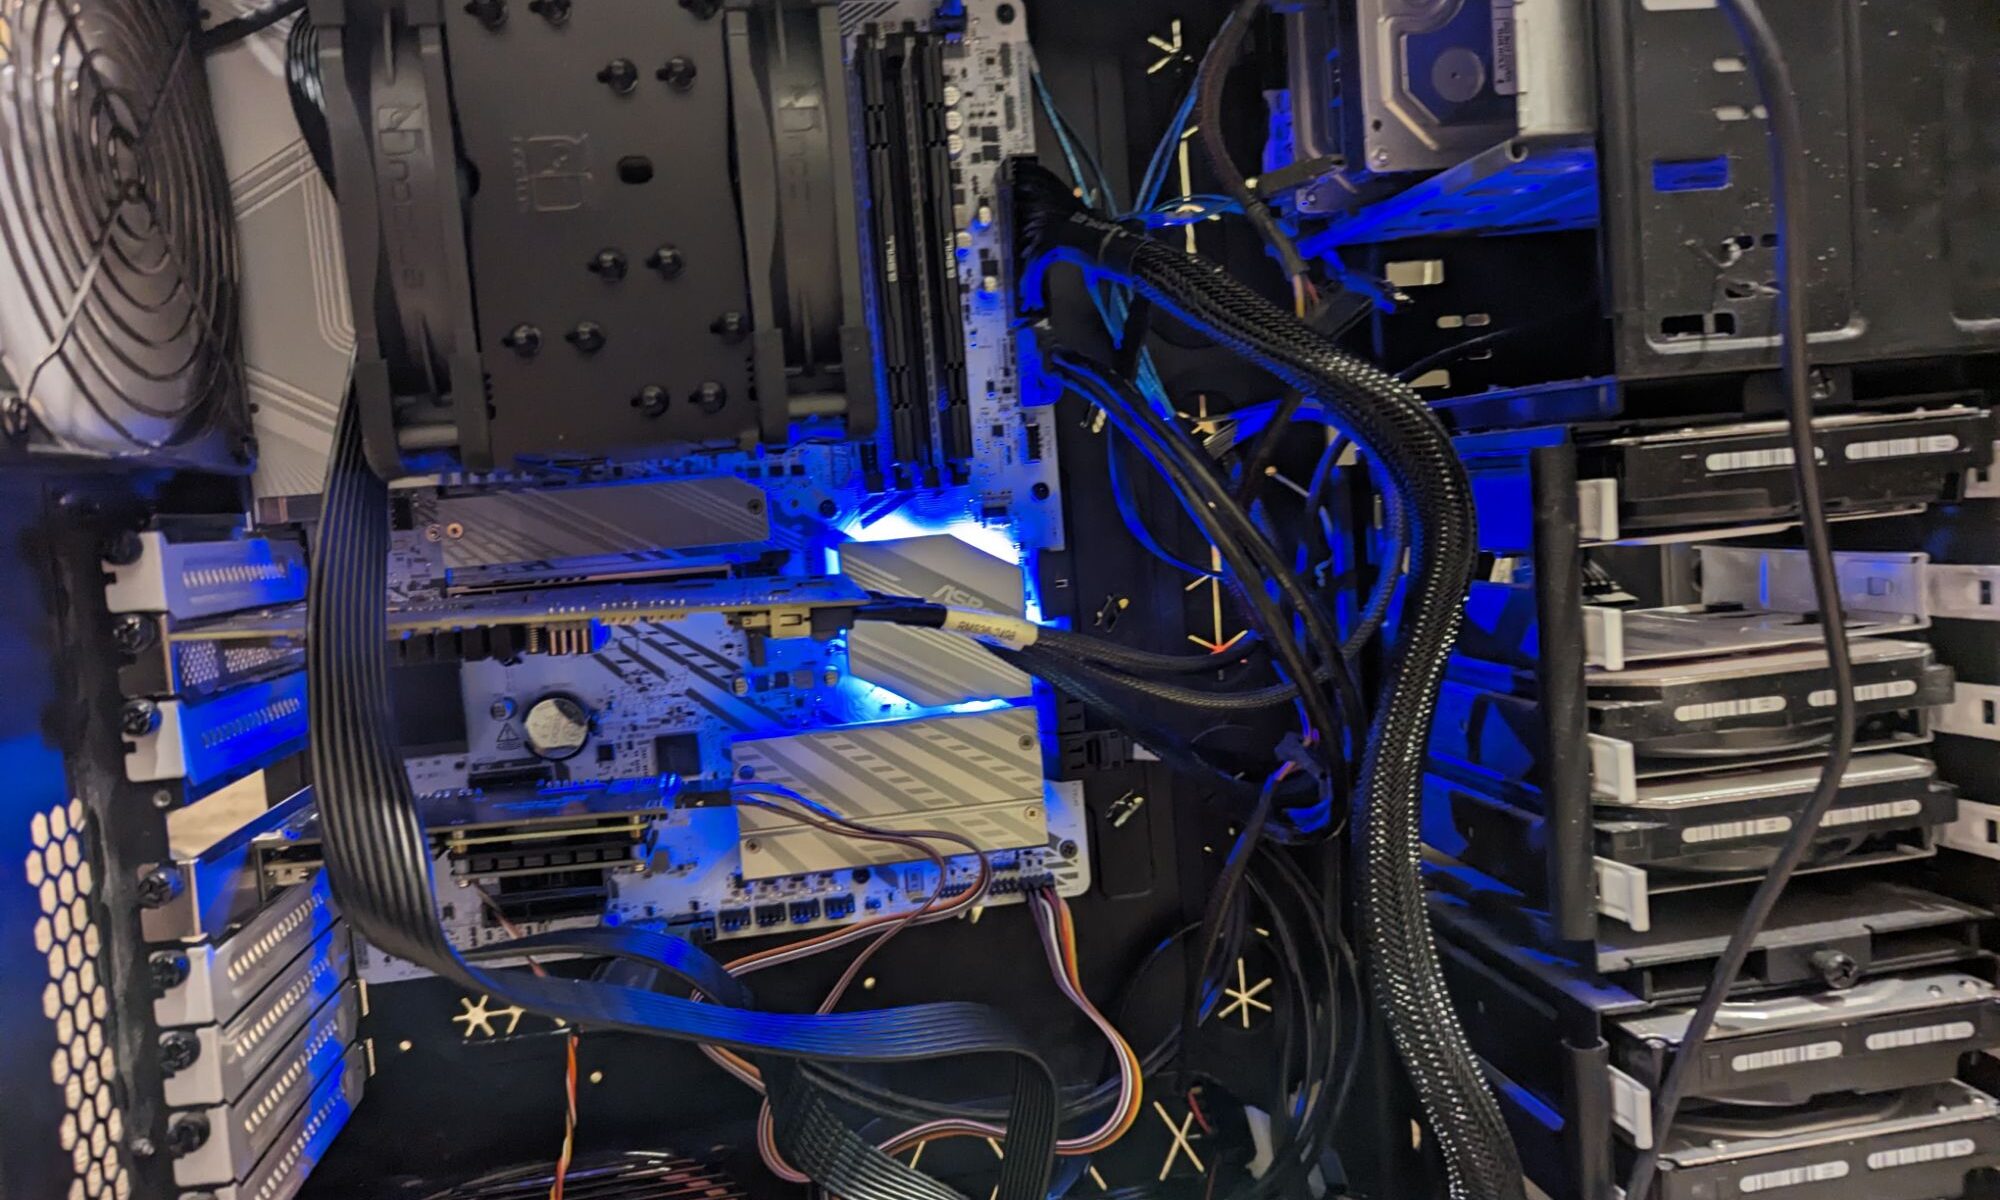
Its that time to build a new workstation. My current workstation was built in 2013 and while it has been upgraded with additional RAM, SSD storage, and a newer GPU, is still the same CPU and motherboard (that motherboard which now has a dead audio output and a dead NIC). The CPU is starting to show its age with games and processes using more and more of it, and since GPU prices are insane, I’ll be holding off on that upgrade till later.
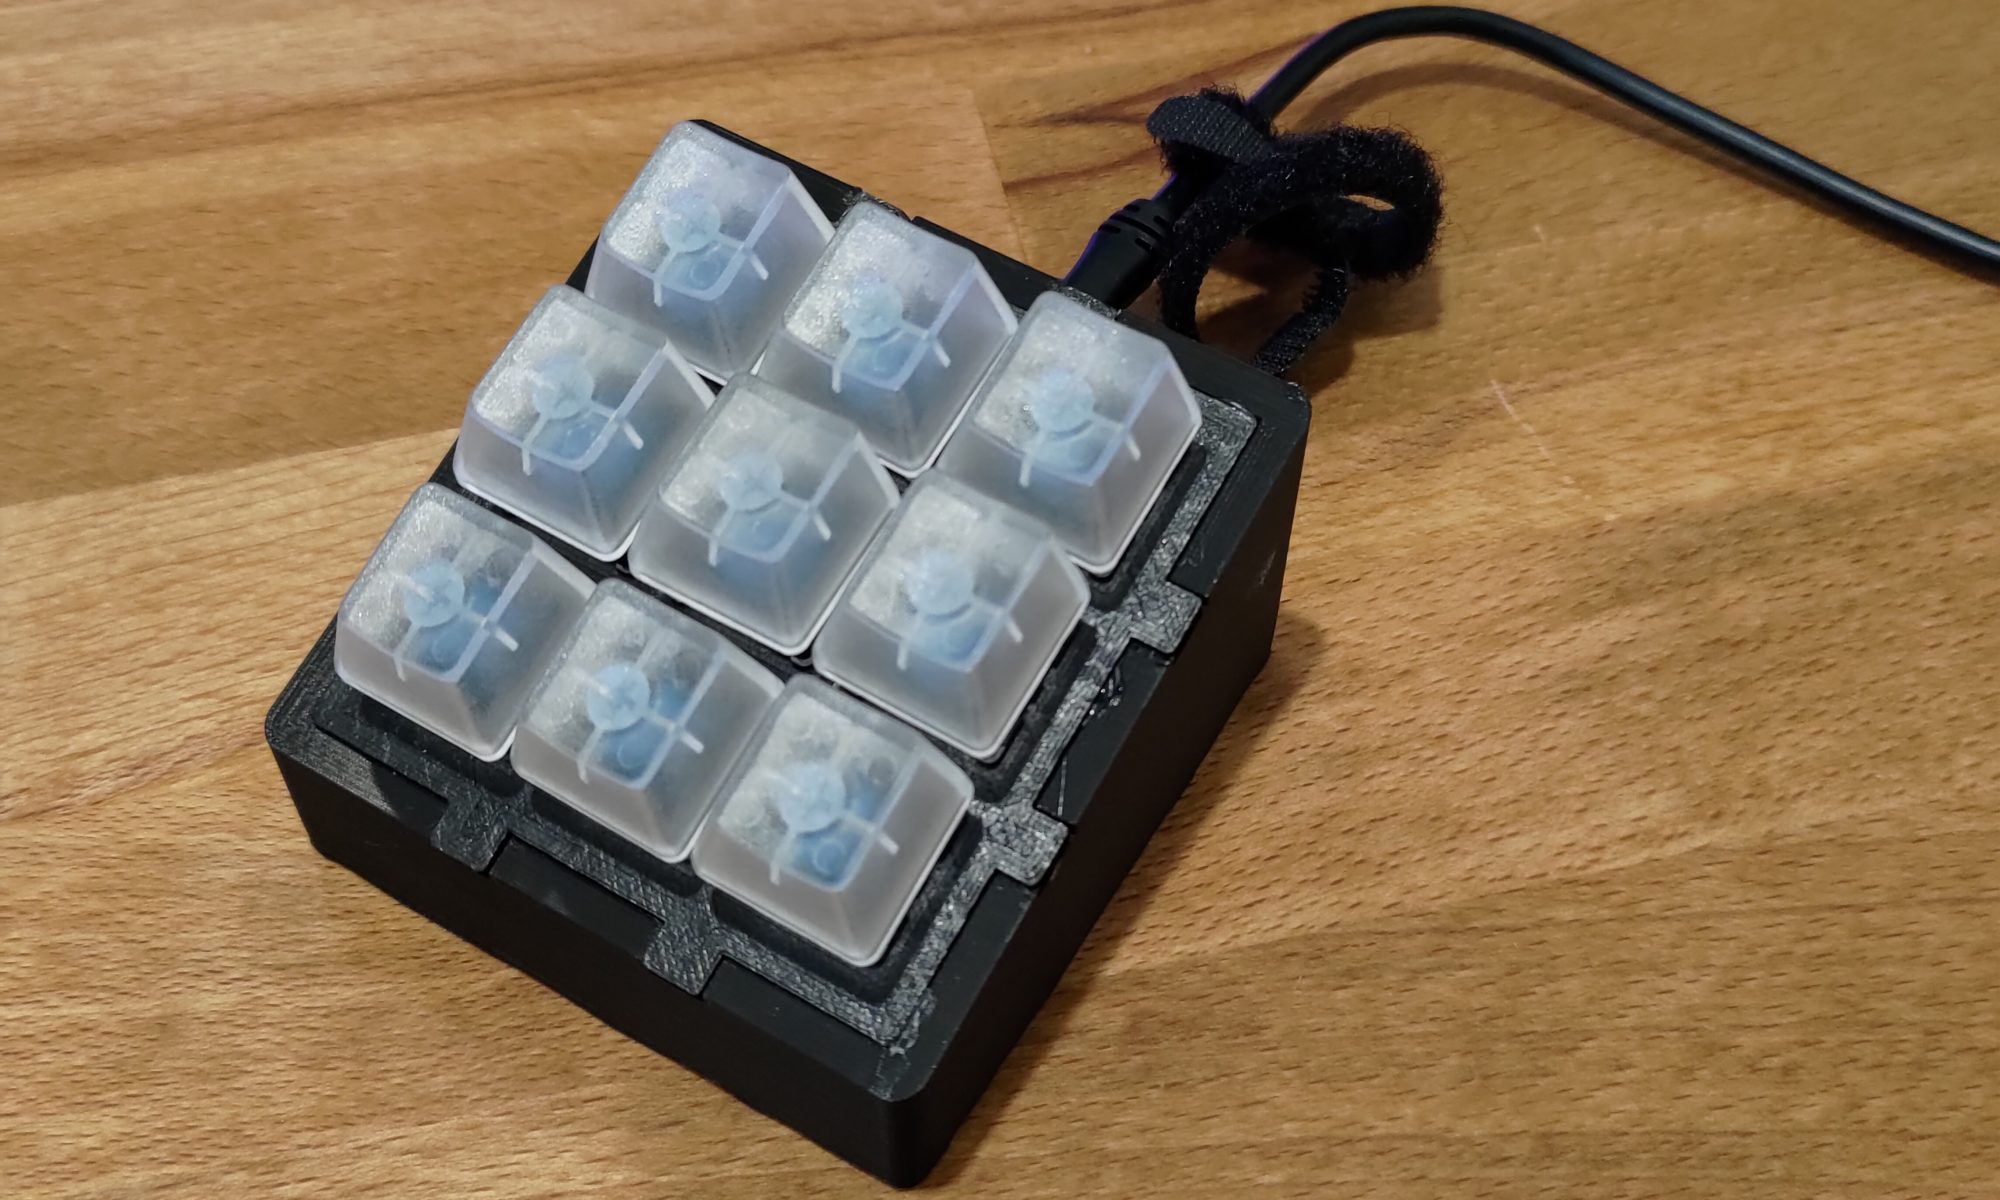
When I started into the EspDeck project, I had enough parts on hand to build two units. I had two sampler packs of switches and two ESP8266 boards to use. So once I had the gen1 unit built, I started working on generation 2 of the EspDeck. Gen2 has a well designed case that holds the board in place, allows easier plugging in of USB, and a cleaner wiring design.
After seeing some posts with EspHome and Zigbee keypads, I realized I wanted to make one too. I wanted the ability to easily trigger more complex actions in home assistant that I don’t have an easy way to fully automate. I decided to make the EspDeck project to provide construction and technical details on building one of these macro pads. EspDeck provides a 9 key macro pad supporting single, double, and hold click actions on every key and can be integrated with home assistant easily through the ESPHome integration or add-on.
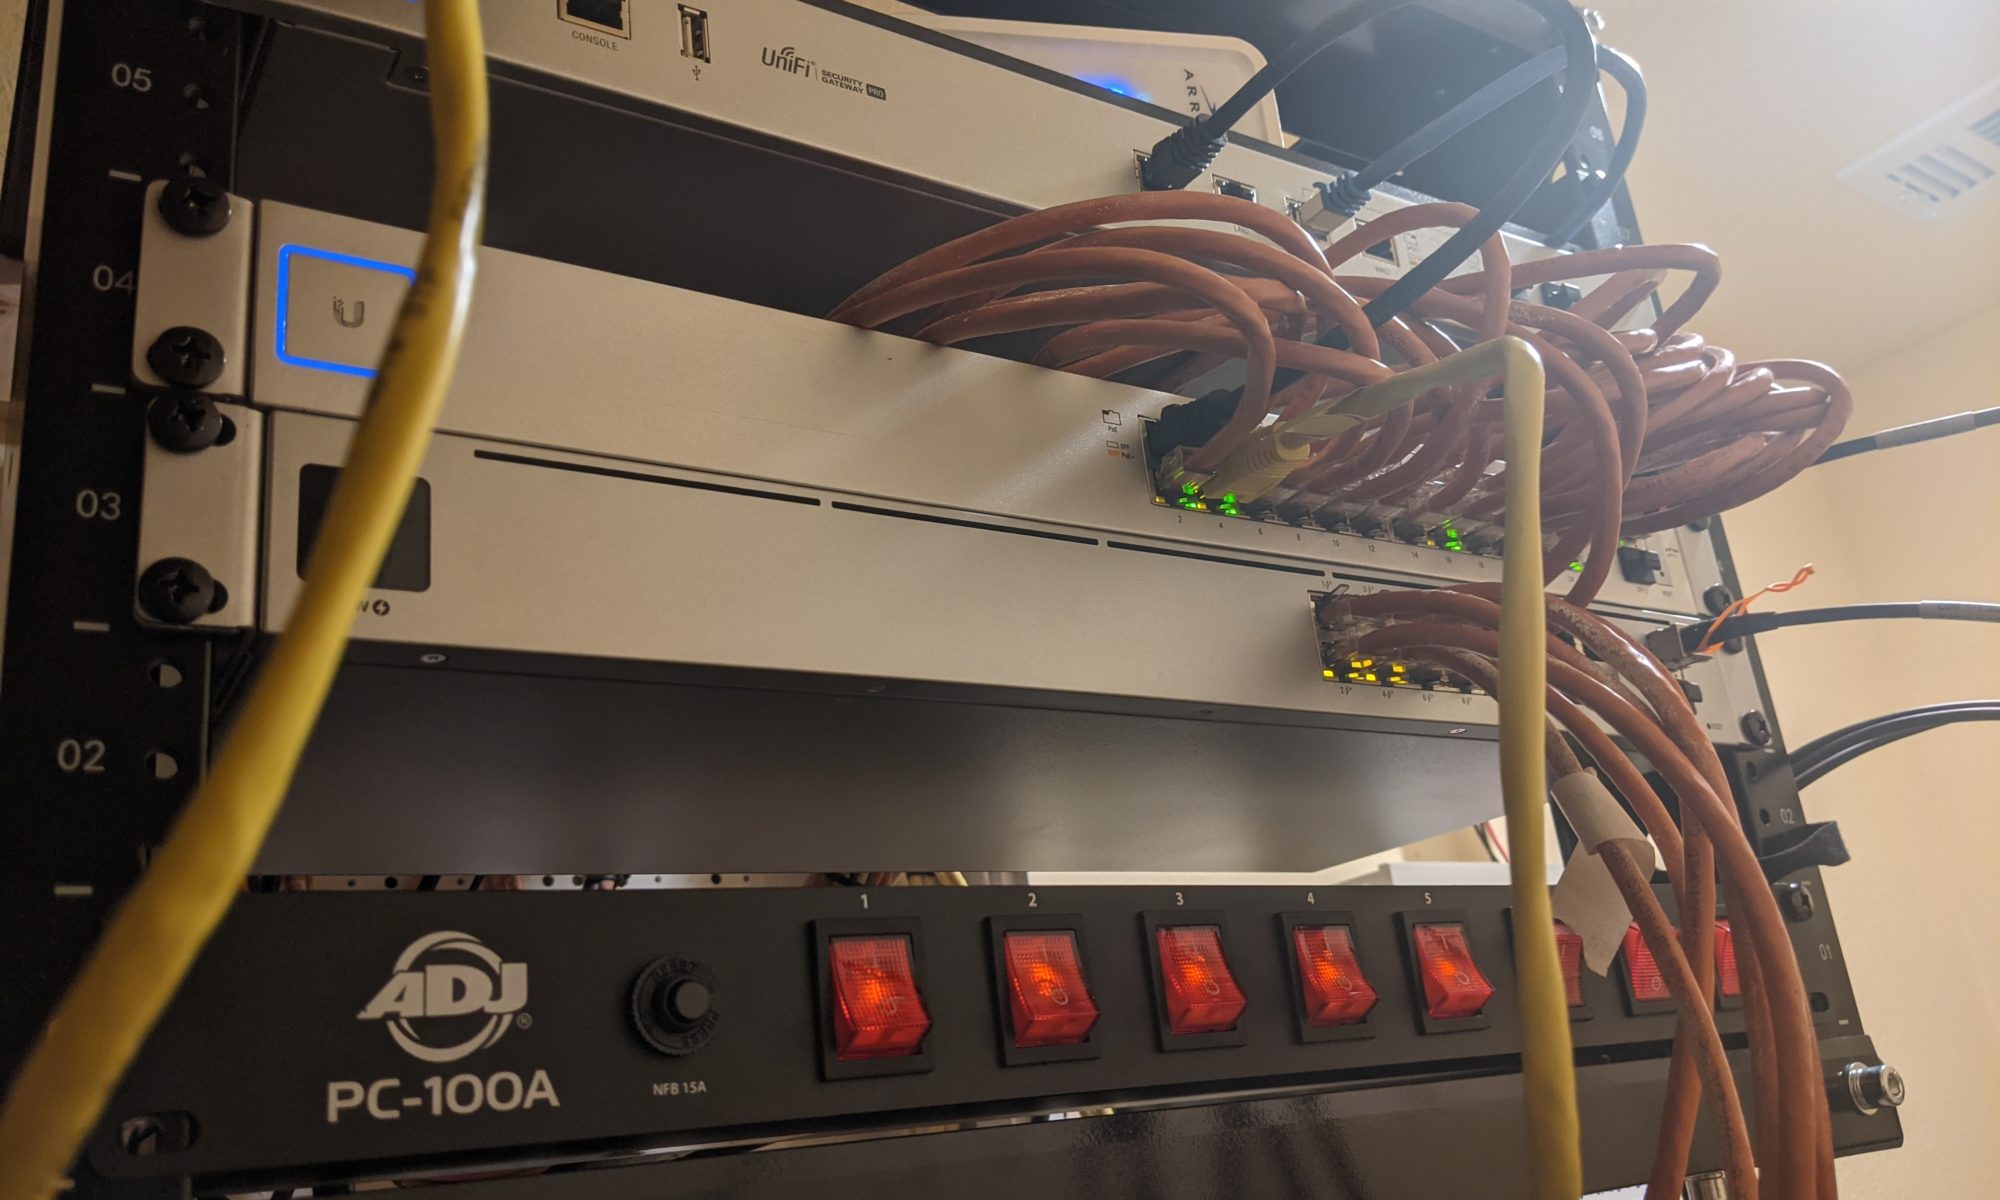
I recently needed to build out a new network. The new network had a box in place that I could use for gear, however that box wasn’t big enough for any rack mount gear. I decided to mount a rack over the top of the box to handle all of the gear and keep it organized. With the new network, also came with a need to expand the number of switch ports I have available. I set it up to drive POE to all the end points so that I could have better centralized power.
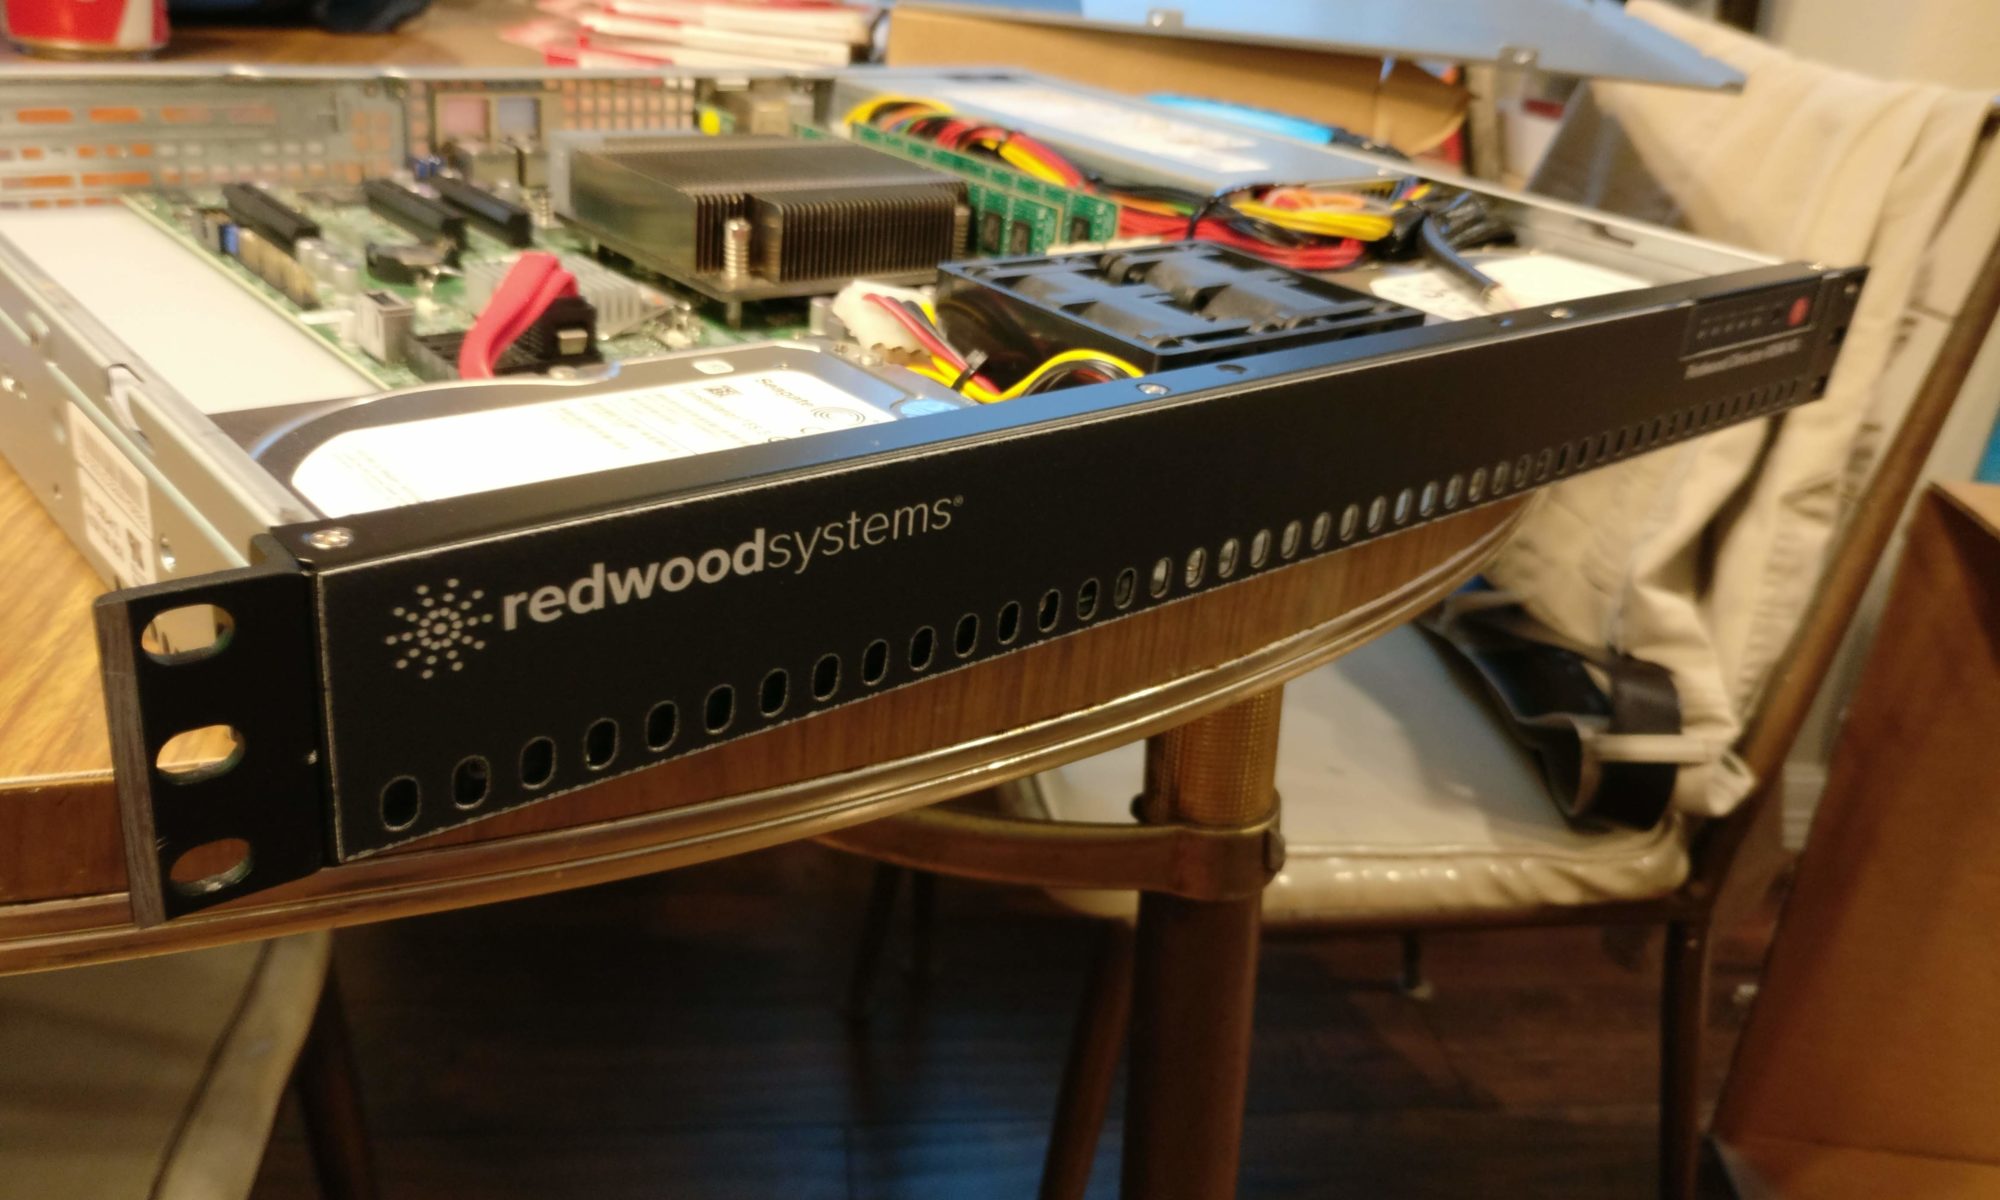
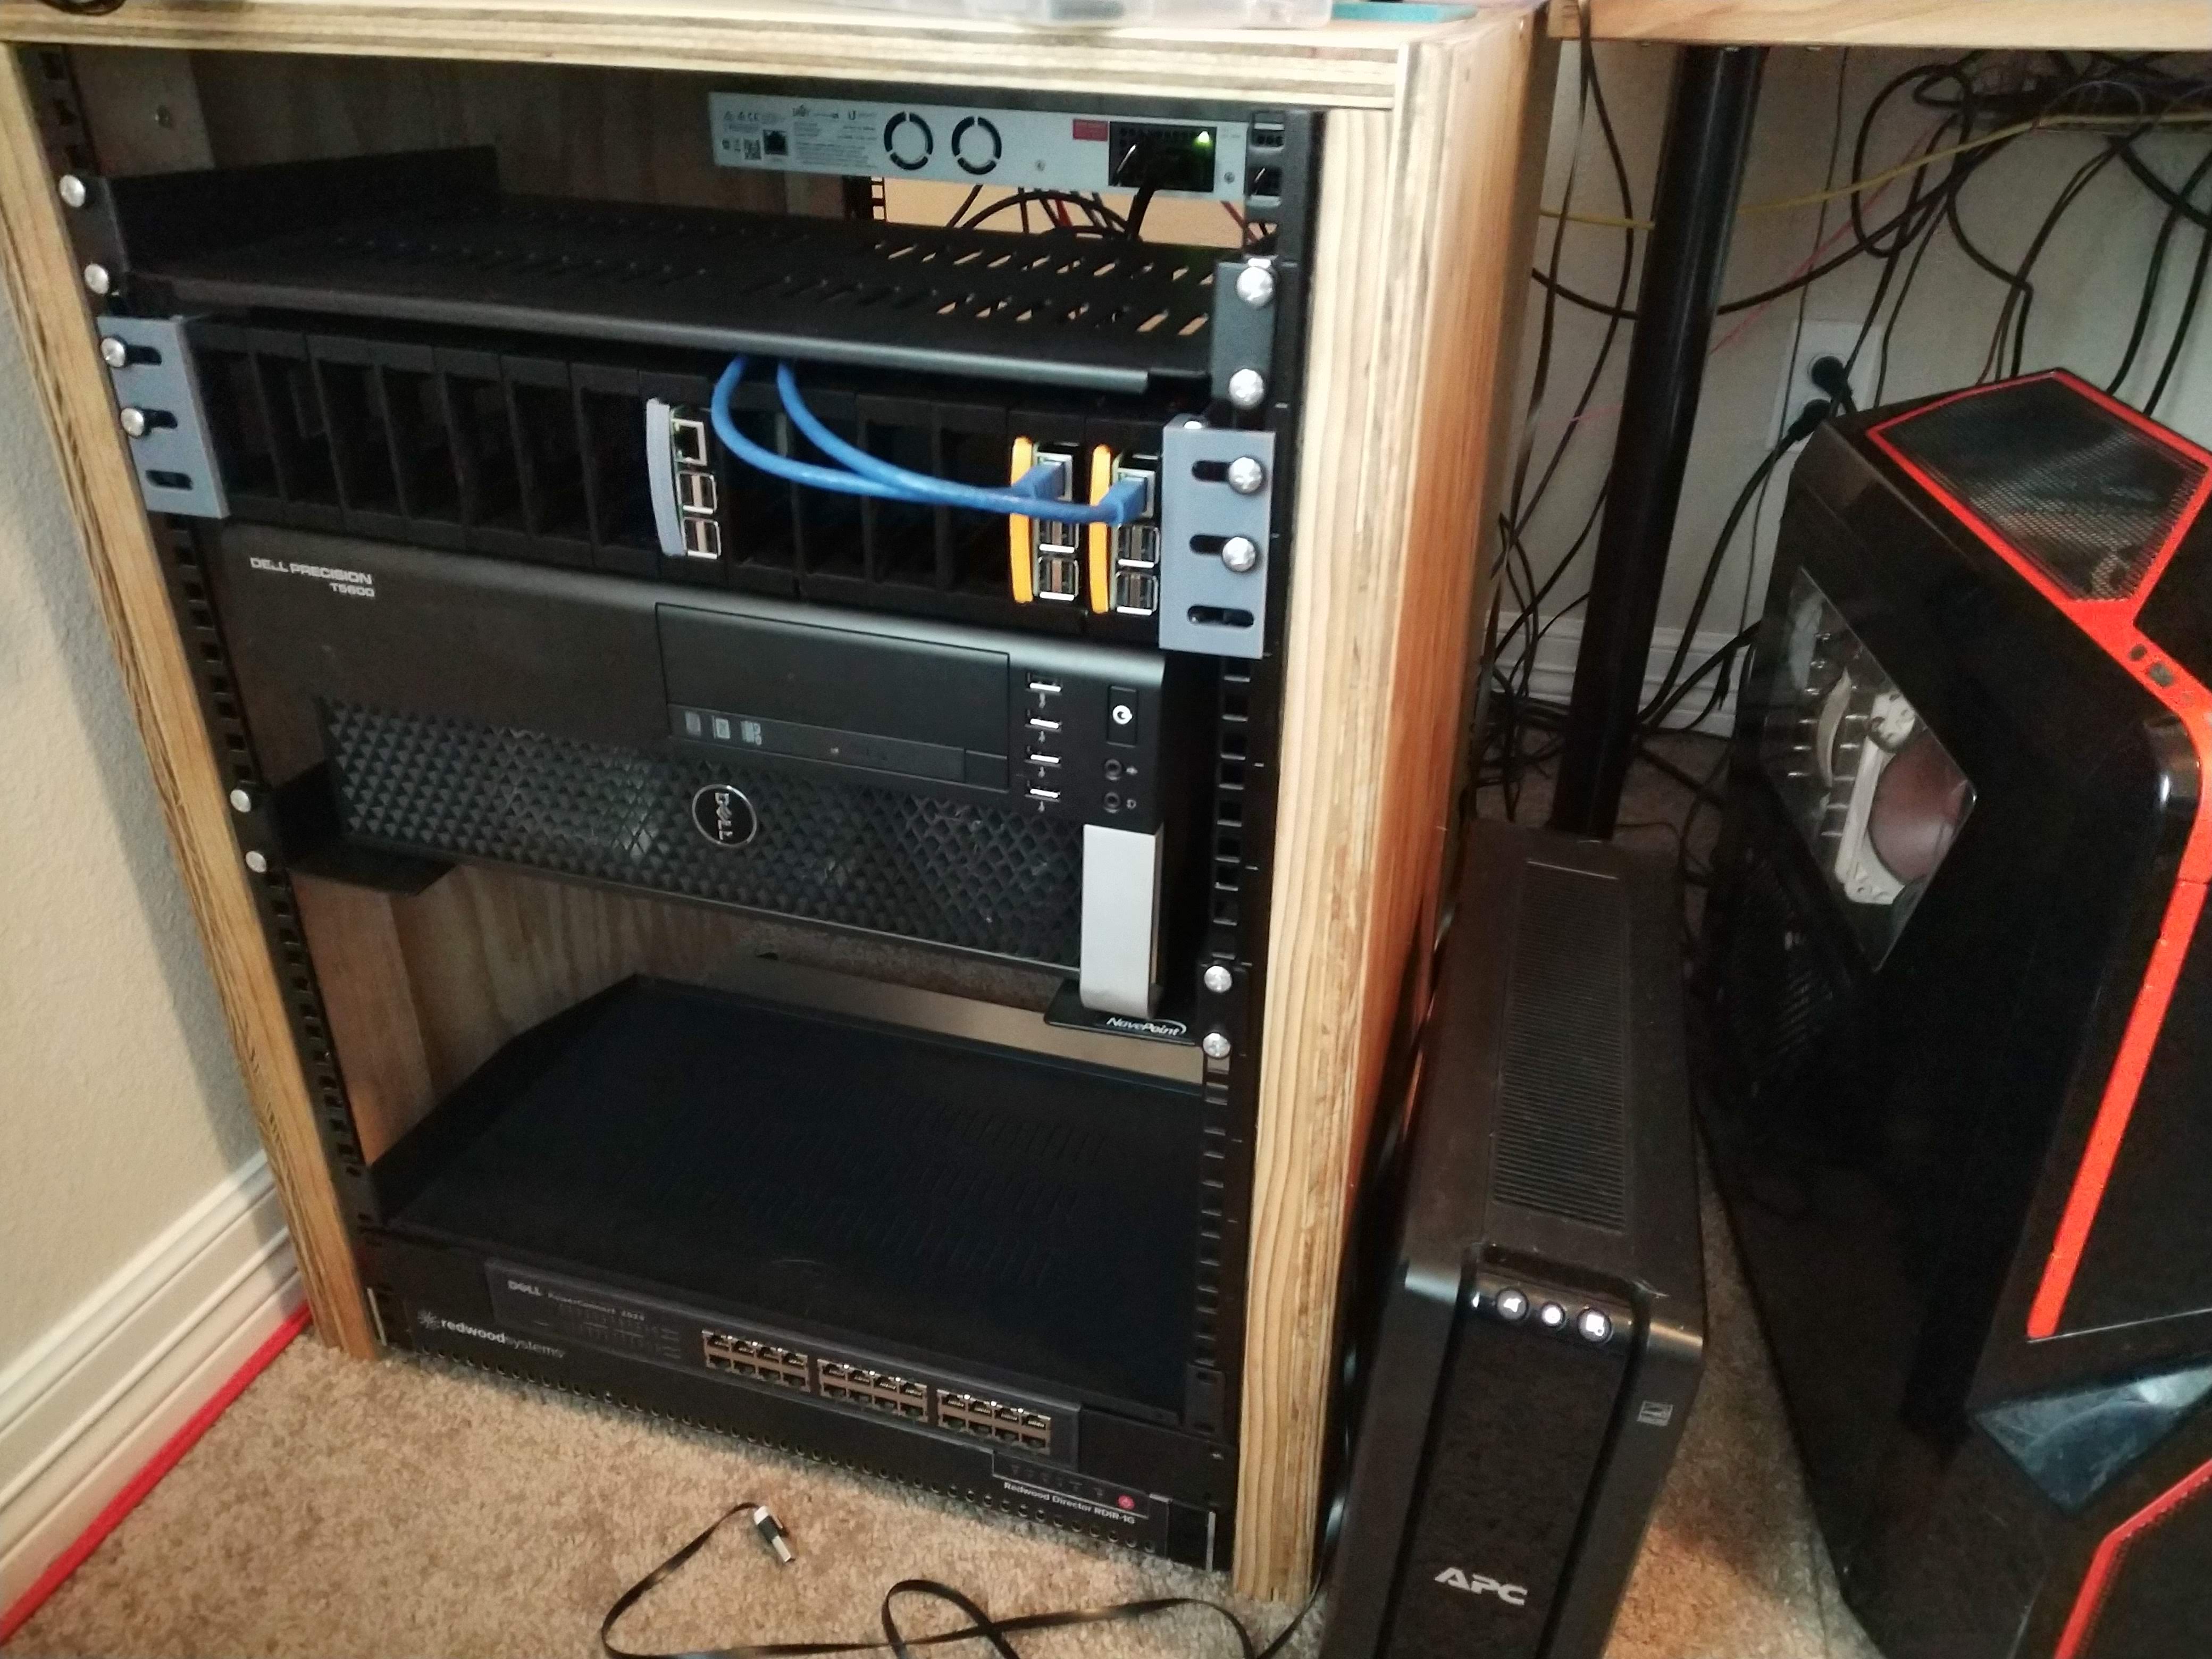
While using MotionEyeOS on a raspberry pi 3 worked for a while, eventually I began to need a bit more hardware to handle some of the security camera goals I had. For this, since I already had my hand crafted 19in rack, I wanted to find a decent rack mount server for it, preferably SuperMicro.
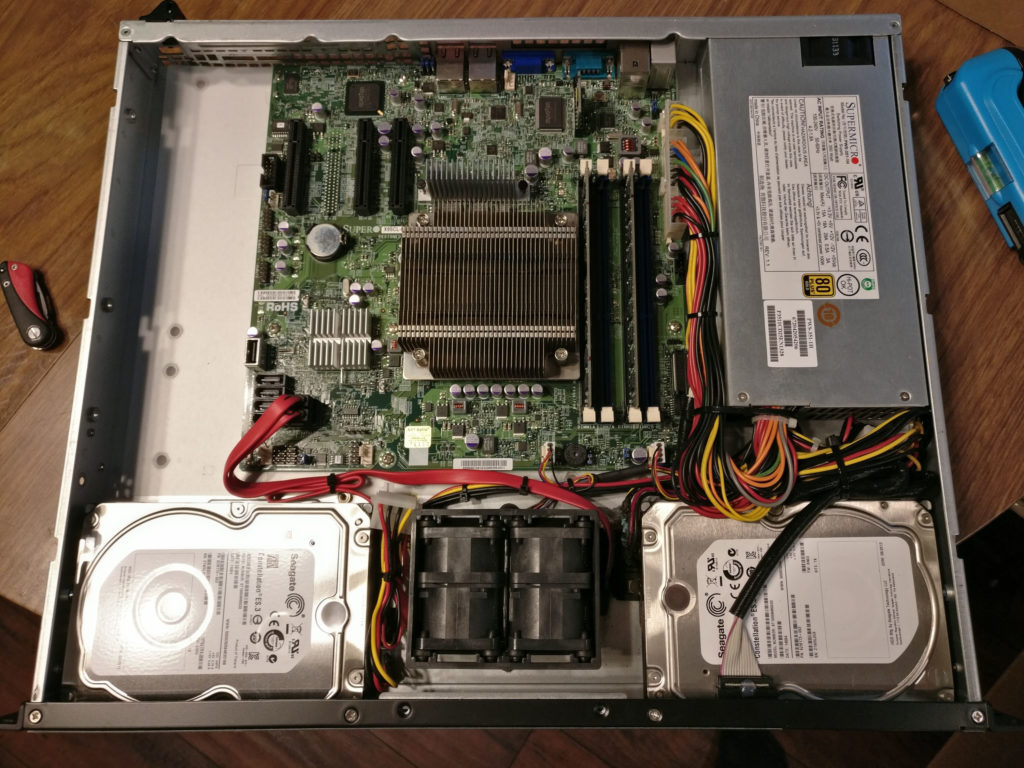
I ended up finding a Redwood Director RDIR-1G on ebay for a good price. After doing some research, it l found out that it was a SuperMicro box, specifically it was a 5018D-MF. This is a solid little 1U half depth box with an E3 server processor on it. The listing claimed it had 32GB of RAM, however I found out later that it only had 8GB ram. This was still a pretty decent deal and I went with it.
Of course, once it arrived whats the first thing we do, open it up.
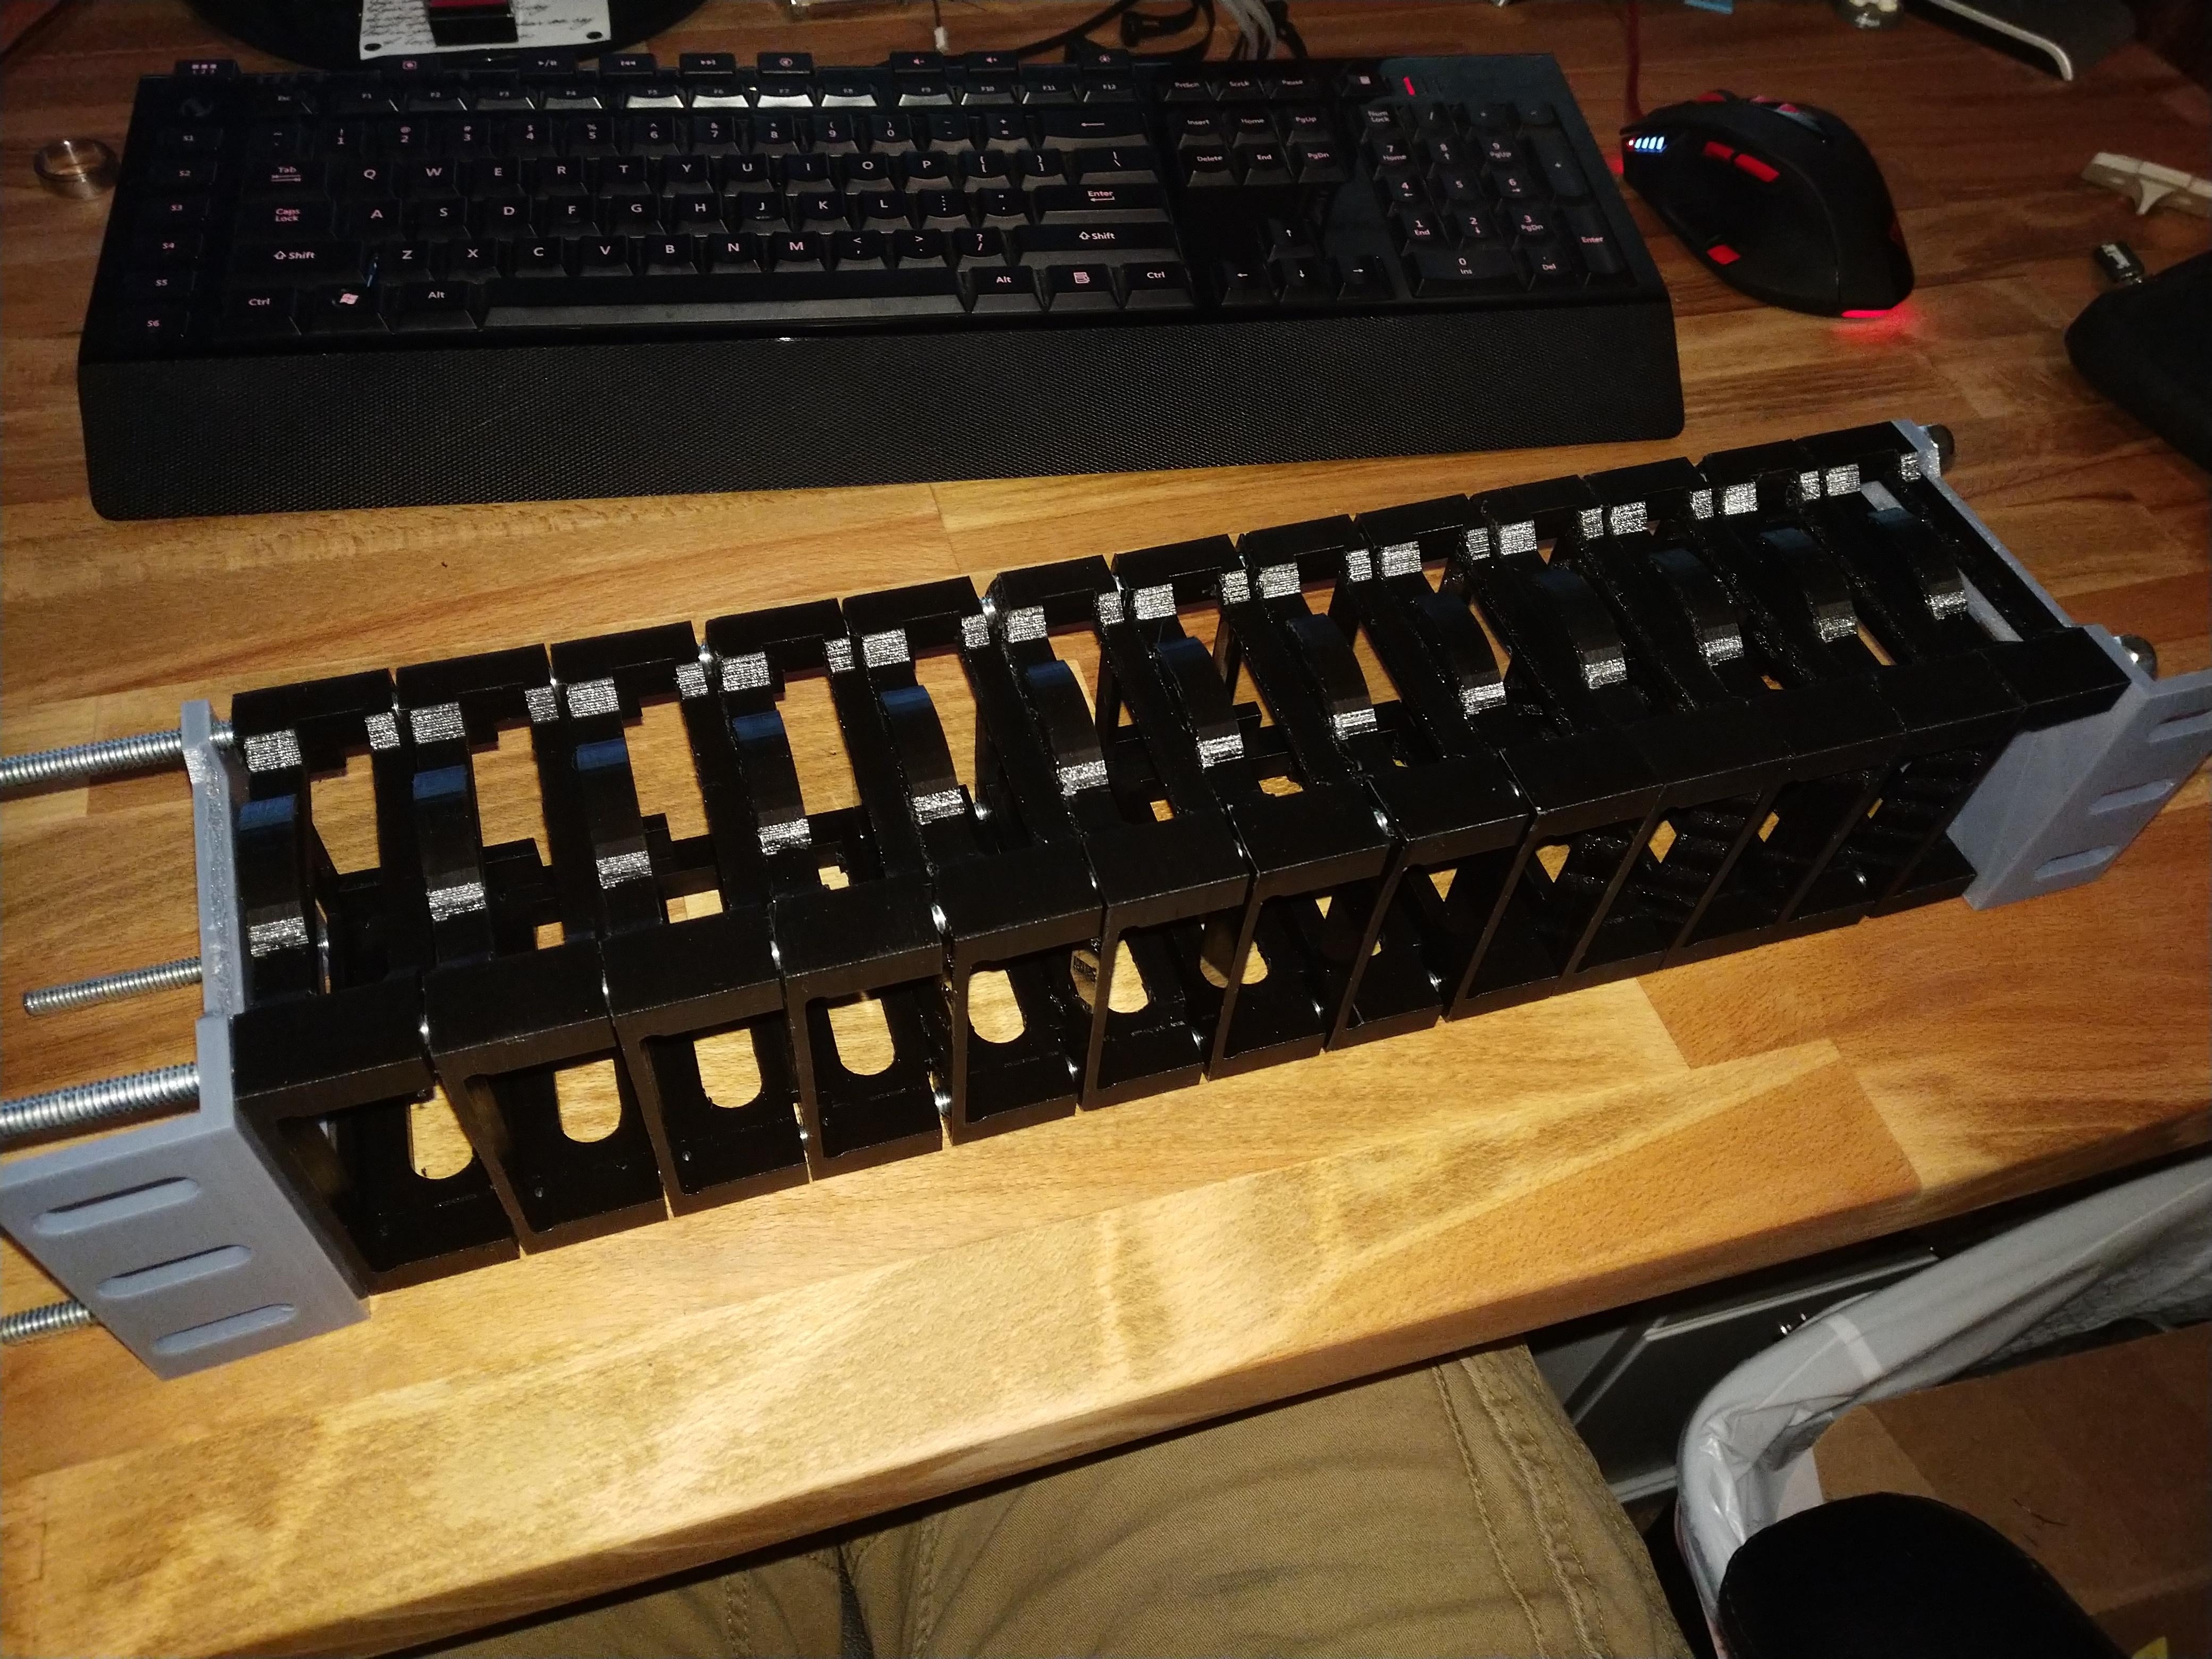
I printed out the Raspberry Pi Blade Center found on thingiverse on my Ultimaker 2. This was a relatively easy set of units to print, with a majority of the time needed on it to be spent cleaning up the large number of pi holders. I assembled these with threaded rods and lock nuts. The threaded rods had to be cut to size but in the end, everything was assembled in about a weekend after printing was done. In order to fit RPI 3B+ with the POE hat, I did end up hand modifying some trays, which I don’t have a model for the changes so they can be printed in that form.