I have a number of old projects I started years ago and never got around to finishing. Some of these have electronics in the plans, others are just 3d prints. Many of them I purchased parts for, or printed parts of them, but I just never managed to finish them. So I plan on getting them done, cutting a few corners to do so, but it’s better than not doing them at all.
This first project is an adafruit designed gas mask. I picked up all the electronics for it in 2017 and even printed 90% of the parts I’d need. It mainly needs assembly and maybe a few extra bits as needed to finish it up.
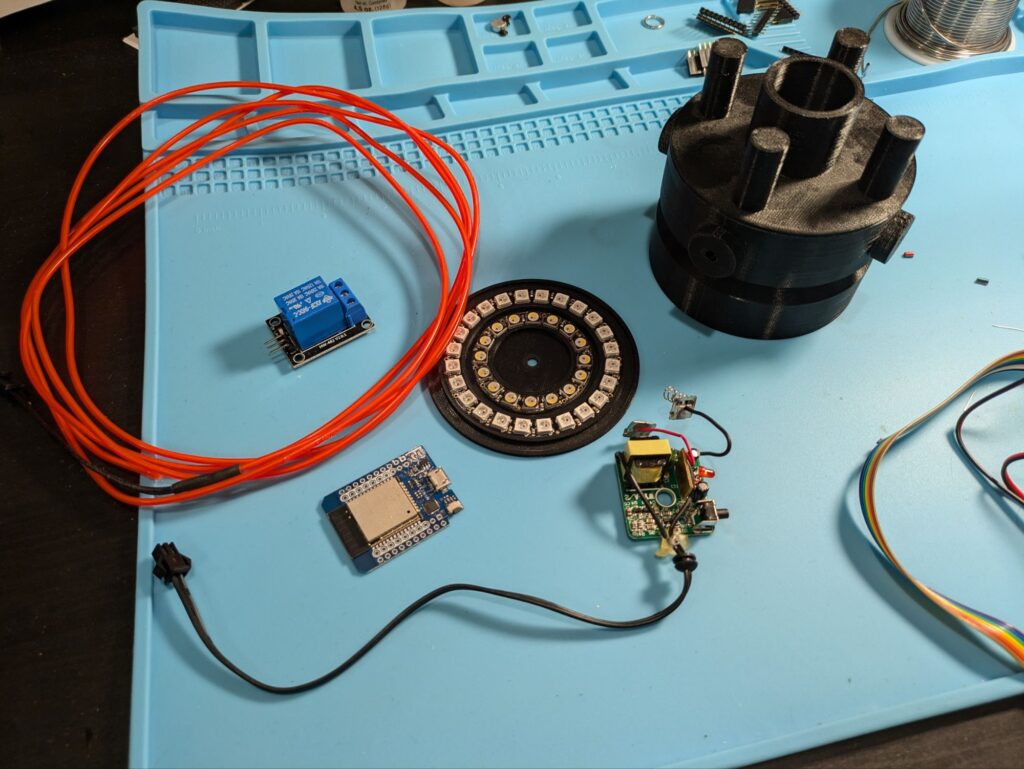
Parts
- Electro luminescent (EL) wire
- EL wire transformer
- 16 LED ring
- 24 LED ring
- Micro controller
- Various 3d printed components
To get this off the ground and finally built, I decided to run it off of WLED, and skip making it wearable (it’ll join my mask wall instead). To do this, we’ll want an ESP32, a relay to control the EL wire, and a step down buck converter to power the EL transformer instead of batteries.
Needed to Finish
- ESP32
- Relay
- Step down buck converter
Assembly
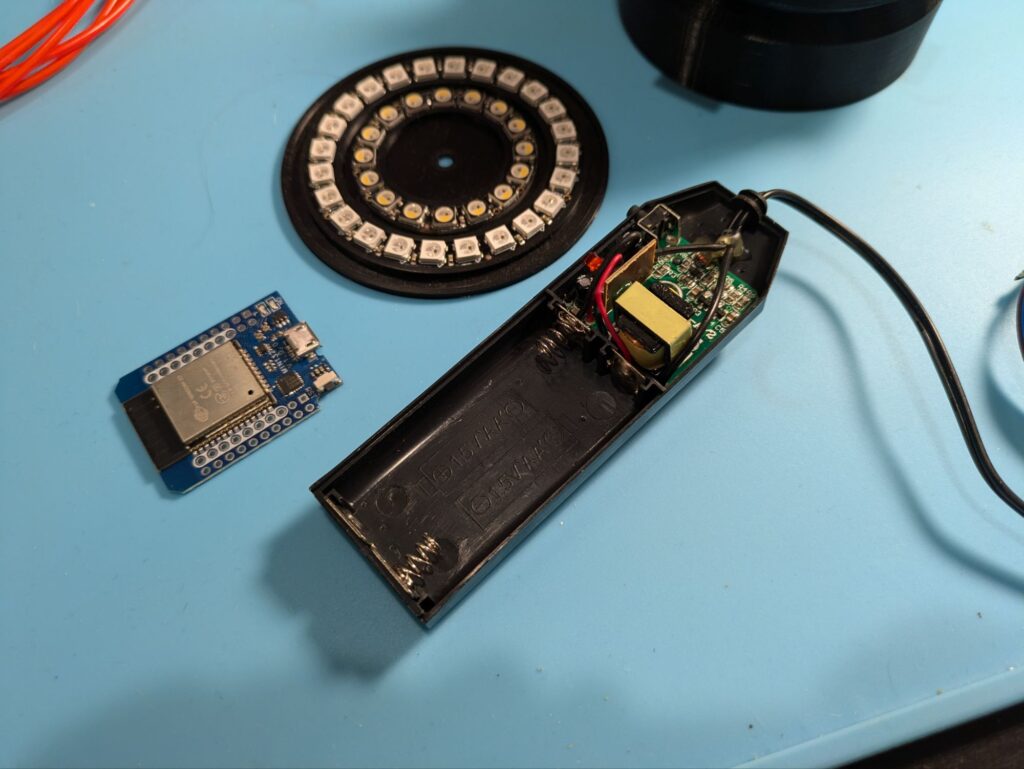
To start things out, I wanted to disassemble the EL transformer so I can make it as small as possible. If I can, I want to remove it from the battery case and get just the circuit board out which is (helpfully) quite small.
Luckily the EL driver case can be pretty easily opened up with one screw, and we find that all we need is a small circuit board from it (which is also only held in with one screw). This can be removed easily enough from the enclosure, after which I’ll remove the battery tabs. My plan is to power it with a step down converter from the ESP 5v input to the expected 3v.
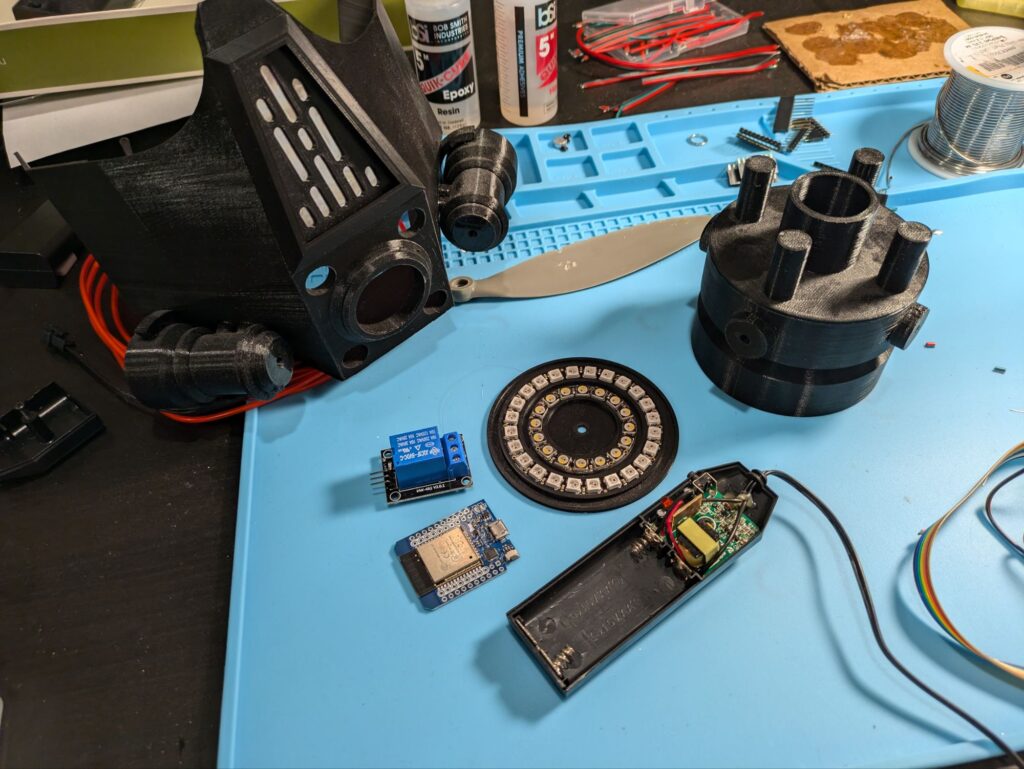
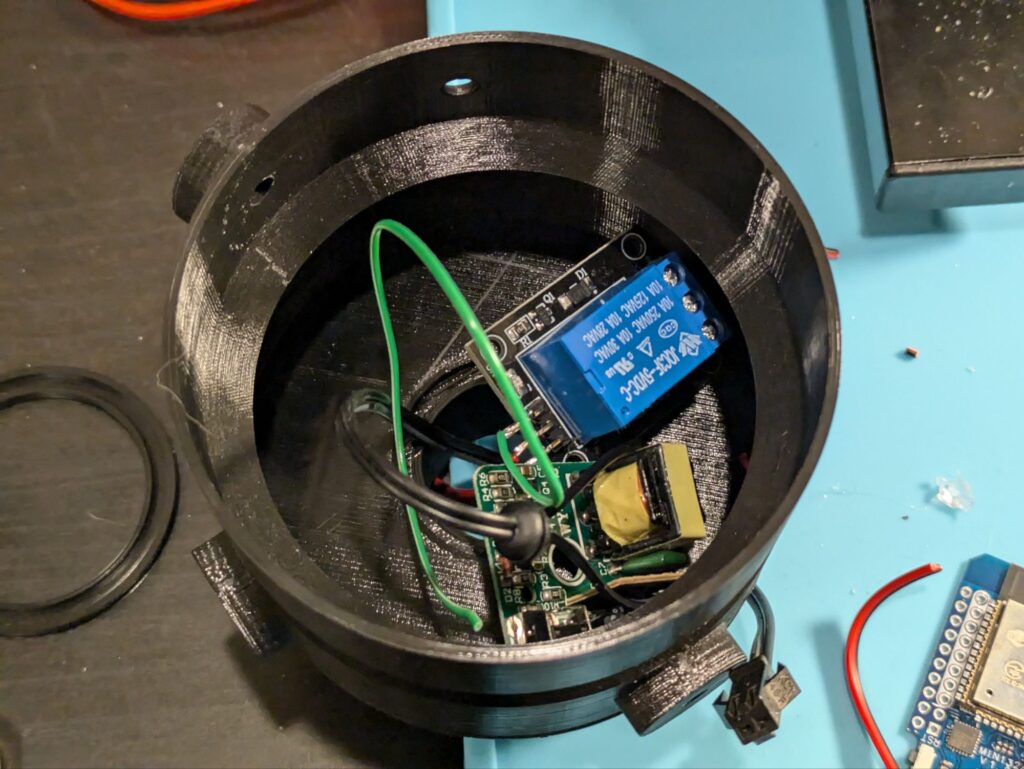
Now let’s see if all the parts we have will fit in the respirator design for the mask. I’m hoping to fit the EL driver, relay, and step down in the respirator, with the ESP mounted in the back of the mask. That should cover all the electronics needed for the final mask build.
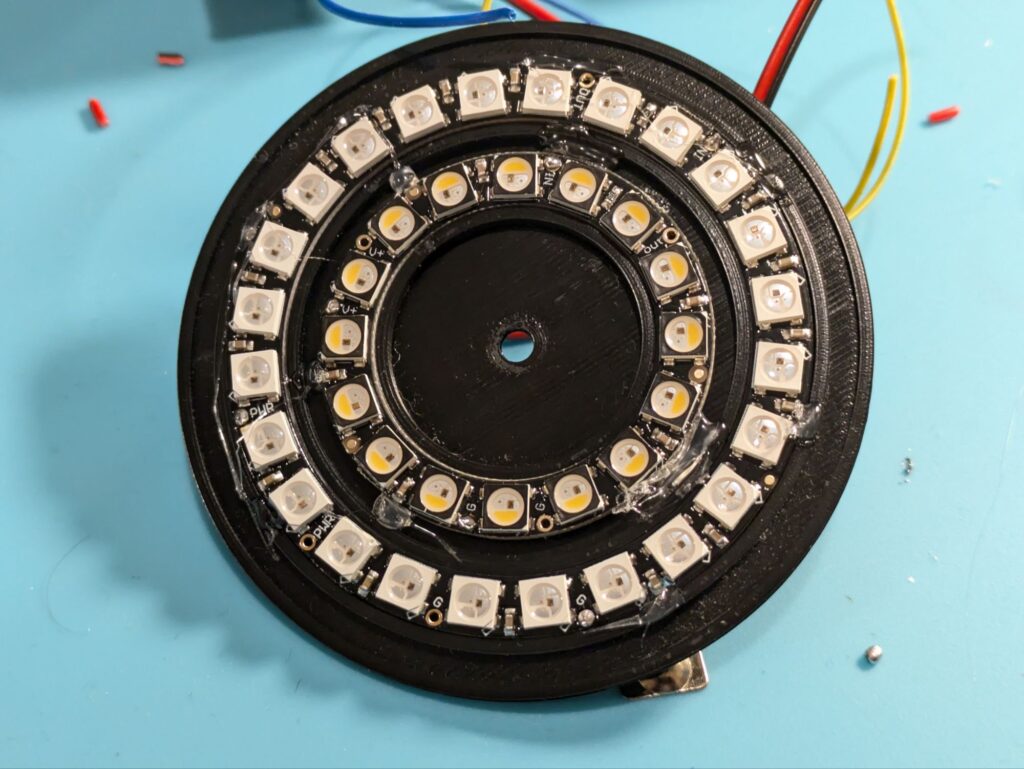
Next up I wired up the two LED rings and stuck them into the mounting ring. I added a bit of hot glue for good measure to make sure they didn’t wiggle free.
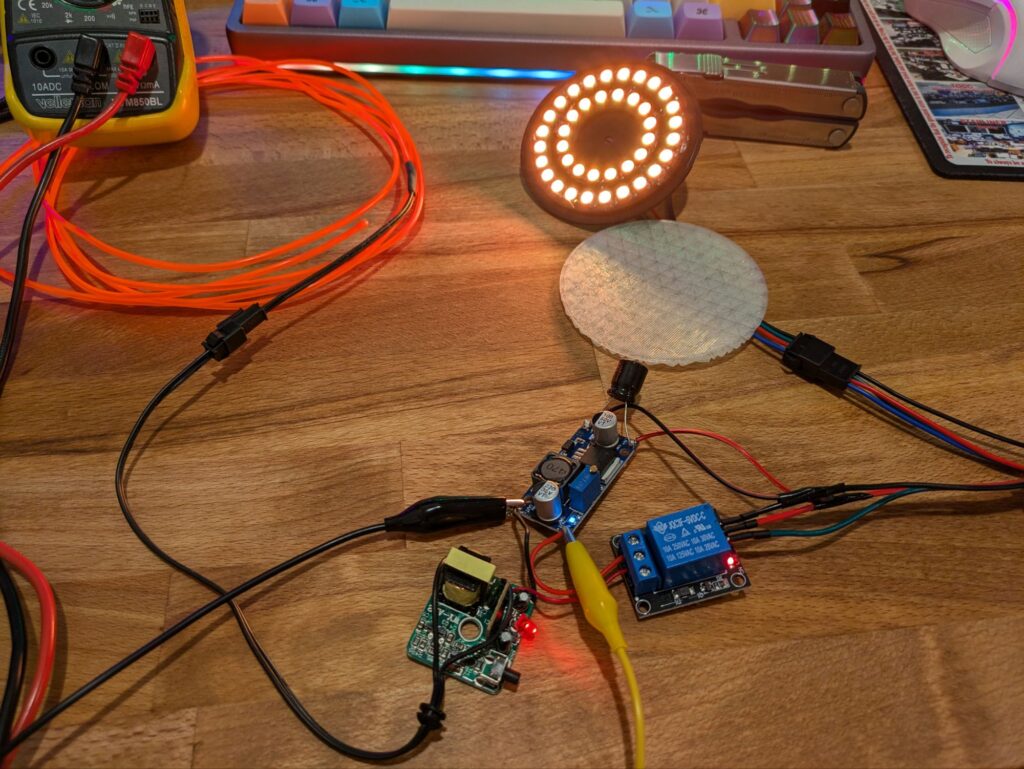
Hooking everything up to tune the buck converter might be a bit overkill but it worked out well enough and I needed some sort of 5v source to go off of. This was totally to make it more precise (and not to double check the LED ring functionality etc).
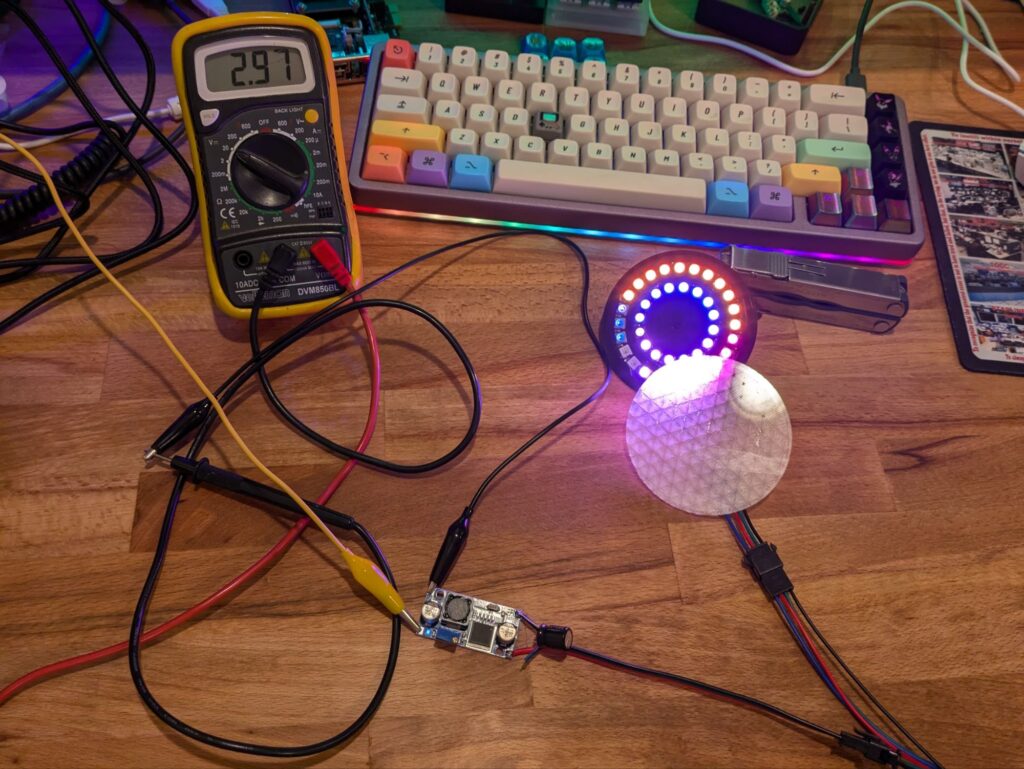
With the buck converter tuned to the right voltage and everything else working, it was time to hook up the final parts and run it all integrated for the first time.
This was when I encountered a fatal flaw in my plan. I found out that the button on the converter wasn’t an on/off I could simply hard wire, but an input to a small IC on it that cycled through 4 settings: blink fast, blink slow, on, and off.
I decided to go with the stupid simple route in an effort to bring the project to completion. Instead of working through a way to have WLED set the transformer setting, or to find a way to hack around the IC on it, I’d put an extension cord on the button and deal with it later! This project has been incomplete for years, I don’t need a reason to leave it that way longer.
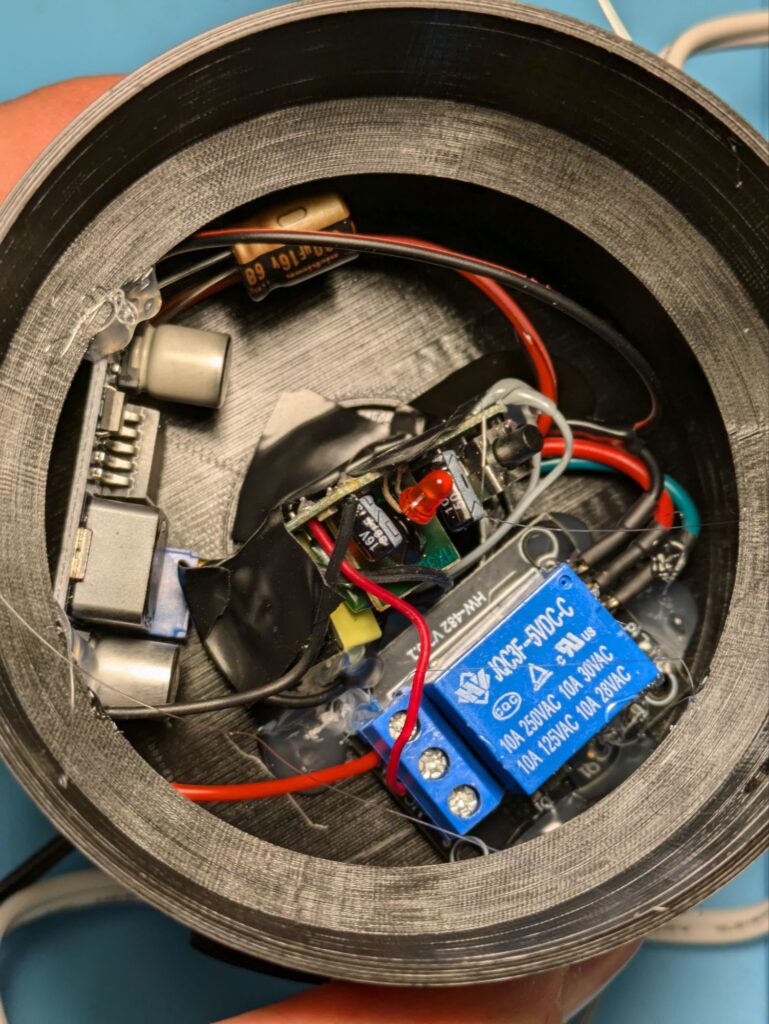
I crammed the transformer, relay, and step down into the respirator, adding some electrical tape to the back of the transformer just in case. As usual, they’re all hot glued in as well. I left enough space for the 4 pin LED connector to fit between and get out of the respirator to the ESP.
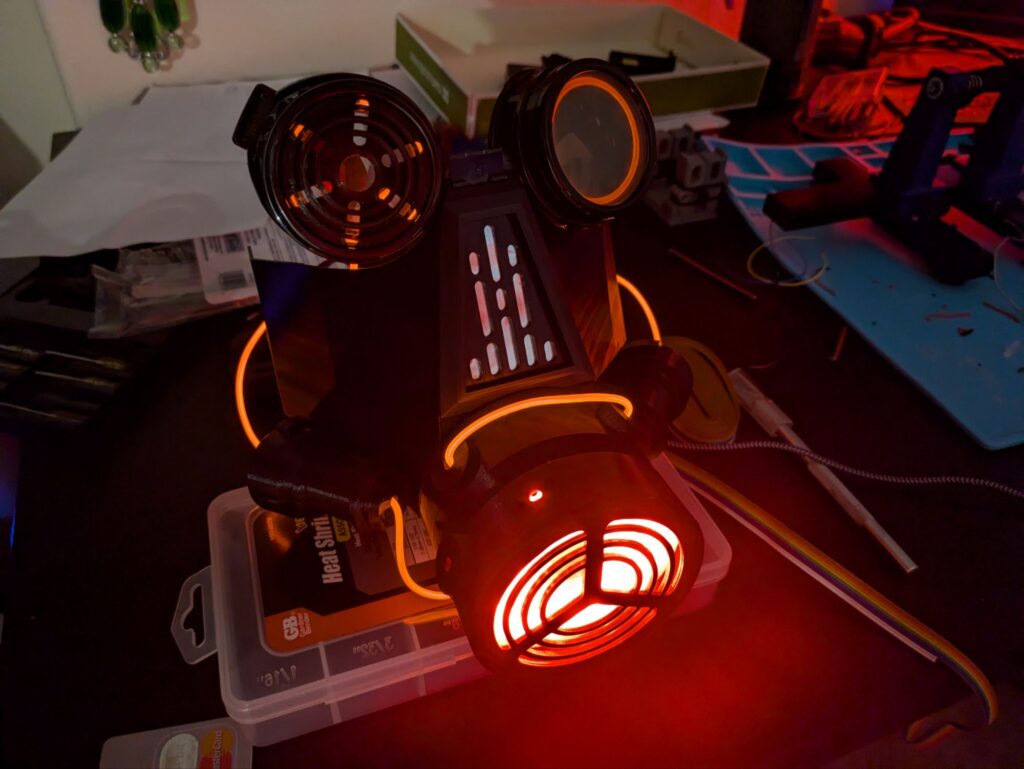
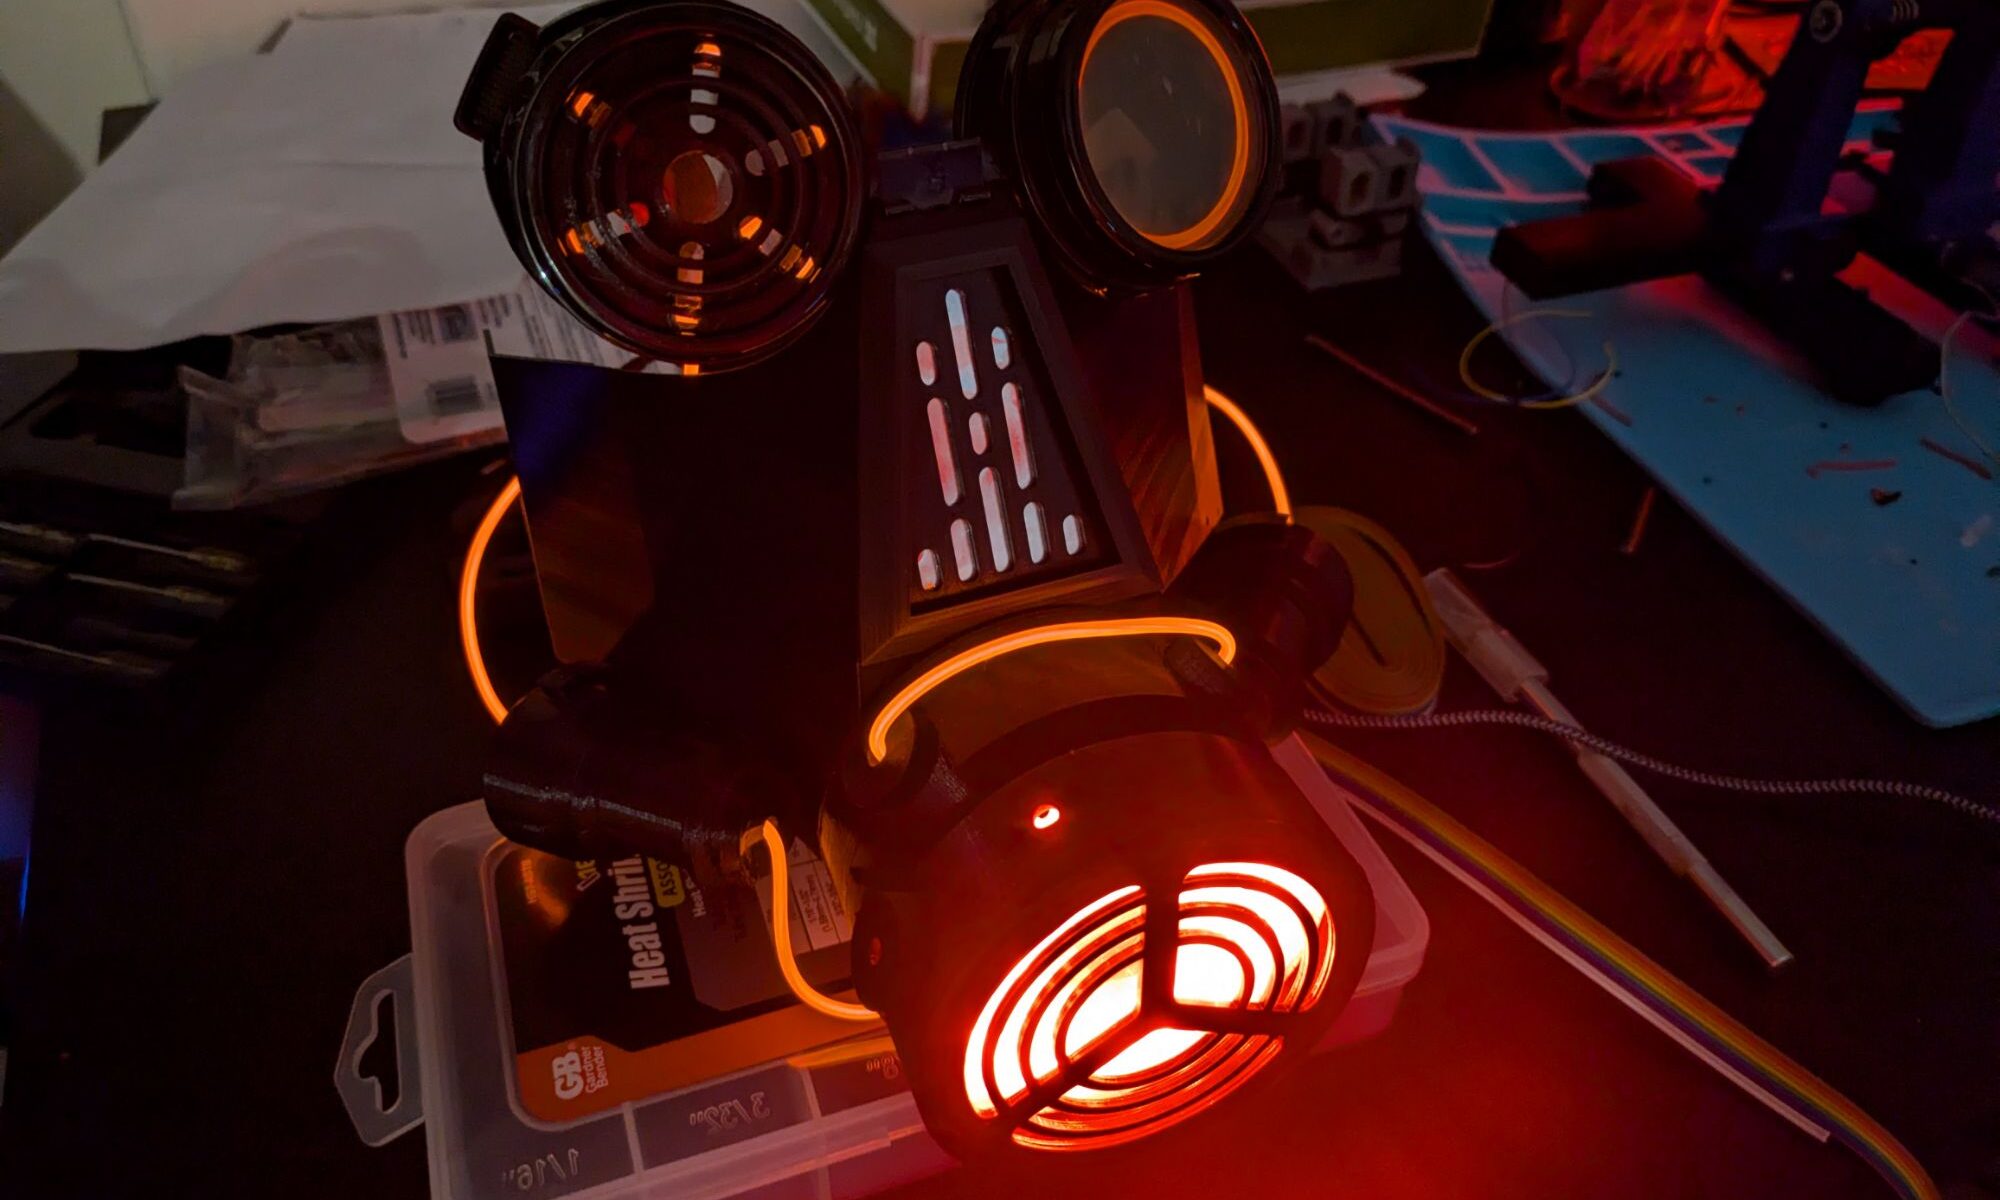
With all the electronics in the respirator, I jammed it into the front of the mask proper to join the parts together, strung the EL wire throughout the mask and added the LED rings to it.

I’m happy it’s finally built, even if I had to cut a corner and make the EL manual to turn on rather than automatic. Maybe I’ll be able to figure that out in the future, but for now, it’s off the list of shelved projects.