
I’ve been watching some YouTube videos featuring 3d printed battle bots recently. One of the form factors that looked neat were the antweight robots (150g), due to their small size and small price for components. I decided to design and build something similar (though no weapon) just to drive around for fun, tormenting the pets, and practicing some design work. I figure I’ll design it so a tail can be tied on with feathers for the cat to chase (the dog will chase it just because it makes noise).
I do have some things around that I can make u se of. I have a spektrum DX7 transmitter that I use for flying rc aircraft, I figure that’ll work just fine for this, along with some extra receivers. All that was left to pick up is the ground specific parts. I also have heat set inserts and machine screws I can make use of from previous 3d printing projects.
Parts
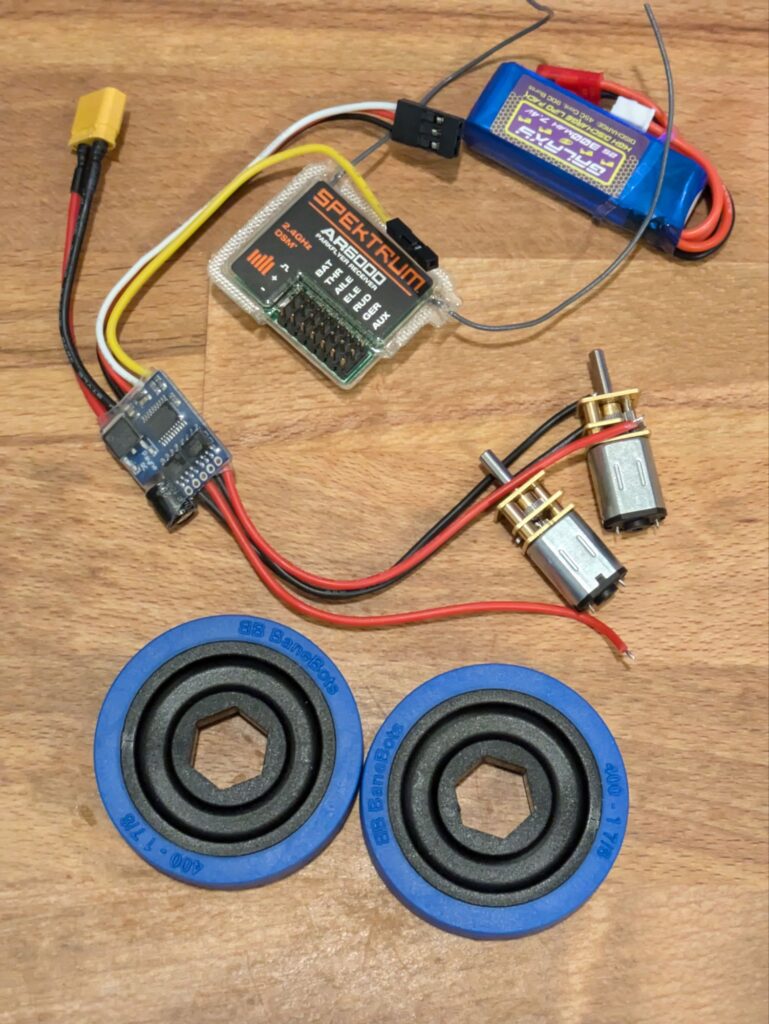
I went through a few sites until I found one that looked pretty nice on parts selection. I ended up on these parts for both price and quality, with it overall being pretty inexpensive.
- Repeat Robotics Dual ESC
- 300mah 2S LiPo pack
- 2 Turnabot N20 Motors (I used 1400 RPM, you might want to go lower)
- 2 Banebots T40 wheel hubs (3mm shaft)
- 2 Banebots T40 Wheels (1 7/8″ diameter)
- M2 x 4 screws and heat set inserts
- Receiver
- Transmitter
I liked having the dual ESC to simplify the wiring a bit, and it also was novel to me, so I wanted to try it out. I really wanted to try out a malenki nano, but those don’t support the Spektrum DSM2 protocol, and I didn’t want to purchase a new transmitter.
Design
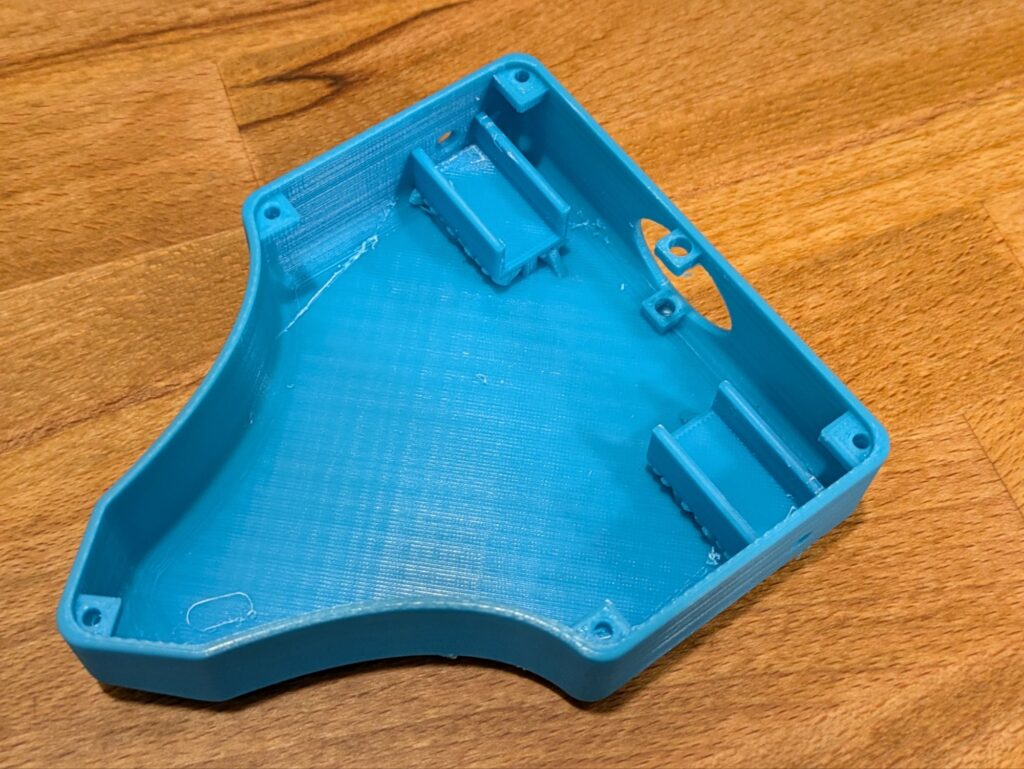
I laid things out on some graph paper and started working out a component layout for the bot. I wanted to keep the battery further forward to keep the nose down, but other than that, I just wanted to cram all the parts in, make it slim enough to be capable of driving both right-side up and upside-down, and give it a sleek look.
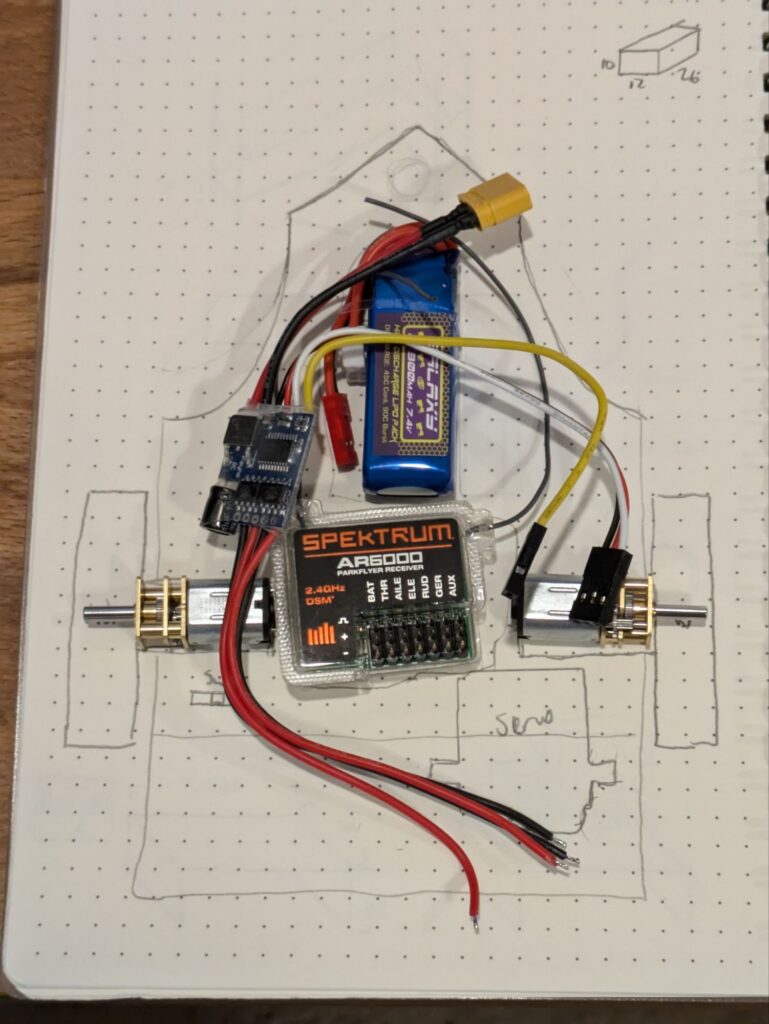
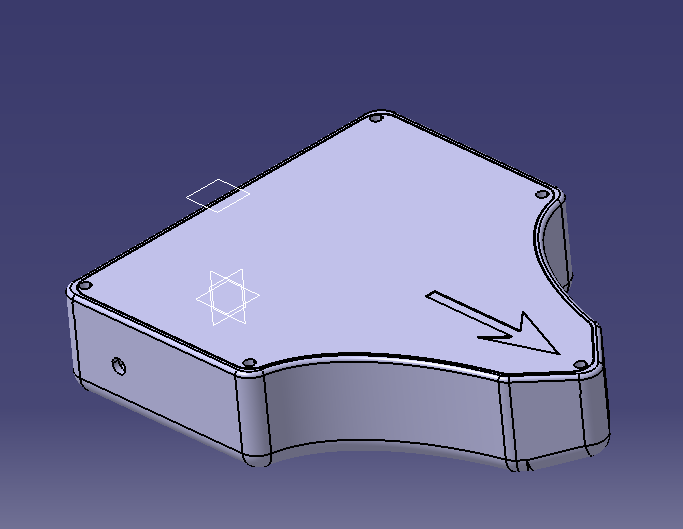
I took the full scale drawing and drew it up in CAD. I included a hole in the back for a rope to be tied to, some mounting points for it, and then a lid with a few screws to hold it all down and together.
Printing
All the parts fit on one build plate of my Ultimaker 2+ and it was a waiting game after that. I used PLA because I have lots of it, though I know something like TPU would be more durable and less brittle.
To print it I ended up using supports on and off the build plate, which made it a bit annoying to clean up. I have some design notes on this for future editions of the little bot to reduce the amount of supports needed.
Assembly
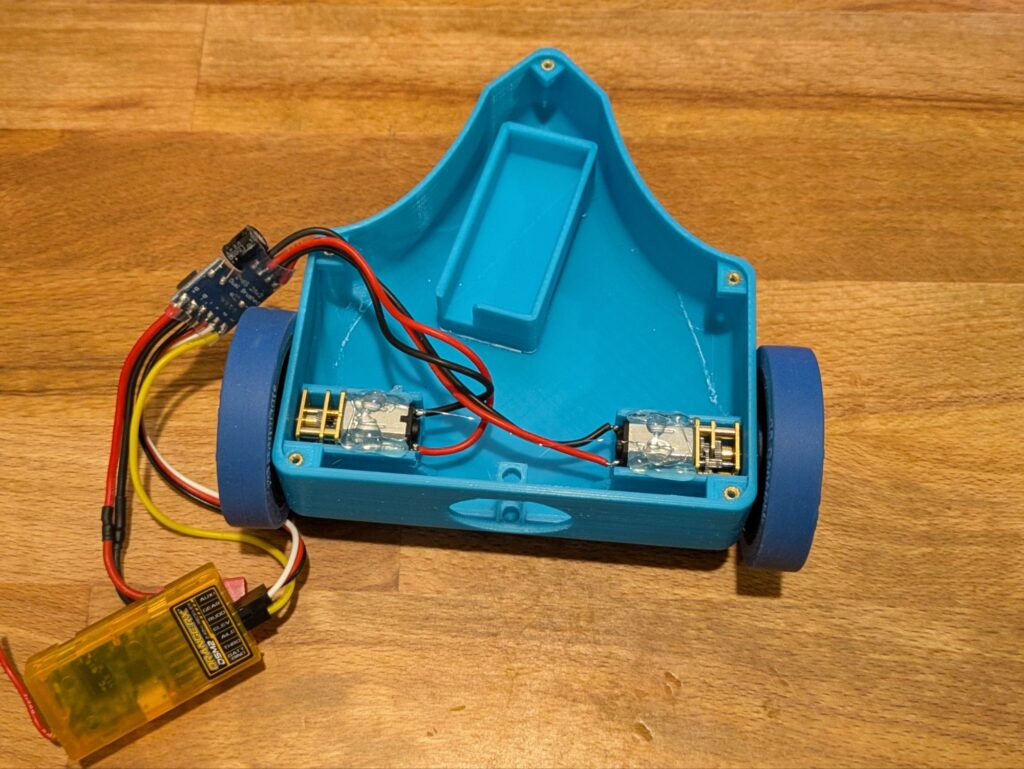
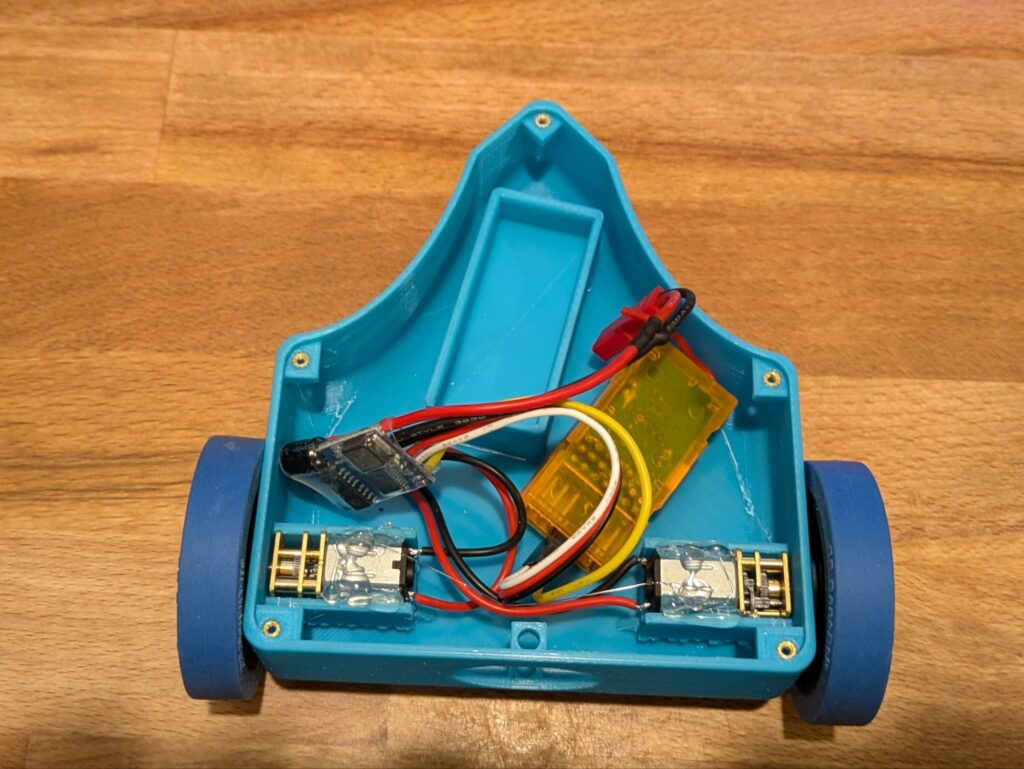
Assembly was as simple as soldering on the wires for the motors, slipping them in the mounts and hot gluing them down. I then mounted the hubs, then wheels, and crammed all the electronics in to test it out.
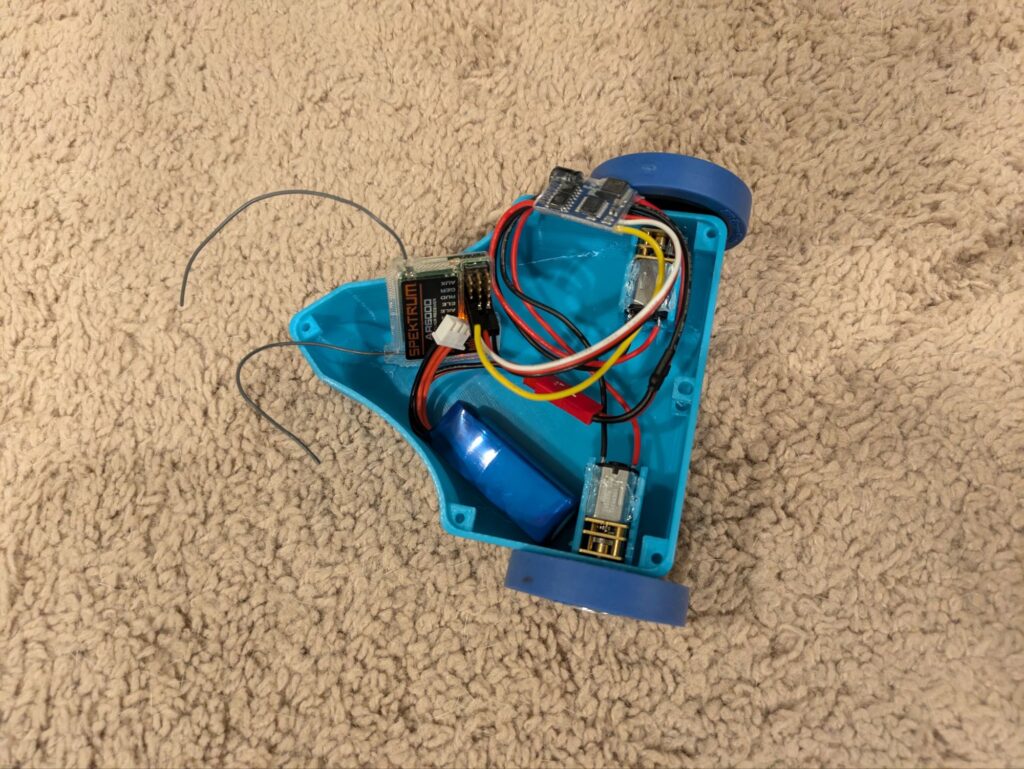
I must be hitting the minimum voltage for the motors as the bot is very twitchy even with exponential setup to 40% on my transmitter. All the expo seems to do is move the stick position where the bot starts moving. Maybe the 1400rpm model of those motors was a bit much (but man it’s fast when it picks up speed!). It also has the ability to flip itself over just by accelerating in a straight line!
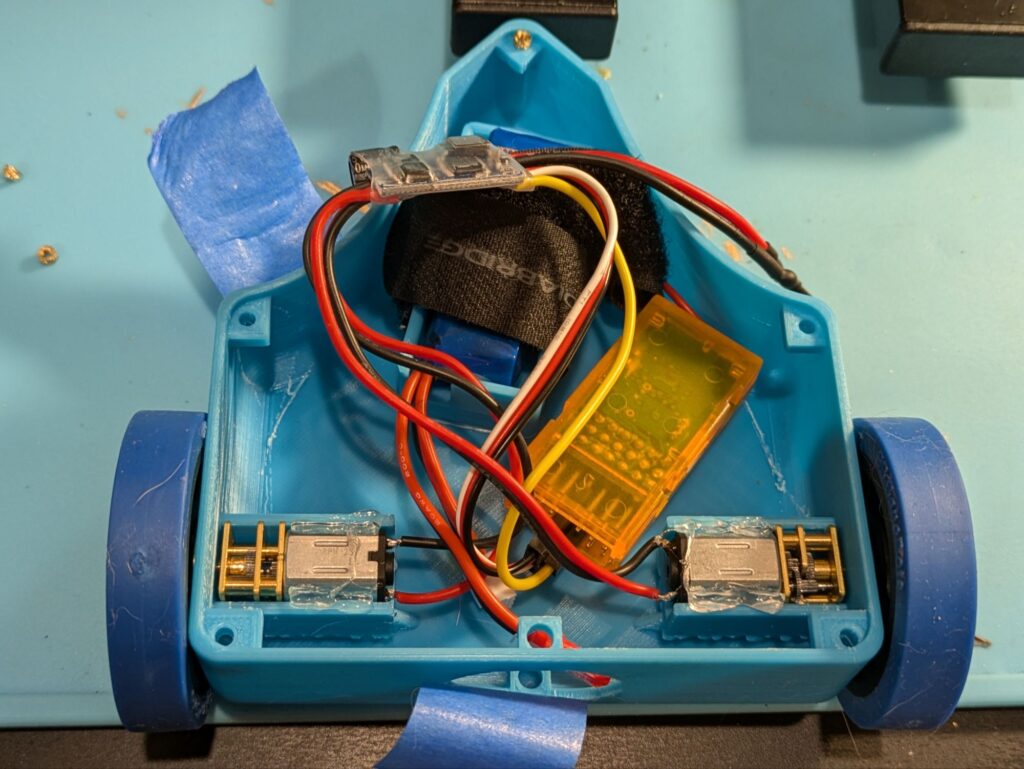
I did end up finding out that the AR6000 receiver I grabbed at the start was too tall to fit in the bot’s chassis. I swapped that out to a slimmer profile orange receiver I had and it fit just fine. I also modeled up and glued in a battery mount. I installed it off center to provide a bit more space for the receiver on one side.
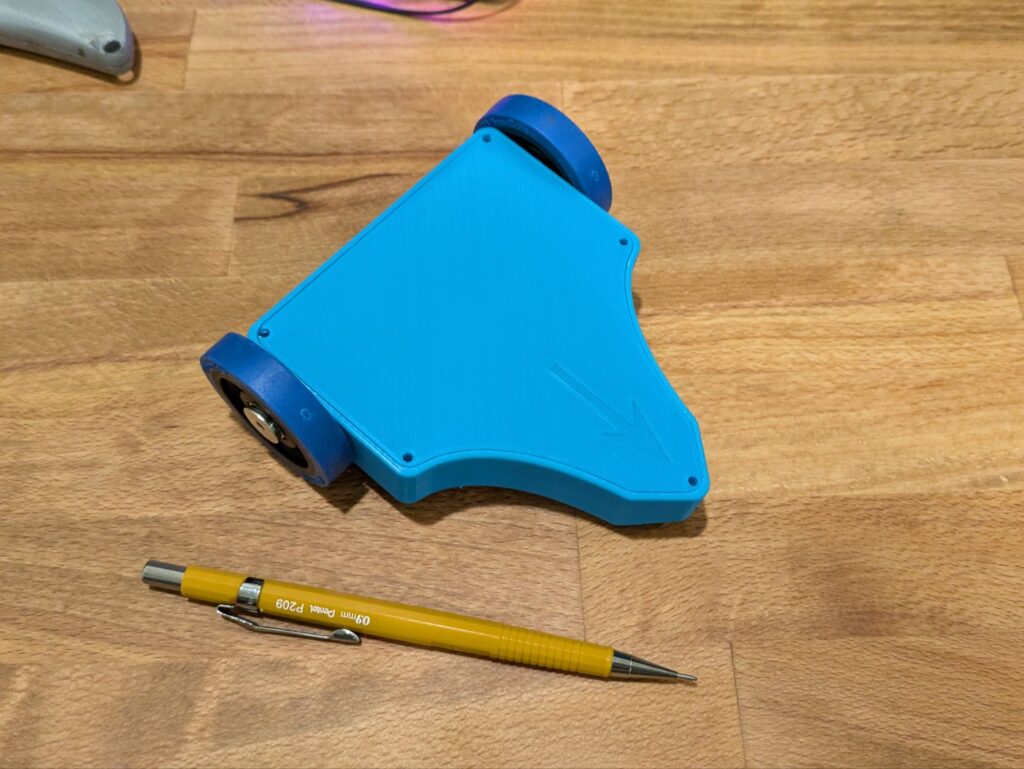
Final Pieces
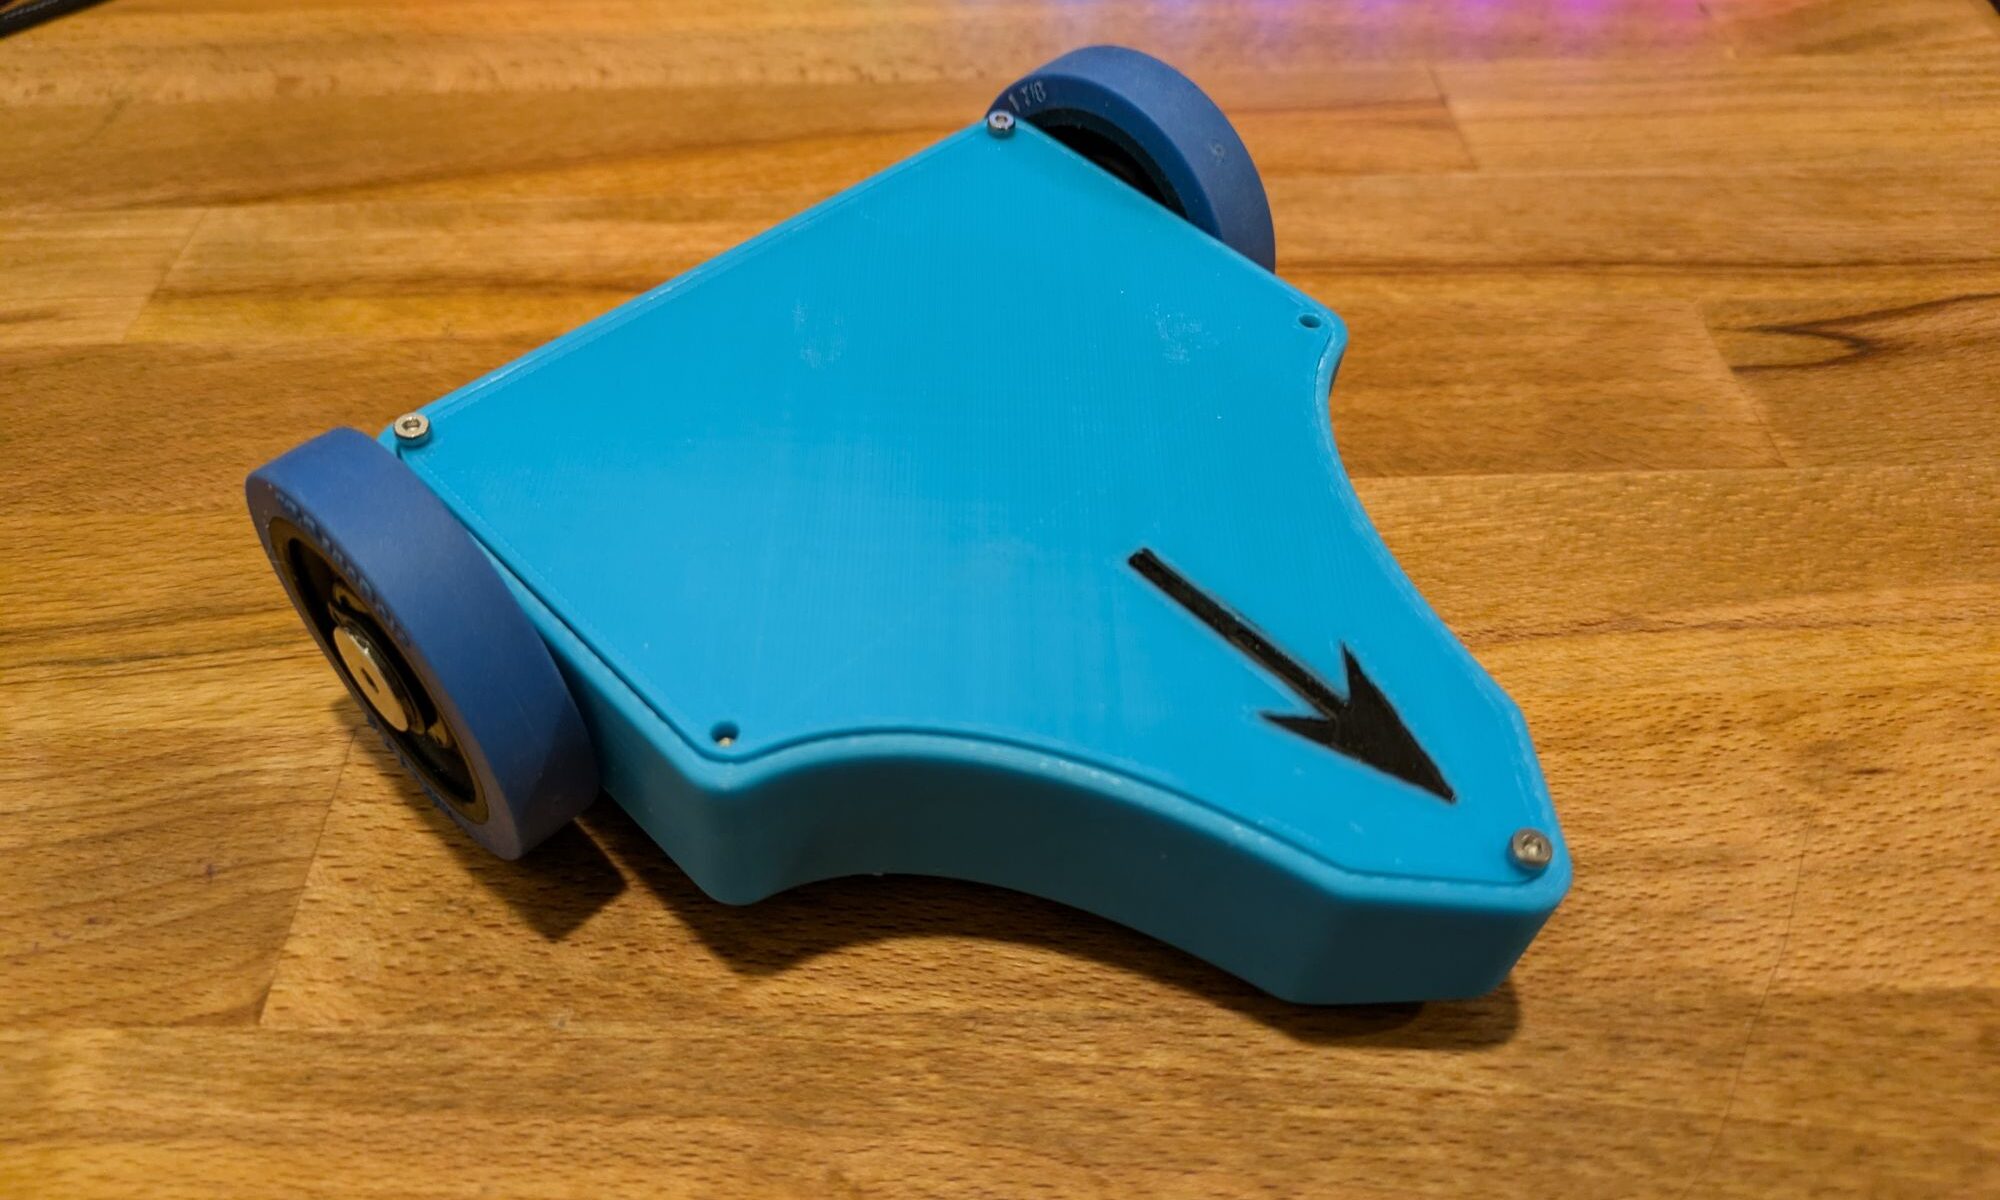
I painted the embossed arrow on the lid of the bot. Tossed in the battery with a Velcro strap to hold it in place, and it’s ready to drive! The lid gets bolted into place which is a bit overkill for the bot here but it works out fine.
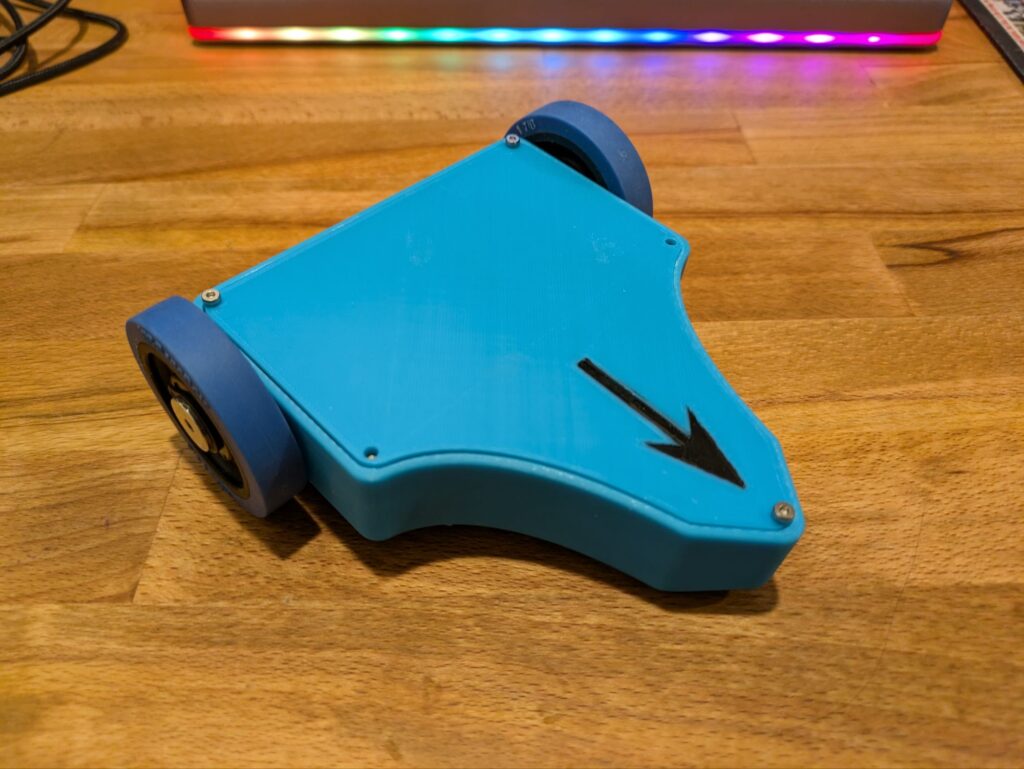
I’m happy with it overall. Its a fun little bot to drive around, being chased by the cat and dog. Its maneuverable, though a bit twitchy and difficult to control, if you have a straight line space, it can pick up some decent speed. Its also fun to flip it over and over.
Generation 2
There may be a few things I’d change in my design if I were to make a generation 2. Below is my list of changes.
- Larger motor shaft holes
- Motor mounts should be solid all the way down rather than the T shape
- Screw mounts for the lid should be better designed to not need support
- Include the battery mount as part of the chassis
- Larger tail peg and mount
- Switch hole for on/off switch
- Power LED