
I recently needed to build out a new network. The new network had a box in place that I could use for gear, however that box wasn’t big enough for any rack mount gear. I decided to mount a rack over the top of the box to handle all of the gear and keep it organized. With the new network, also came with a need to expand the number of switch ports I have available. I set it up to drive POE to all the end points so that I could have better centralized power.
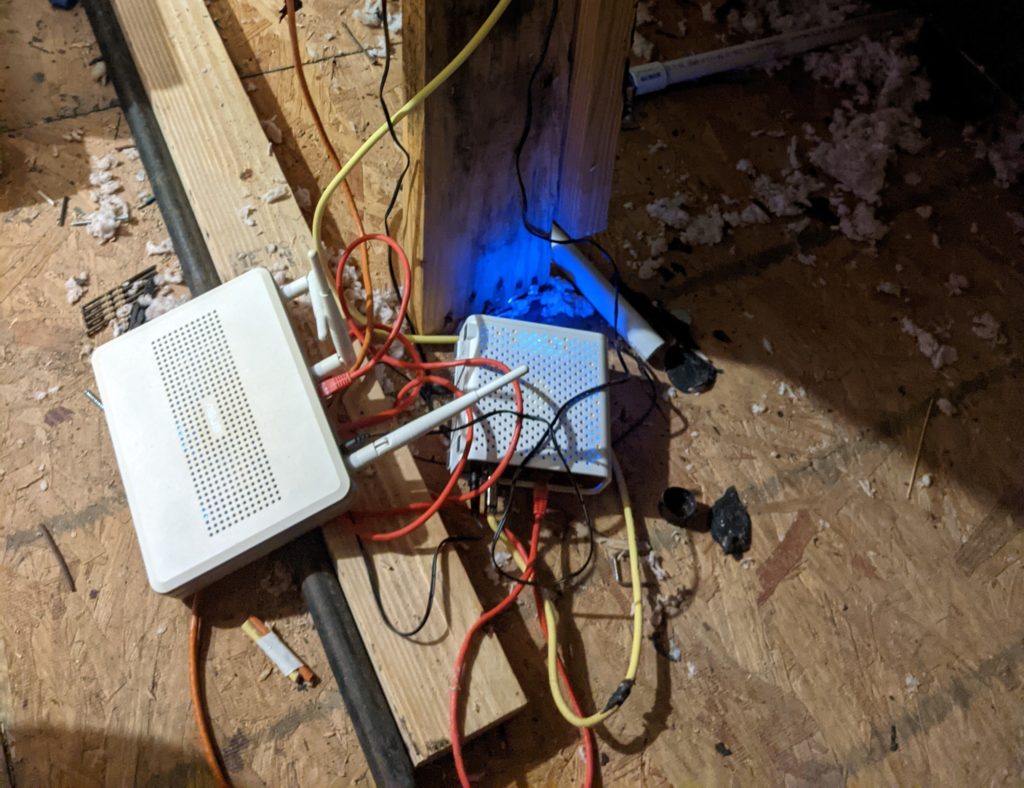
First lets take a look at our labgore temporary network setup. This was a standard arris surfboard modem and an Asus RT-N16 living in a hot attic. The Asus RT-N16 was chosen due to it being the cheapest Wi-Fi router I had available. I used it for years until the caps blew on the mainboard and I replaced it with a Netgear R7000 back in 2015. Since I don’t like throwing away things that are repairable, I also ordered the caps needed to repair it (and in part to see if I could), and repair it I did, I never used it as the main router again, but on and off as needed, its been there, the RT-N16 that couldn’t die.
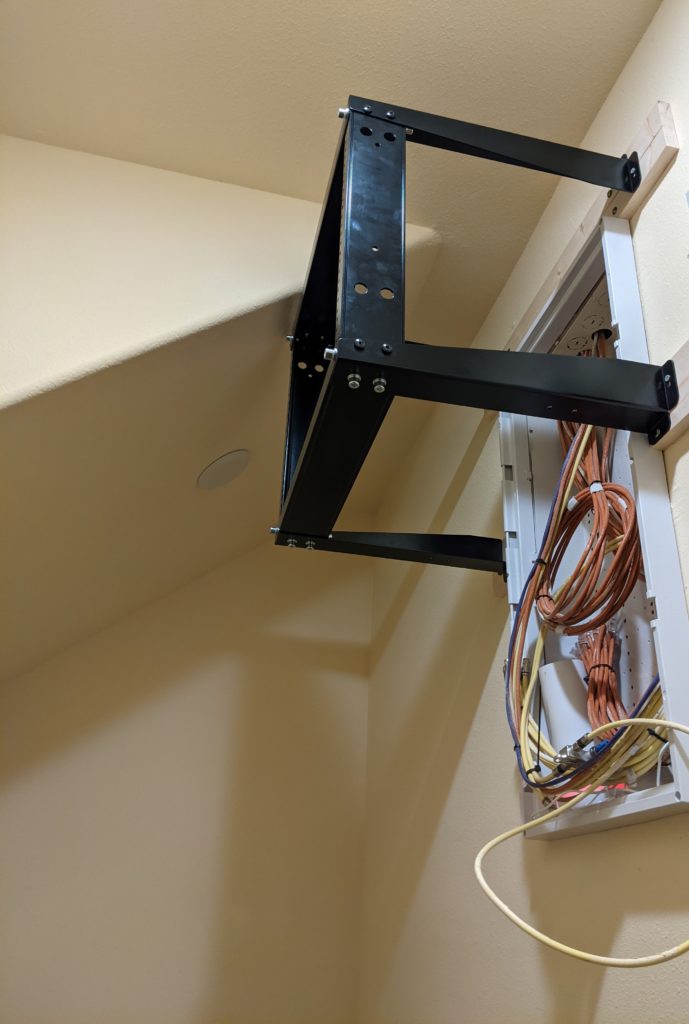
The wall mounted rack needs to be mounted to studs to support the weight I was going to put in it. The studs didn’t line up with the rack however, so I used 1×4 mounted to the studs as the mount points for the rack itself. The 1×4’s are mounted using 3in wood screws to the two studs around the network box.
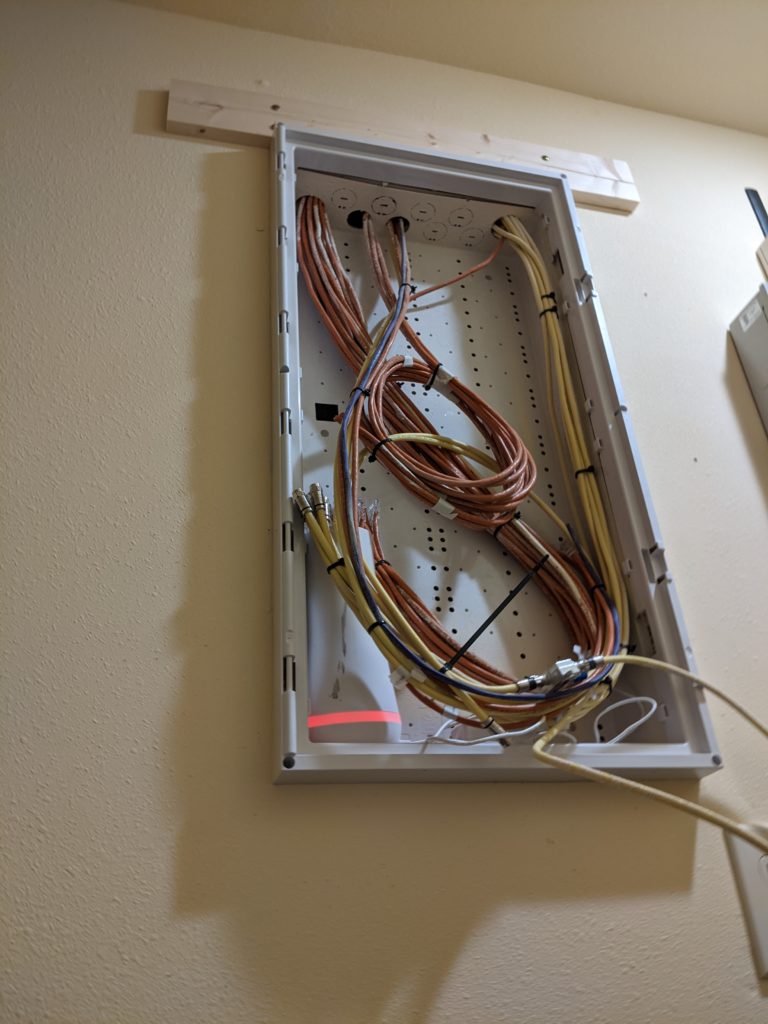
Once I had the main support mounted over the box, I mounted two feet at the level of the bottom of the rack. These are screwed into the studs next to the network box, though they aren’t as structurally sound as the board at the top.
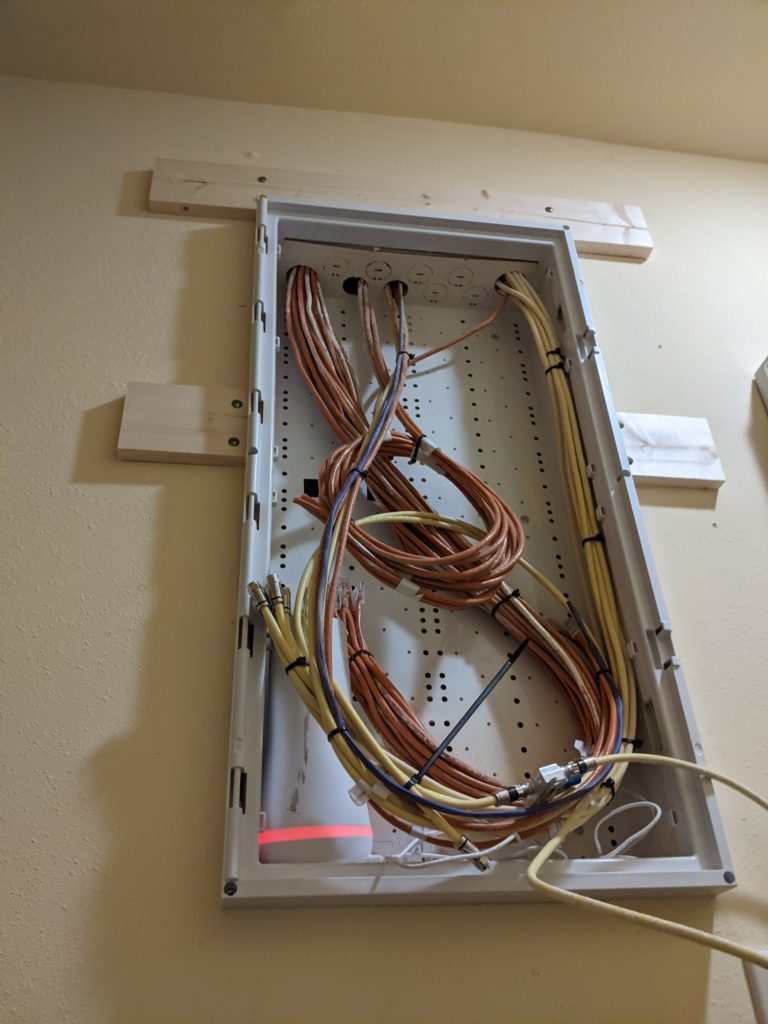
I mounted the rack onto the 3 boards, though I did have to move one of the screws that mounted a board. Each leg of the rack got 2 wood screws holding it to the mounting boards.
Once the rack was in place, it was time to start mounting the equipment. I wasn’t able to mount as high in the rack as I had originally hoped as the stairs coming down overhead were just a bit too close to be able to remove things once they were mounted. I left that top space open for the modem, access point, and any other non-rack mount equipment I may use in the future.
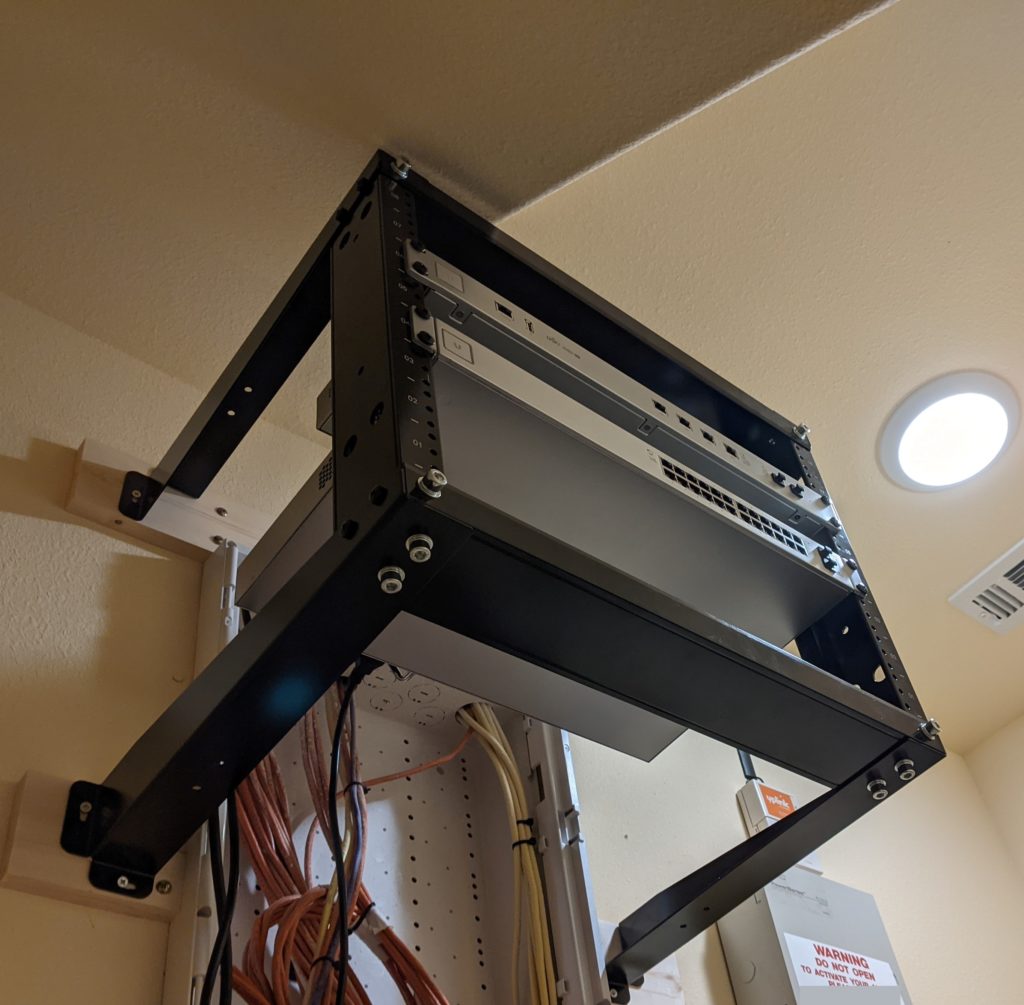
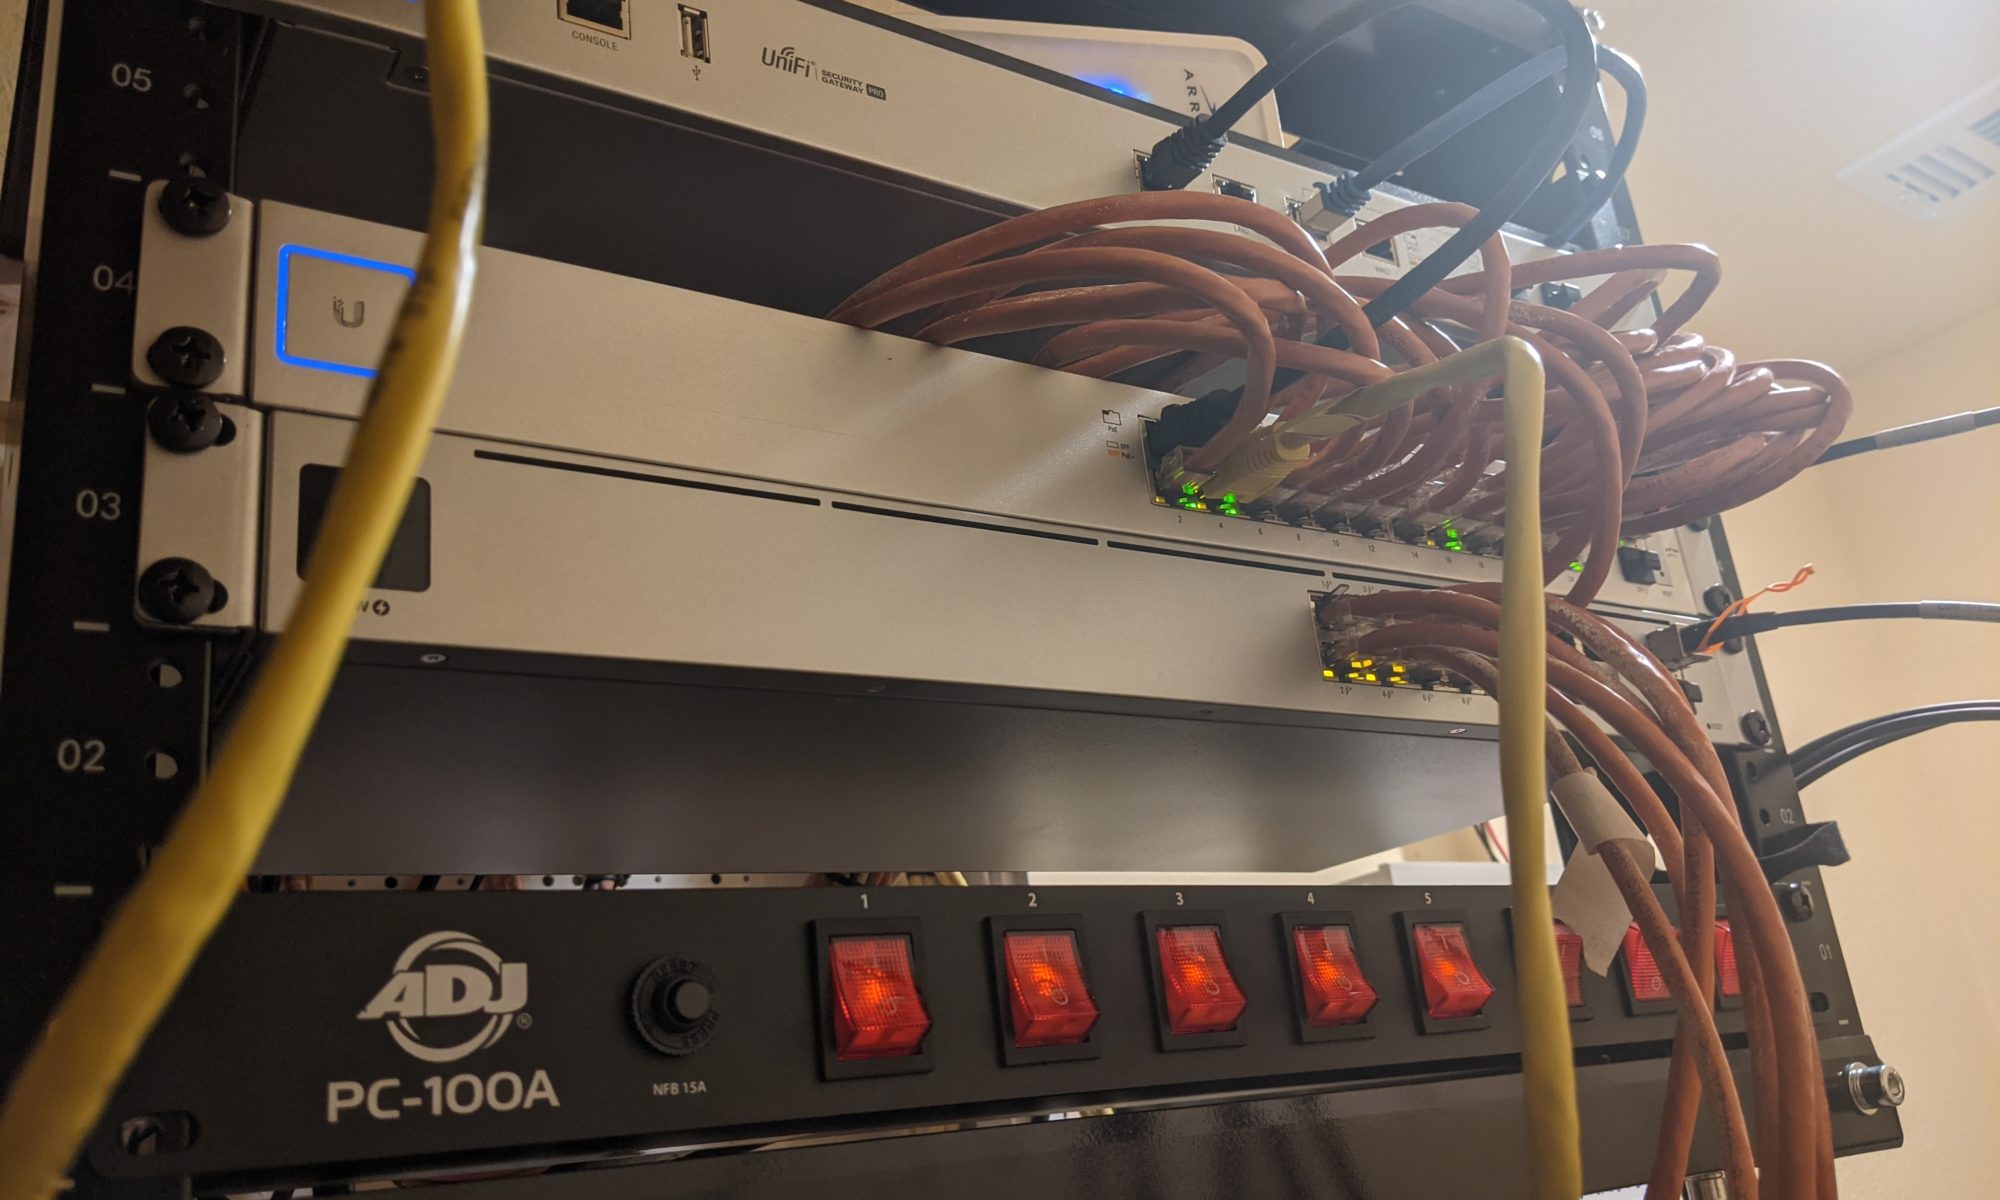
I still needed a few more pieces of equipment to finish up the build out. I had an ADJ PC-100A coming to handle power control, and a Unifi 16 port switch to pick up the remaining cables that were overflowing from the 24 port switch. To connect the two switches, I decided to use the SFP connectors as I had a number of SFP+ DACs that I’m not currently using, and that would leave the ethernet jacks free for the house networking.
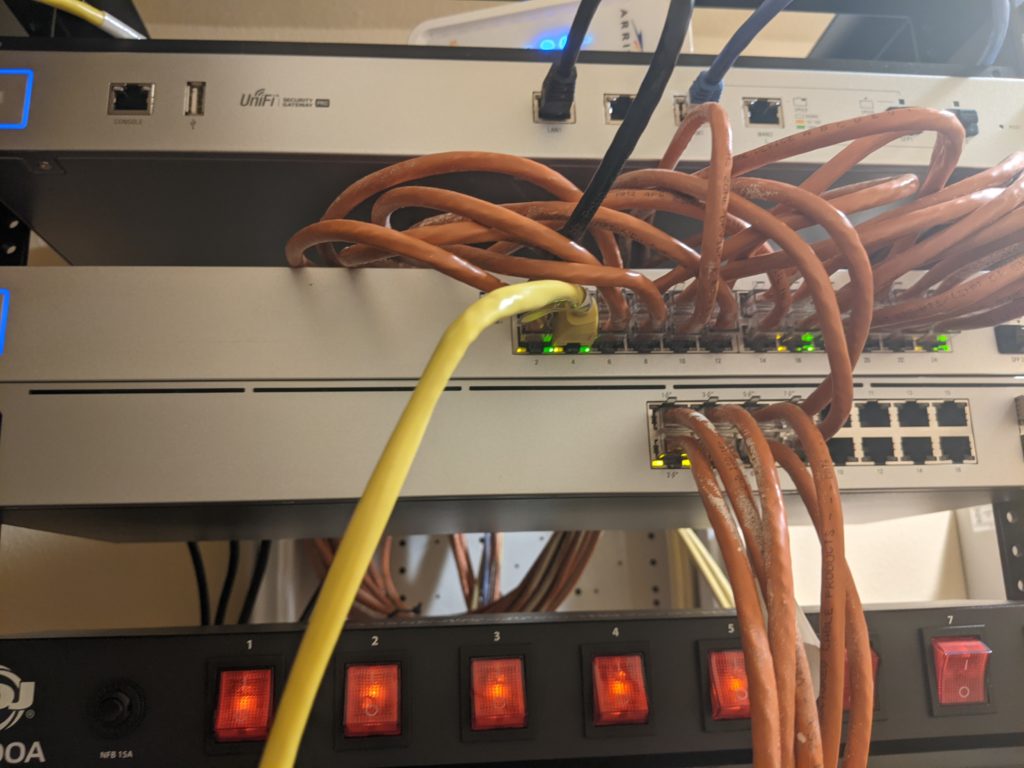
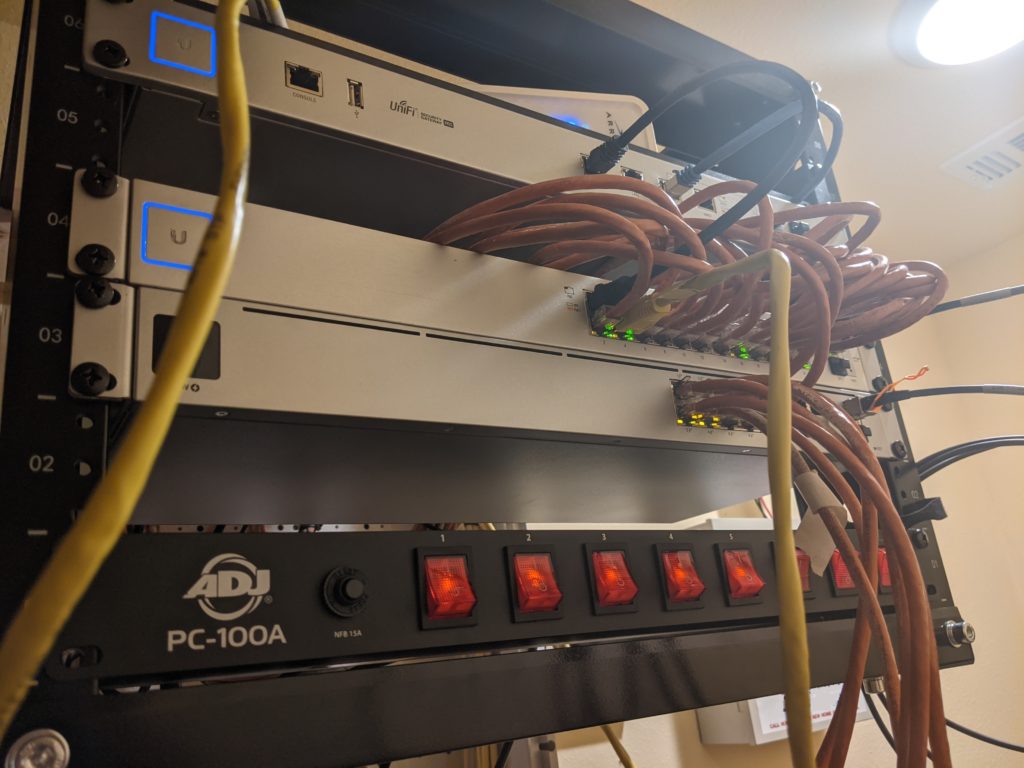
The new network layout came out well, POE going out to the various endpoints to drive any small switches needed or access points. Having everything powered centrally also makes it easy to have a UPS backup the entire network.