
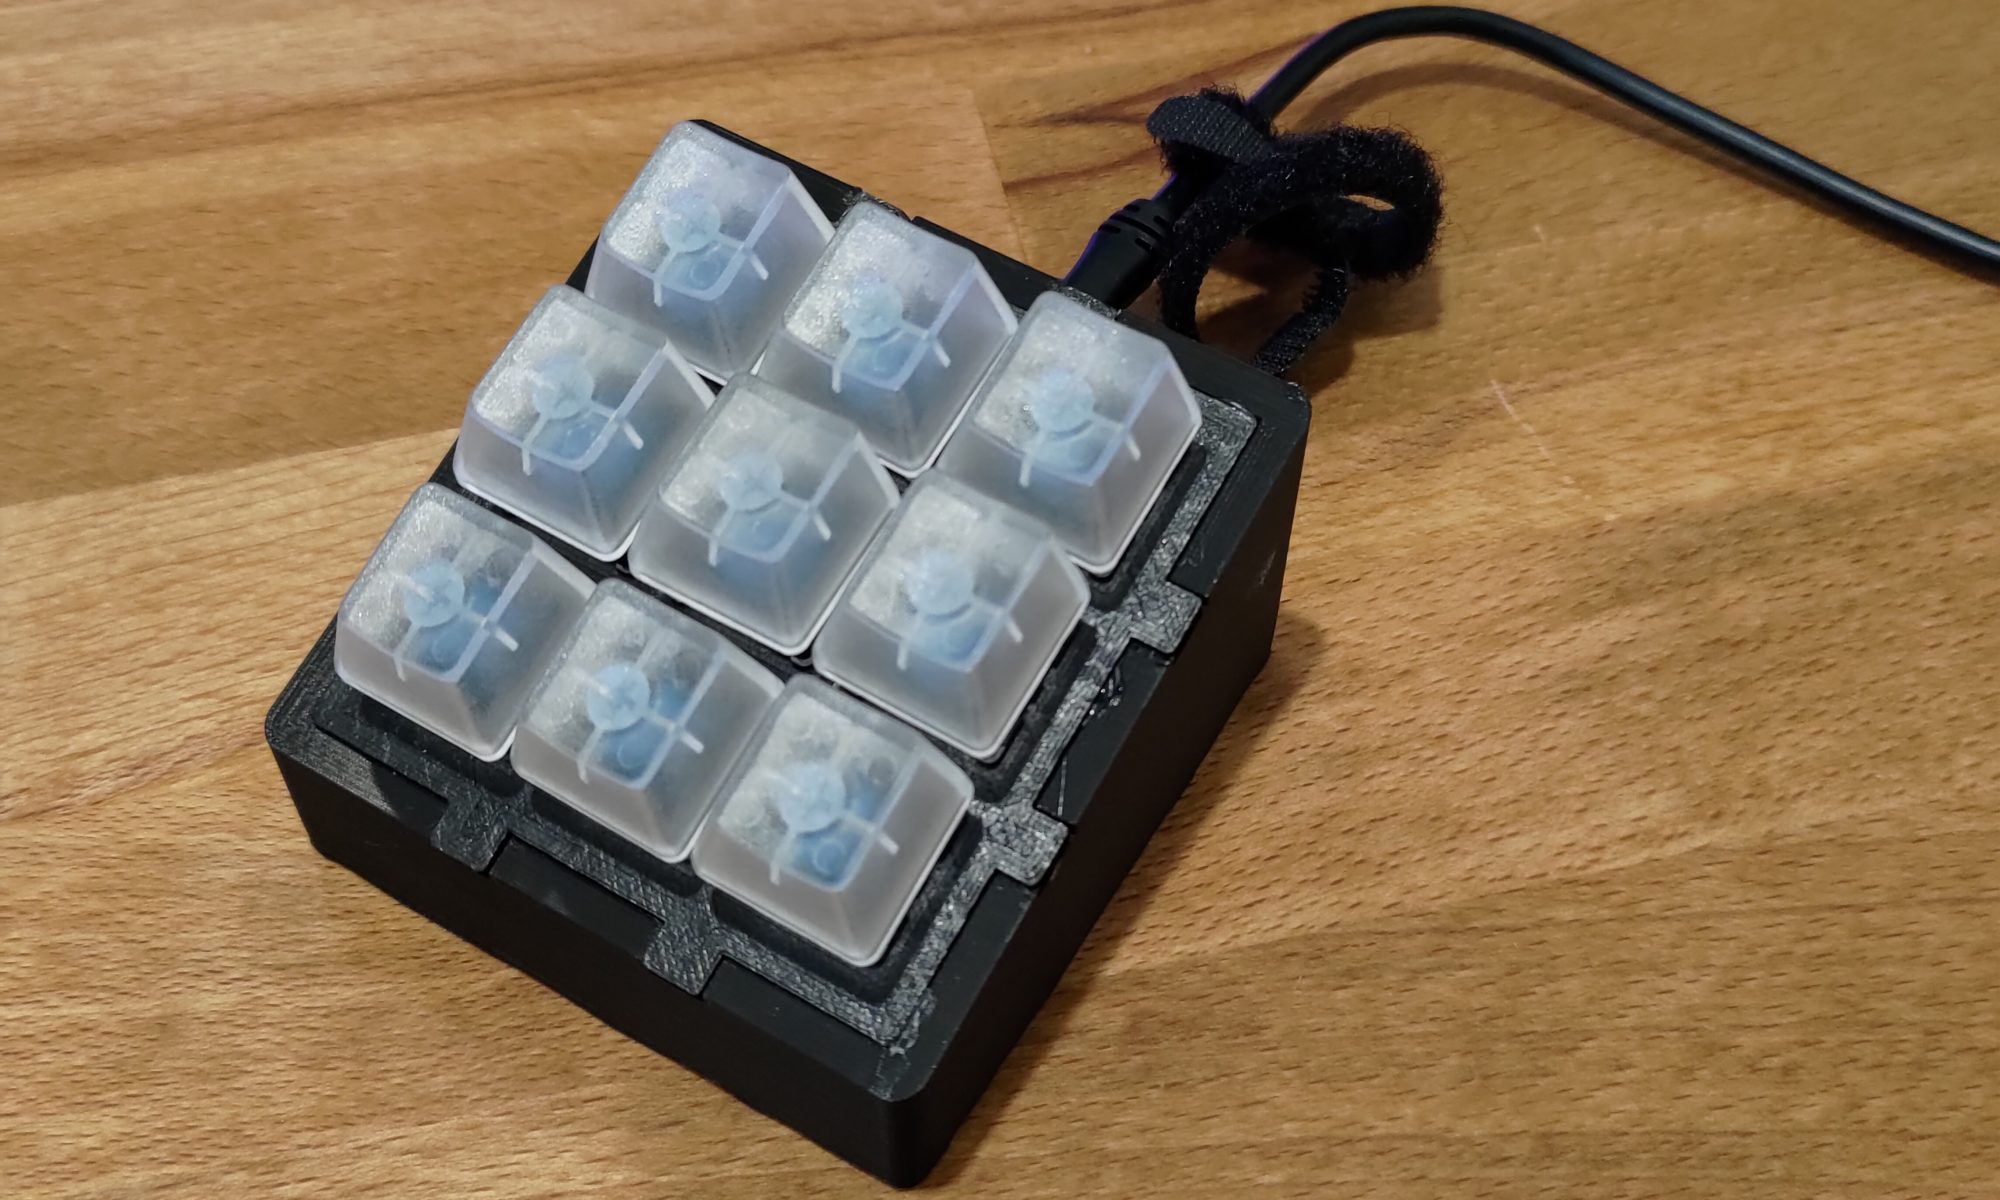
With the latest iteration of EspHome bringing in matrix keypad support, and the parts ready for a third espdeck build, I decided to redesign it yet again to try and optimize things further.
Related Articles
- EspDeck Version 1
- EspDeck Version 2
- EspDeck Version 3 (this version)
- EspDeck Automations
Parts
- Case (3d printed)
- Esp 32
- Wires
- 9 key switches
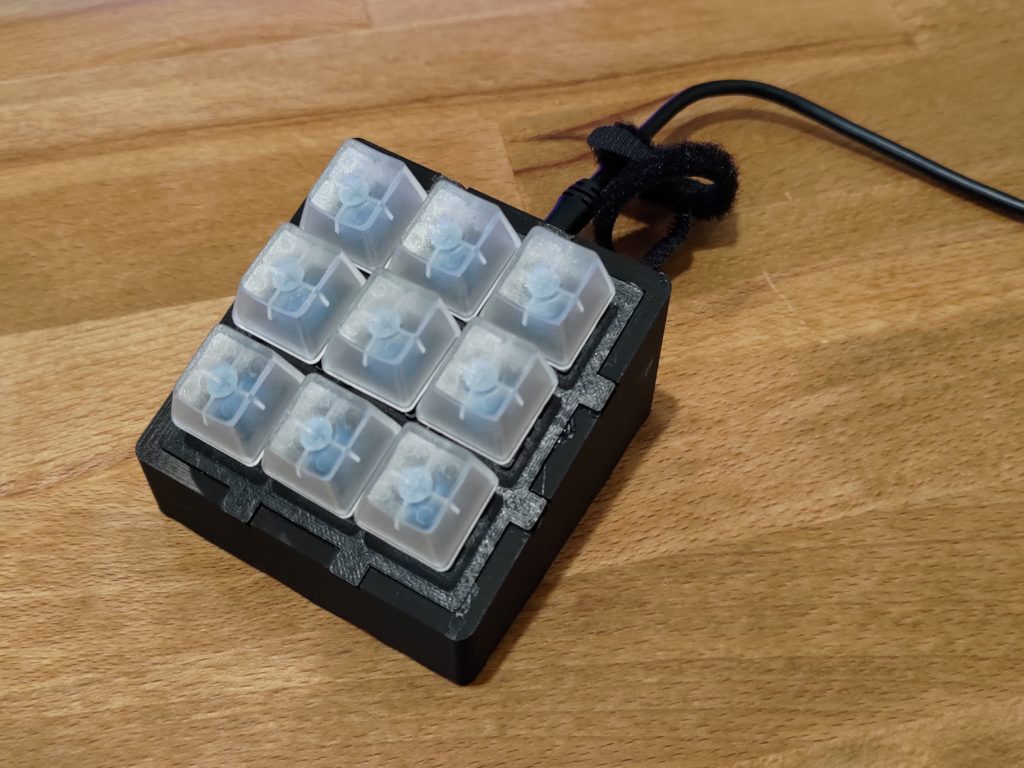
- Key caps (I suggest relegendable keycaps)
- USB charger and cable
Design
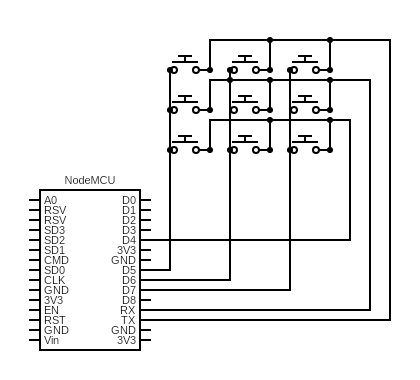
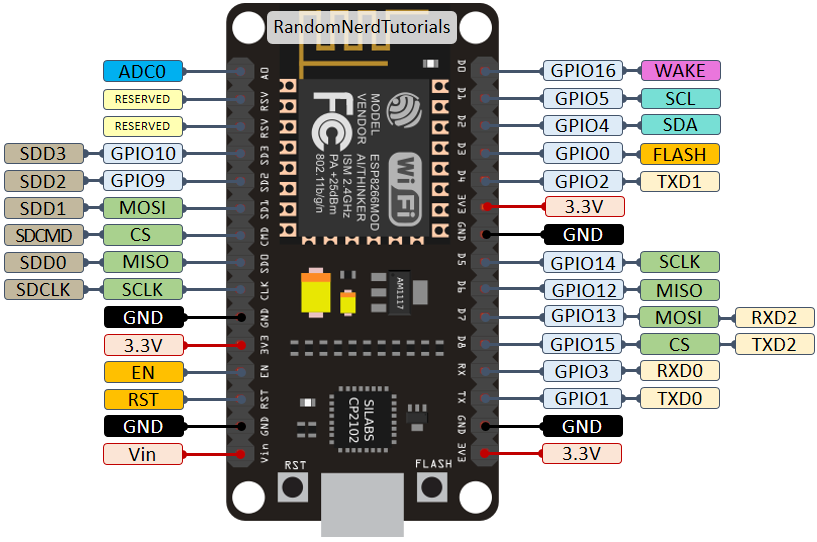
Below is the final schematic of the generation 3 EspDeck. I did try to run the matrix keypad off D8/GPIO15, however there was a problem with the internal ESP hardware for that pin that prevented it from working correctly. I believe its due to the lack of an internal pullup resistor. So instead I used D4 for that row.
Overall the design is much simpler than the previous generation units. No more resistors needed for pulling any of the inputs. It also makes use of fewer connections going back to the ESP, making it simpler to wire up. It just needs 6 wires going back rather than 10.
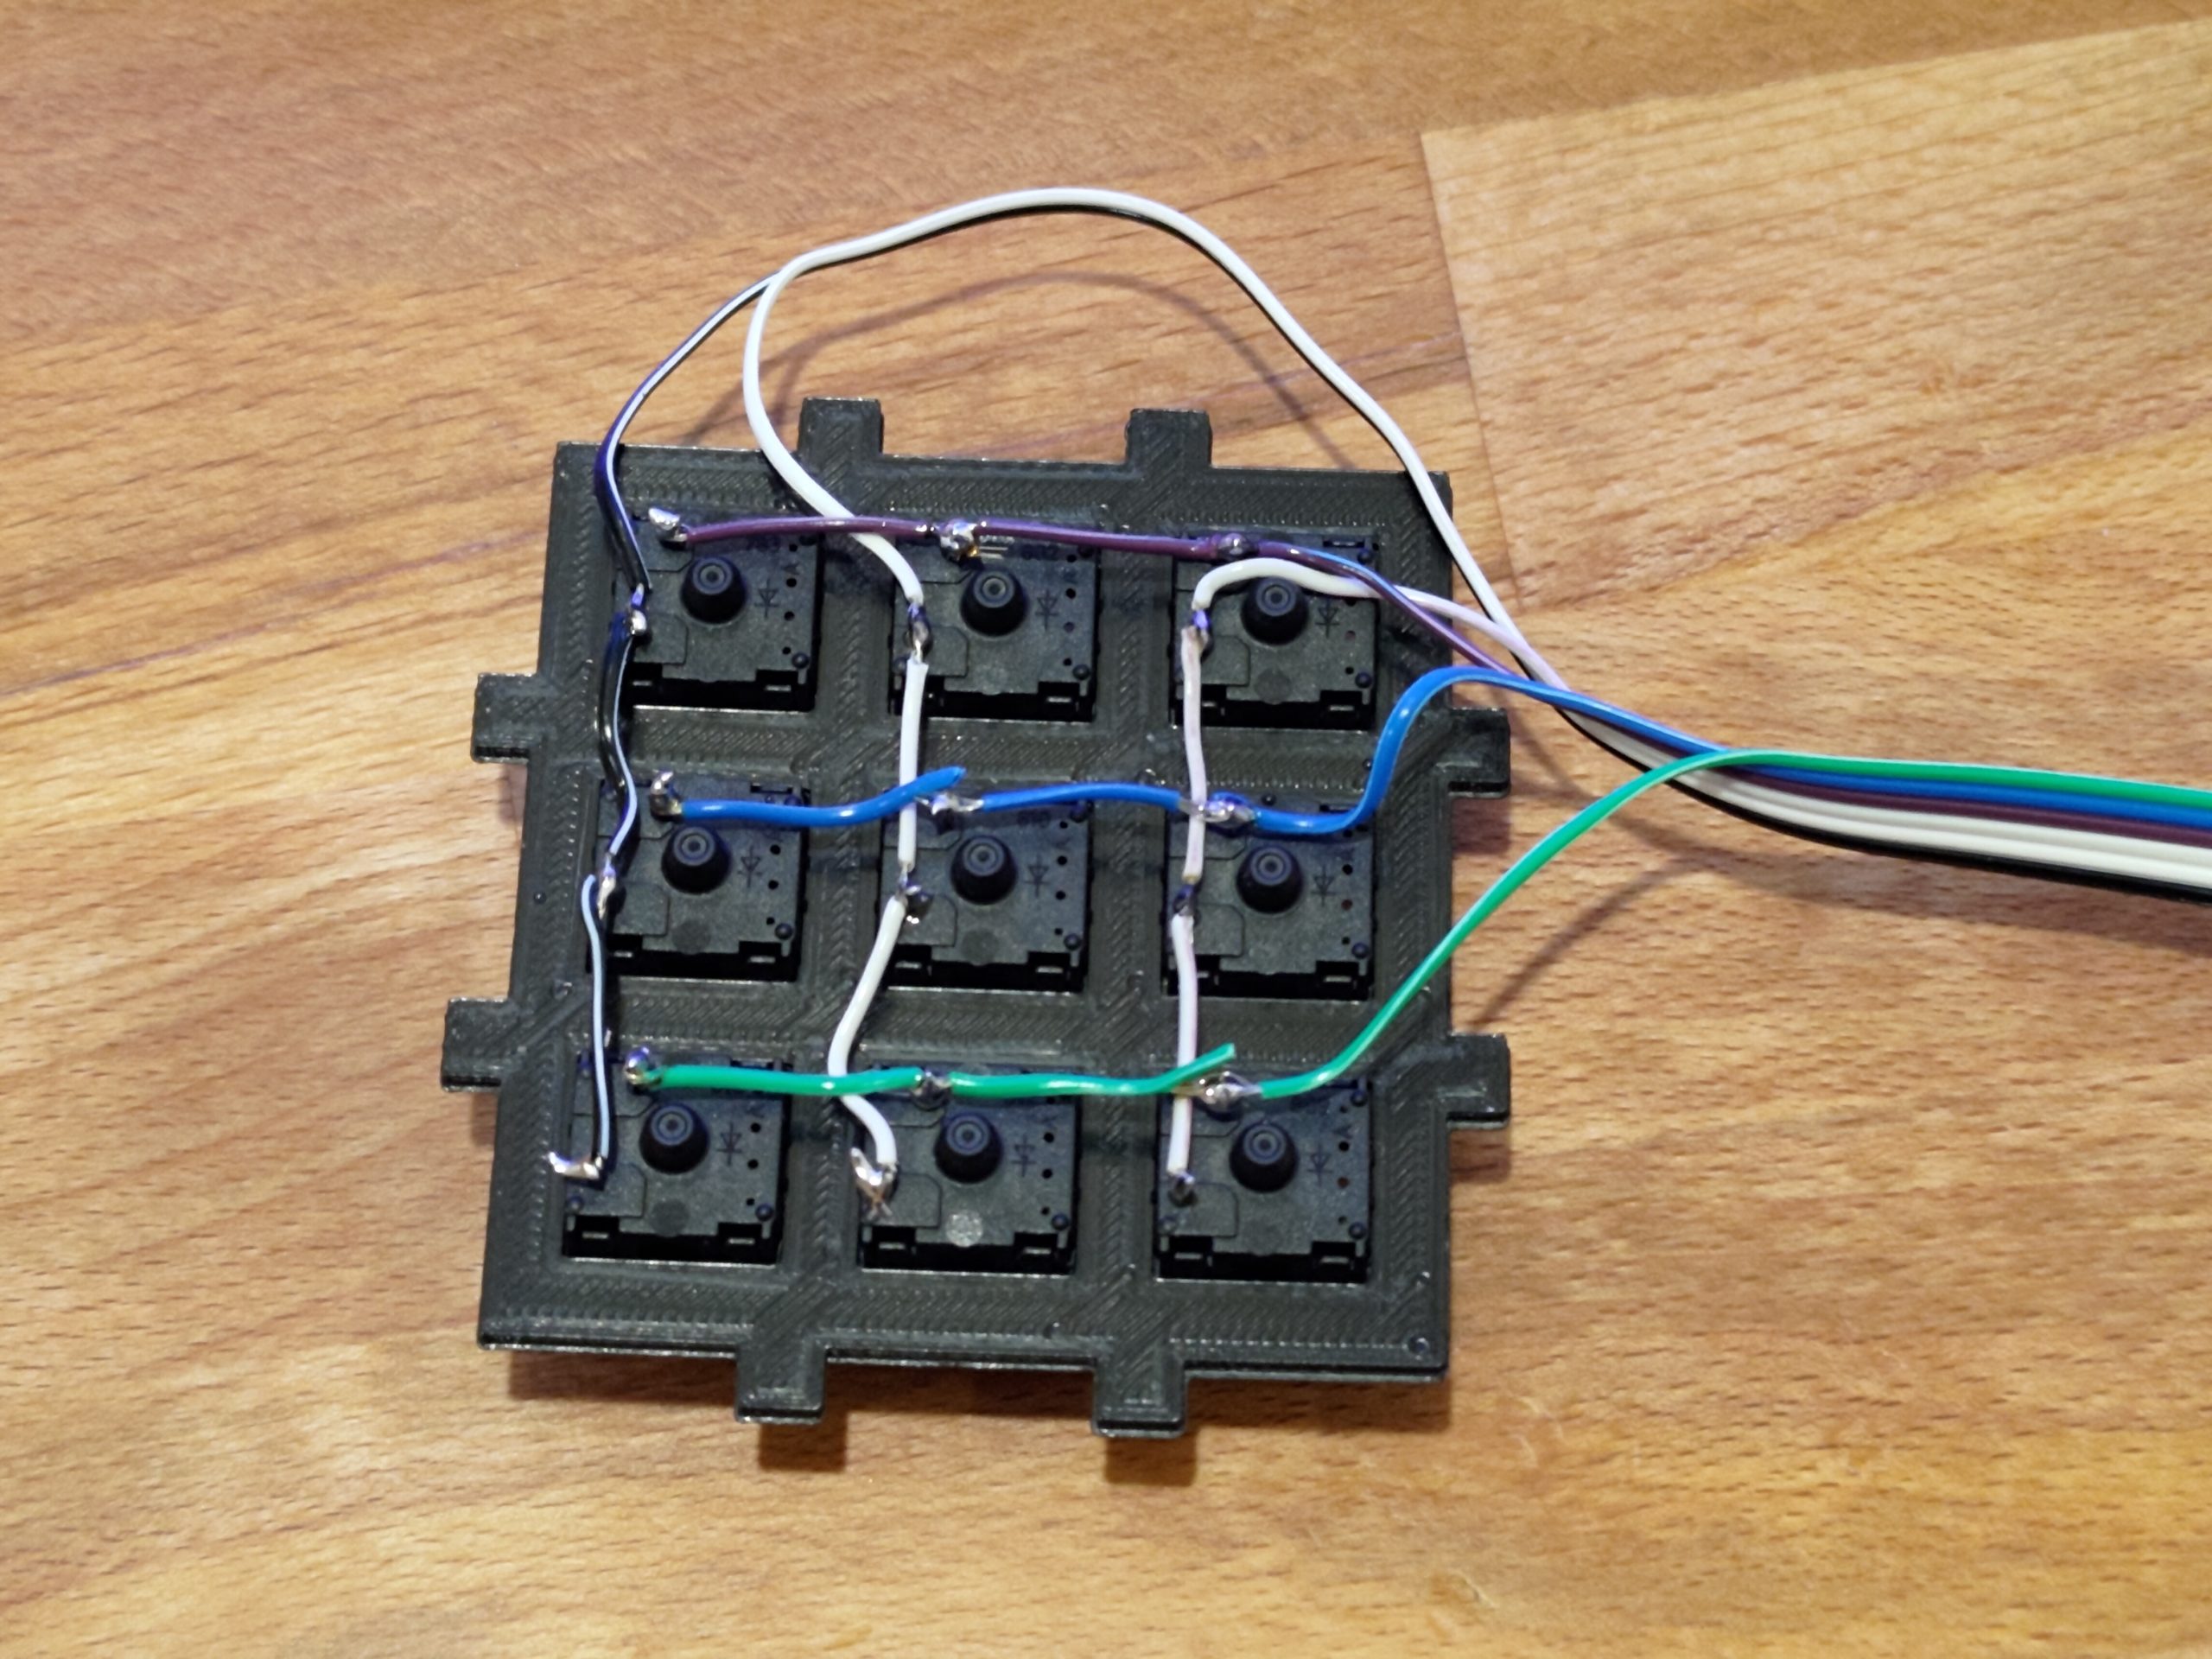
I will note however, that I didn’t exactly pay attention to rows and columns when I wired everything up and got it installed, so my EspHome configuration rotates things to match my previous keypads.
Everything is open source and available on Printables and GitHub.
Assembly
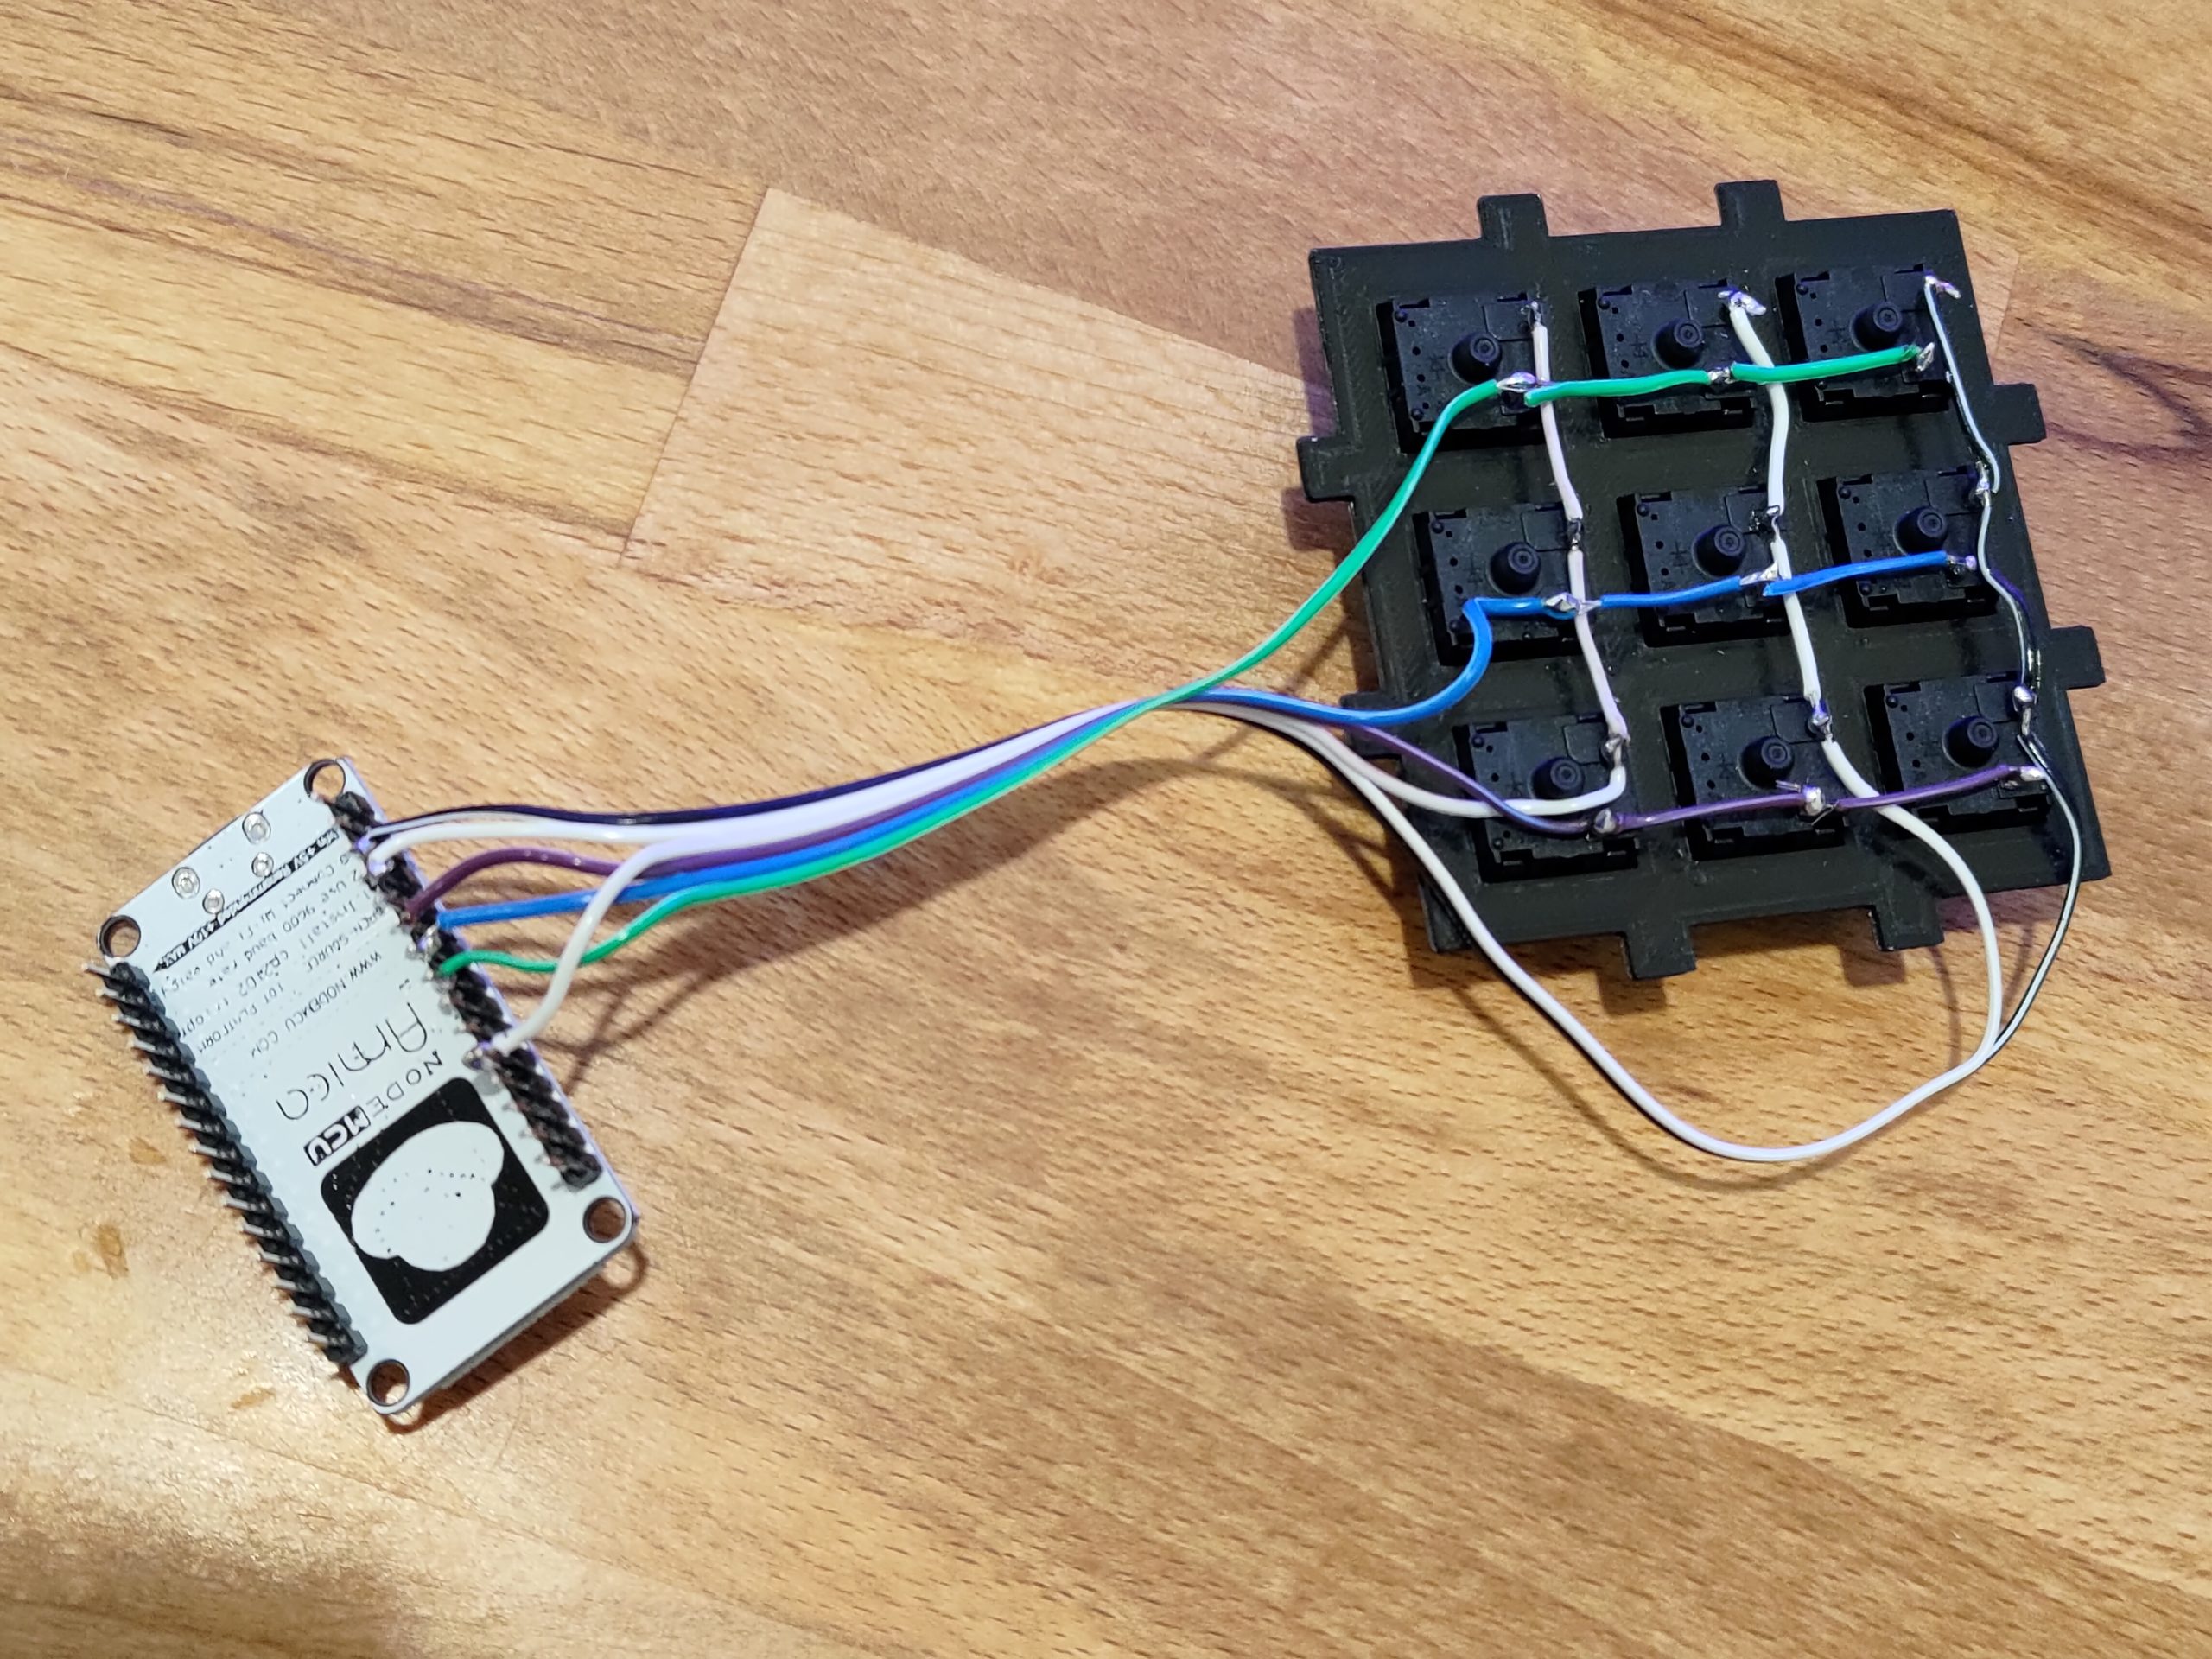
With the matrix keypad feature, we can wire the switches in rows and columns to the GPIO. doing this, we will use 6 wires going to the keypad rather than the 10 used in Gen 1 and 2.
Now make sure to follow the wiring diagram above. We don’t want to use D8/GPIO15 as that doesn’t have the internal pull-up resistor.
If you do wire it up with D8, you’ll find as I did, that one of the columns of keys will not work. I isolated it to that control line and the GPIO it was connected to during the design. This GPIO port has given me problems in the past due to limitations of the hardware, so lets just avoid that here.
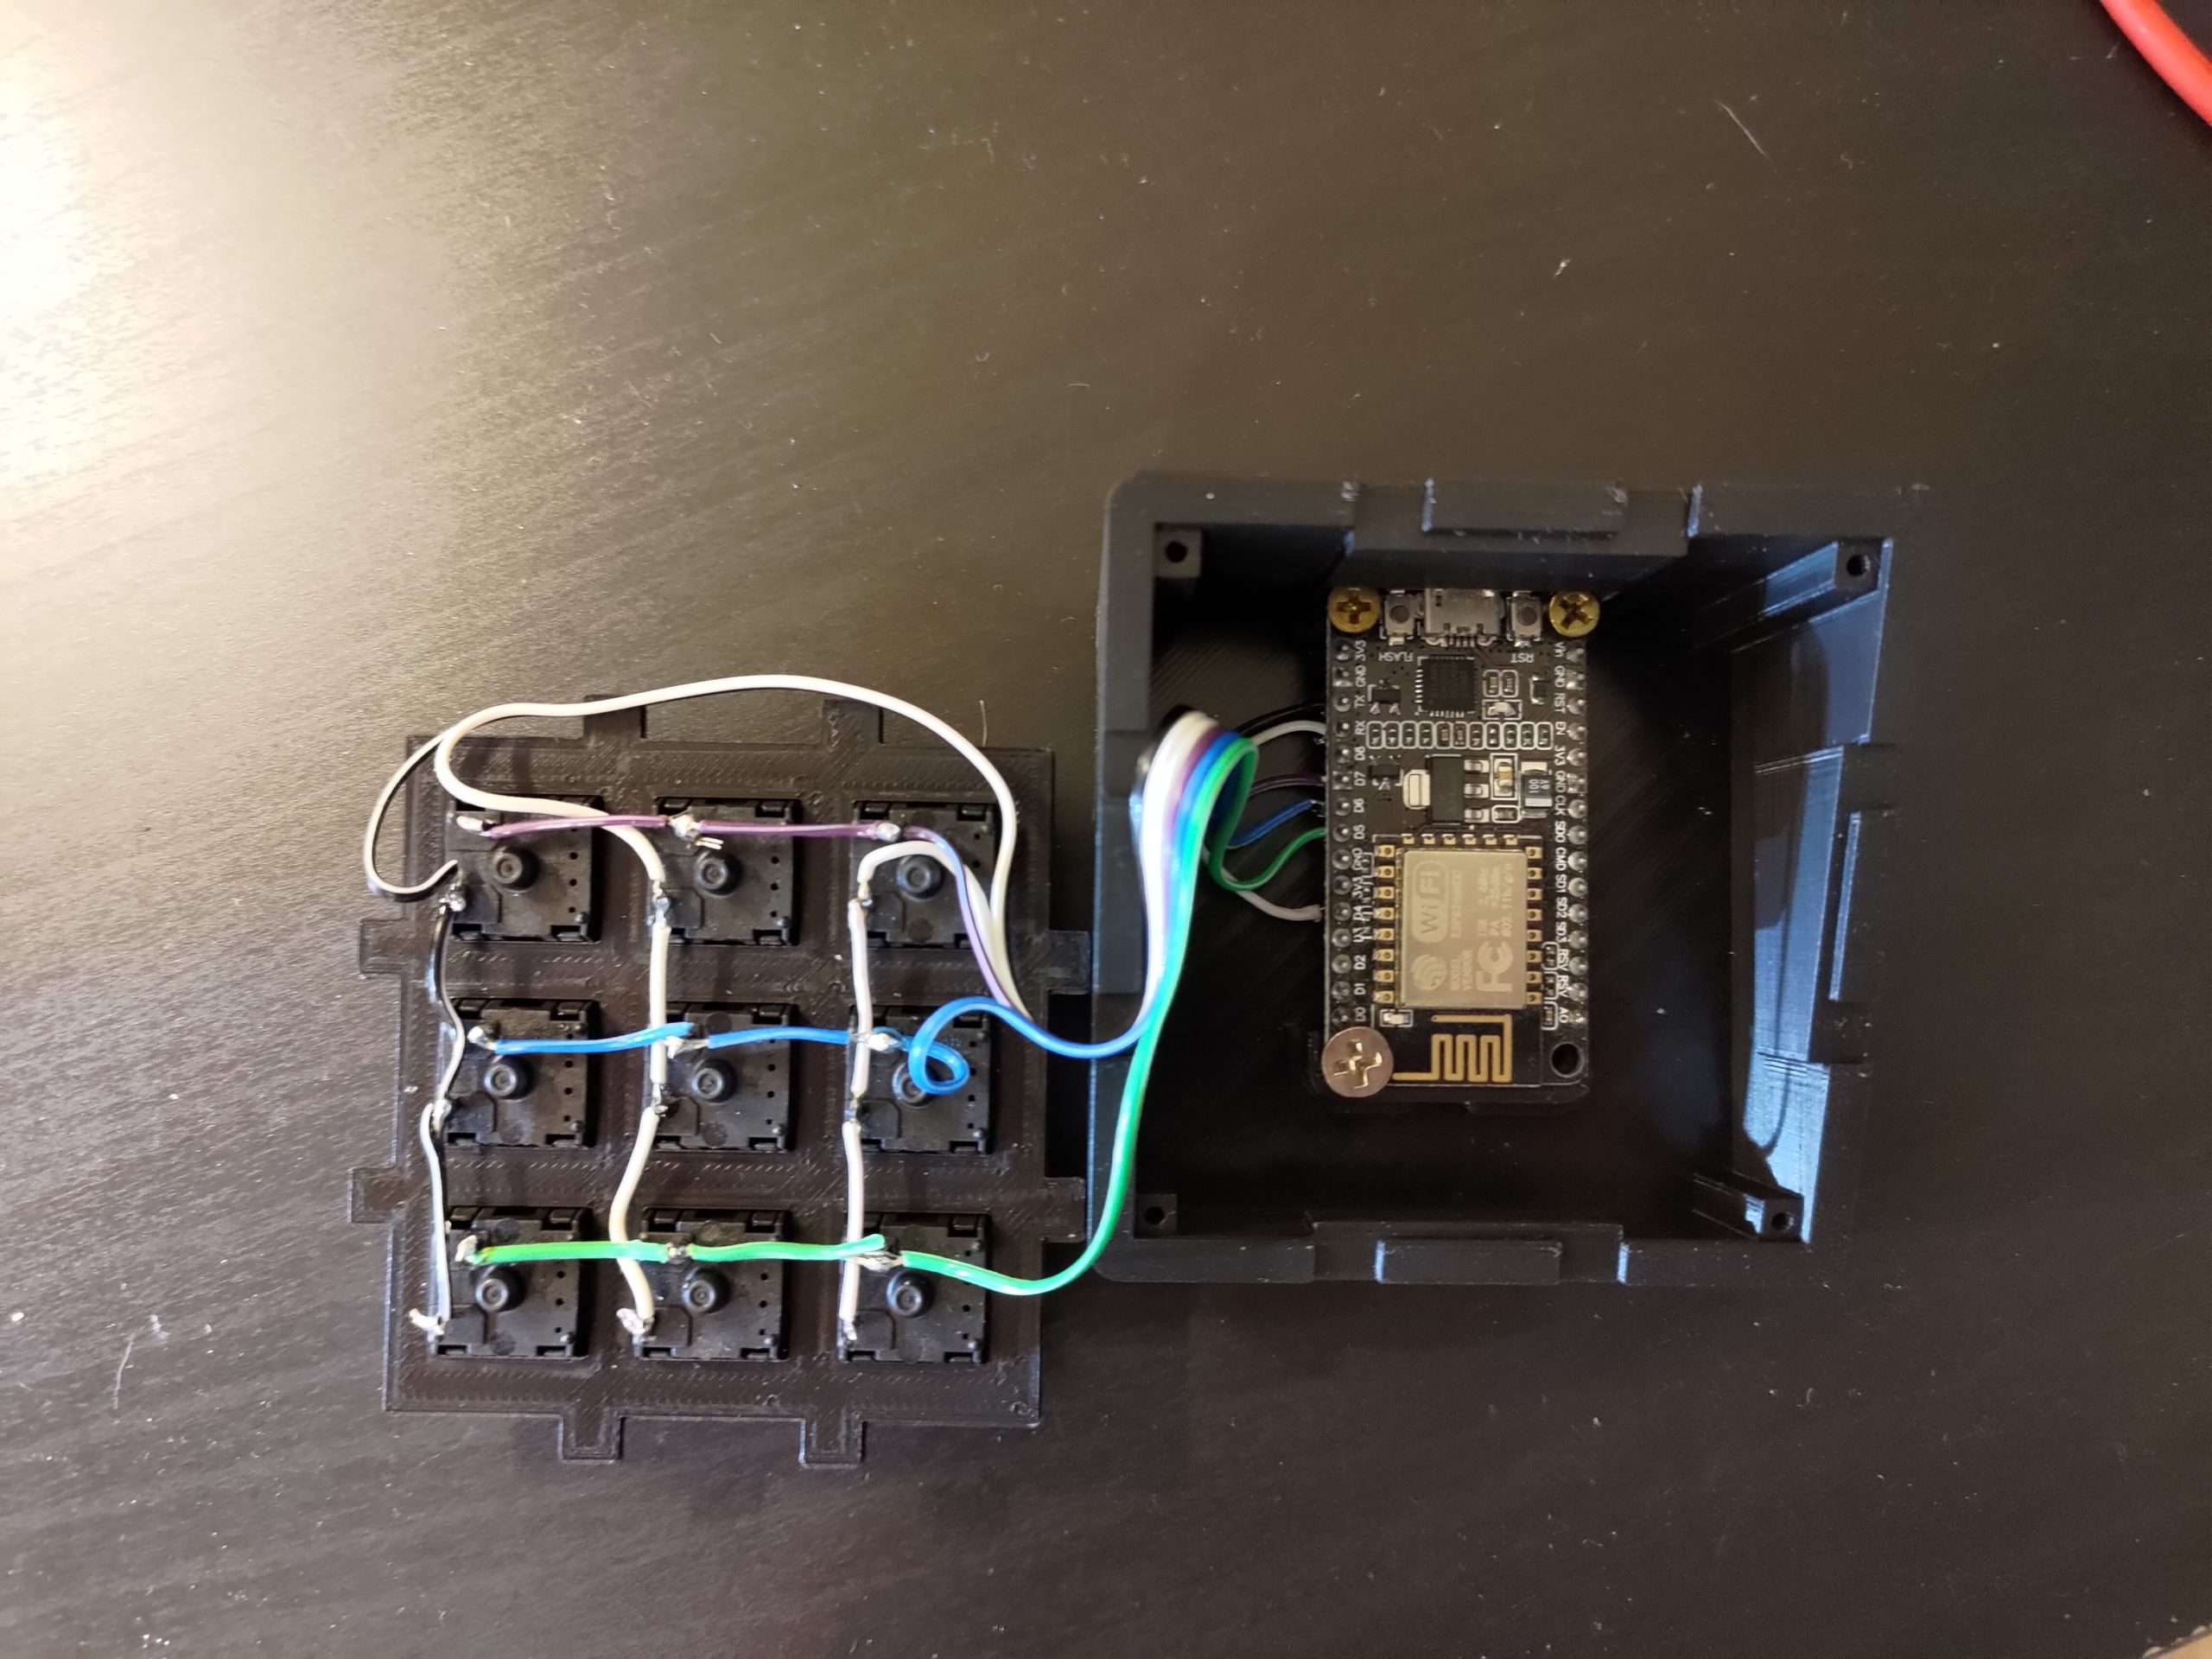
With the GPIO connections in the right places, and some testing done, it was time to assemble it all into the case. Screw in the ESP32 and hot glue the switch assembly on top.
Limitations of the New Design
So using the matrix keypad instead of individually wired keys means the generation 3 EspDeck can only accept one input key at a time. No more mashing everything on the deck to activate all automations at once. This wasn’t really a use case that I made use of or needed, so I find the new limitation acceptable for the simpler wiring and construction.
Conclusion
This version of the keypad was much faster to build than the previous 2, and simpler as well (well that or I’m just getting used to assembling them too). Overall its a good upgrade in my opinion due to the simplicity in wiring and design. I don’t miss the ability to hit multiple keys at once as its an option I’ve never even considered in either configuration for special actions, or just firing that many automations at once.