
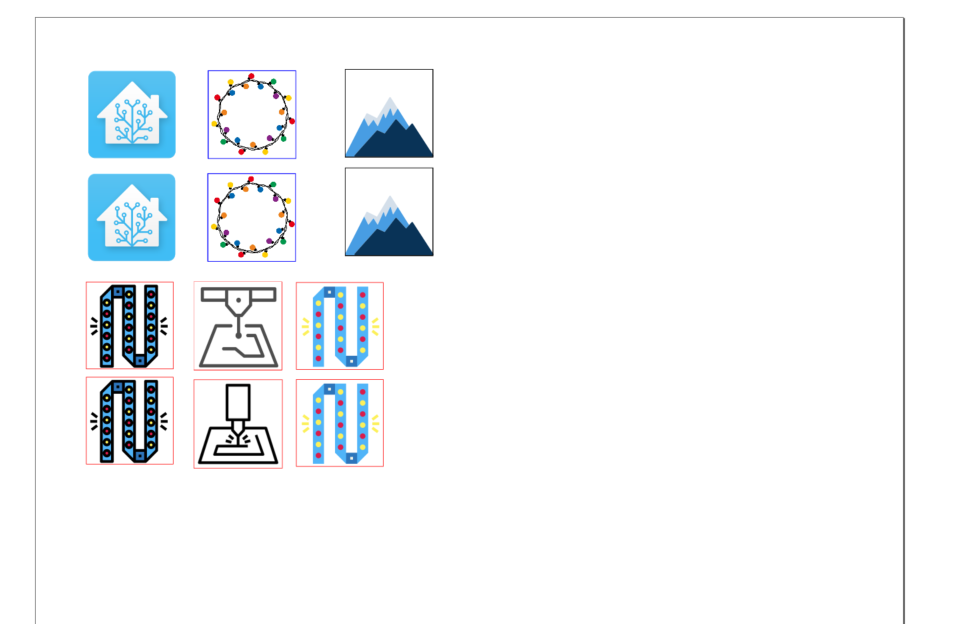
After picking up some relegendable keycaps for my EspDeck, I needed to start creating some icons to print it and use in them. I’m not the most proficient with image editing tools, so here’s what I did to get some made.
Once I got the keycaps, I split one up (keycap and front shield), and took some measurements. The keycaps support a 14mm x 14mm front face, which will be the size we use for our icons.
I decided to use InkScape to design my icons in part due to having some minimal experience with it but also since I know someone who can help me with it if needed. It ended up being easier than I expected though to get the icons made.
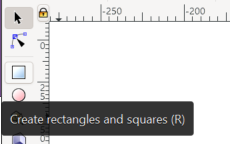
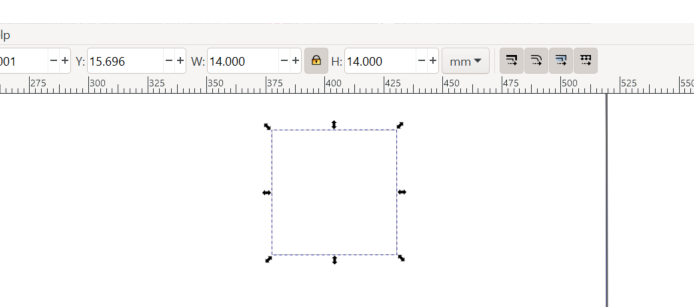
Starting with a new document, I wanted some squares of the right size (14mm x 14mm) to start out with so I could cut out the icons after printing them and also to space things out with. We’ll start with the rectangle tool to draw one rectangle that we’ll use as the basis (once its all done, we can copy/paste it to add more icons).
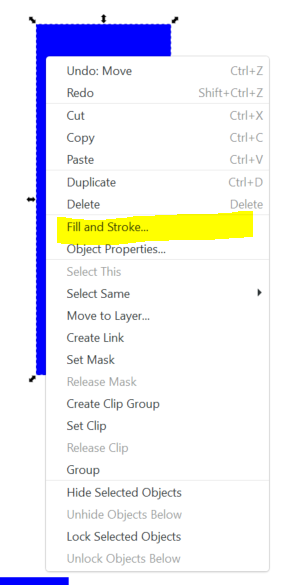
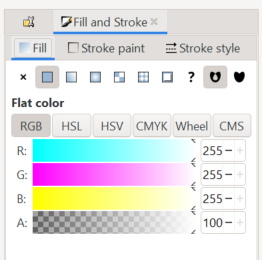
This will open a pane on the right hand side with the various properties that can be set on the rectangle. The fill is the background while the stroke will be the border. For our icons, we want a black border so we know where to cut things out so they fit well in the relegendable keycaps.
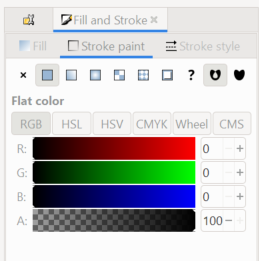
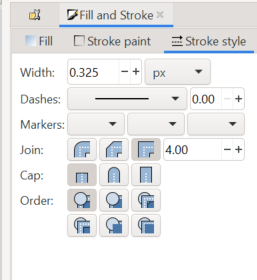
Now that the background and stroke are set to the right colors, we want to set the stroke style. For this, we’ll be using a solid line of 0.325 pixels width. It just needs to be wide enough to cut out, but not too wide to be a part of the icon itself once cut out.
Now we’re going to go to the size of the rectangle. Click on the rectangle and it’ll be able to be resized using the width and height options at the top of the UI.


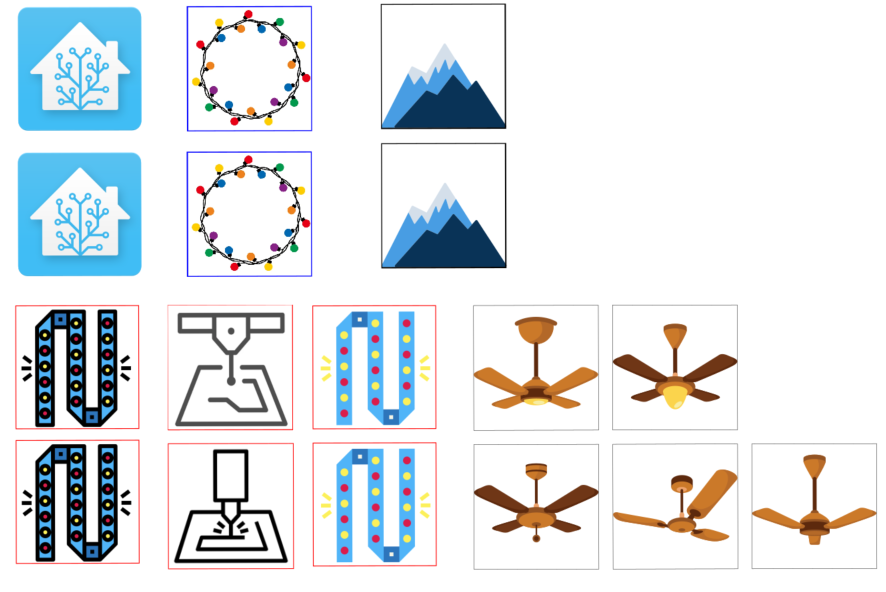
Now that we have our outlined box, we can add our icon to it. The outline will help with cutting out the icons for the keycaps later.
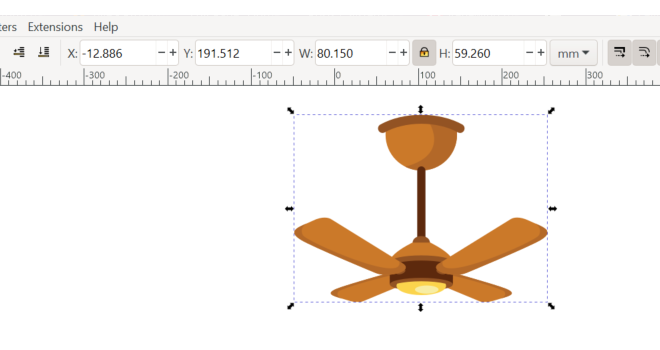
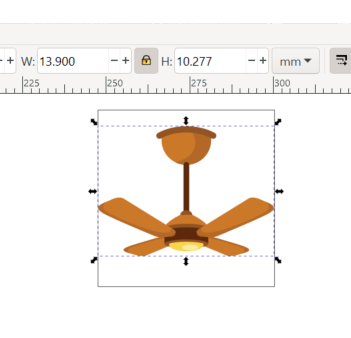
Lock the aspect ratio and set the size of the largest dimension to 13.9mm. Then move the icon over the square until its centered as desired.
Conclusion
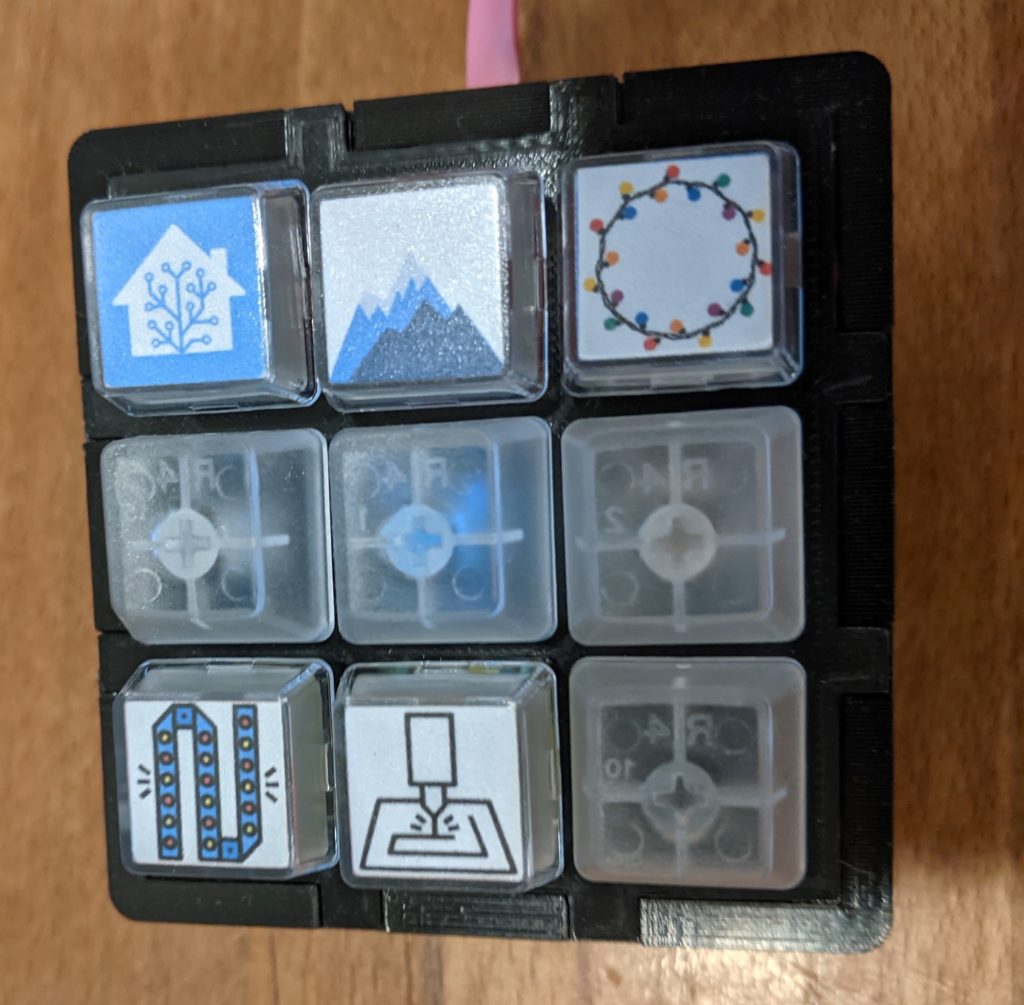
I got the icons I wanted for my macro pad and they look pretty good inside the keycaps. I’m pretty happy with it. I do plan on replacing some of them with custom resin keycaps in the future, but this is certainly the faster and more cost effective method.