
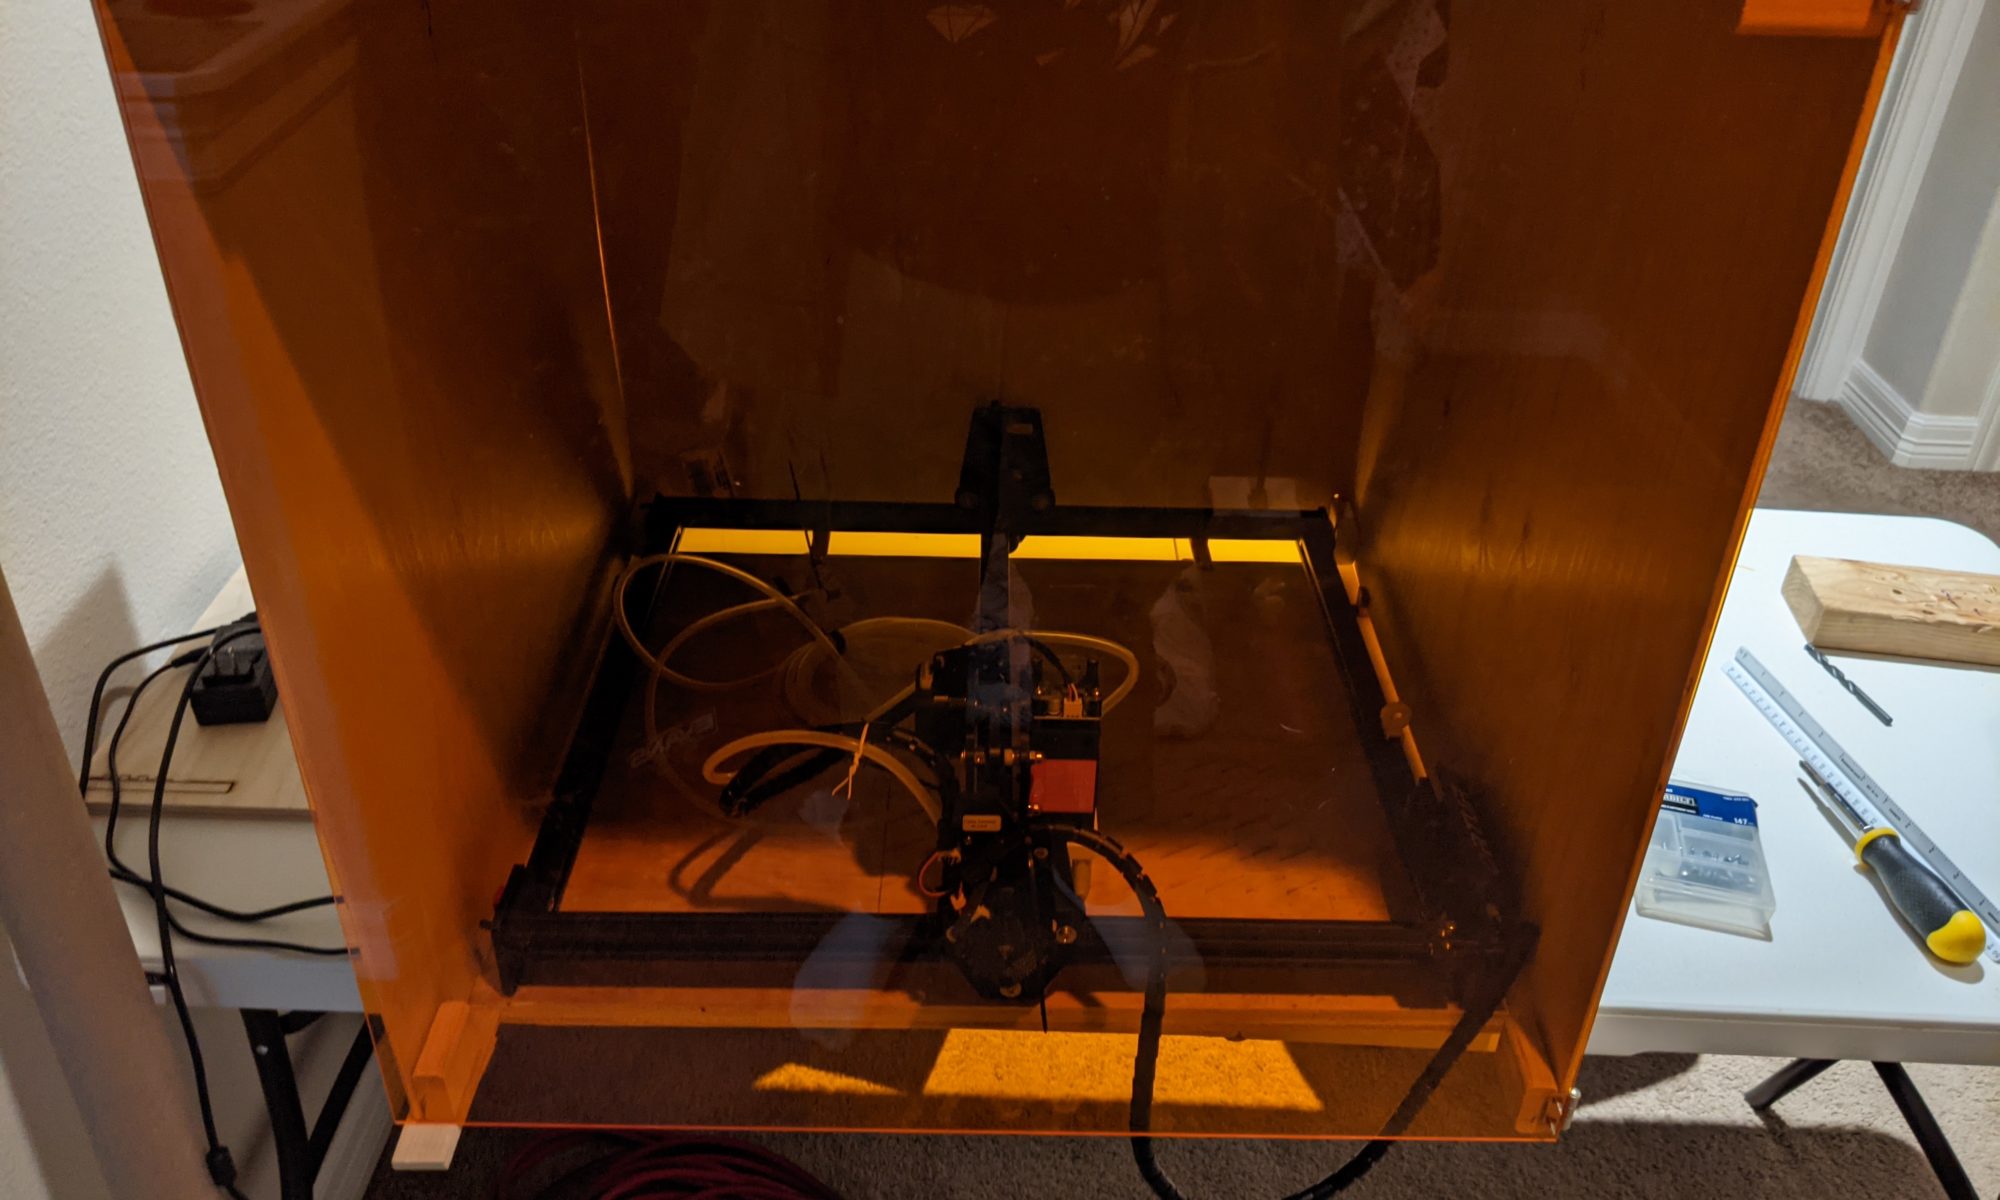
The Ortur laser is completely open air, providing no assistance or infrastructure to vent the fumes away. I decided to work on an enclosure for these reasons. The enclosure has 2 main goals, to contain excess laser light from the room and to contain fumes from the laser so they can be exhausted. The exhaust could be a fan in the back of the box or using a vacuum table underneath the laser. In my case, I’ll be building a vacuum table to hold materials and exhaust fumes.
Supplies
- 2ft x 2ft plywood (1/4″ or 1/8″ thick) from home depot
- Brass hinges
- Small wood pieces cut from 1×2 and 2×4 to hold the corners together
- 250nm – 520nm OD3+ Laser Shielding
- A piece of 1in thick plywood cabinet board (this was a temporary base since we had it and it was the right size at least until the vacuum table is done)
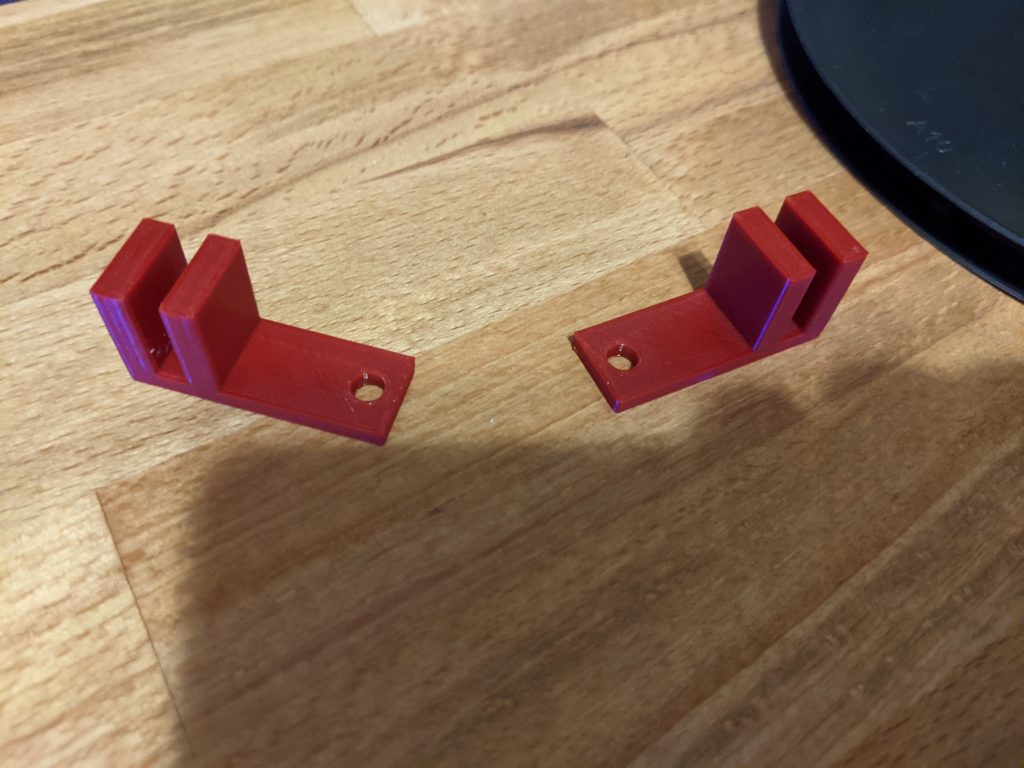
- 3D printed clips
Assembly
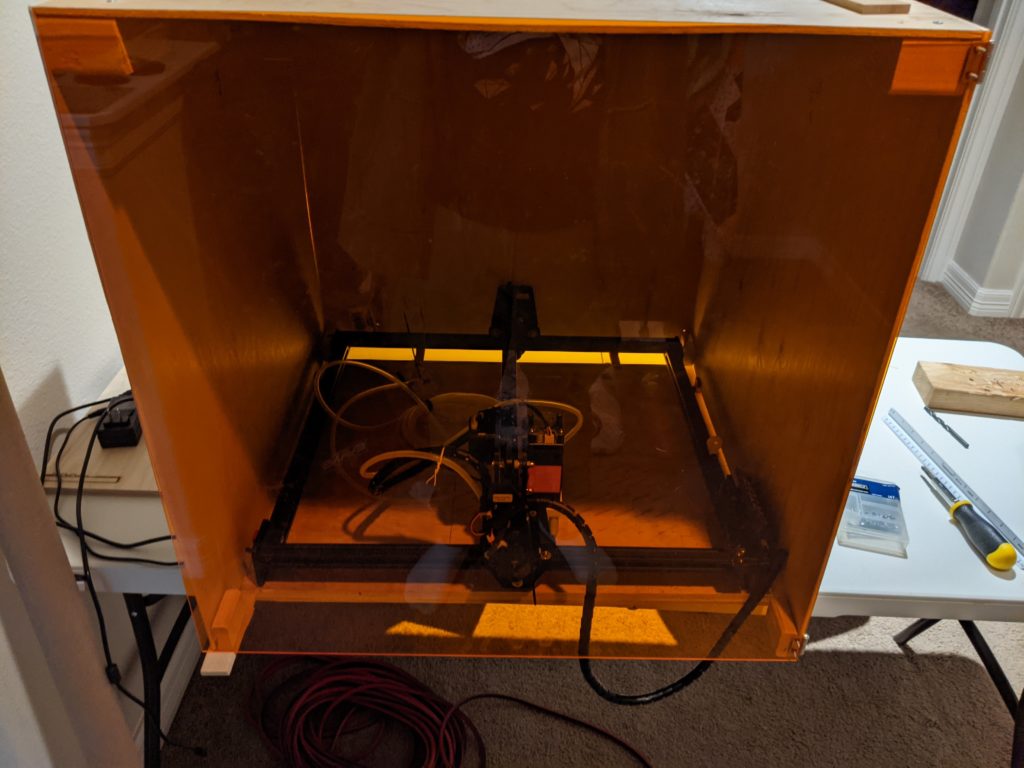
Since I used pre-cut sheets of plywood from home depot, the majority of the assembly was adding wood blocks to the corners and bolting everything together. I did pre-drill all holes for the plywood, blocks, and hinges. I also added blocks to the two bottom corners of the opening despite there being no panels mounting there. One of these is for the door, and the other is for consistency. For the door, i used the brass hinges and the laser plexi mounted to the wood blocks. I found that the door was heavy enough to warp my relatively lightweight box. I mounted one last piece of scrap plywood to the opposite corner of the hinges on the extra block. this holds the door up and prevents warping of the box when its closed.
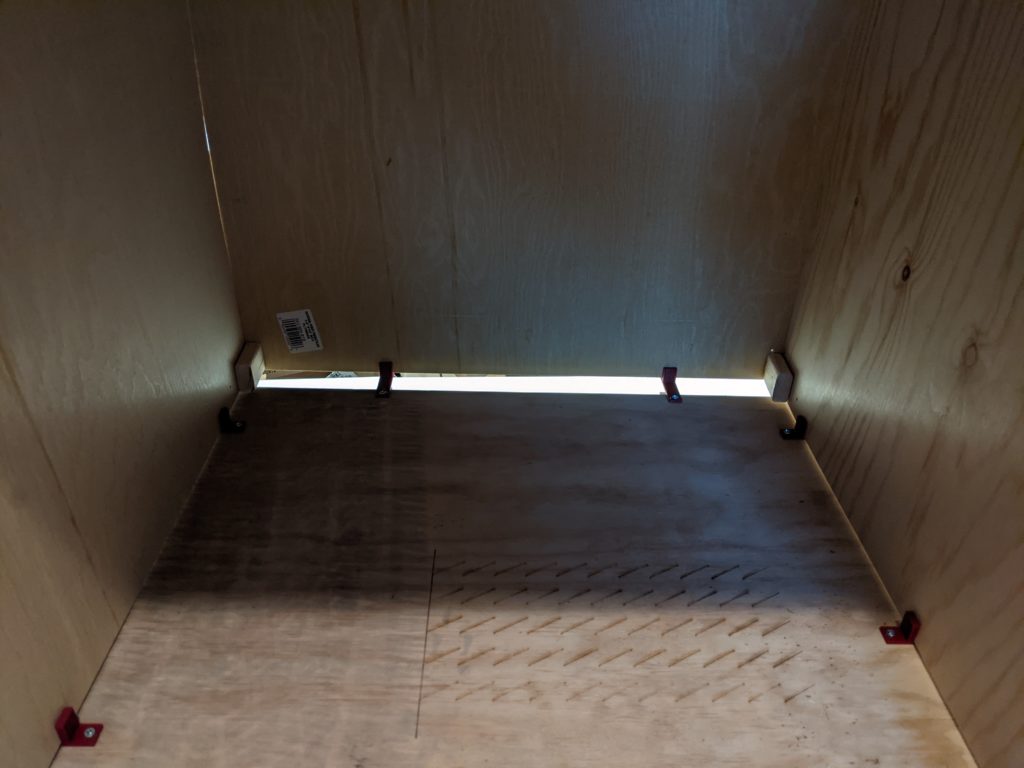
I 3d printed some slots to mount to the cabinet board that hold the box in place on the cabinet board. These are in 2 sizes since my board isn’t square. I have longer tabs on the back and shorter on the sides. These were designed in CATIA and printed on my Ultimaker.
I eyed up hinge locations on the box and marked them on the door. I mounted the hinges to the door, then mounting the assembly to the box. I also had to drill holes in the side for the cables to reach the laser for USB and power. The box in general is pretty simple to put together, though I may add a duct to the back to add an exhaust fan in the future.
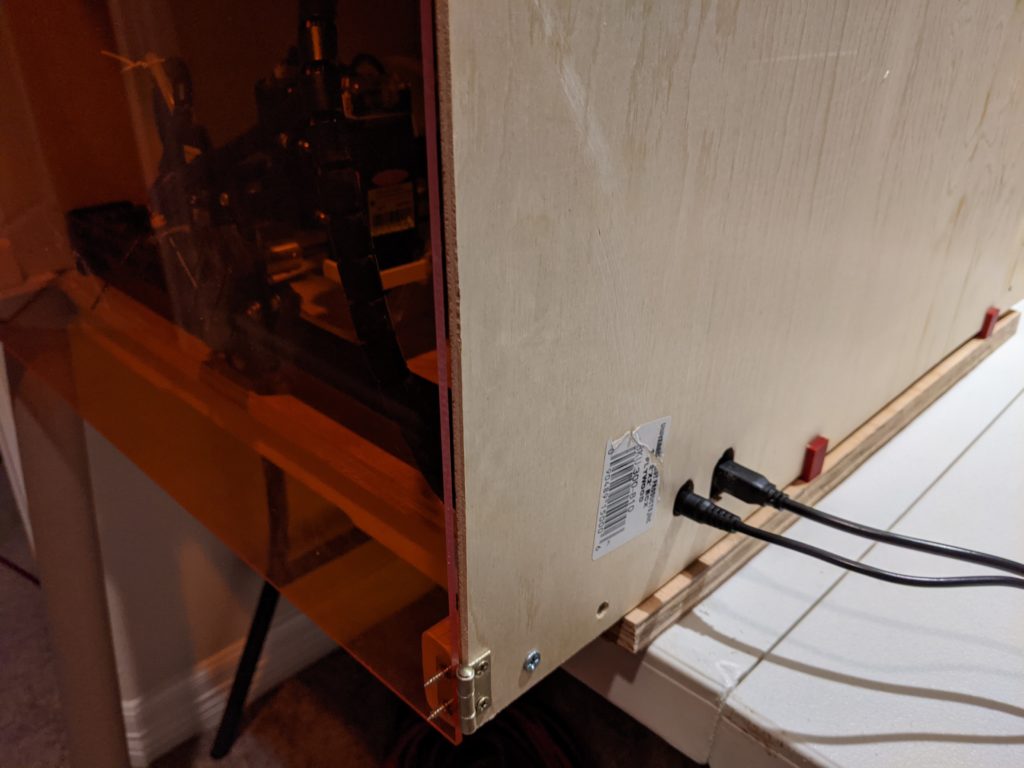
I did end up positioning the Ortur laser sideways in the box. This was to provide better clearance for the cabling from the controller to the laser head and stepper motors. Because of this, I drilled two holes in the side for the cabling to come out of.
Future Updates
One of my current projects for the laser is to build a vacuum table. This is less for holding pieces in place, and more for exhausting fumes and handling flares in the laser. This vacuum table won’t need any updates to the enclosure here since it will simply replace the piece of cabinet board that’s currently being used as the base.