
I’ve had a Bluetooth speaker in my drawer for a few years that is problematic. It doesn’t charge, or turn on consistently, and has other issues as well. Now that I have the ESP audio kit though, I have a need for a good speaker to plug into it. This speaker needing a new control board is just the right candidate for the procedure.
The entire process should be pretty simple. I need to disassemble the Bluetooth speaker, remove everything but the speaker itself, and wire a plug in so that it can connect to the ESP. Finally I need to design and print a case to hold it all together.
Hardware
- ESP32-A1S Audio Kit
- Dead Bluetooth speaker
- M2 H4 heat set inserts, 4 (case half assembly)
- M2 H2 or H4 heat set inserts, 4 (circuit board)
- M2 H4 heat set inserts, 4 (attaching the Bluetooth speaker to the case)
Disassembling the Speaker
Since there were no visible screw holes, I started by pulling off the feet on the back since that’s a common spot to hide screws. None were behind the feet, so I went on to prying around the edges with a straight slot screwdriver. I found the speaker grille was not screwed into place and with a little effort could be removed exposing 4 screws.
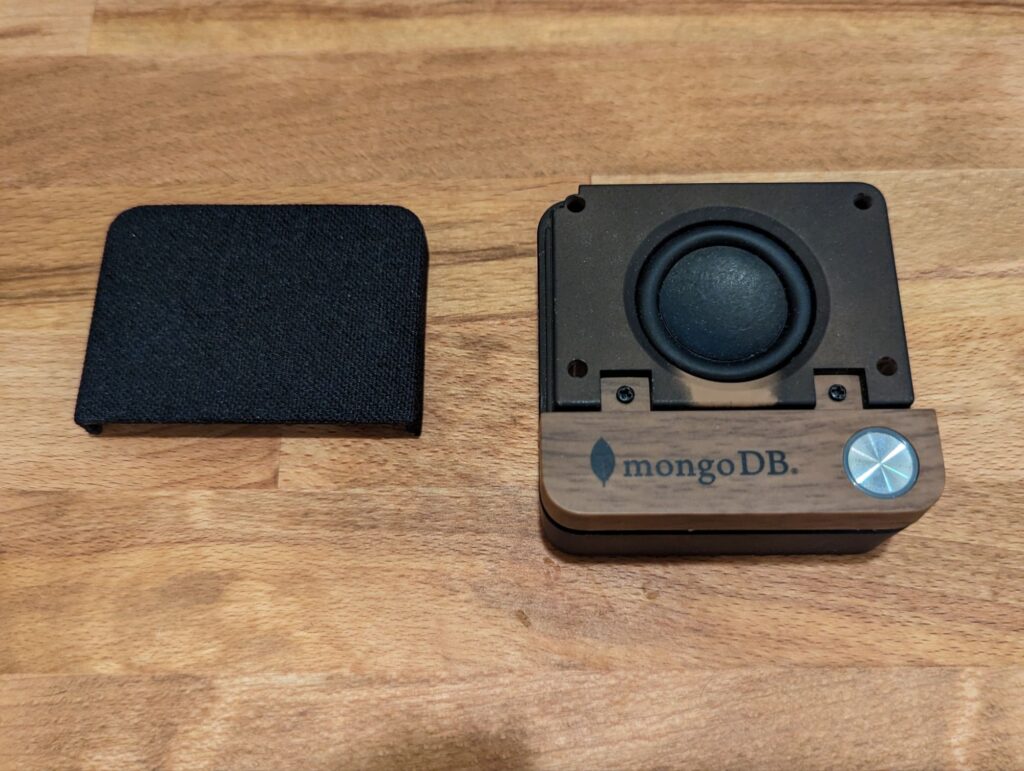
I removed all 4 screws including those holding on the wood grain control pad on. Once that was removed, it exposed 2 more screws.
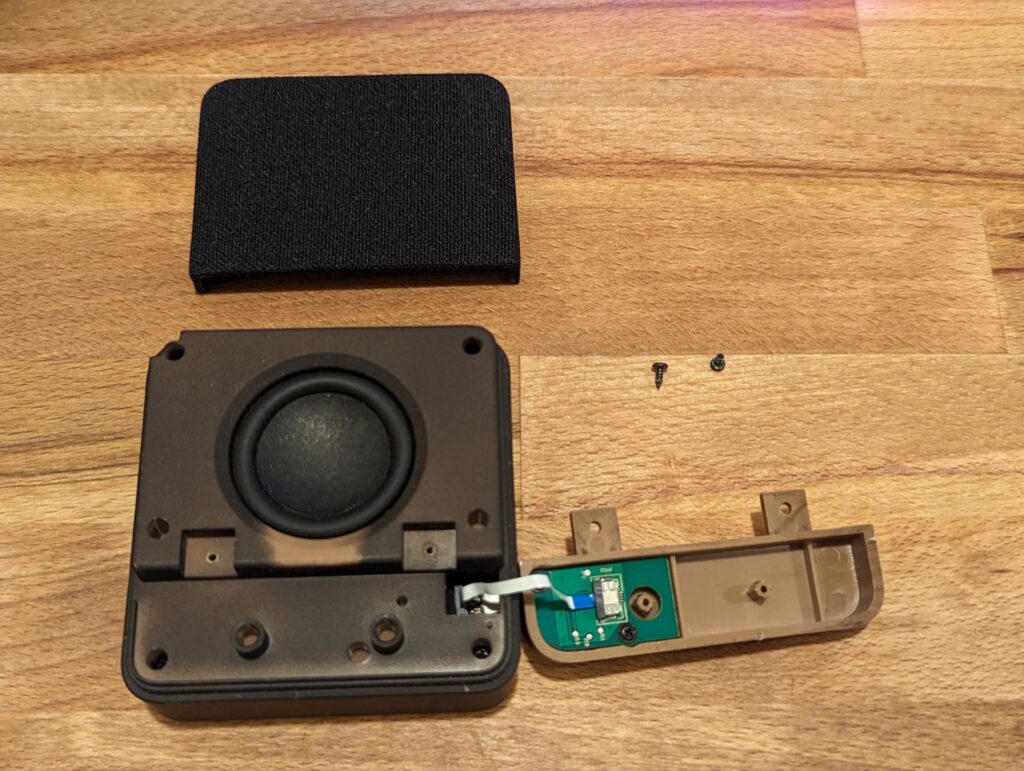
Once all the visible screws were removed, I prayed a bit between the case halves to pop them apart and get to the meat of the internals.
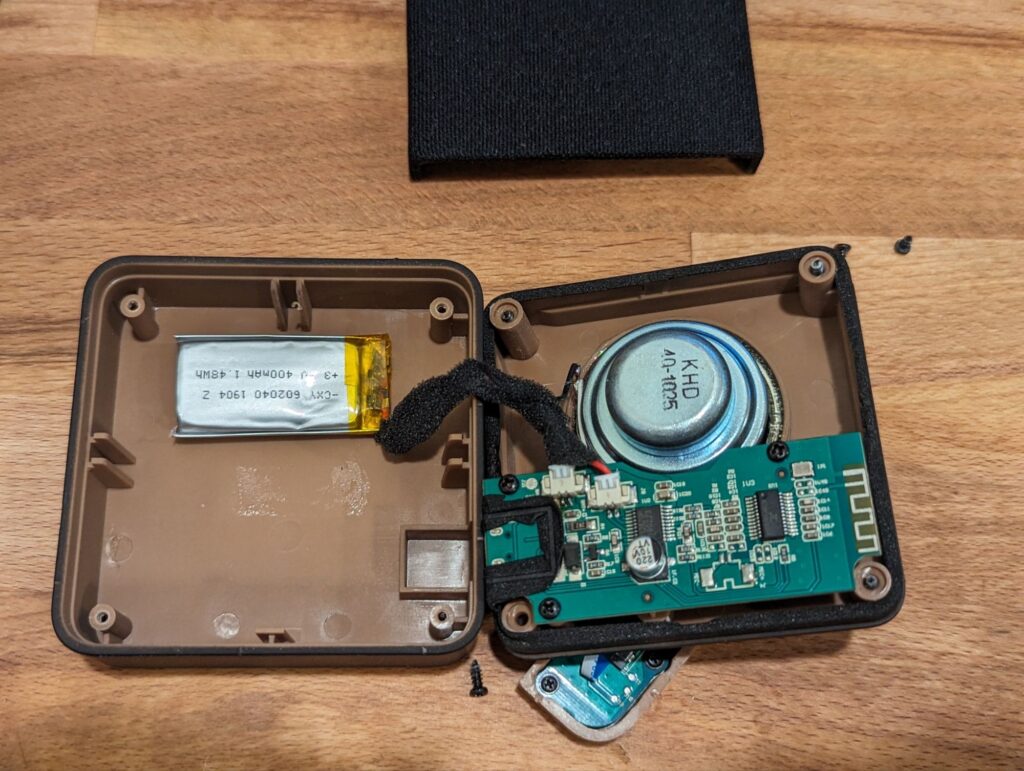
I unplugged the speaker, and pulled the main board out of the speaker, keeping the speaker itself and the board holding the button. I may try to integrate the button and it’s LED into my squeezelite board later on, but for now we’re just focused on the front of the speaker.
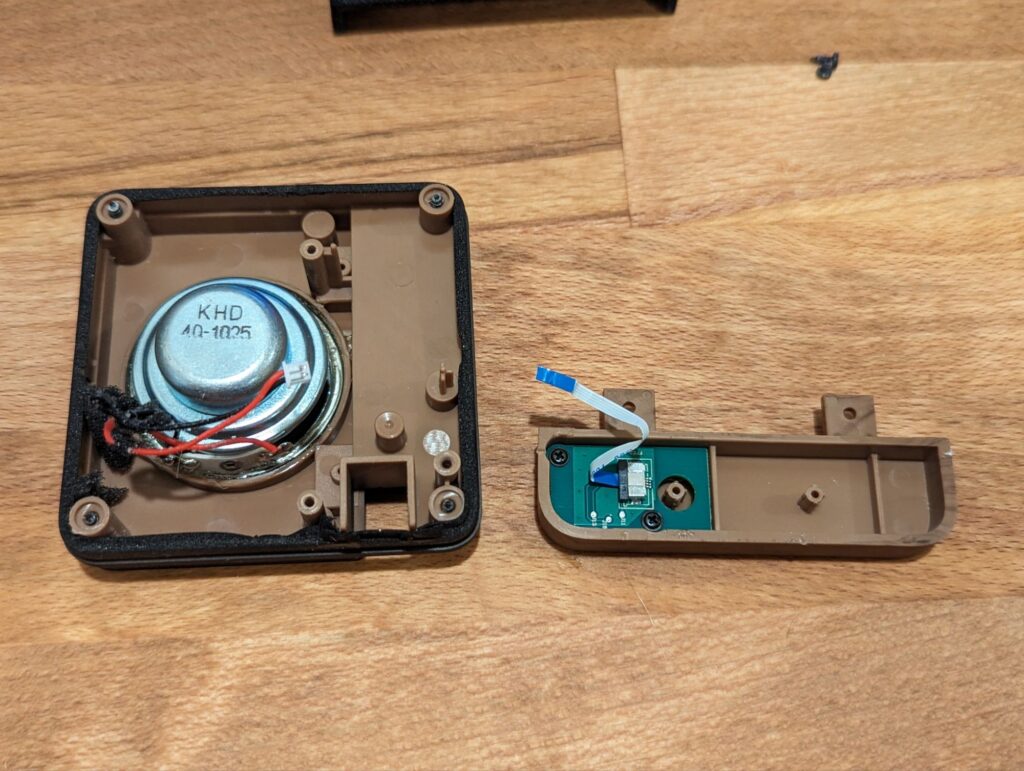
Brain Surgery
I soldered on a different connector to the speaker so I could plug it into the ESP32 A1S directly and tried out playing some music on it. It worked well and sounded better than the little test speakers I used previously on the ESP.
Design & Reassembly
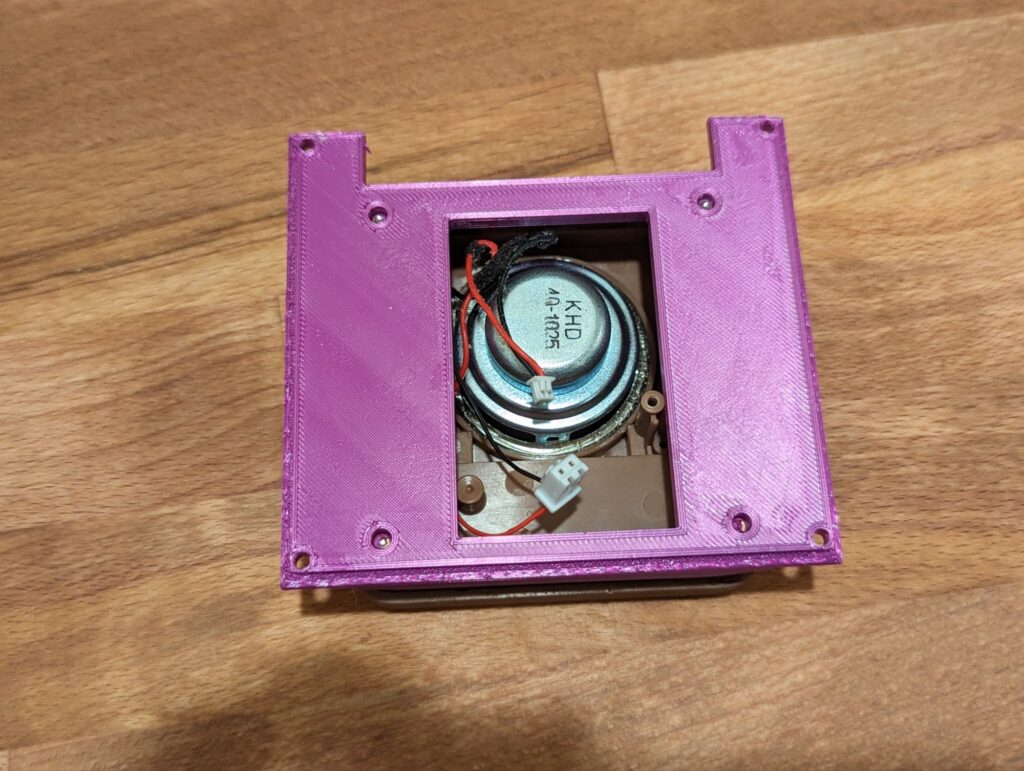
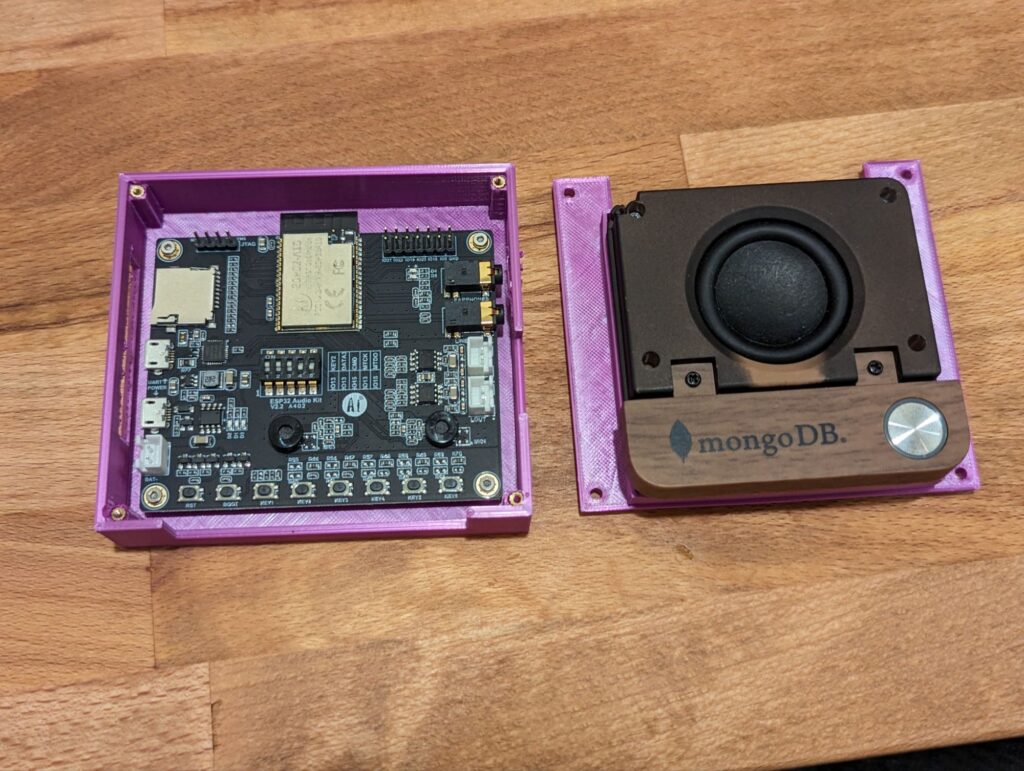
Next up is going to be designing a new case so I can mount the new control board to the Bluetooth speaker front, giving a bit of a cohesive unit (for those who consider Frankenstein’s monster cohesive). I used a general ESP Audio Kit case design as my basis and created a custom lid for it to hold my Bluetooth speaker in place. The lid has heat set inserts to hold the speaker to it, and a large hole for wiring to pass through.
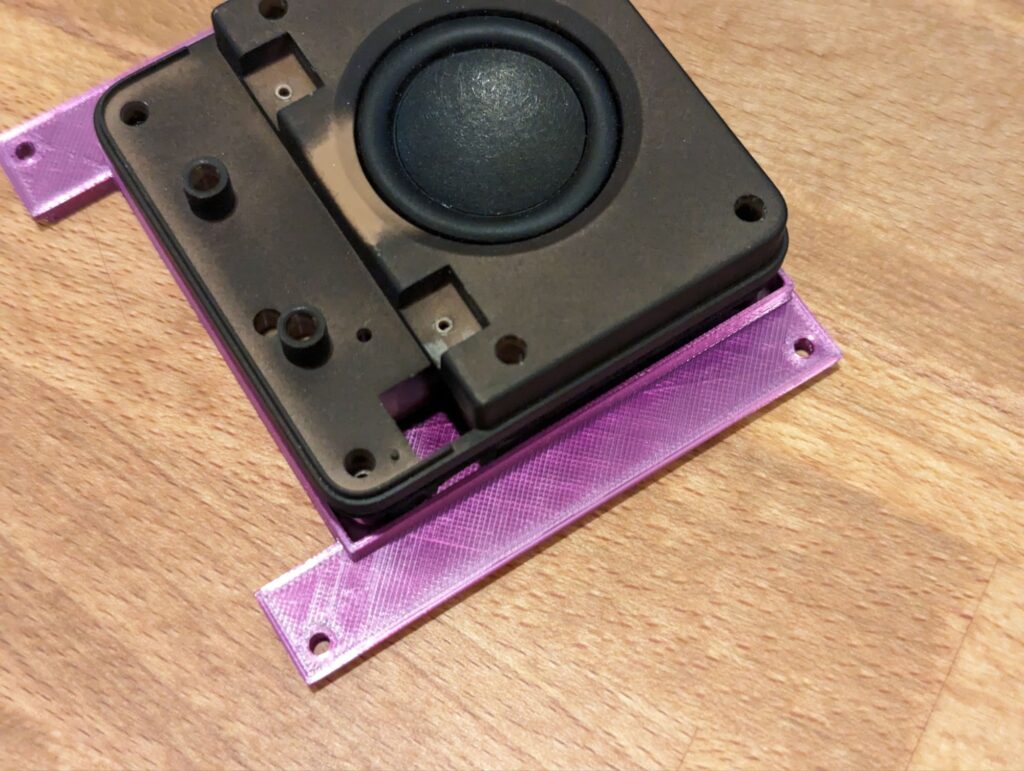
I did make an oops on my first design. I decided to use M3 heat set inserts to hold the speaker in place, but m3 screws didn’t fit through the speaker screw holes. Always make sure to check the screws fit before choosing the size of your heat set inserts.
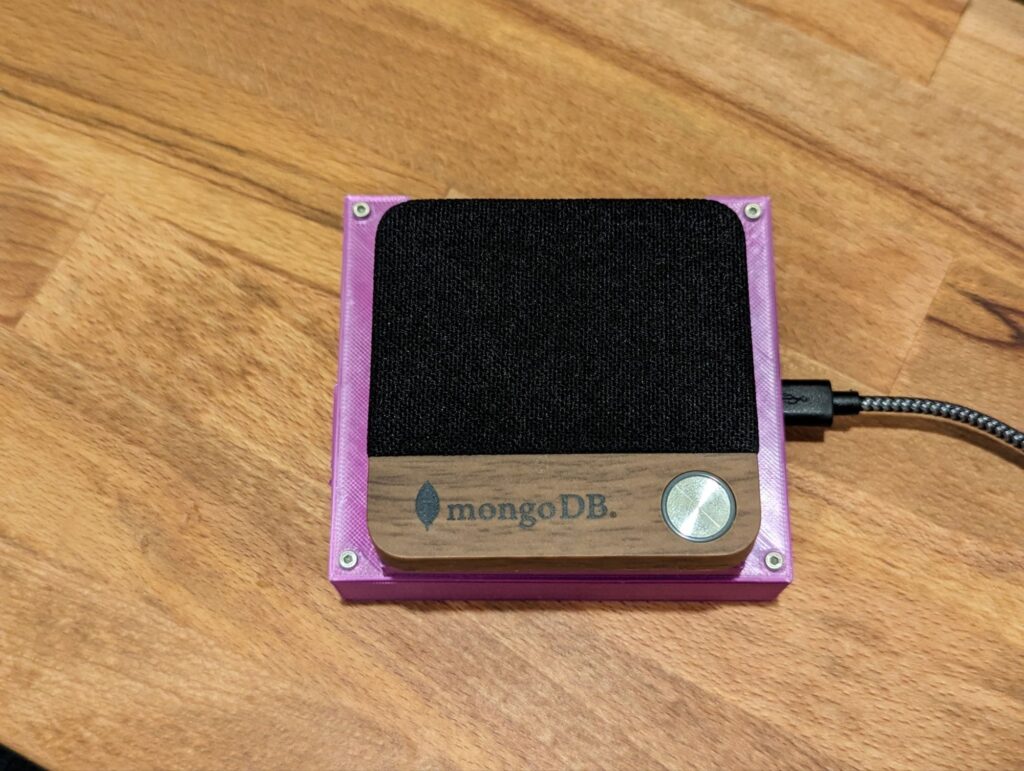
With the new lid created, I started assembly. I screwed the Bluetooth speaker to the lid, and the ESP to the base of the case, plugged in the speaker and screwed the two cases halves together.
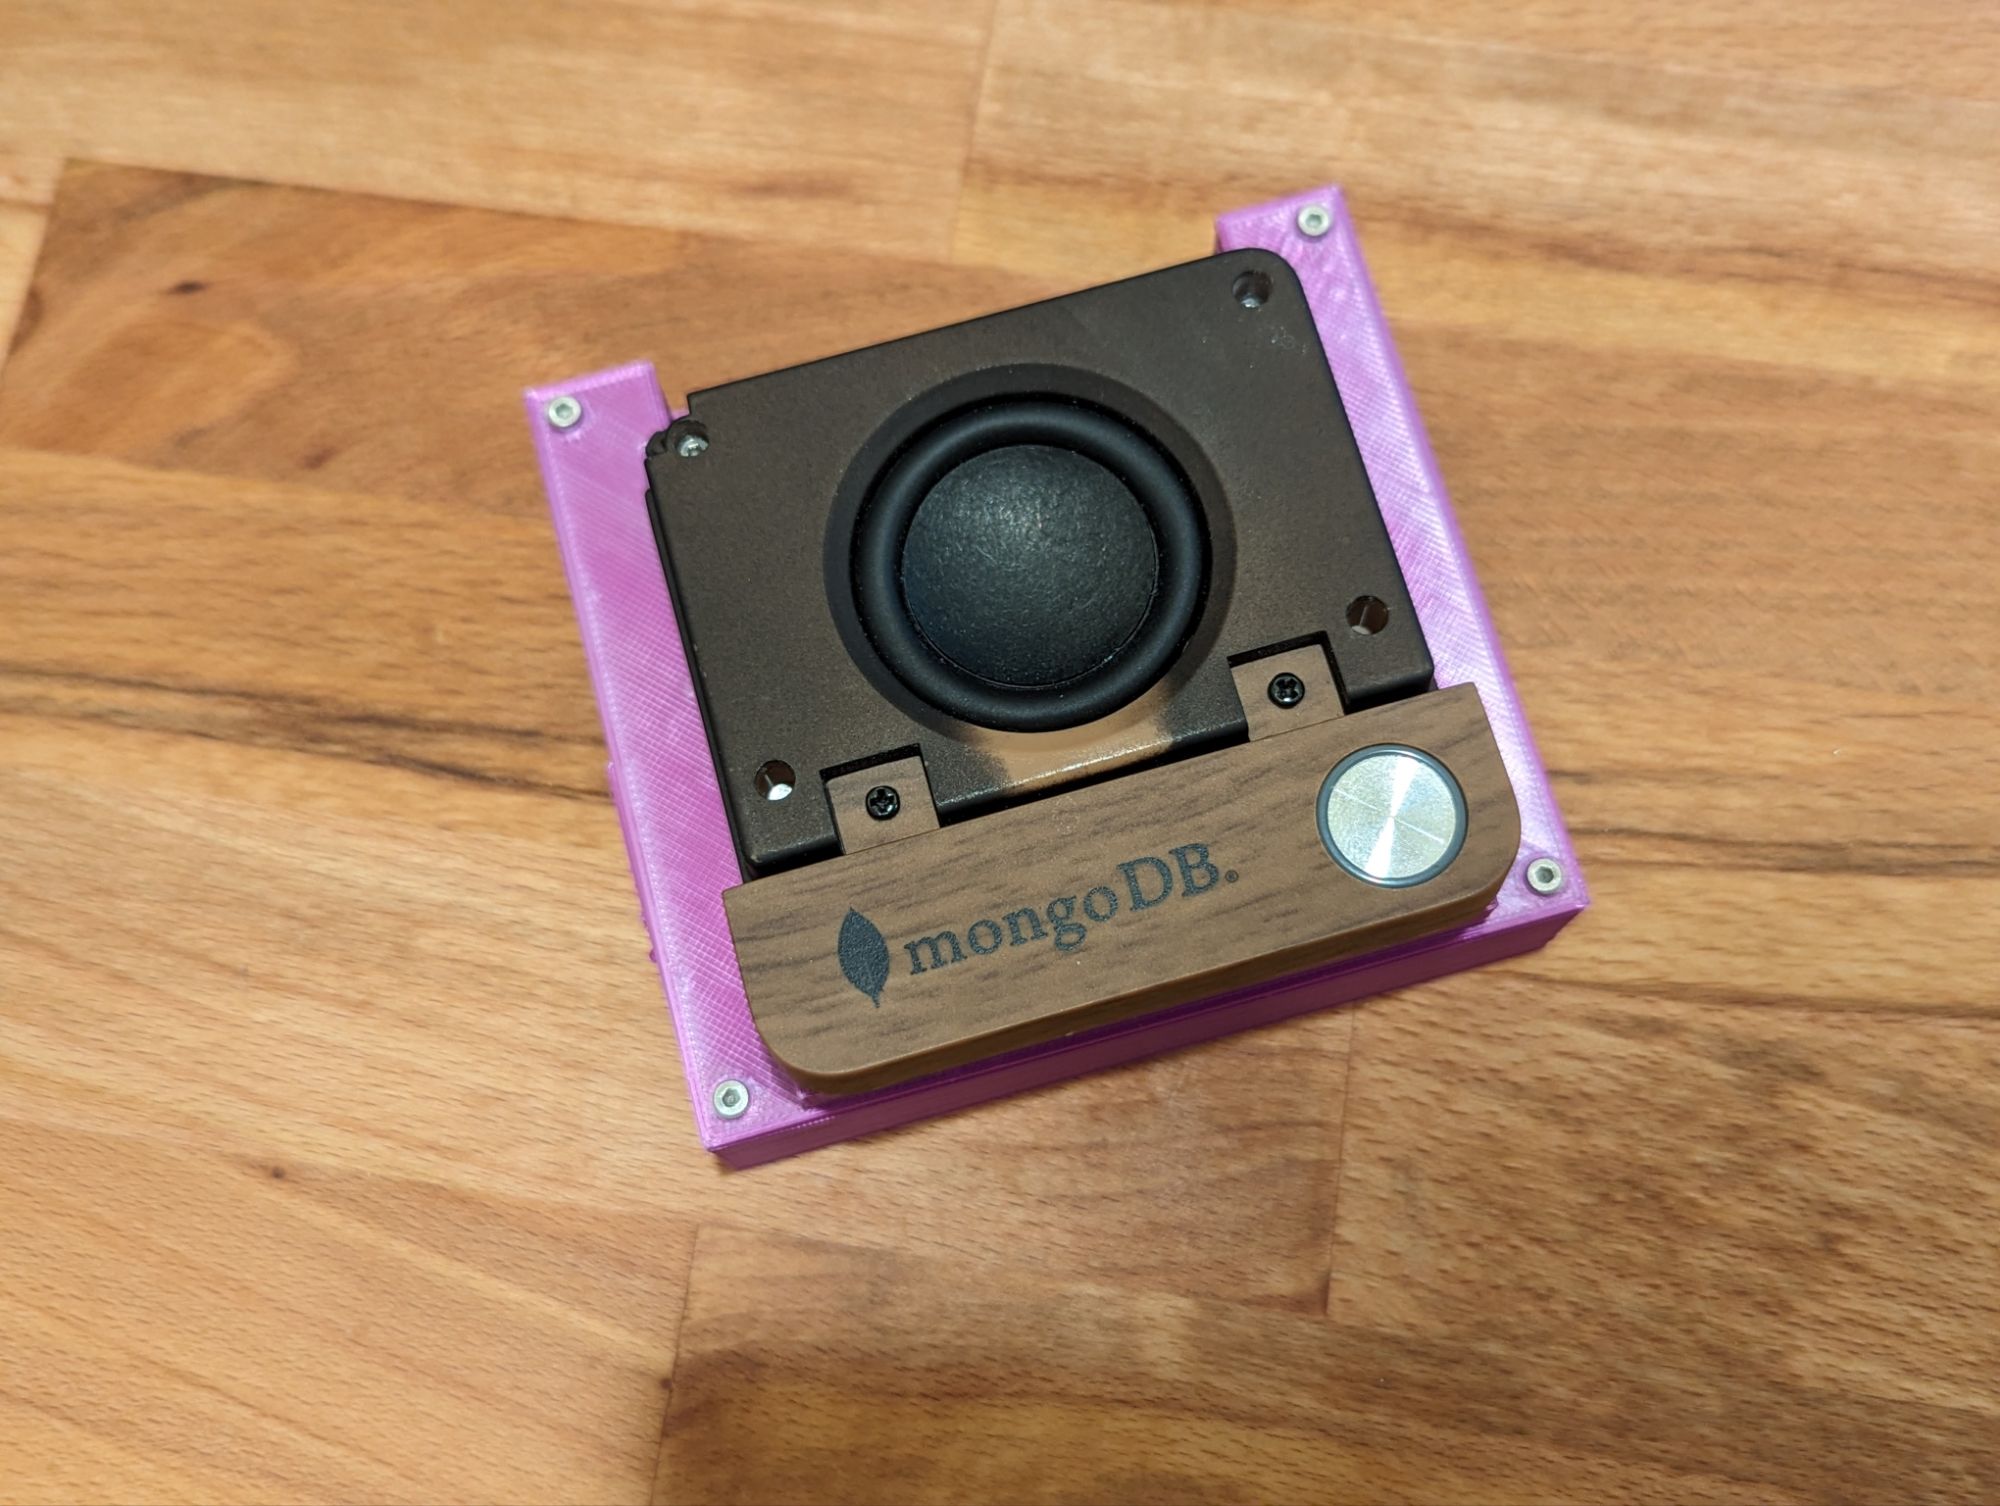
Conclusion
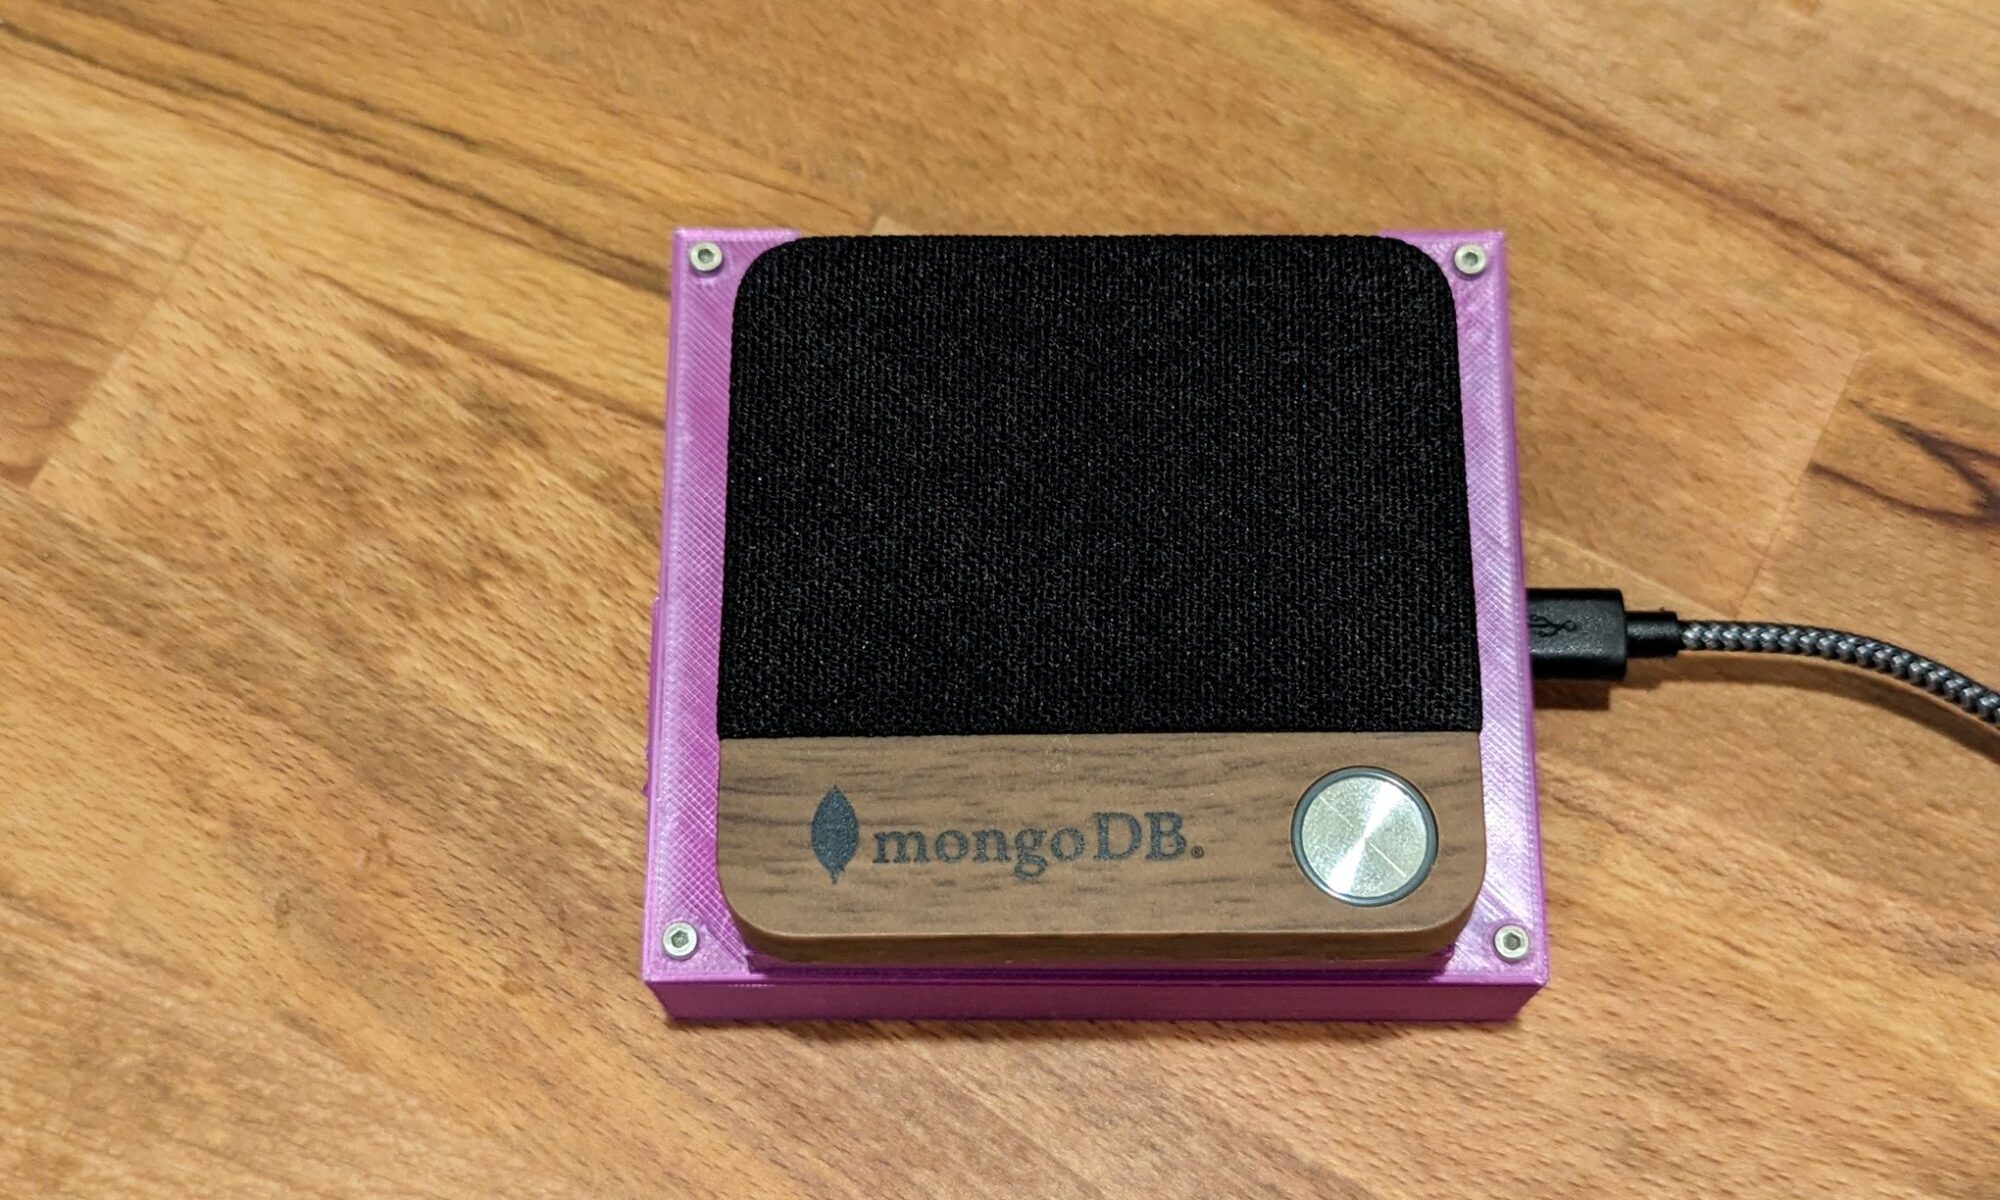
The unit turned out well and sounds much better than the other speakers I had used on the ESP. This is also a great way to extend the life of all least some of the Bluetooth speaker parts without just throwing it out and replacing it (especially if you play with ESPs). The model is available on printables here.