Now that I have a CO2 laser available, it opens up some new things that I can do, like cutting and engraving clear acrylic. Adding some side lighting to that and we can make a pretty sweet sign. I also plan on making a few more of these for gifts, so this first one is my experiment piece to try out all the techniques needed.
Design Considerations
The idea is simple enough, laser engrave a design into acrylic, put an LED strip on the side of the acrylic and light it up. The glow shows through where the engraving is. This all gets installed in a shadow box with an ESP running WLED.
I also wanted to be able to hang the sign on the wall, or have it set on a table or shelf. This means I want to be able to input power from the bottom of the frame or from the back. Also due to this, I needed the back panel to be black so that any light through the back of the acrylic wouldn’t reflect back out washing out the design when wall mounted. This consideration comes all to the shadow box that I’ll be mounting the sign in, and including barrel plugs in two locations on it for power.

Components
- ESP D1 Mini
- IR Receiver (I tested VS1838B, KY-022, TSOP38238, and they all worked)
- 2a Fuses
- Fuse Holder
- 60 LED/m Light Strip (you can go denser if desired, but I wouldn’t go less dense)
- 1/4″ (6mm) Clear Acrylic
- 1/4″ (6mm) Black Acrylic
- Hot Glue
- Shadow Box Frame
- JST Connectors
- Barrel Plug
- 5v 2a Wall Wart
- IR Remote
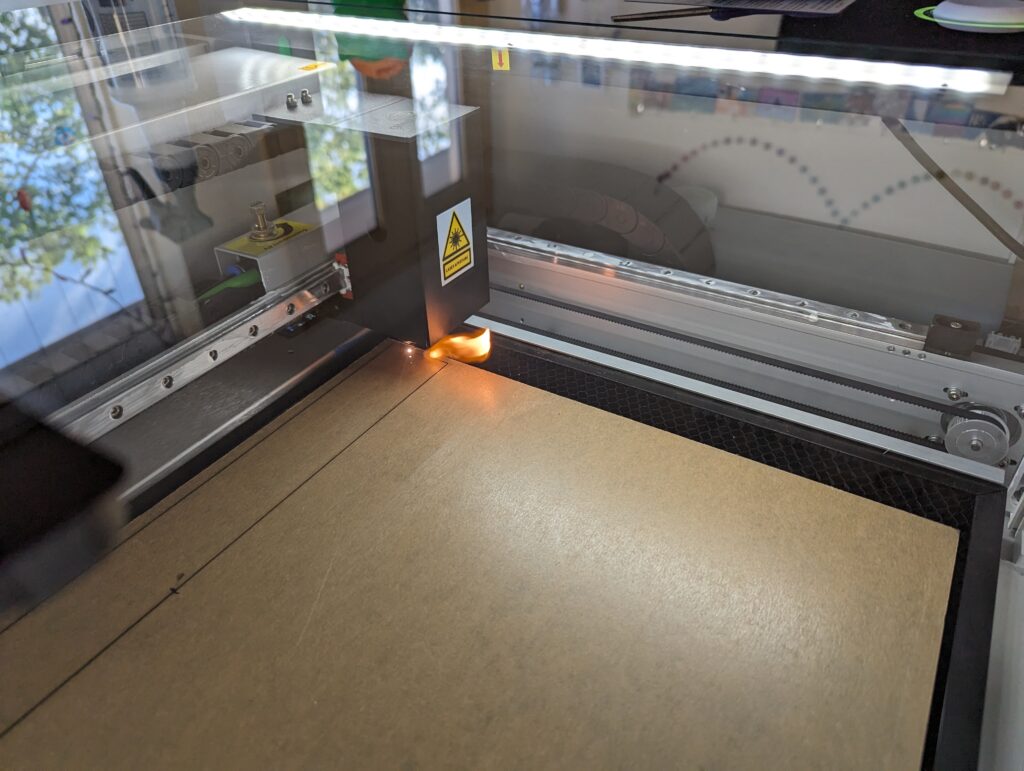
Laser Cutting & Engraving
I set things up to get two different engraving depths, the depth for the line work on my sign, and the depth for the text itself. Since this was a test piece, I wanted to see if the depth affected the amount of glow in those areas (it didn’t noticeably affect it).
The line and fill engravings work well with the same settings. I had separate settings for cutting that I ran after I had the right engraving depth.
- Engraving
- One pass at 70/35 at 110mm/s
- Next pass at 40/20 at 110mm/s
- Cutting
- 2 passes at 95% at 15mm/s
- Continue single passes as needed
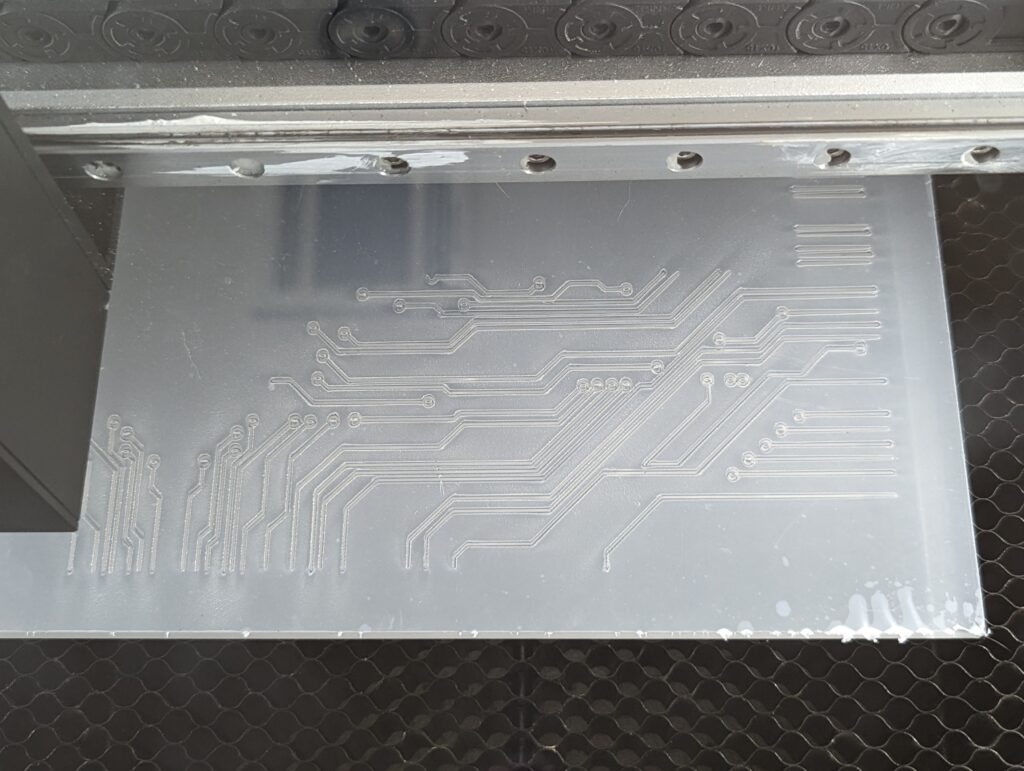
My sign was using a piece of scrap from another project (a decently sized piece of scrap). Due to that, I didn’t engrave all the way to the edge, I didn’t want to run into problems lasering off the edge of the acrylic. My next signs were all engraved right to the edges and cut out precisely to size.
The final sign here turned out amazingly well. On future signs I did encounter some problems to work through, pitfalls that went along with those designs that I didn’t see in my circuit board pattern.
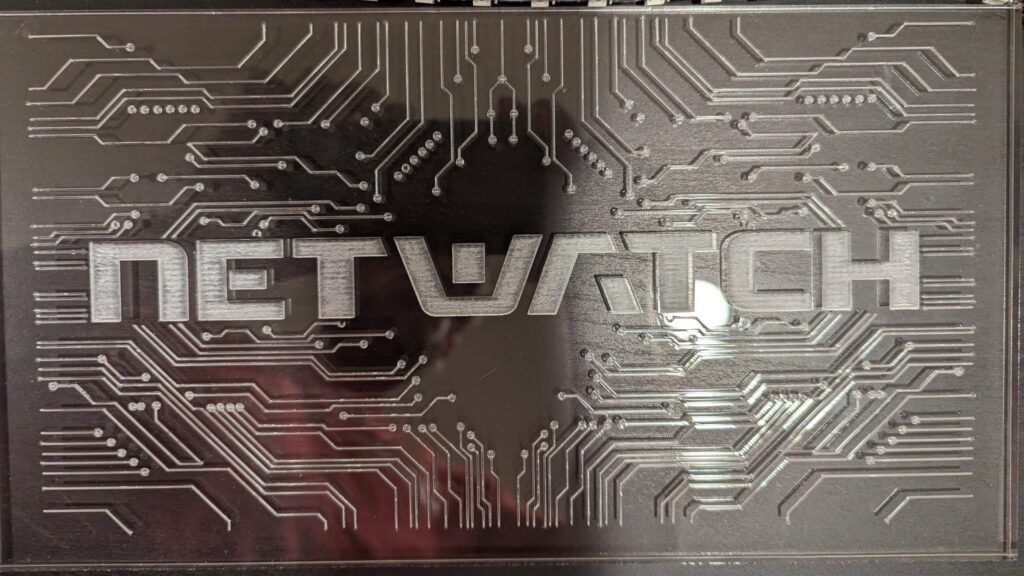
Pitfall: Engraved Mountains
In LightBurn, I finally realized what the min and max power settings are for. They help prevent over powering corners and other locations where the laser has to slow down on its motion. Without tuning these correctly, you end up with wildly varied engraving depths, like this.
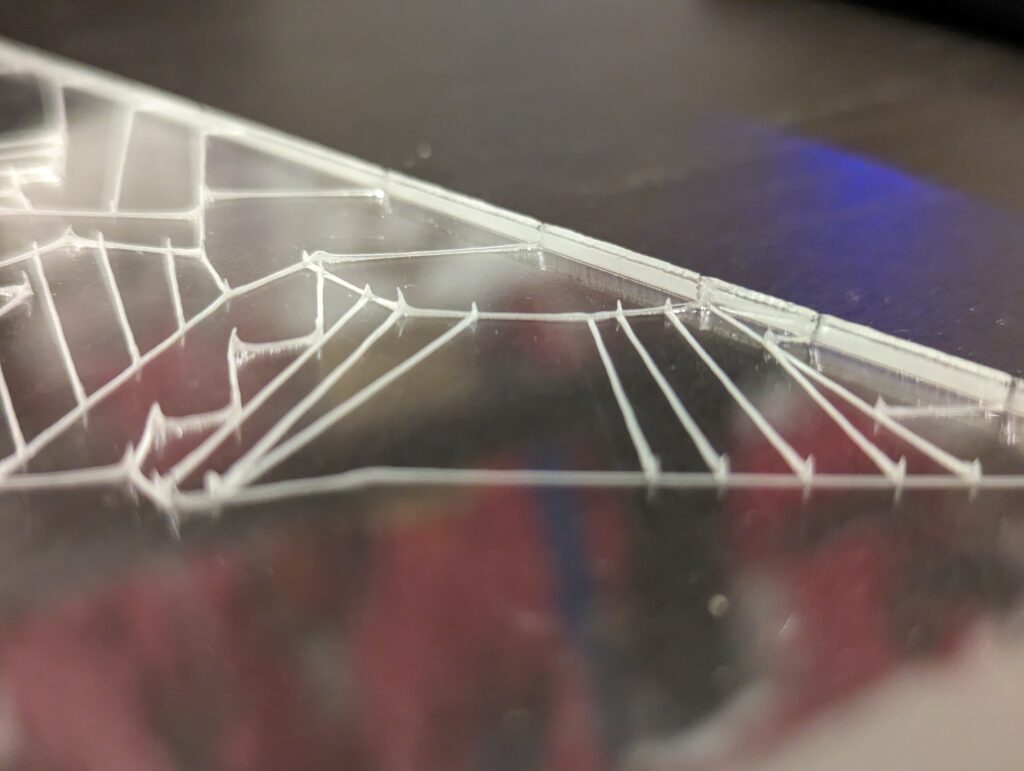
I found through some experimenting that depth doesn’t matter for the engraving to glow well, just that it is engraved. Keep the min power setting for the engraving at about half the max power (or less). This seemed to reduce the peaks greatly, though not eliminate them. Also don’t overdo the engraving, that will just make them more obvious. One solid pass with the min power set right should cover it.
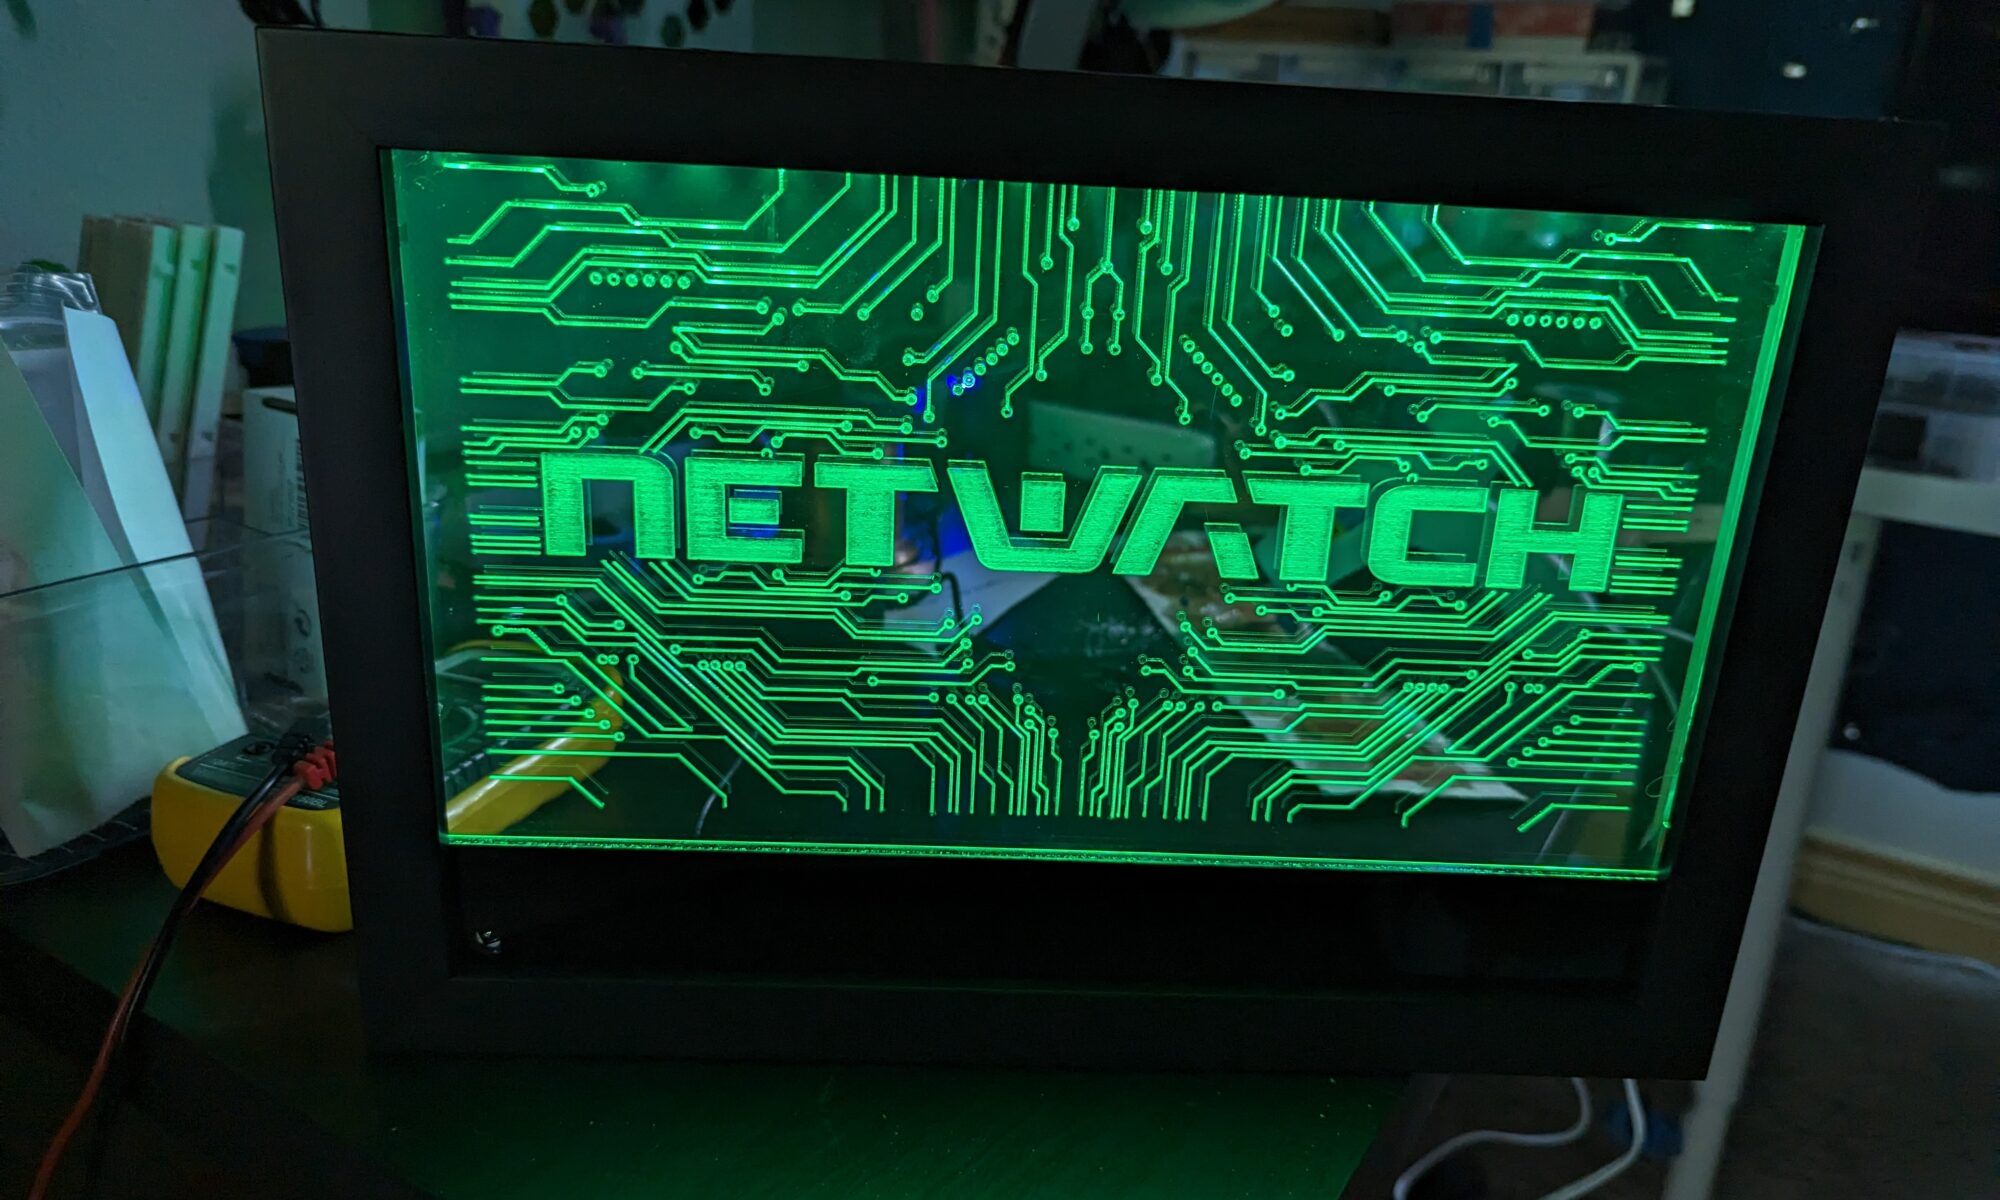
Lighting Test
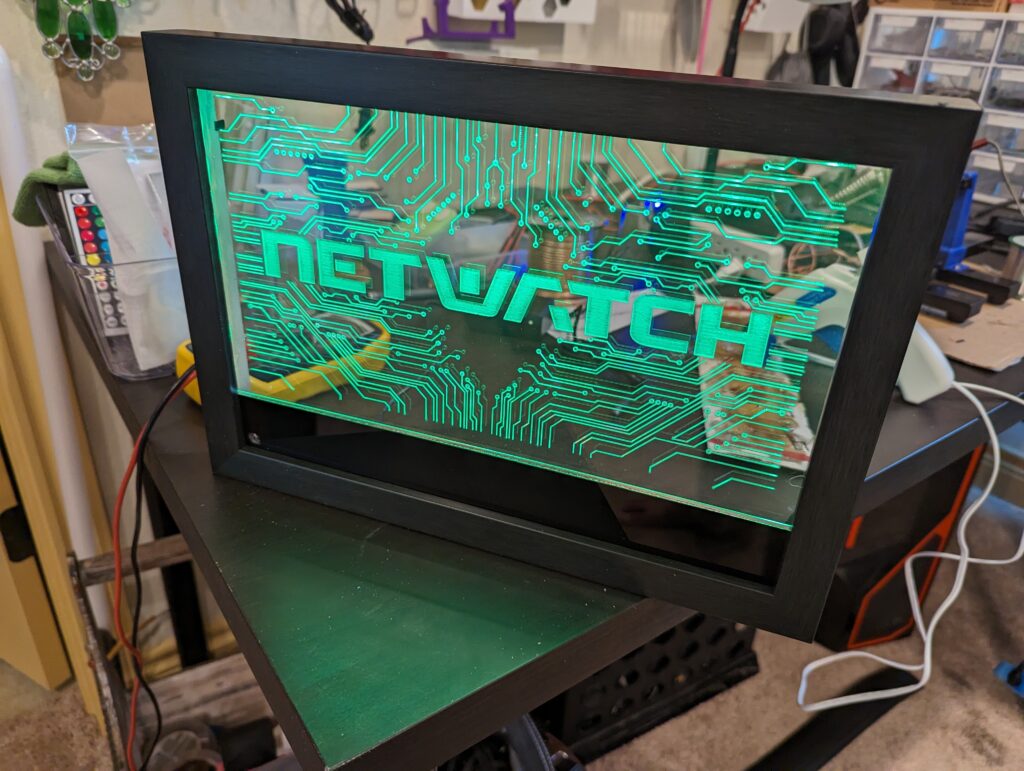
After finishing the laser cutting and engraving, I wanted to test out the lighting to make sure everything looked good before I went any farther. I wasn’t sure how well it turned out since it was my first project doing something like this. I’d have to say I was quite happy with the turn out though.
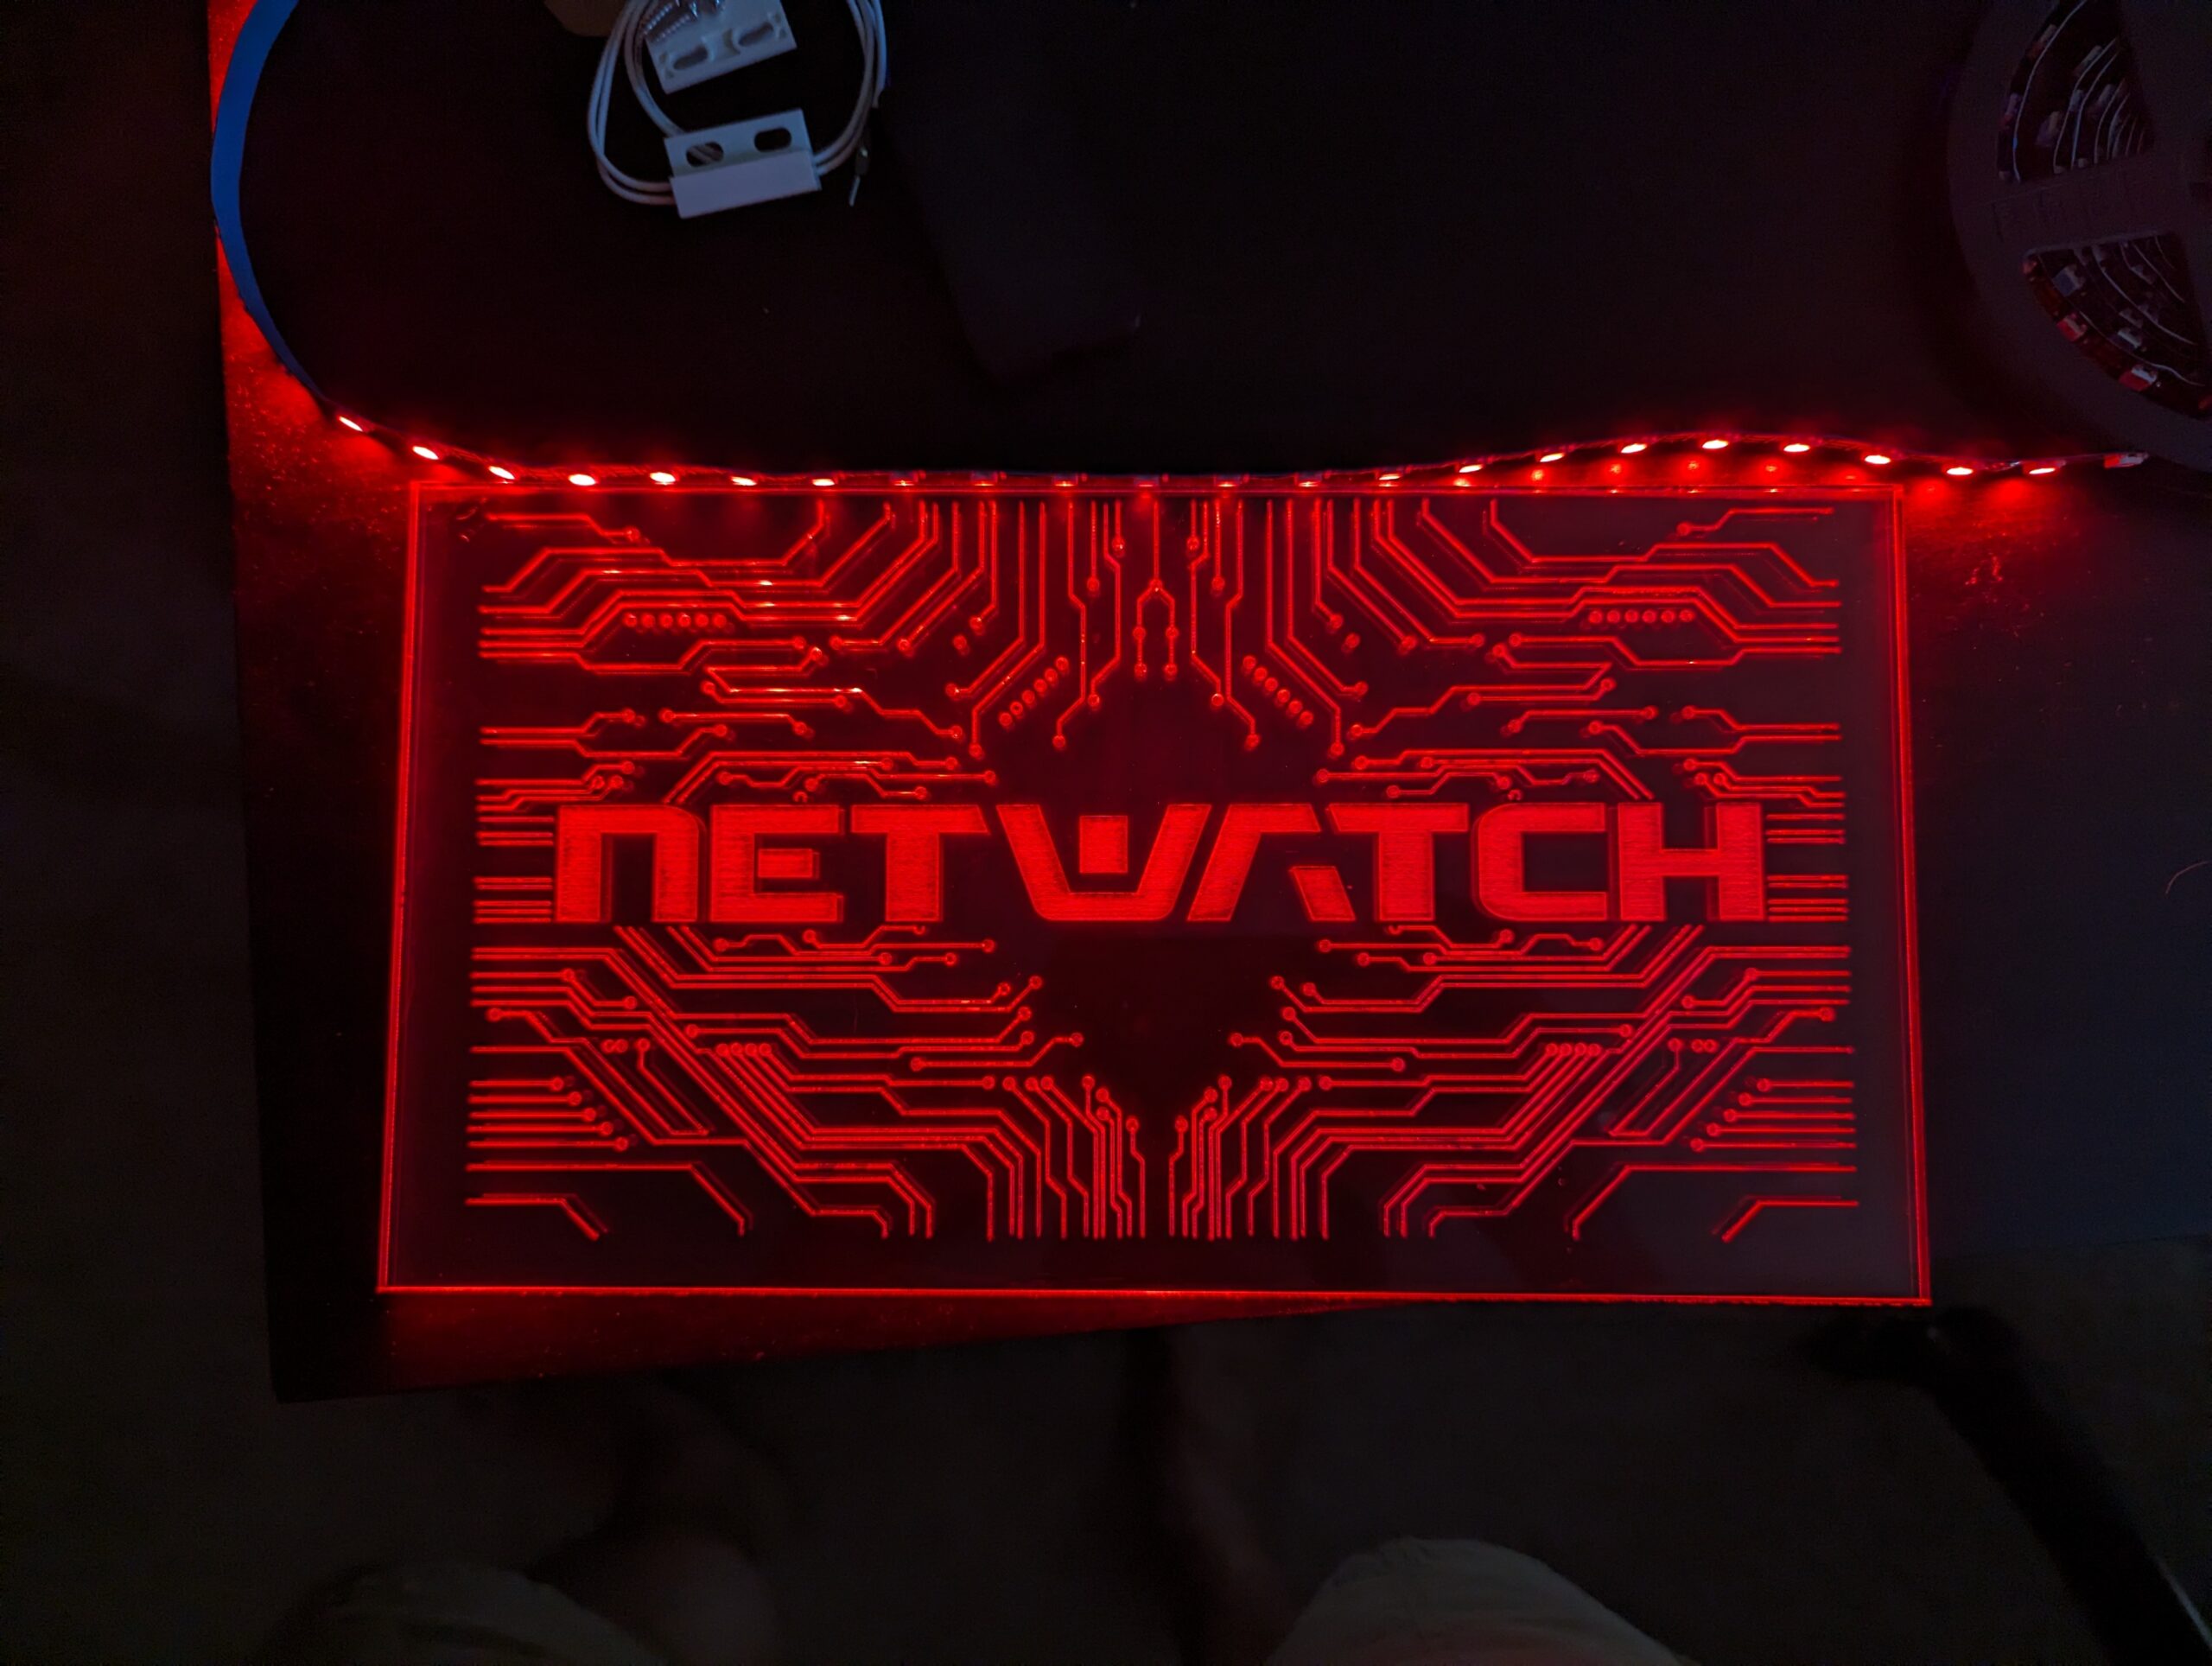
I can confirm that the amount of glow is not affected by engraving depth. Between this piece and some of the other signs I’m making, I haven’t noticed a difference in the glow from any of the various depths.
Electronics
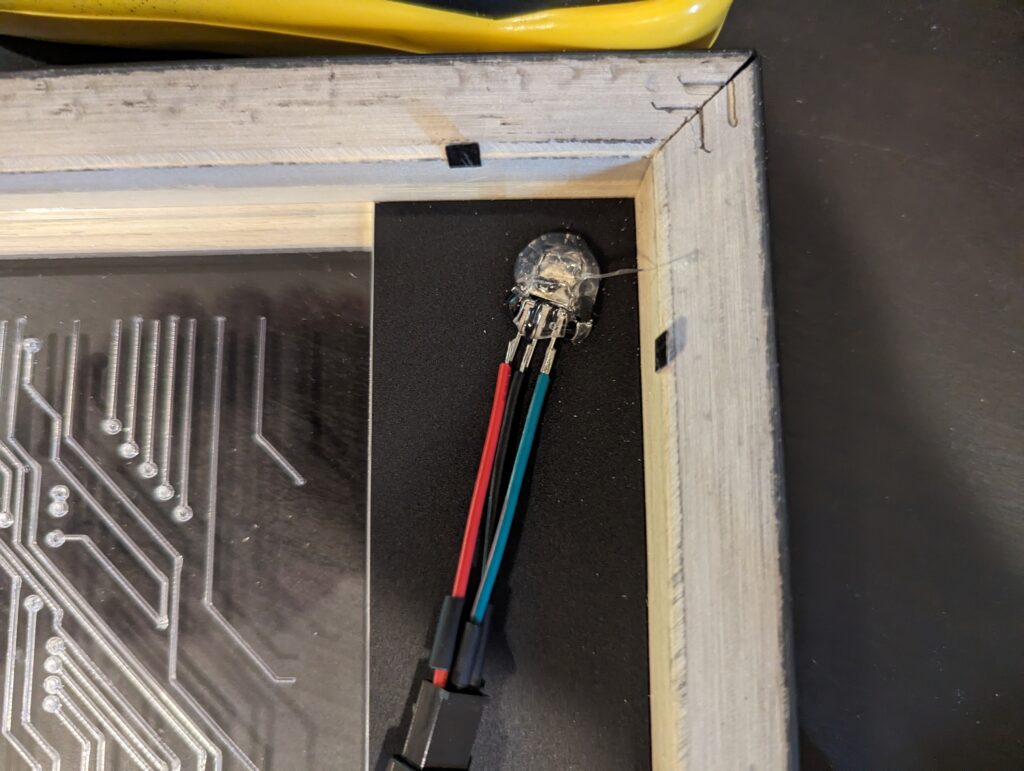
I started by soldering connectors on all the IR receivers that I need. Don’t forget to shrink your heat shrink like I had forgotten to do below and in the photos of the mounted receiver in my sign.
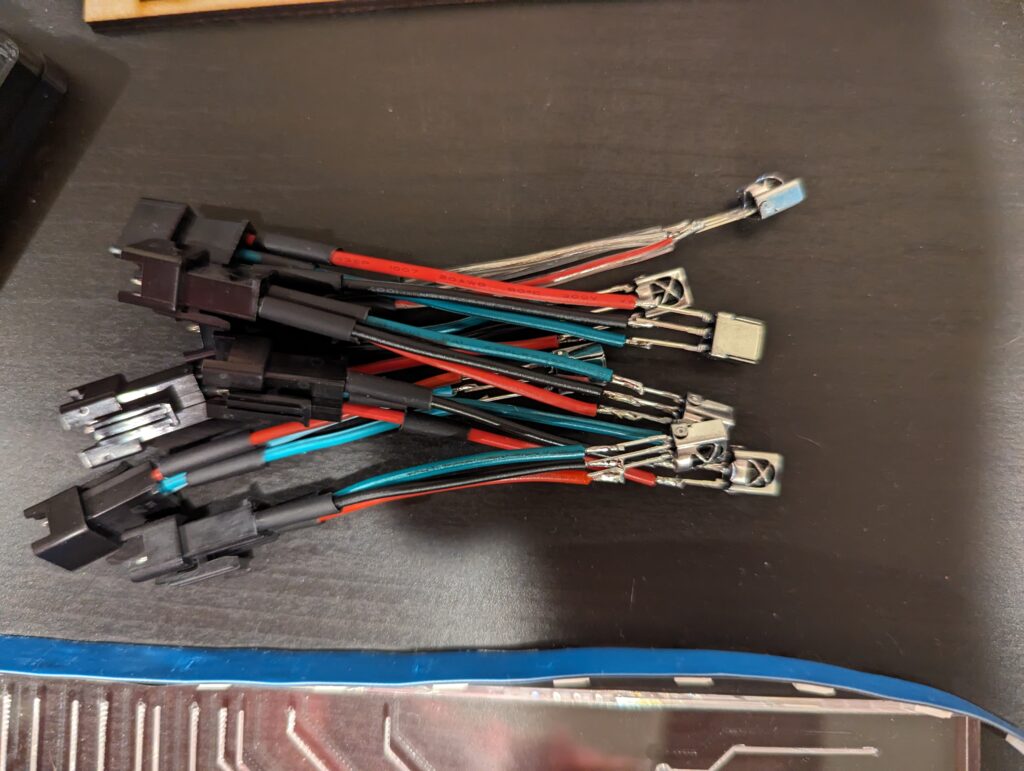
Once that was done, I started eyeing up wire lengths for the rest of the circuit, which ended up being pretty poorly done, but it all fit in the end so it did meet the requirements. I wired in two female barrel plugs to the fuse, and everything else off there.

The fuses I chose were matched to the power supplies I was using, 2a. Since these don’t have many LEDs, they shouldn’t be drawing too much. I did also set the current limit in WLED to match.
Assembly
The piece of acrylic I used for my sign ended up being 12″x6.5″, so when I ordered my shadowbox, I added 1.5″ to provide gap for the electronics to hide in. This made the final shadowbox size 12″x8″ (I only needed the extra on one side for the electronics). This seemed like it would be enough for the D1 mini with a bit of room to spare, but ended up being more snug than I intended. For the next few signs that I make, it’ll be 2″.
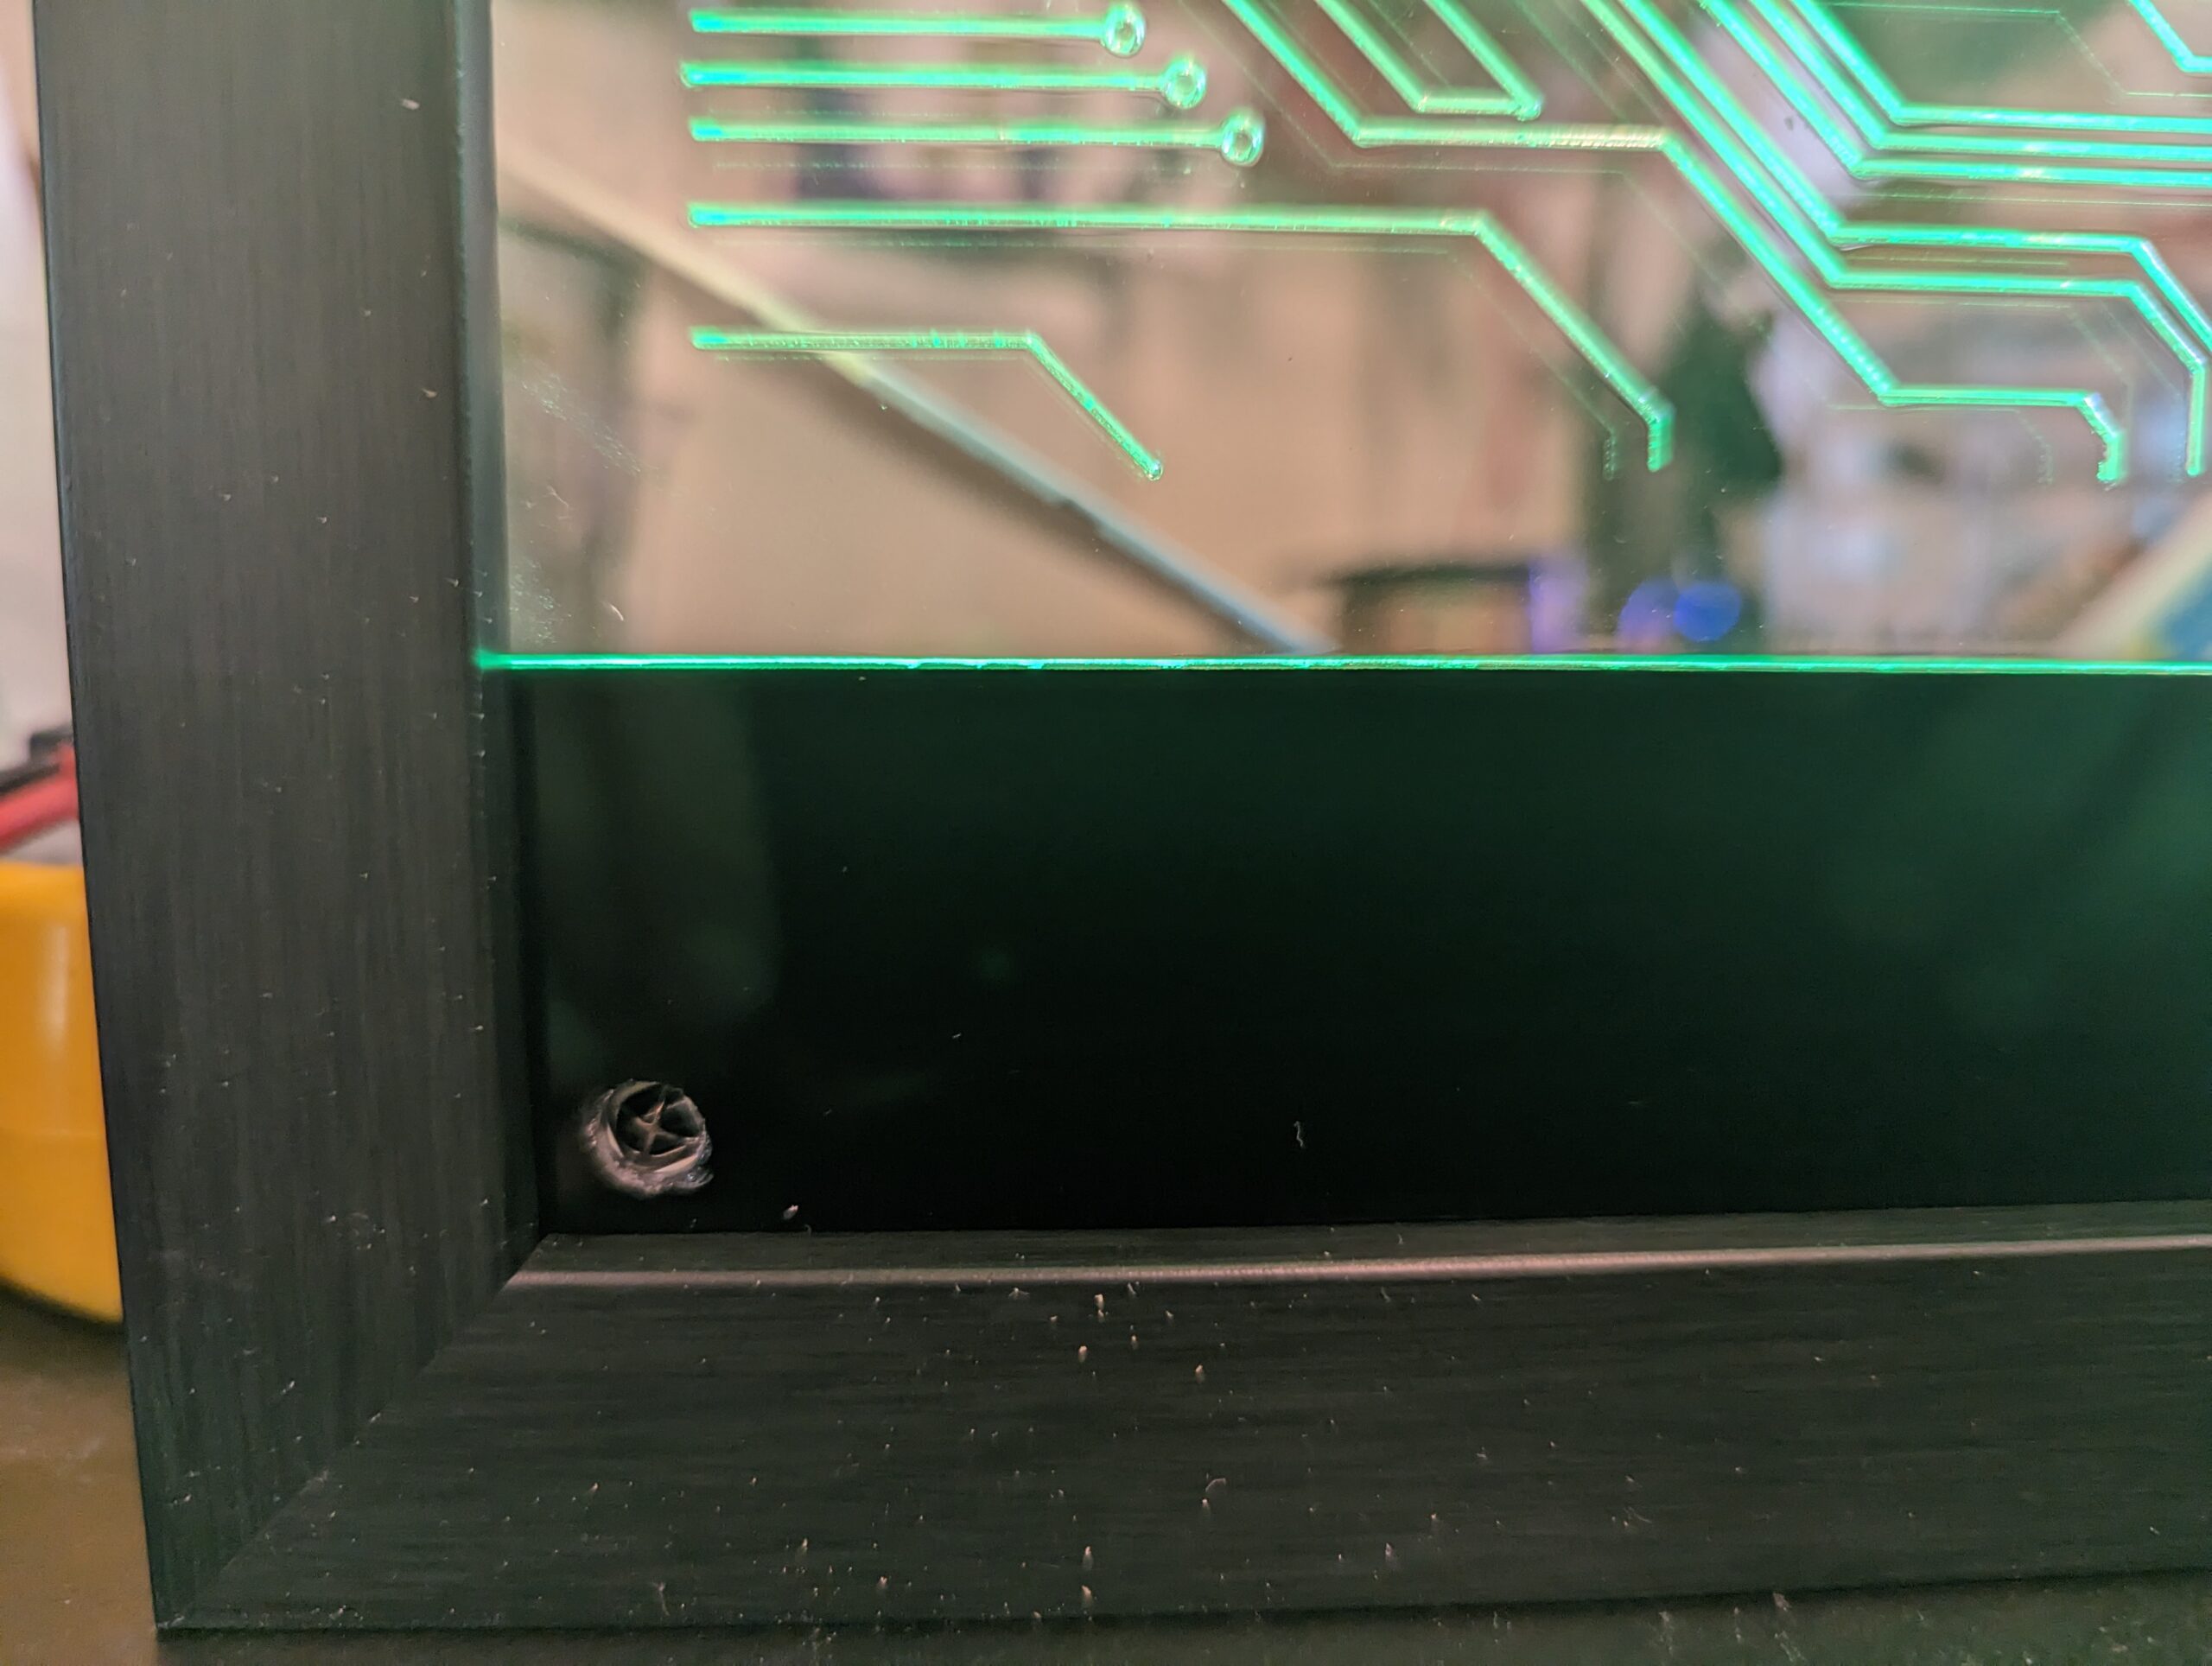
I cut a black acrylic piece for the bottom to hide the electronics behind. I drilled a hole and Dremel’d the back a bit more open to let the receiver a bit deeper into the acrylic and glued it into place.
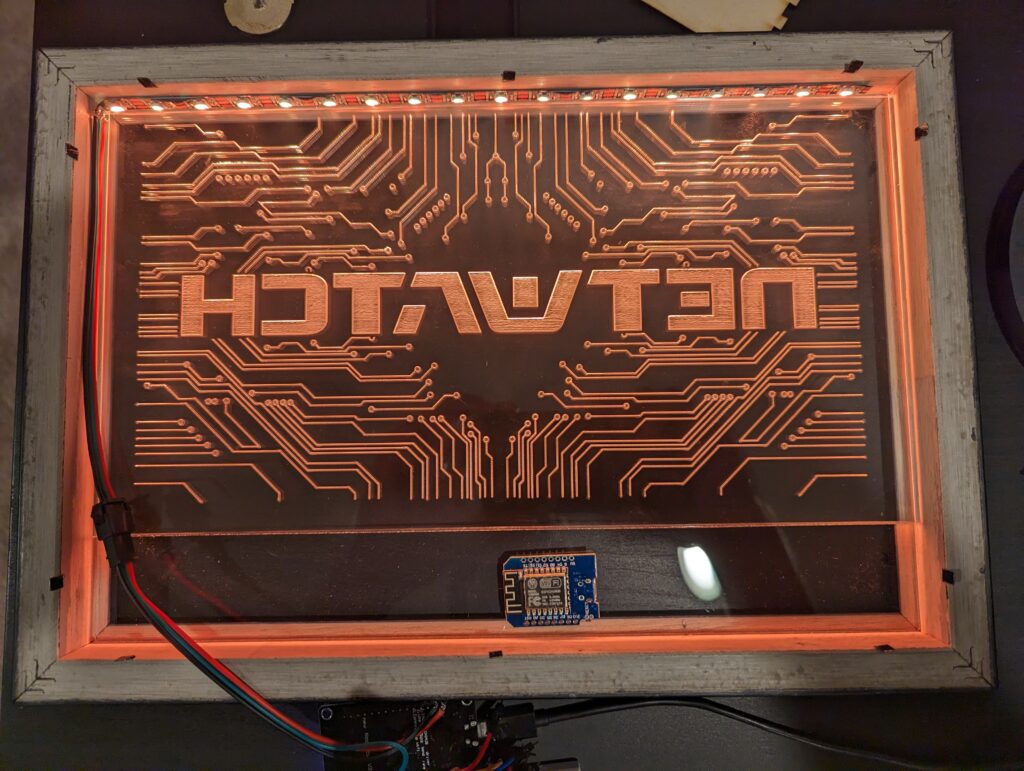
I wedged the LED strip up at the top of the sign between the acrylic and the frame. I managed to size my black spacer acrylic just enough to fit the LEDs there snuggly. I ran the LED wire down the side of the frame alongside the acrylic and hot glued that in. I hot glued in the LEDs, clear and black acrylic pieces. I then plugged in the electronics to the IR receiver and LED strip and mostly wedged it into place, hot gluing them into place as I went, making sure the wires wouldn’t go above the black spacer and become visible.
Finale
For these photos I left the back off. If I were to hang it on a wall, I’d add the backing piece back in from the shadow box, though I’d make sure it was black to reduce the amount of light reflecting back out.
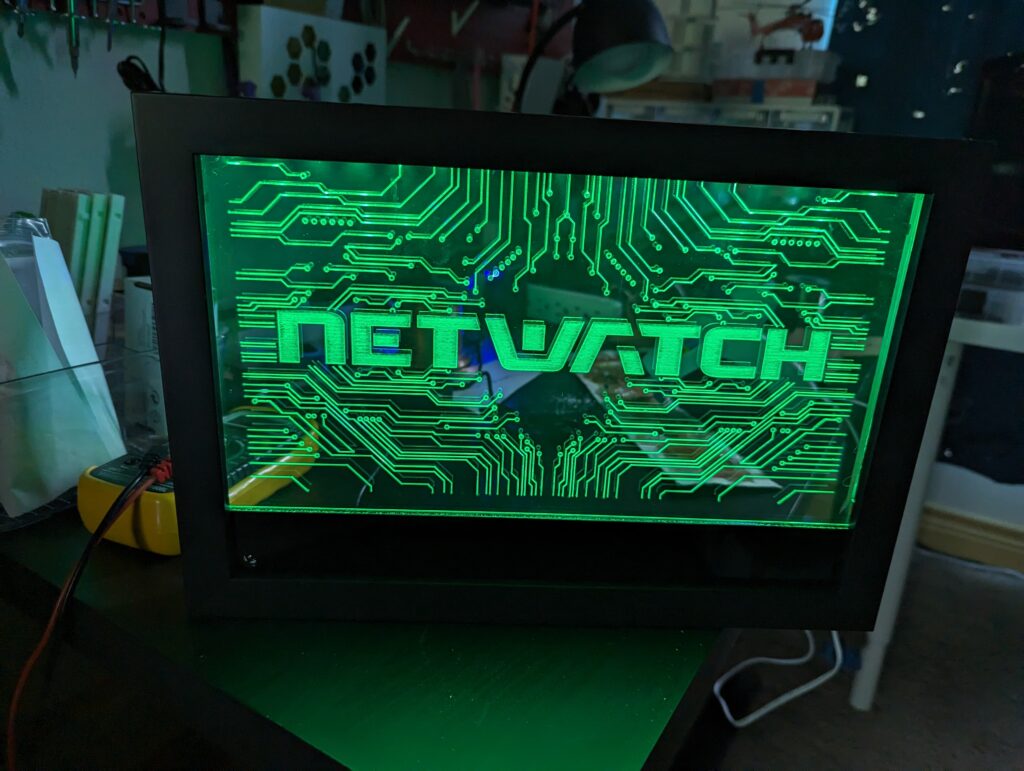
The sign turned out amazingly, I’m very happy with the result and have started work on 5 more of them as a result. I’m hoping they’re enjoyed by the folks who’ll be receiving them.
Safety Minute
Just a friendly reminder to always keep an eye on your laser while it’s working. The amount of concentrated power from laser cutters is immense and can start fires.