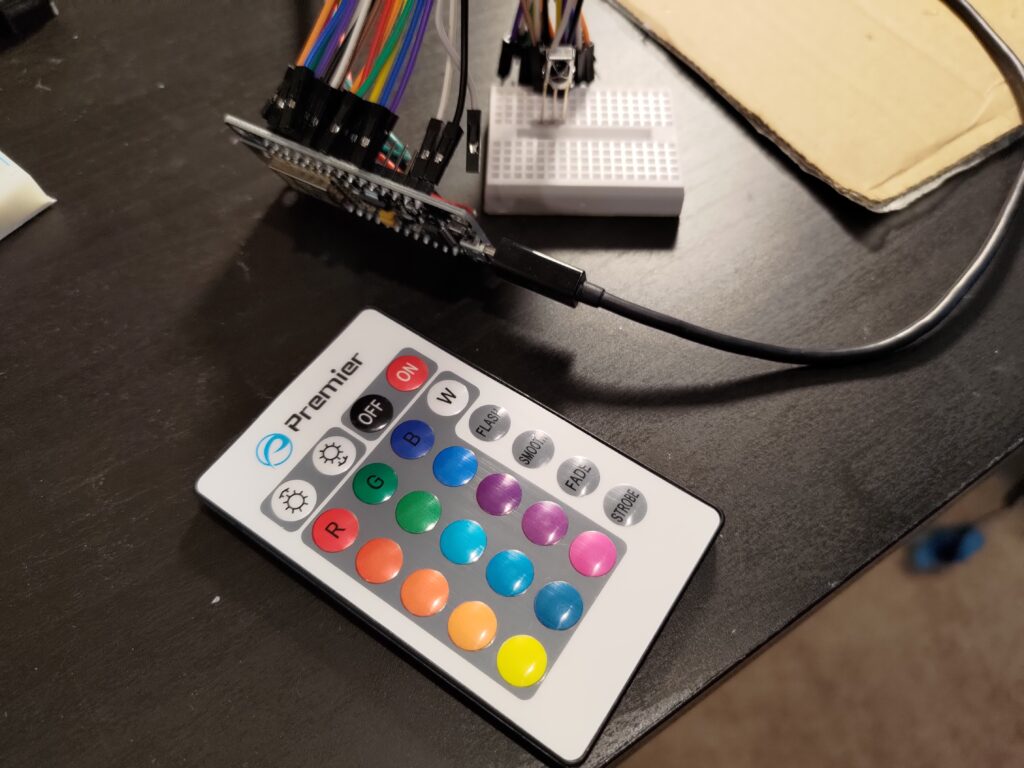
I do small experiments from time to time to try out features or functionality before building them into a project (or project design even). In this case I wanted to try out the IR functionality in WLED for a project that may not have WiFi for access to the full fledged WLED feature set.
The WLED wiki page on the infrared interface makes it seem pretty simple to start out with, and that impression is 100% correct. They do make it dirt simple to integrate in and utilize.
Let’s start out by reiterating the warning on the WLED wiki:
IR receiving will not work on ESP8266 if you use any LED pin other than GPIO 1, 2, or 3 for digital LED strips.
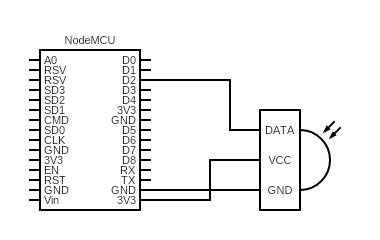
Since all my controllers so far have been ESP8266 based, we’ll be following that guidance. I drew up a quick diagram for the wiring below.

I used a large extension wire group because that’s what I had, but I’m only using 3 of the connections. I hooked up my controller following the guide and everything worked out of the box after configuring WLED.

I found the IR settings in the settings LED preferences menu option. Here I could set the IR data pin to GPIO4 to match my connection point. I also selected the 24 key remote to match the one I had laying around.

Things just worked after that. I did find that Flash/Fade/Strobe/Smooth buttons activated presets, so I added a few presets to experiment with for that.

The main outcome I found is that I needed at least one preset for a solid single color in order to let the other color buttons work again. Those buttons didn’t auto swap the WLED option to solid off the patterns I had set in the presets (so just keep one boring preset along with 3 fun ones).
Conclusion
My test subject running the IR receiver worked out reasonably well. The remote didn’t have the best range and the receiver didn’t have the best field of view. But considering that this was a demo unit to see if everything would work, well it passed with flying colors. I have a large project that should be able to move forward with using the IR functionality.
