
I’ve had an itch for years to get a whole home audio setup working, but I’ve always wanted to avoid the large cloud in the room thats normally there around these systems. I’m finally feeling to start working things out piece by piece to try and build a system intuitive to use and just works™.
Continue reading “Home Audio Plan”Home Assistant Markdown Cards

I have had XKCD comics in my home assistant dashboard for a while now, but never had the alt text or the title in the dashboard. I wasn’t entirely sure how to get those into the UI in a nice clean way (I’m not very good with the templates yet). I finally found the nice clean way to do it that should be pretty flexible to use in the future too, markdown cards.
Continue reading “Home Assistant Markdown Cards”ESP32 Bluetooth Proxy and BLE Tracking
I recently started using ESP32s for my projects, mostly out of necessity for the flash sizes and GPIO capabilities, but they do bring in another interesting feature I haven’t made use of yet, Bluetooth capabilities. Each ESP32 can be used by home assistant as a Bluetooth proxy and BLE tracker. It should be a simple addition to the ESPHome yaml too!
Continue reading “ESP32 Bluetooth Proxy and BLE Tracking”Unraid api causing the webui to fail to load
So recently my unraid webui has been running slowly, sometimes not showing the list of drives for a minute or two, or not at all. This finally culminated in an http 500 internal server error when I tried to load the main page. This isn’t good, and I was still able to access the server over ssh and via smb/nfs, so it wasn’t completely dead.
Time to debug over ssh. I first went to top and saw that shfs was at 100%+ CPU usage. This felt like an odd program to be using more than one CPU core of performance. I then went to the syslogs and saw lots of failed login attempts from a specific IP address. This wasn’t one I recognized, but I thought it might be a container I’m running (unraid api specifically).
I then went and ran docker ps to get the list of containers, and more importantly, the name for my unraid API container. I then ran docker inspect on that container and found it had the IP in question. Finally I went and ran docker kill on the container and the unraid webui started responding again. I guess I had misconfigured the container so it was falling to login, and retrying aggressively enough to stall out the webui.
Note to self, apps that scrape the webui should be configured correctly or else they may have some unintended consequences.
Docker Compose on Unraid
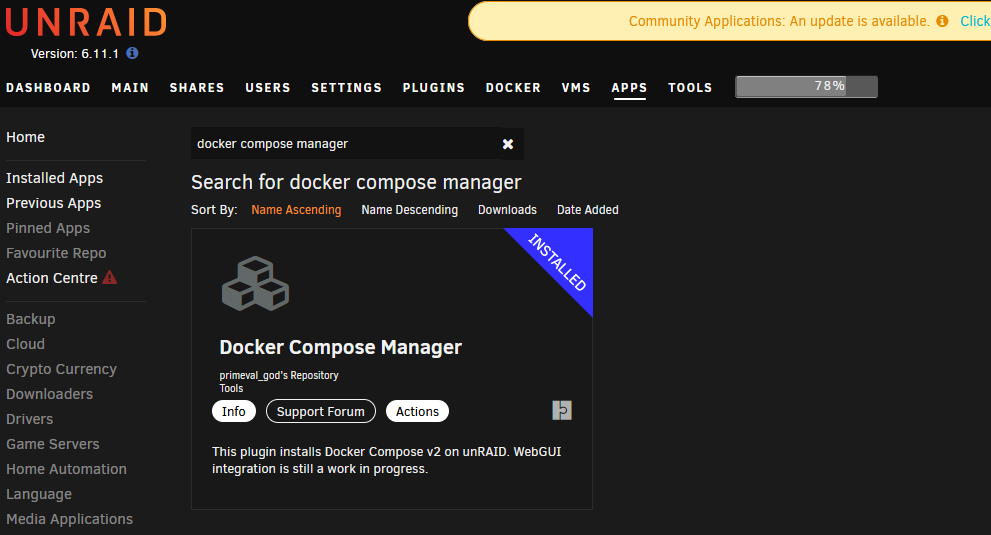
Recently I restarted my journey towards a self hosted photos system again. This time I was planning on trying it immich. Immich provides a docker compose file to startup their entire stack of 6+ containers, which I wanted to run on unraid that lacks compose in the default configuration. Queue journey to get docker compose capabilities on unraid.
Continue reading “Docker Compose on Unraid”Docker Hub Login on Unraid
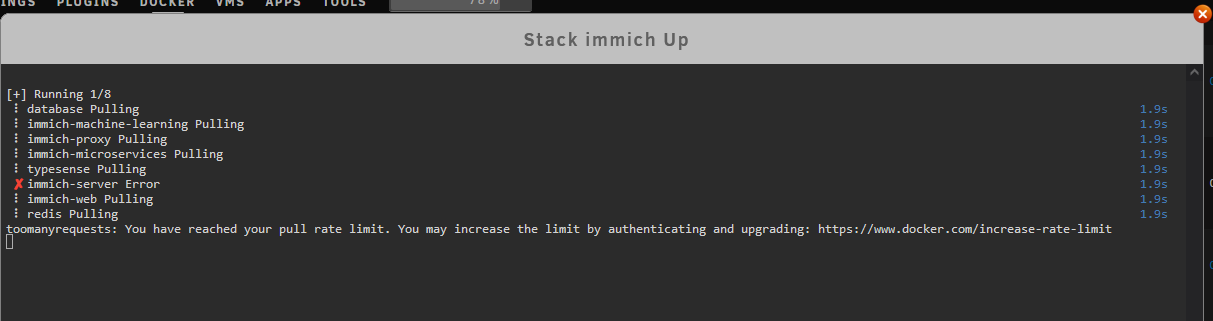
I’ve had a few times now where I can’t grab a new container image to startup due to their rates limits on docker hub. This has been quite annoying, and there is a free plan for double the image pulls. Here is how you can login on unraid and setup the go file so it persists between reboots.
Continue reading “Docker Hub Login on Unraid”Enabling Unifi QOS
With the limited bandwidth of my Comcast network and the various services I run all competing for it, it’s time to turn on some QOS services and rules on my Unifi network. We’ve been seeing problems with voice and video meetings that some standard QOS will hopefully remedy.
Continue reading “Enabling Unifi QOS”Using ntfy.sh to send unRAID notifications
unRAID supports multiple notification platforms for keeping you informed about what the server is doing, the only problem is, I don’t use any of those notification platforms. I have however started using ntfy.sh, which has been working well for my home assistant notifications, and is a very simple platform. What I’d like to do is integrate it into unRAID so that I can make use of it there as well.
Continue reading “Using ntfy.sh to send unRAID notifications”UnRAID XFS MetaData Corruption
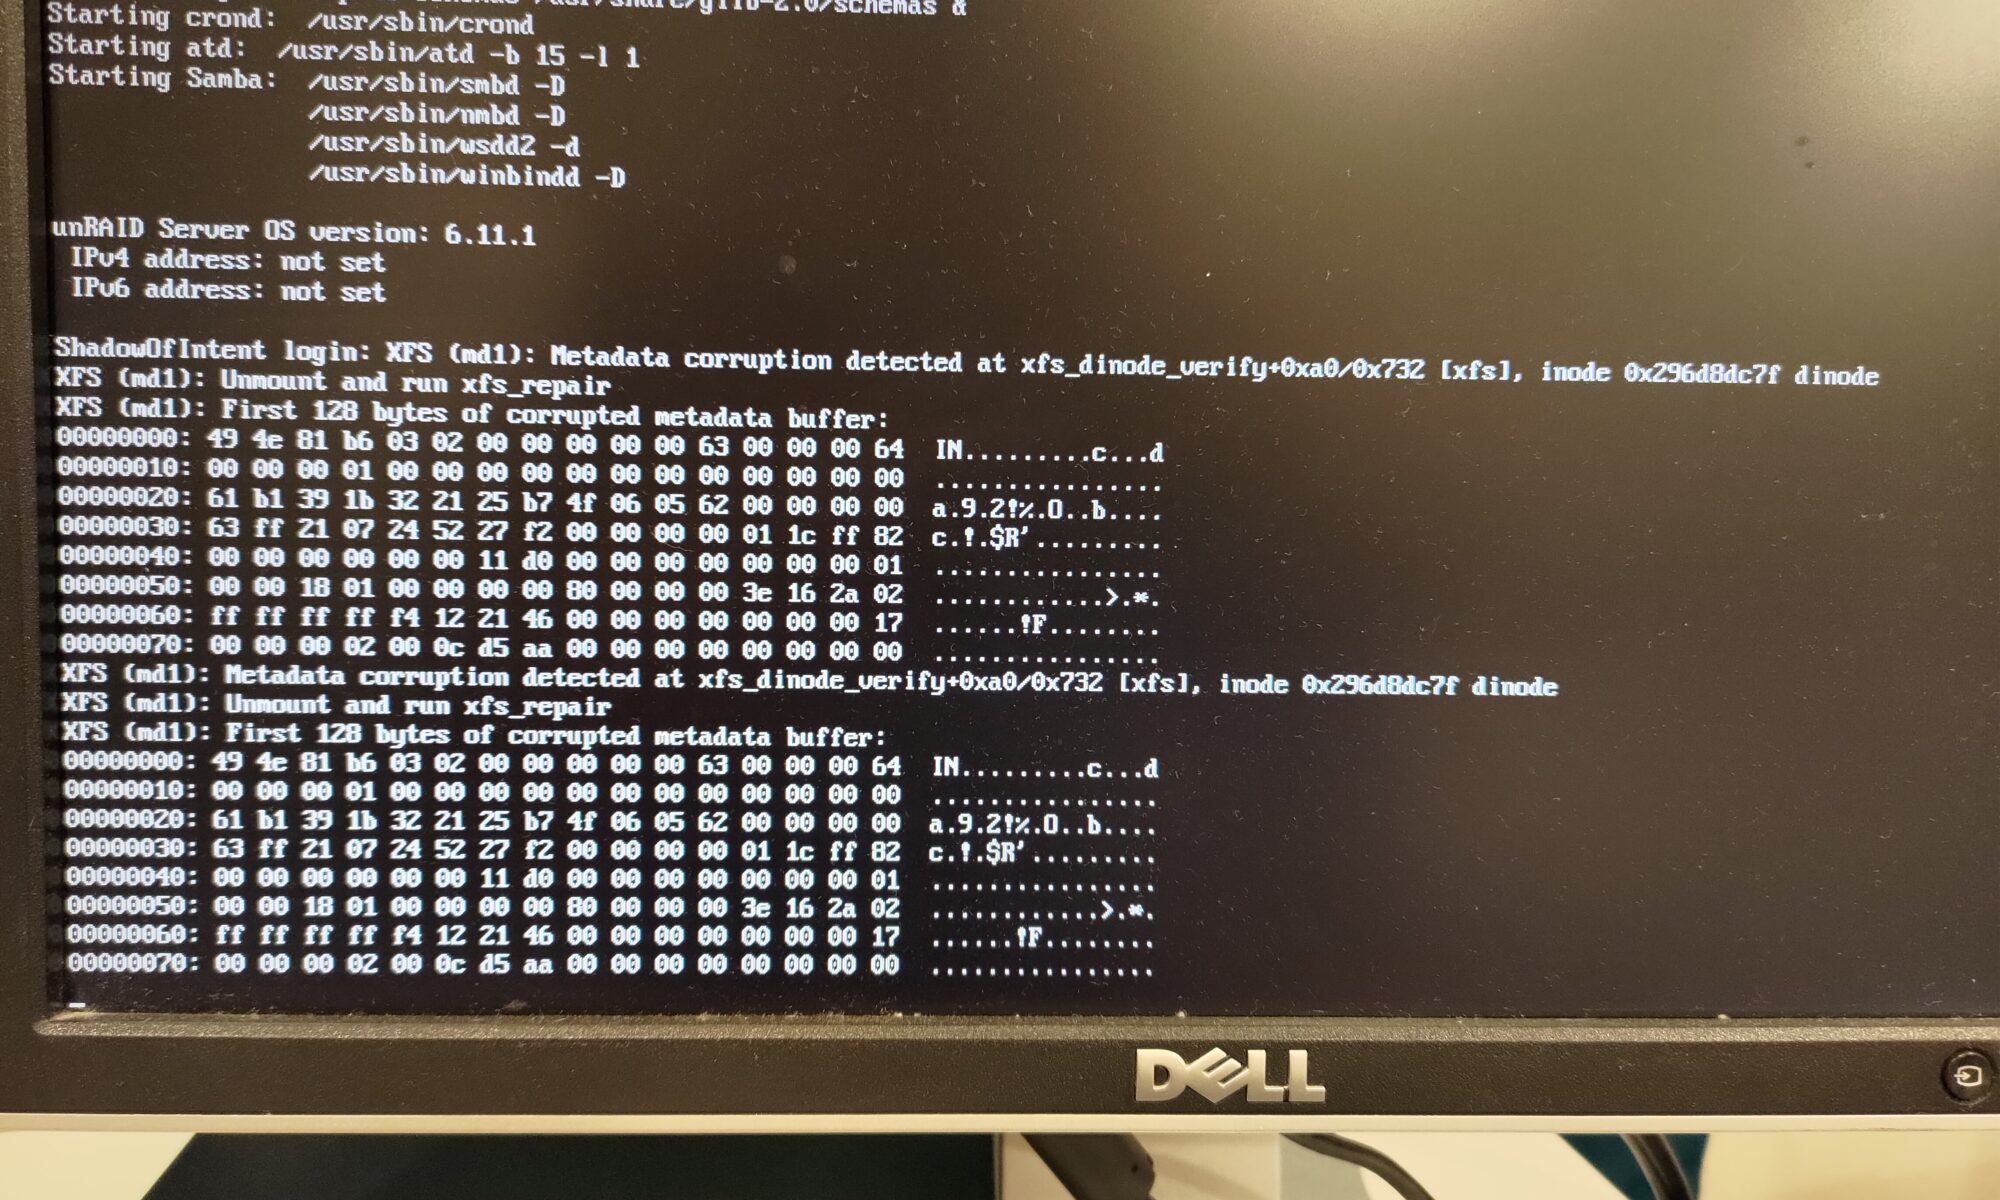
One thing you never want to see when you look at the screen for your file server is an error about corrupted data. Let alone after seeing read errors from one of your disks during a parity check. I recently had that sort of fun with my NAS.
Continue reading “UnRAID XFS MetaData Corruption”Bambu Firmware Failed to Install / Version is Abnormal
I recently decided to upgrade one of my printers between prints. This ended up causing problems when the update failed, and left the machine in an incident state. The printer would display that the version number is abnormal, but then the repair attempts it tried also failed, and it refused to print in its software state.
Continue reading “Bambu Firmware Failed to Install / Version is Abnormal”