
I have a laser cutter in my office that I use from time to time. I close the door when its running because you need safety glasses on while its running, but since I use my office for other things, the door closed doesn’t necessarily mean safety glasses are needed. To make this simpler, I decided to try and make some automations to notify when the laser is running. I want to use a WLED strip around the door and light it different colors based on laser operating status (and other statuses in the future).
Goals
- Set the WLED strip to red when the laser starts cutting
- Set the WLED strip to the previous settings (or turn it off) when the laser stops cutting
Plan
My plan is to use a power sensitive smart plug to trigger the WLED settings, and setup a WLED light strip around the door frame outside my office to use as a notification agent. For hardware I chose the following:
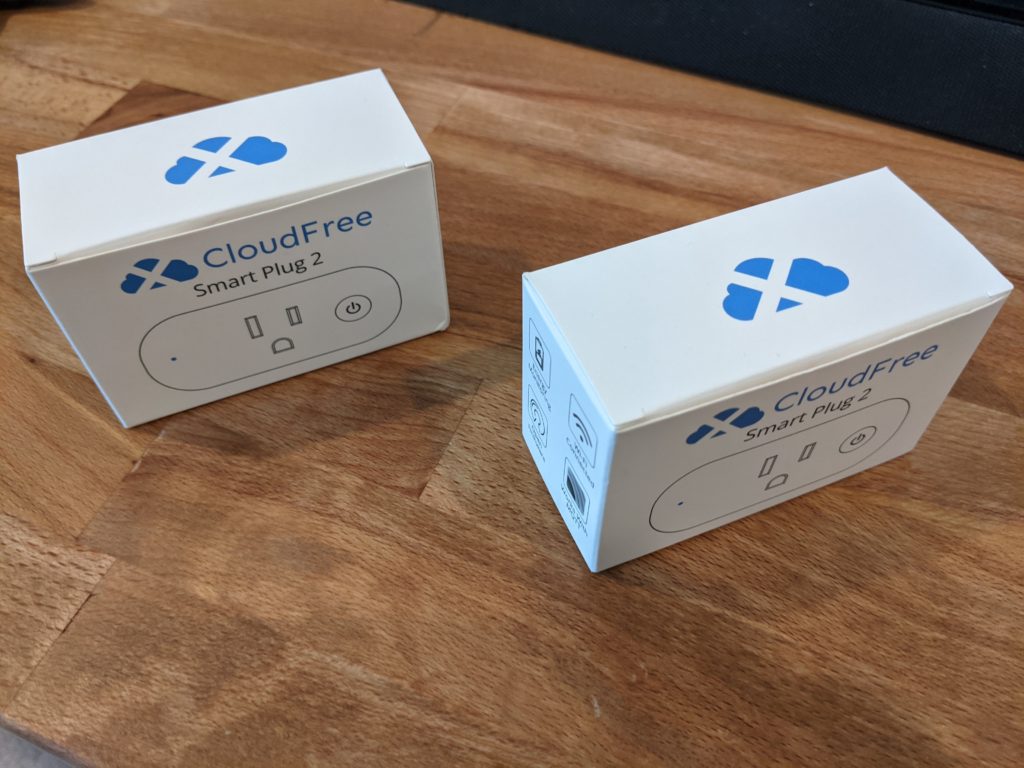
- CloudFree SmartPlug 2
- WLED Light Strip
The plan is to use the power monitoring from the CloudFree Smartplug 2 to keep an eye on the laser usage, once the laser usage spikes to power draws past its idle power, then it’ll signal the LED strip around the door to change color. This will then be the straight forward notification that safety glasses are needed to enter the room.
Hardware
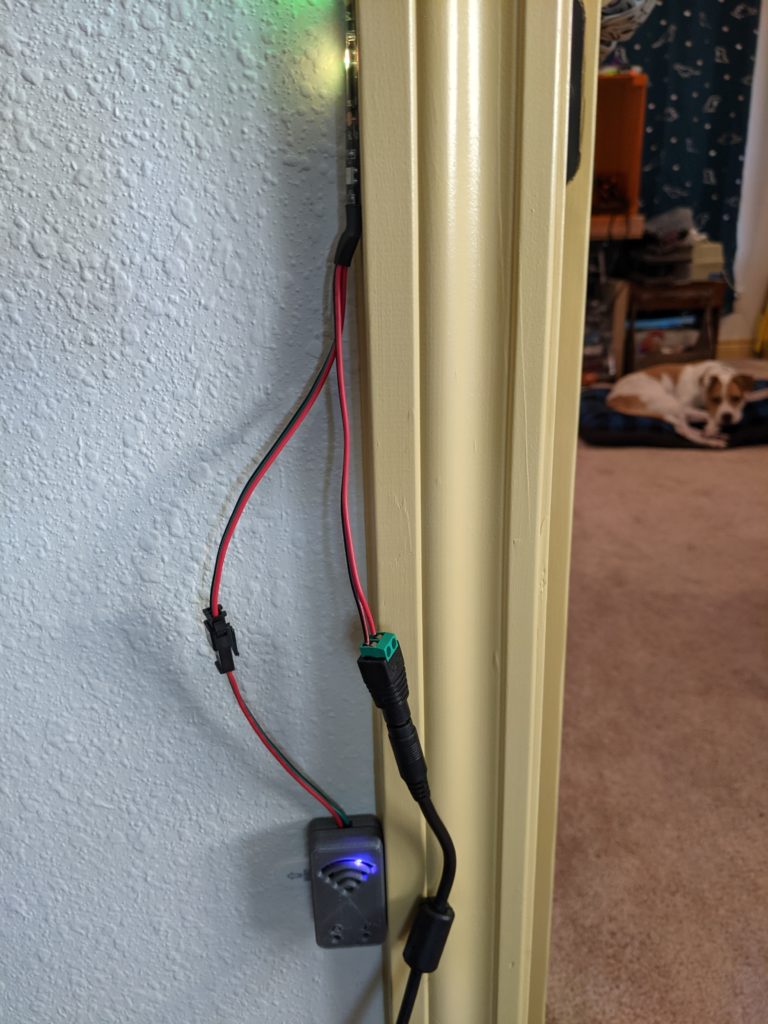
I have written up how to setup the WLED strip here and how to setup the Cloudfree smart plugs. Once they’re setup, it’s time to get everything in place. I plugged the laser into the smart plug and stuck the WLED strip going around the door frame.
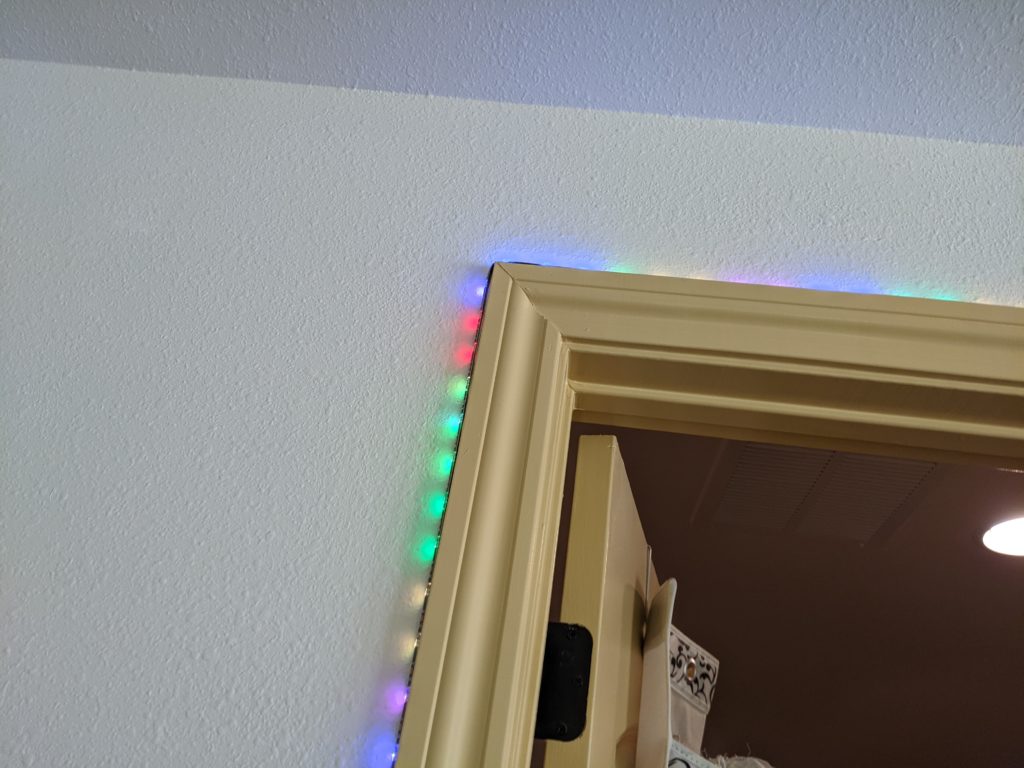
I mounted the light strip and the WLED controller to the door frame. The lights go up around the top of the frame to make it obvious when the laser is running.
Automations
The automations are straight forward. I used the same blueprint from my clothes washer automation to trigger the lasers completion. For the start automation, I simply triggered it based off of power usage going over a certain threshold.
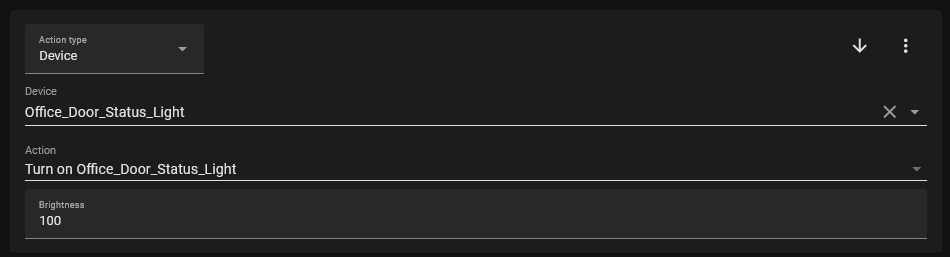
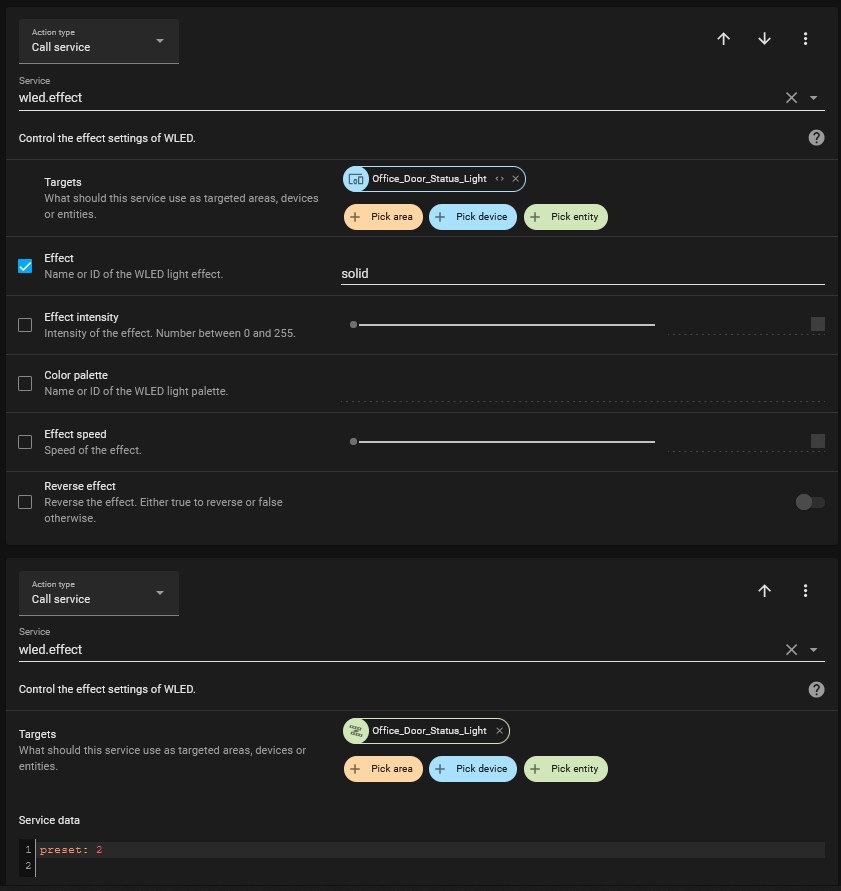
The first automation is below. Most of this comes down to the actions. For this, I want the lights to turn on to a solid red color, this becomes an action to turn on, set the mode to solid, and use preset 2 which is my red preset.
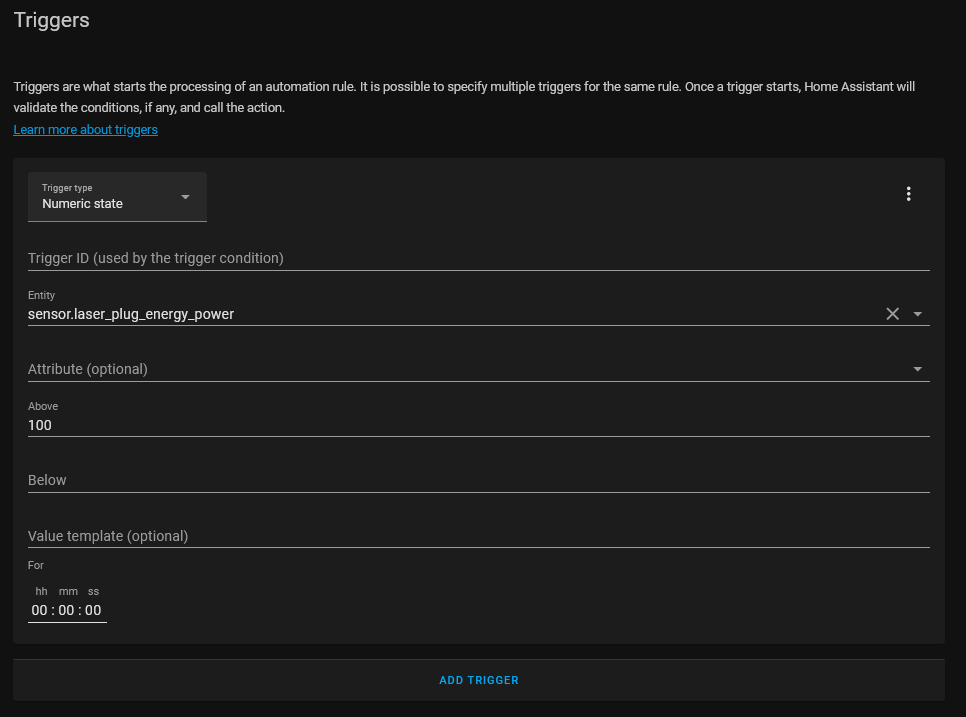
The trigger for this automation is pretty simple, just trigger it when the power is over a certain threshold. This threshold was determined by running the laser and watching the power usage measured by the plug. I didn’t calibrate the plug before using it, I did however use “PowerDelta1 105” option to make it update every 5 watts. This makes sure it triggers faster and has a higher accuracy for the power readings.
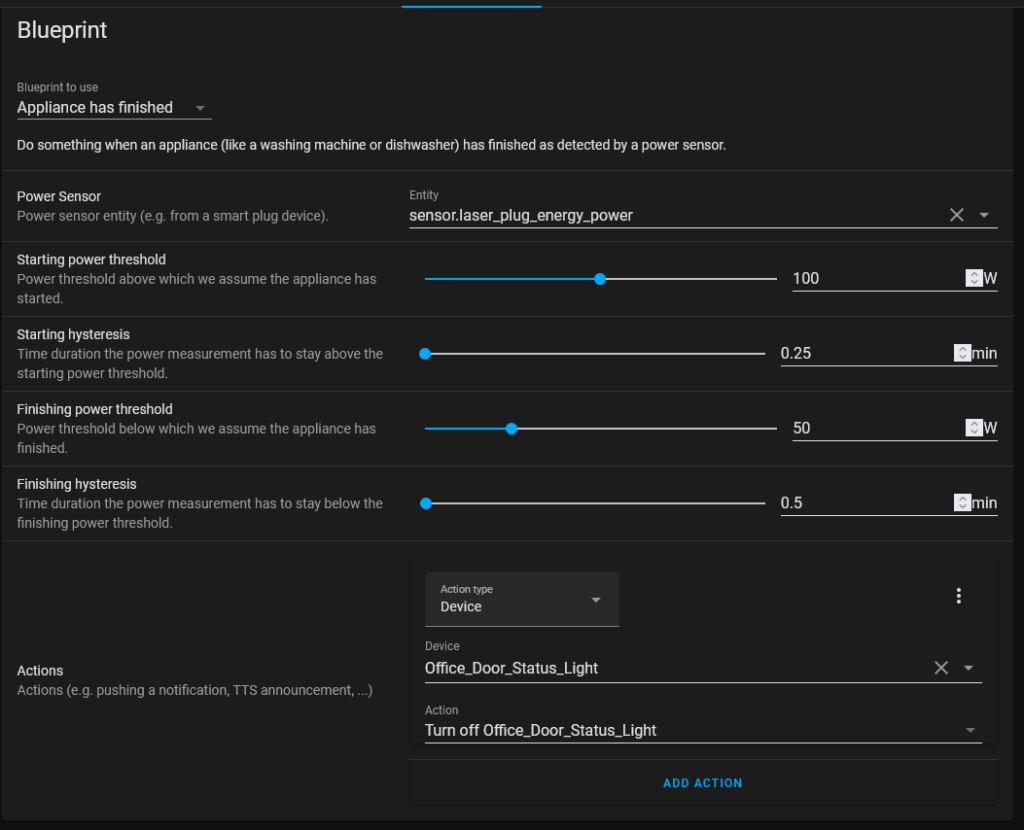
The second automation follows the same methodology as my washer automation. If the power drops below a threshold for a certain time, then turn off the LED strip. For this automation, the time below the threshold is only half a minute, the laser cutter moves fast and shouldn’t be sitting idle while in operation, so I’m not worried about that causing a false triggering.
Conclusion
This has worked well so far. I was able to run a number of cuts and engravings and had the LED strip set correctly each time and turn off on time as well. I’m happy with it so far and will be maintaining it with my other core automations going forward.