
One thing needed with every CNC driven machine is good software to control it and generate the gcode. There are two main options for the Ortur Laser Master 2. These are LaserGRBL and LightBurn. The Ortur uses LaserGRBL as the main control software out of the box while LightBurn is a commercial offering that costs $40. This article will be going through the LaserGRBL setup while I’ll be doing one in the future going through the LightBurn setup.
Install
The first step is to install the USB device driver. The choice here is based on your machine (though it is likely going to be the windows 10 x64 driver since 32bit systems are becoming uncommon.
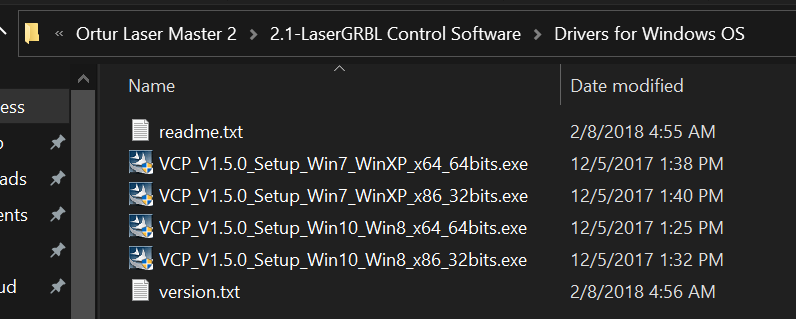
Choose all the default options when installing the driver. After installing the driver, plug in the USB cable to the laser and power it on. To make sure the driver is working, we can take a look at the windows Device Manager. The laser can be seen in the Device Manager -> Ports (COM & LPT) dropdown, look for STMicroelectronics Virtual COM Port. Note the COM port for later use.
Download and install LaserGRBL from their GitHub page and use all the default settings on the installation. I suggest picking the latest release (not pre-release) available on GitHub.
Setup
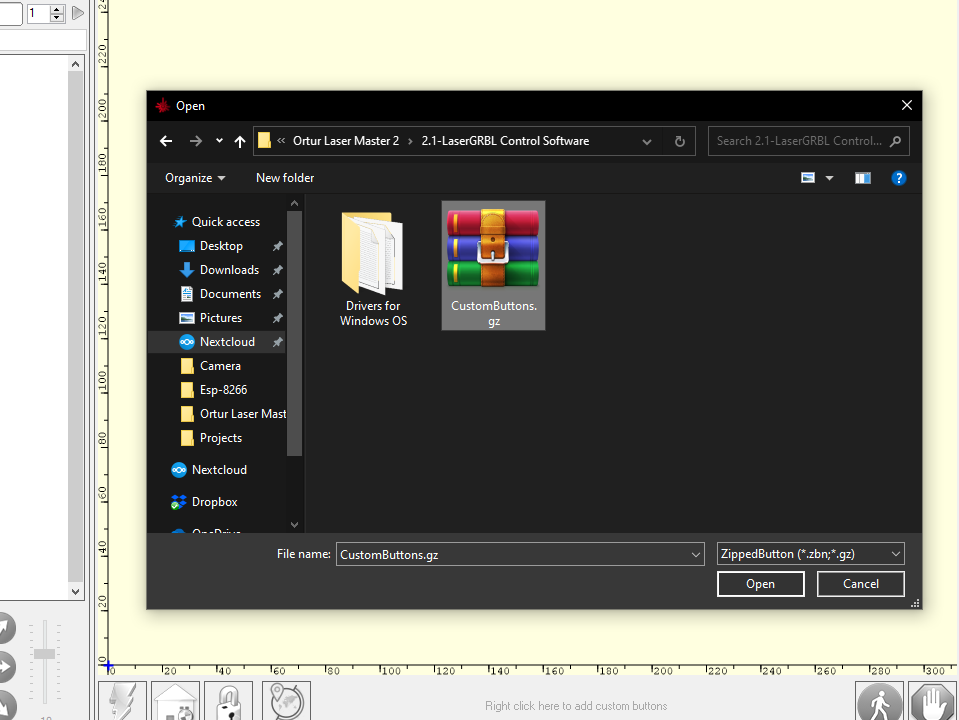
The Ortur comes with custom buttons for LaserGRBL. They can be added by right clicking in the buttons toolbar at the bottom of LaserGRBL and selecting “Import custom buttons”

Navigate to the downloaded files from Ortur and locate the CustomButtons.gz file. This is in the “2.1-LaserGRBL Control Software” Folder.
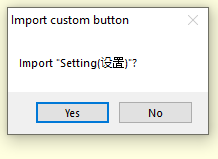
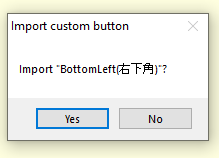
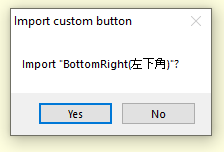
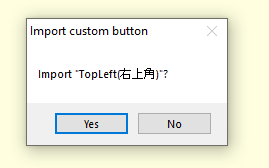
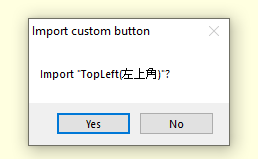
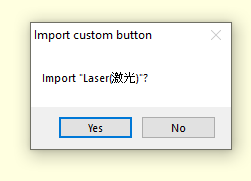
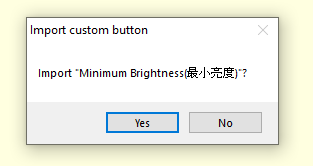
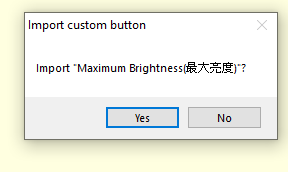
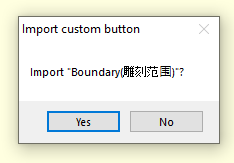
You’ll see a large number of dialogs pop up, asking to import various buttons, click Yes through all of them. Below are a number of the dialogs (though not all of them).

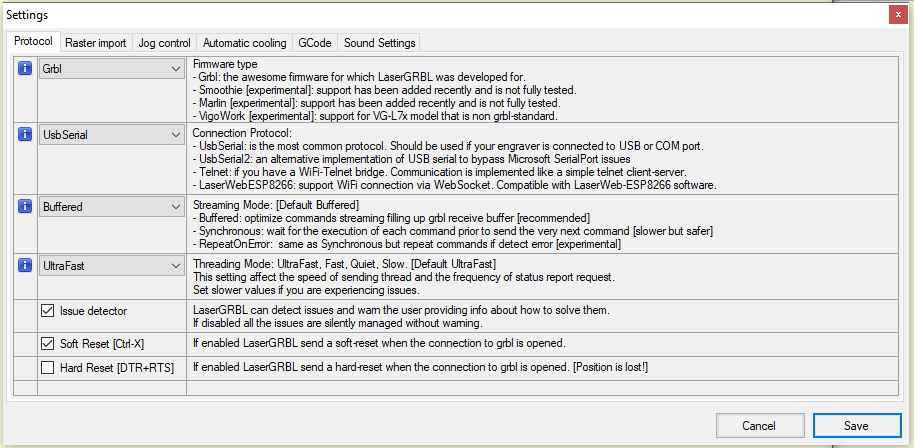
Next go to the settings menu:

Ensure the settings match below for running the Ortur laser
Afterwards we can connect to the laser. Set the baud rate to 115200 (shown below) and pick the COM port that you saw in the Device Manager for the laser.

Hit the connect button (the plug shape next to the baud rate) and all the buttons in LaserGRBL should become sensitized (colorful) and you should be able to interact with the laser through it.
Basic Usage
I’ll also go through some of the basic usage of LaserGRBL. This won’t be comprehensive but should get you going. The multi-direction pad will jog the laser head in the direction selected.
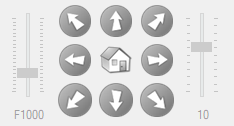
On the left is the speed slider, on the right is the distance slider (in mm). The home button in the middle will return the head to the zero point. and the direction buttons will jog the laser in the desired direction.

The zero point can be reset to a new position. This will make the home button use the new zero point, and also engravings/cuts will use the new zero point as well.

This will reset the machine coordinates, but not the zero point. It will take the head back to the machines universal zero point (hitting the X and Y limit switches). The zero point can then be reached by hitting the home button again.

Issues a soft reset command, halting and resetting GRBL (stopping any engraving/cutting, turning off the laser). This is useful if something is going horribly wrong (like material catching fire).

The arrow buttons move the head to predefined locations (edges of each axis as well as each corner).

The laser fire button turns the laser on and off for focusing it. Be careful since the power level of the firing can be set to engraving/cutting power levels, so wear safety goggles and be conscious of the power level setting.

The laser power level can be set using these buttons, with the far left being the low power setting, and the far right being the high power setting. While preparing laser engravings and cuts, the laser power level will be set for that cut/engrave, so it isn’t necessary to use these buttons often.

Draws a frame around the area that is going to be engraved/cut with the laser. This will also turn on the laser to a low power level in order to visualize on your material where the engraving will be.

Displays the GRBL settings from the device. This can also be seen from the GRBL Configuration menu option.
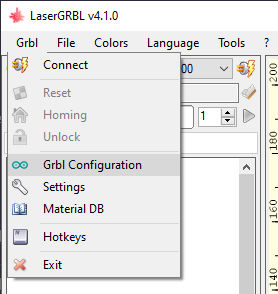
This will provide the same details as the Settings button on the lower bar. This can be updated by pushing the refresh button after opening the GRBL Configuration dialog. This will pull the settings from the laser controller.
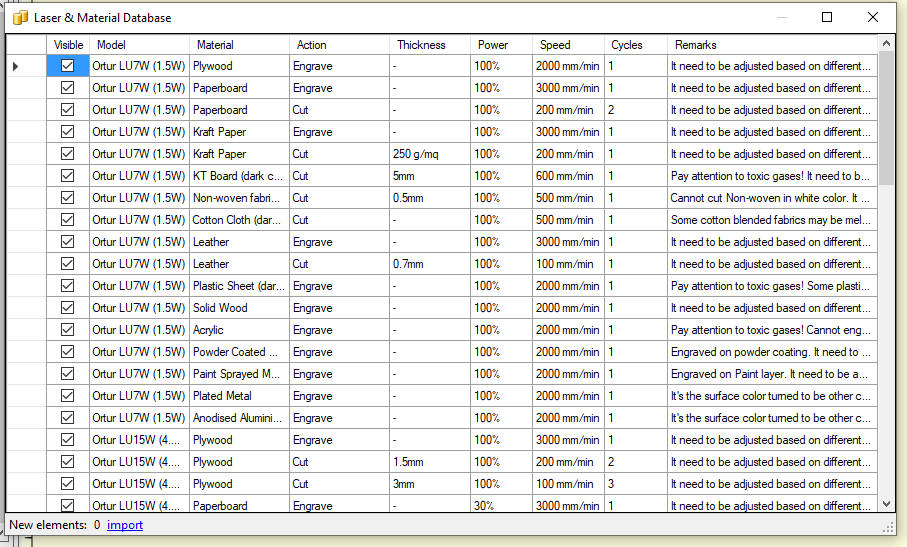
Also in the GRBL menu there is a material database.
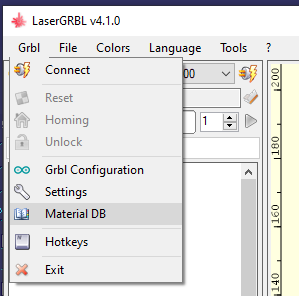
This contains the settings provided by Ortur for various materials and various laser diodes.
LaserGRBL can import PNG files and a number of vector files.
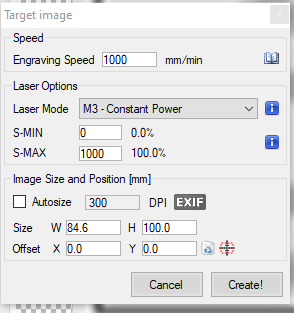
In the target image options, the laser mode M3 is for cutting while M4 is for engraving. The rest of the settings can be selected using the small book icon near the engraving speed. This will open up the material database and use the options for the material selected.
This covers the basic usage of LaserGRBL with the Ortur Laser Master 2. Later on I will be posting a guide on using LightBurn, and I will link it in the intro to this article as well once its up.