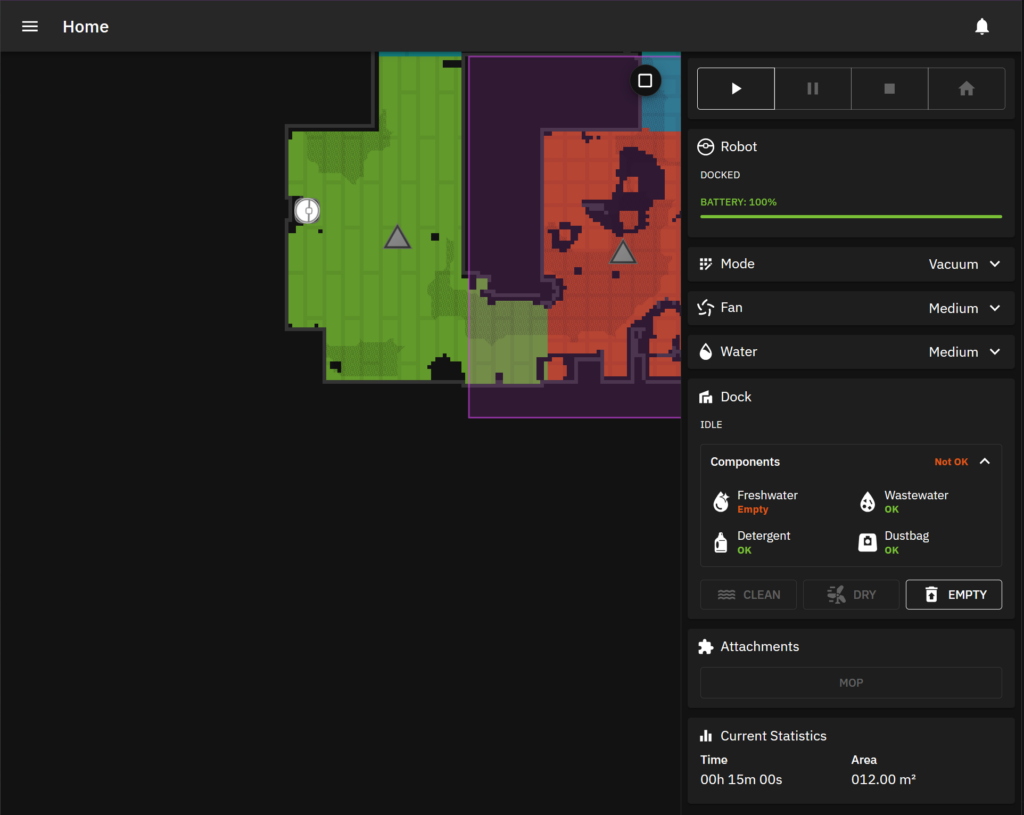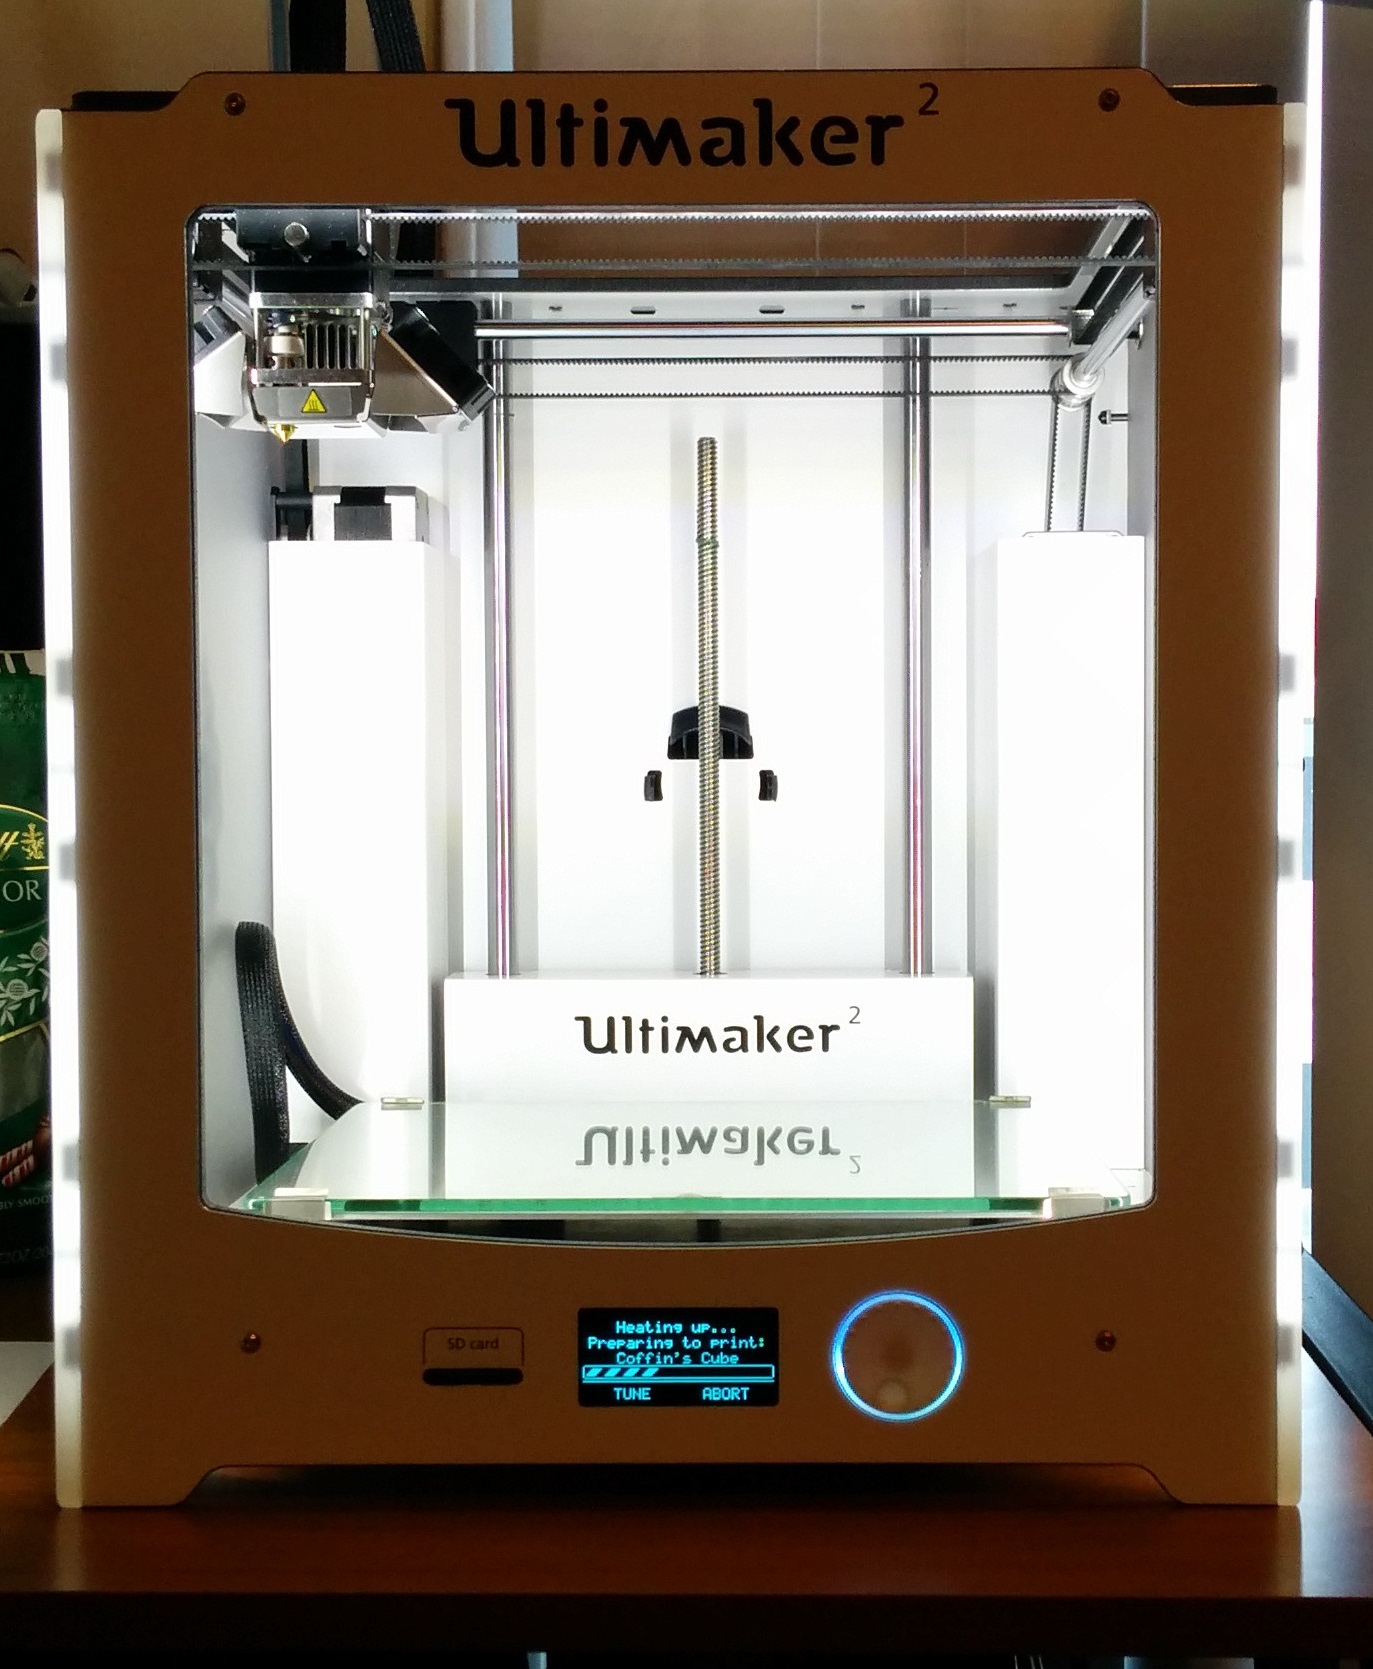
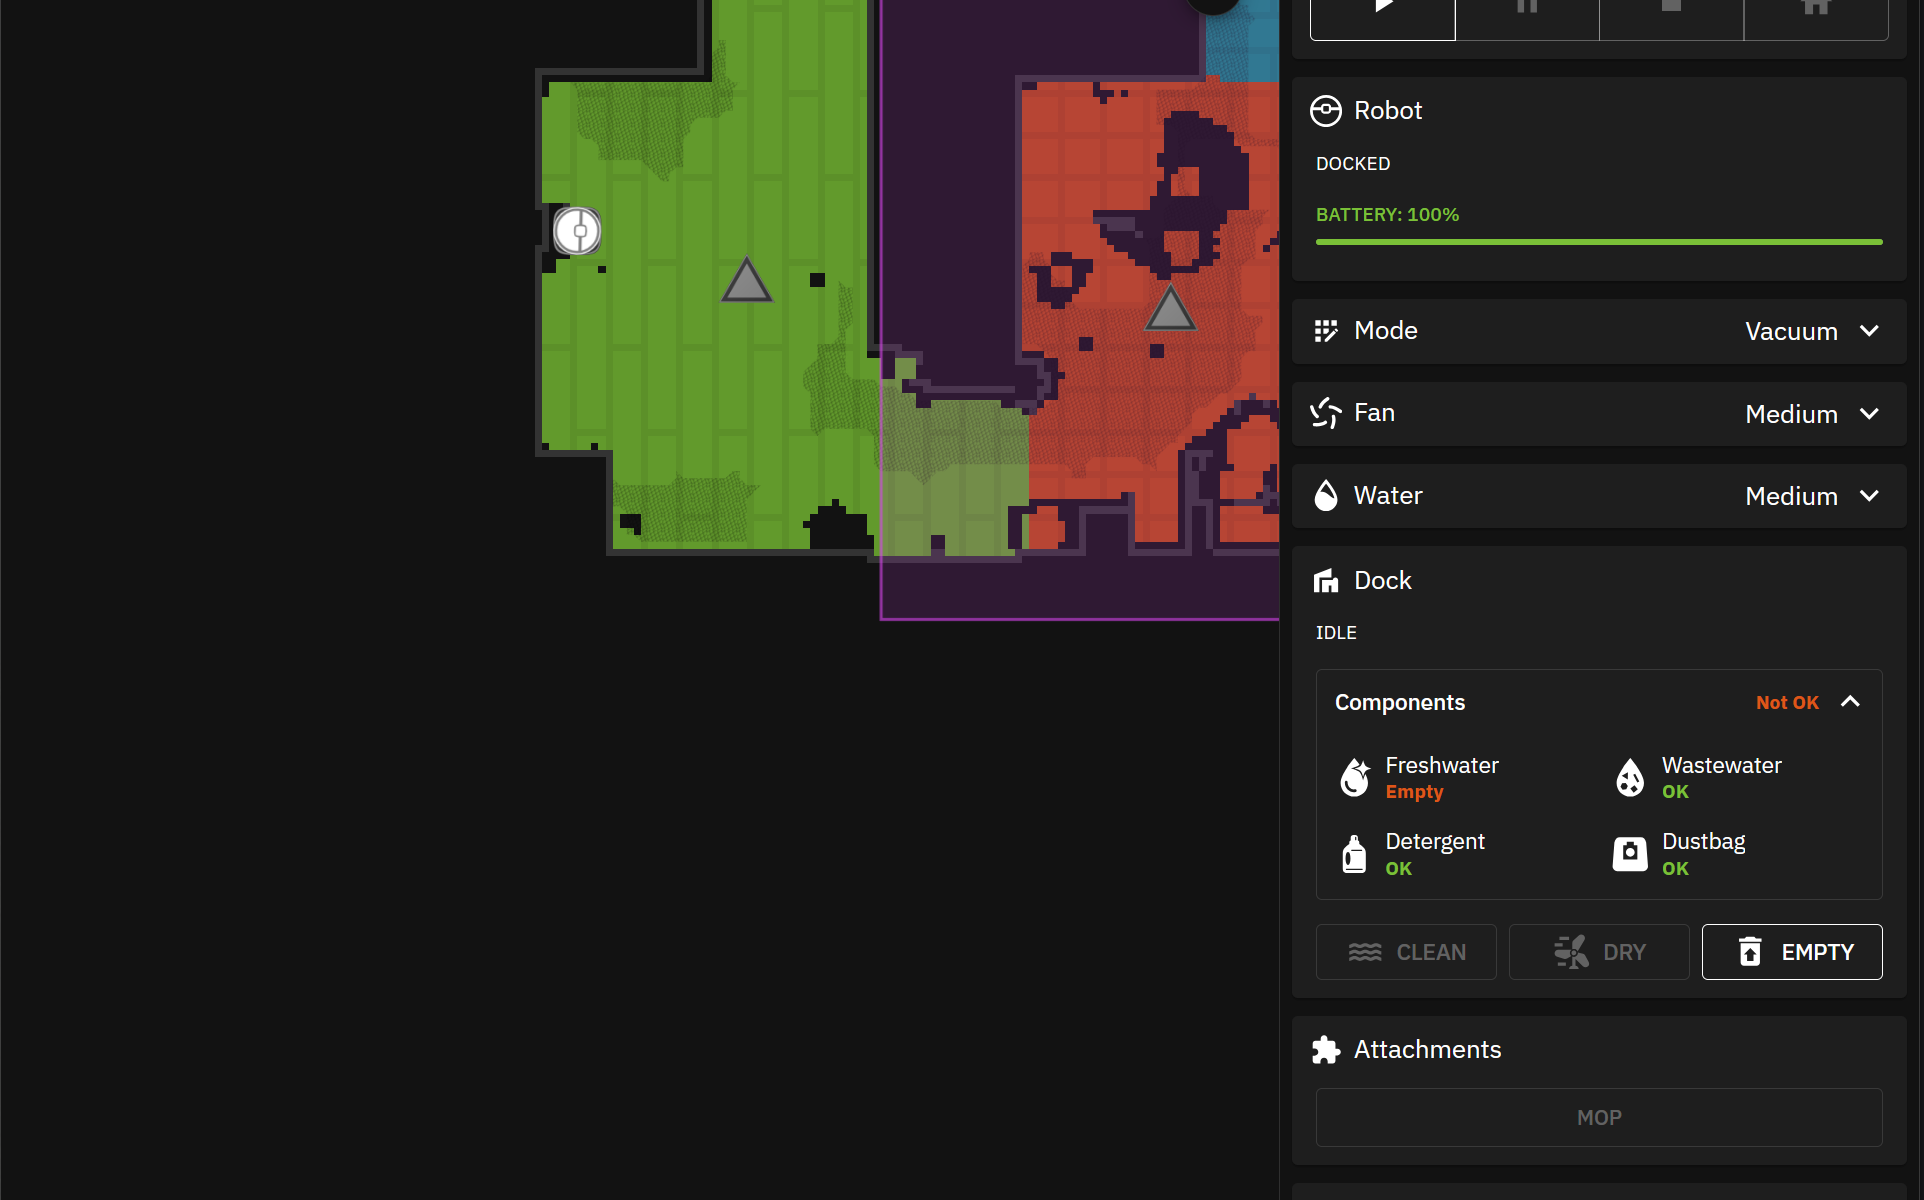
I picked up a Dreame X40 Ultra with the intent of installing Valetudo on it. Valetudo is an open source project that cuts the vacuums ties to the cloud and allows it to run entirely locally. This means the map of your house remains your own, the camera feeds from the vacuum remain yours, and all other sensor data remains local and isn’t sold to the nearest bidder.
A Word of Caution
This shouldn’t be treated as a guide to the whole process, use the official valetudo guides for that. This is just a bit of my experience in the process of rooting and flashing valetudo onto a robot vacuum.
Onwards
The X40 Ultra needs to be rooted before Valetudo can be installed on it. To make this easier, the project has the designs for a breakout board to connect the vacuum to your PC before running the commands on it to run the install. I received my board from a community member who had just flashed two vacuums for their own use.
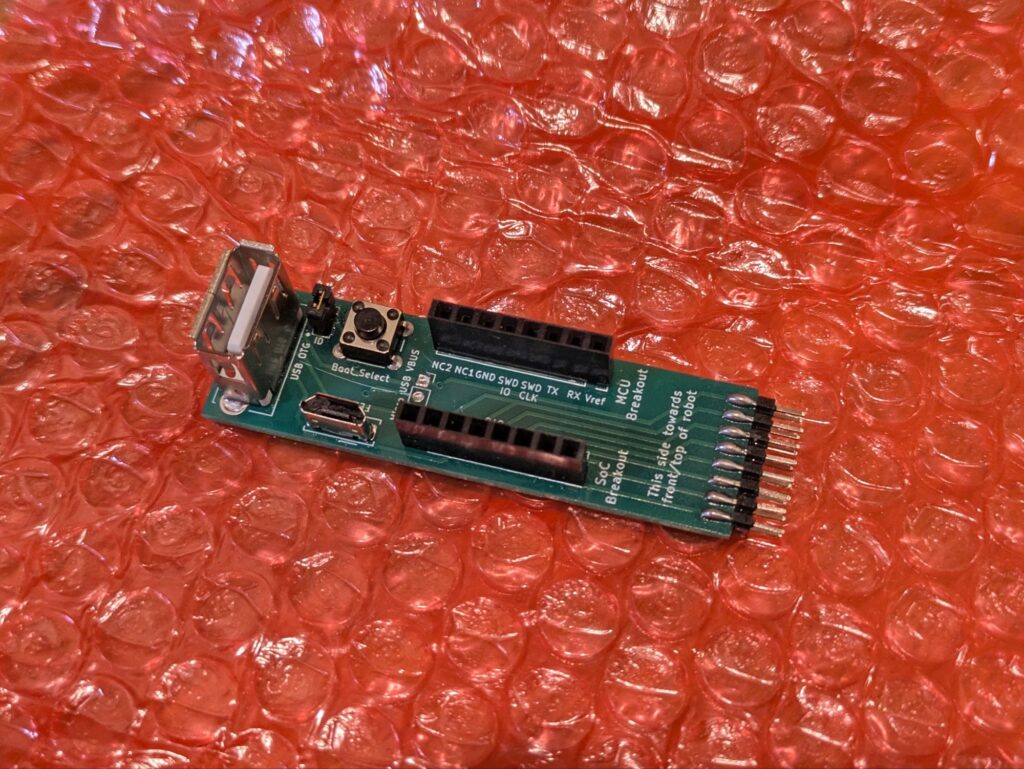
To get to the connector on the vacuum, you have to pop off the front top plate. It’s just clipped into place, no screws needed. The port is near the lidar sensor.
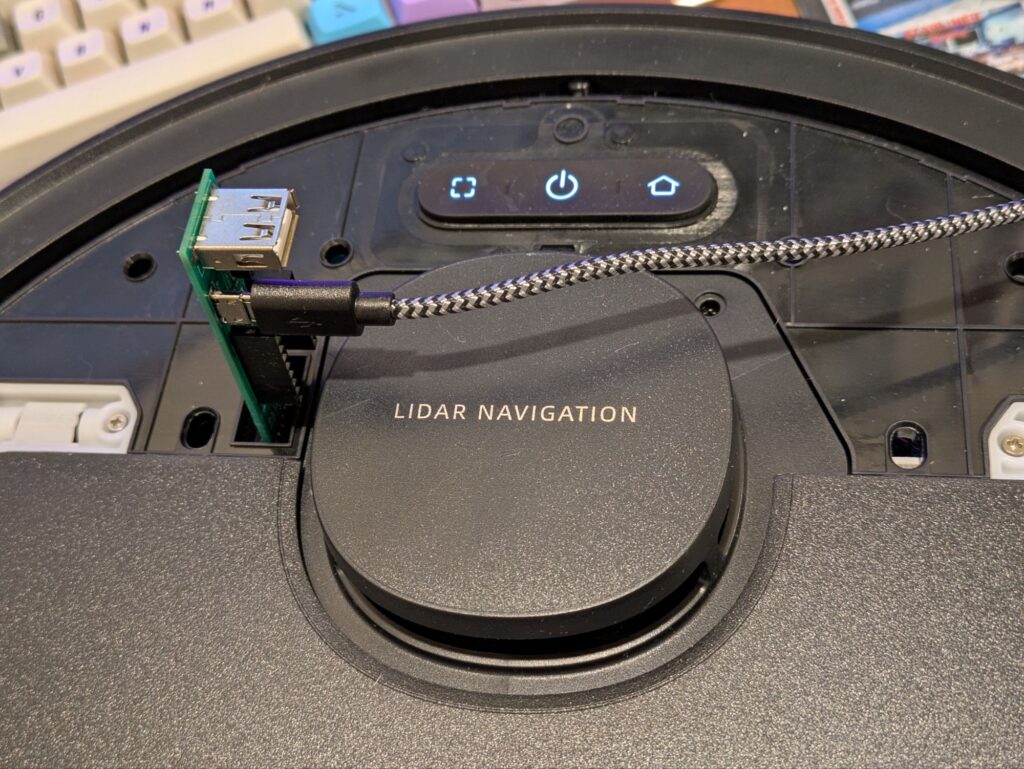
The guides on valetudos site are great. I followed the dreame fastboot guide there for my flashing process.
Linux Setup
To start out with, I needed to install Linux on my extra mini PC (only extra PC I have). If I had used a laptop, it would’ve been easier (built in WiFi is needed for part of the process). I installed Debian 13 with a KDE desktop environment.
With that done, I had to install two tools:
- sunxi-tools
- fastboot
That is all that’s needed for Linux tooling for flashing. I needed a USB Wi-Fi adapter as well and the driver for it.
Getting Into FastBoot
We’ll need to get into fastboot multiple times through the process of rooting and flashing valetudo to the robot vacuum. Once in fastboot, we have 160 seconds to perform our actions before the watchdog reboots the system. We don’t have to worry about that timer too much for the first phase of information gathering, but once we get to rooting, we need to finish it within the timeframe or risk bricking the vacuum.
Below is the output from the terminal commands I ran to get into fastboot. I kept getting warnings that there was no soc_sram_info, but thats nothing to worry about.
root@dreamroot:/home/stephen/Downloads# sunxi-fel ver
Warning: no 'soc_sram_info' data for your SoC (id=1855)
AWUSBFEX soc=00001855(unknown) 00000001 ver=0001 44 08 scratchpad=00042200 00000000 00000000

root@dreamroot:/home/stephen/Downloads# sunxi-fel write 0x28000 fsbl_ddr4.bin
Warning: no 'soc_sram_info' data for your SoC (id=1855)
root@dreamroot:/home/stephen/Downloads# sunxi-fel exe 0x28000
Warning: no 'soc_sram_info' data for your SoC (id=1855)
root@dreamroot:/home/stephen/Downloads# sleep 5

root@dreamroot:/home/stephen/Downloads# sunxi-fel write 0x4a000000 payload.bin
sunxi-fel exe 0x4a000000
Warning: no 'soc_sram_info' data for your SoC (id=1855)
Phase 1: Recon
I moved slowly during the phase 1 of the process. I wanted to make sure I knew what was going on. In doing so, I did end up running out the timer and had to get back into fastboot to finish the recon process.
stephen@dreamroot:~$ fastboot devices
Android Fastboot         Android Fastboot

stephen@dreamroot:~$ fastboot getvar dustversion
dustversion: 2024.12.00
Finished. Total time: 0.003s
stephen@dreamroot:~$ fastboot getvar config
config: 6f5902ac237024bdd0c176cb93063dc4
Finished. Total time: 0.226s
stephen@dreamroot:~$ fastboot get_staged dustx100.bin
Uploading 'dustx100.bin'                           OKAY [ 37.629s]
Finished. Total time: 37.629s

stephen@dreamroot:~$ du -h dustx100.bin
400M    dustx100.bin
stephen@dreamroot:~$ fastboot oem stage1
OKAY [  0.000s]
Finished. Total time: 0.000s
stephen@dreamroot:~$ fastboot get_staged dustx101.bin
Uploading 'dustx101.bin'                           FAILED (Read from device failed in ReadBuffer() (Protocol error))
The protocol error was the sign that I had overran my time limit and needed to get back into fastboot. After getting back into fastboot I finished up the recon phase:
stephen@dreamroot:~$ fastboot get_staged dustx101.bin
< waiting for any device >
Uploading 'dustx101.bin'                           OKAY [ 37.528s]
Finished. Total time: 37.528s
stephen@dreamroot:~$ du -h dustx101.bin
399M    dustx101.bin

stephen@dreamroot:~$ fastboot getvar config
config: d822d7fdcfb675425e2faf9f14309818
Finished. Total time: 0.225s
stephen@dreamroot:~$ fastboot oem stage2
OKAY [  0.000s]
Finished. Total time: 0.000s
stephen@dreamroot:~$ fastboot get_staged dustx102.bin
Uploading 'dustx102.bin'                           OKAY [ 37.366s]
Finished. Total time: 37.366s
stephen@dreamroot:~$ du -h dustx102.bin
399M    dustx102.bin
stephen@dreamroot:~$ zip dreame_rxxxx_samples.zip dustx100.bin dustx101.bin dustx102.bin
  adding: dustx100.bin (deflated 0%)
  adding: dustx101.bin (deflated 0%)
  adding: dustx102.bin (deflated 0%)
stephen@dreamroot:~$ du -h dreame_rxxxx_samples.zip
1.2G    dreame_rxxxx_samples.zip
Dustbuilder
I had to then take all the info to upload to dustbuilder and wait for the system to build the images I needed to flash the vacuum with. This was a fairly straightforward process. Once I had everything downloaded to my Linux machine, I was ready for the final flashing.
Job scheduled on the blockchain as j6a4c389e19cb3 (77e219808a87c55b2c0ae0d34f337203).
Check your email! If you dont get a Mail in the next few minutes, your Email provider might have blocked it.
According to your serial number, the root password to your vacuum should be "ZGU5NWU2ZTkwODU0Y2VmM2NiMzUzYTRkMmJhNGFkNDIgIC0K"
Phase 2: Rooting
In order to avoid running into the timeout again. So this time I prepped all of the commands in a text file prior to running it all. The following segment was getting into fastboot.
sunxi-fel write 0x28000 fsbl.bin
sunxi-fel exe 0x28000
sleep 5
sunxi-fel write 0x4a000000 payload.bin
sunxi-fel exe 0x4a000000
fastboot devices
fastboot getvar config
This is the timed portion that matters, there is 160 seconds to complete this process, else there is a chance of permanently bricking the robot vacuum. Similarly to the last step, I’ve prepped all the commands ahead of running them all.
fastboot oem dust 118e6b3b
fastboot oem prep
fastboot flash toc1 toc1.img
fastboot flash boot1 boot.img
fastboot flash rootfs1 rootfs.img
fastboot flash boot2 boot.img
fastboot flash rootfs2 rootfs.img


fastboot reboot
Below is the full log of that finial bit of the configuration. Every command I ran returned the OKAY status.
stephen@dreamroot:~/Downloads/Valetudo/fel$ fastboot devices
Android Fastboot         Android Fastboot

stephen@dreamroot:~/Downloads/Valetudo/fel$ fastboot getvar config
config: 6f5902ac237024bdd0c176cb93063dc4
Finished. Total time: 0.209s
stephen@dreamroot:~/Downloads/Valetudo/fel$ fastboot oem dust 118e6b3b
OKAY [  0.000s]
Finished. Total time: 0.000s
stephen@dreamroot:~/Downloads/Valetudo/fel$ fastboot oem prep
OKAY [  0.005s]
Finished. Total time: 0.005s
stephen@dreamroot:~/Downloads/Valetudo/fel$ fastboot flash toc1 toc1.img
Warning: skip copying toc1 image avb footer (toc1 partition size: 0, toc1 image size: 1245184).
Sending 'toc1' (1216 KB)                           OKAY [  0.063s]
Writing 'toc1'                                     OKAY [  0.045s]
Finished. Total time: 0.118s
stephen@dreamroot:~/Downloads/Valetudo/fel$ fastboot flash boot1 boot.img
Warning: skip copying boot1 image avb footer (boot1 partition size: 0, boot1 image size: 13647872).
Sending 'boot1' (13328 KB)                         OKAY [  0.717s]
Writing 'boot1'                                    OKAY [  0.245s]
Finished. Total time: 0.973s
stephen@dreamroot:~/Downloads/Valetudo/fel$ fastboot flash rootfs1 rootfs.img
Warning: skip copying rootfs1 image avb footer (rootfs1 partition size: 0, rootfs1 image size: 140724461119920).
Sending sparse 'rootfs1' 1/4 (32764 KB)            OKAY [  1.726s]
Writing 'rootfs1'                                  OKAY [  0.675s]
Sending sparse 'rootfs1' 2/4 (32764 KB)            OKAY [  1.790s]
Writing 'rootfs1'                                  OKAY [  0.701s]
Sending sparse 'rootfs1' 3/4 (32764 KB)            OKAY [  1.759s]
Writing 'rootfs1'                                  OKAY [  0.678s]
Sending sparse 'rootfs1' 4/4 (29136 KB)            OKAY [  1.544s]
Writing 'rootfs1'                                  OKAY [  0.748s]
Finished. Total time: 9.702s
stephen@dreamroot:~/Downloads/Valetudo/fel$ fastboot flash boot2 boot.img
Warning: skip copying boot2 image avb footer (boot2 partition size: 0, boot2 image size: 13647872).
Sending 'boot2' (13328 KB)                         OKAY [  0.719s]
Writing 'boot2'                                    OKAY [  0.247s]
Finished. Total time: 0.976s
stephen@dreamroot:~/Downloads/Valetudo/fel$ fastboot flash rootfs2 rootfs.img
Warning: skip copying rootfs2 image avb footer (rootfs2 partition size: 0, rootfs2 image size: 140721905908160).
Sending sparse 'rootfs2' 1/4 (32764 KB)            OKAY [  1.698s]
Writing 'rootfs2'                                  OKAY [  0.704s]
Sending sparse 'rootfs2' 2/4 (32764 KB)            OKAY [  1.730s]
Writing 'rootfs2'                                  OKAY [  0.683s]
Sending sparse 'rootfs2' 3/4 (32764 KB)            OKAY [  1.743s]
Writing 'rootfs2'                                  OKAY [  0.682s]
Sending sparse 'rootfs2' 4/4 (29136 KB)            OKAY [  1.531s]
Writing 'rootfs2'                                  OKAY [  0.765s]
Finished. Total time: 9.617s
stephen@dreamroot:~/Downloads/Valetudo/fel$ fastboot reboot
Rebooting                                          OKAY [  0.000s]
Finished. Total time: 1.510s
Backing up Data Prior to Valetudo
It was time to backup a few folders from the vacuum and upload them to my Linux machine just in case. I had to try a few attempts at the curl command to post the TAR file up to my machine, but it wasn’t too hard to get the command right (my file ended up in /tmp rather than the local folder from the example).
stephen@dreamroot:~$ ssh -i .ssh/id_rsa  root@192.168.5.1
The authenticity of host '192.168.5.1 (192.168.5.1)' can't be established.
ED25519 key fingerprint is SHA256:fPq9GCUAASf70gl1BwRPpxQRLu07neiM2+hO87EzgHI.
This key is not known by any other names.
Are you sure you want to continue connecting (yes/no/[fingerprint])? yes
Warning: Permanently added '192.168.5.1' (ED25519) to the list of known hosts.
--------------------------------------------------------------
    _   _   _                        _     _
   / \ | |_| |__   ___ _ __   __ _  | |   (_)_ __  _   ___  __
  / _ \| __| '_ \ / _ \ '_ \ / _` | | |   | | '_ \| | | \ \/ /
 / ___ \ |_| | | |  __/ | | | (_| | | |___| | | | | |_| |>  <
/_/   \_\__|_| |_|\___|_| |_|\__,_| |_____|_|_| |_|\__,_/_/\_\

--------------------------------------------------------------
 Athena Linux (r2416_release)
--------------------------------------------------------------

built with dustbuilder (https://builder.dontvacuum.me)
2026-07-06T23:25:07Z
1760
[root@r2416_release:~]# tar cvf /tmp/backup.tar /mnt/private/ /mnt/misc/
tar: removing leading '/' from member names
mnt/private/
mnt/private/ULI/
mnt/private/ULI/factory/
mnt/private/ULI/factory/key.txt
mnt/private/ULI/factory/sn.txt
mnt/private/ULI/factory/did.txt
mnt/private/ULI/factory/mac.txt
mnt/private/ULI/factory/timezone.txt
mnt/private/ULI/factory/language.txt
mnt/private/ULI/factory/nation.txt
mnt/private/ULI/factory/cpuid.txt
mnt/misc/
mnt/misc/private.tar.gz
mnt/misc/totalruntime
mnt/misc/lost+found/
mnt/misc/consumable.json
mnt/misc/lds_name
mnt/misc/authorized_keys
mnt/misc/caliberation_result.json
mnt/misc/rgb_extrinsic.json
mnt/misc/lds_config.json
mnt/misc/rgb_intrinsic.json
mnt/misc/unical-config.jsonc
mnt/misc/dm
mnt/misc/tee/
mnt/misc/tee/1
mnt/misc/tee/0
mnt/misc/tee/2
mnt/misc/tee/dirf.db
mnt/misc/unical-robot.jsonc

[root@r2416_release:~]# curl -X POST http://192.168.5.100:1337/upload -F 'file=@/tmp/backup.tar'
Successfully uploaded file to "/home/stephen/Downloads/www/uploads/backup.tar"
Once it was all backed up, it was time to get valetudo off the machine and onto the vacuum and install it all.
[root@r2416_release:~]# wget http://192.168.5.101:1337/valetudo
--1970-01-01 08:07:51--  http://192.168.5.101:1337/valetudo
Connecting to 192.168.5.101:1337... ^C
[root@r2416_release:~]# wget http://192.168.5.100:1337/valetudo
--1970-01-01 08:07:57--  http://192.168.5.100:1337/valetudo
Connecting to 192.168.5.100:1337... connected.
HTTP request sent, awaiting response... 200 OK
Length: 38763397 (37M) [application/octet-stream]
Saving to: 'valetudo'

valetudo                         100%[=========================================================>]  36.97M  4.79MB/s    in 11s

1970-01-01 08:08:08 (3.44 MB/s) - 'valetudo' saved [38763397/38763397]

[root@r2416_release:~]# mv /tmp/valetudo /data/valetudo
[root@r2416_release:~]# chmod +x /data/valetudo
[root@r2416_release:~]# cp /misc/_root_postboot.sh.tpl /data/_root_postboot.sh
[root@r2416_release:~]# chmod +x /data/_root_postboot.sh
[root@r2416_release:~]#
[root@r2416_release:~]# reboot
Changing the DID
The only hiccup I ran into was one that the valetudo guide also mentions so I was prepared to fix it. My vacuum came with a negative Device ID value, which is invalid for valetudo. Fixing it is as simple as editing the did.txt file and changing the value to a positive number, removing the device.conf, and telling the vacuum to reboot (where it will generate a new device.conf and everything will just work). Honestly dirt easy to fix.
stephen@dreamroot:~$ ssh -i .ssh/id_rsa  root@192.168.5.1
--------------------------------------------------------------
    _   _   _                        _     _
   / \ | |_| |__   ___ _ __   __ _  | |   (_)_ __  _   ___  __
  / _ \| __| '_ \ / _ \ '_ \ / _` | | |   | | '_ \| | | \ \/ /
 / ___ \ |_| | | |  __/ | | | (_| | | |___| | | | | |_| |>  <
/_/   \_\__|_| |_|\___|_| |_|\__,_| |_____|_|_| |_|\__,_/_/\_\

--------------------------------------------------------------
 Athena Linux (r2416_release)
--------------------------------------------------------------

built with dustbuilder (https://builder.dontvacuum.me)
[root@r2416_release:~]# cat /mnt/private/ULI/factory/did.txt
[root@r2416_release:~]# cp /mnt/private/ULI/factory/did.txt /mnt/private/ULI/factory/did_orig.txt && sync
[root@r2416_release:~]# nano /mnt/private/ULI/factory/did.txt
[root@r2416_release:~]# rm /data/config/miio/device.conf
[root@r2416_release:~]# reboot
Valetudo
The web interface is straight forward and easy to get started in. you can pick vacuum/mop modes, configure the vacuums configuration settings, turn up or down the fan speeds, check on dock statistics, and more. Everything that the cloud gave you, can be done entirely locally, which is refreshing for devices like this (and only comes from the open source community doing projects like this to ensure devices are owned by the users).
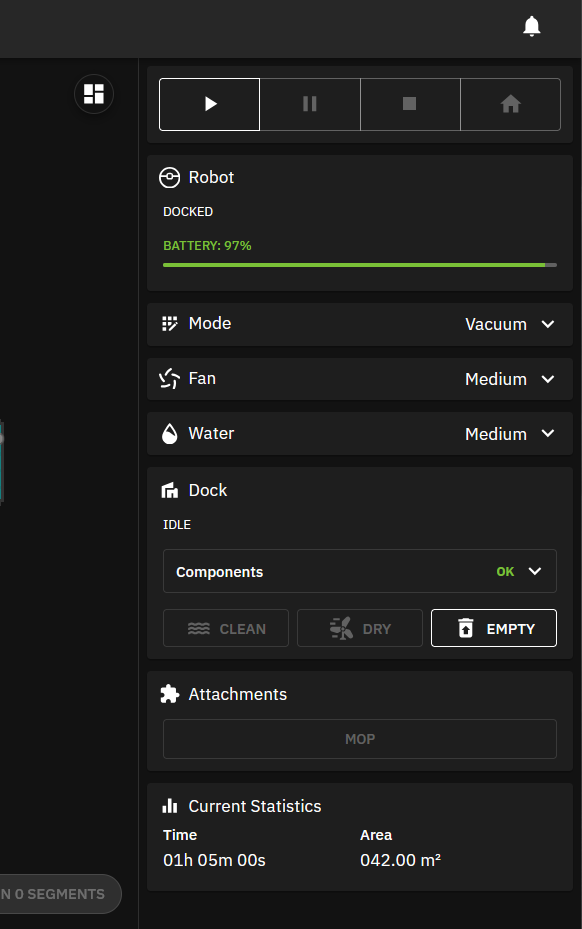
Zooming in on the map I can even see what the camera detected obstacles as, whether its chair legs, wires, or other objects. It does a good job at avoiding them. There’s also a configuration option to take pictures of all the obstacles, but I haven’t used that option.

Statistics / Achievements
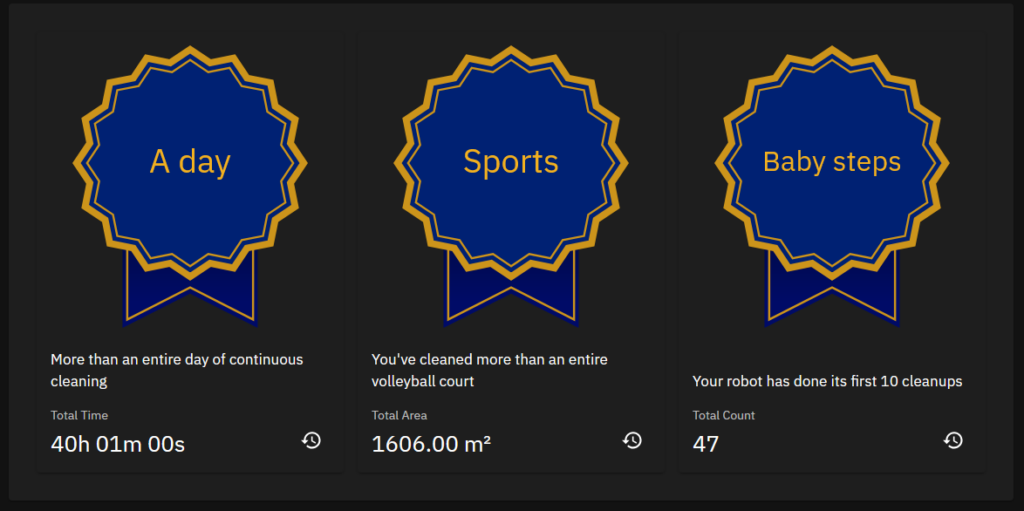
Valetudo also has achievements built into it for various aspects of running the vacuum. There are achievements for the number of times run, number of running hours, and area covered. They’re not really necessary, but fun to have.
Robot Options
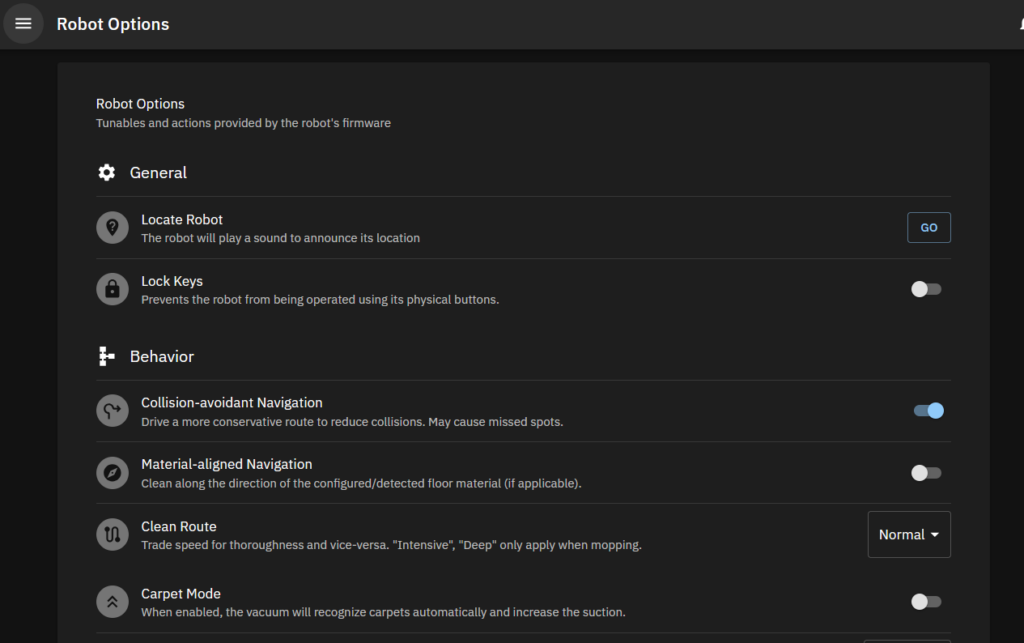
The robot options page lets you fine tune options for object detection, motion, do not disturb times, various options for how to handle carpeting vs hard flooring, and more. I left this for the most part on the stock settings, and they are pretty good. I may tune them in the future. The only setting I setup an automation for right away was to mute the speaker at night (oddly that is not what the do not disturb mode does).
Connectivity
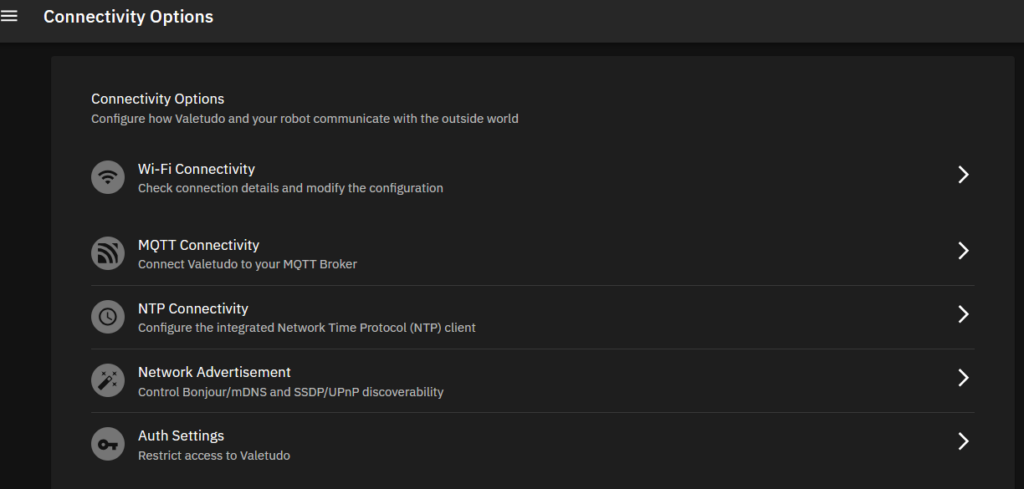
For connectivity back to home assistant, we have the MQTT connection. We can also use NTP servers to get time onto the vacuum for built in schedules and other actions. Those are the main connectivity settings that I have made use of.
Finally
I’m very happy with the new vacuum, and especially happy that its fully locally controlled. I was always hesitant to get the fancier models due to the camera feeds going to the unknown corporate monoliths, but having all the data stay on my network, in my device, keeps me from being worried about the next hack.