
I made a cyberbrick model and posted it to makerworld, but while telling folks about it, someone mentioned that it would be nice to have a video of it driving to reference when deciding if they wanted to make it. I could record one easily enough on my phone, but I haven’t tried to convert it to a GIF before for use on the various 3d printing websites. I do have VSDC though, so lets use that!
Import
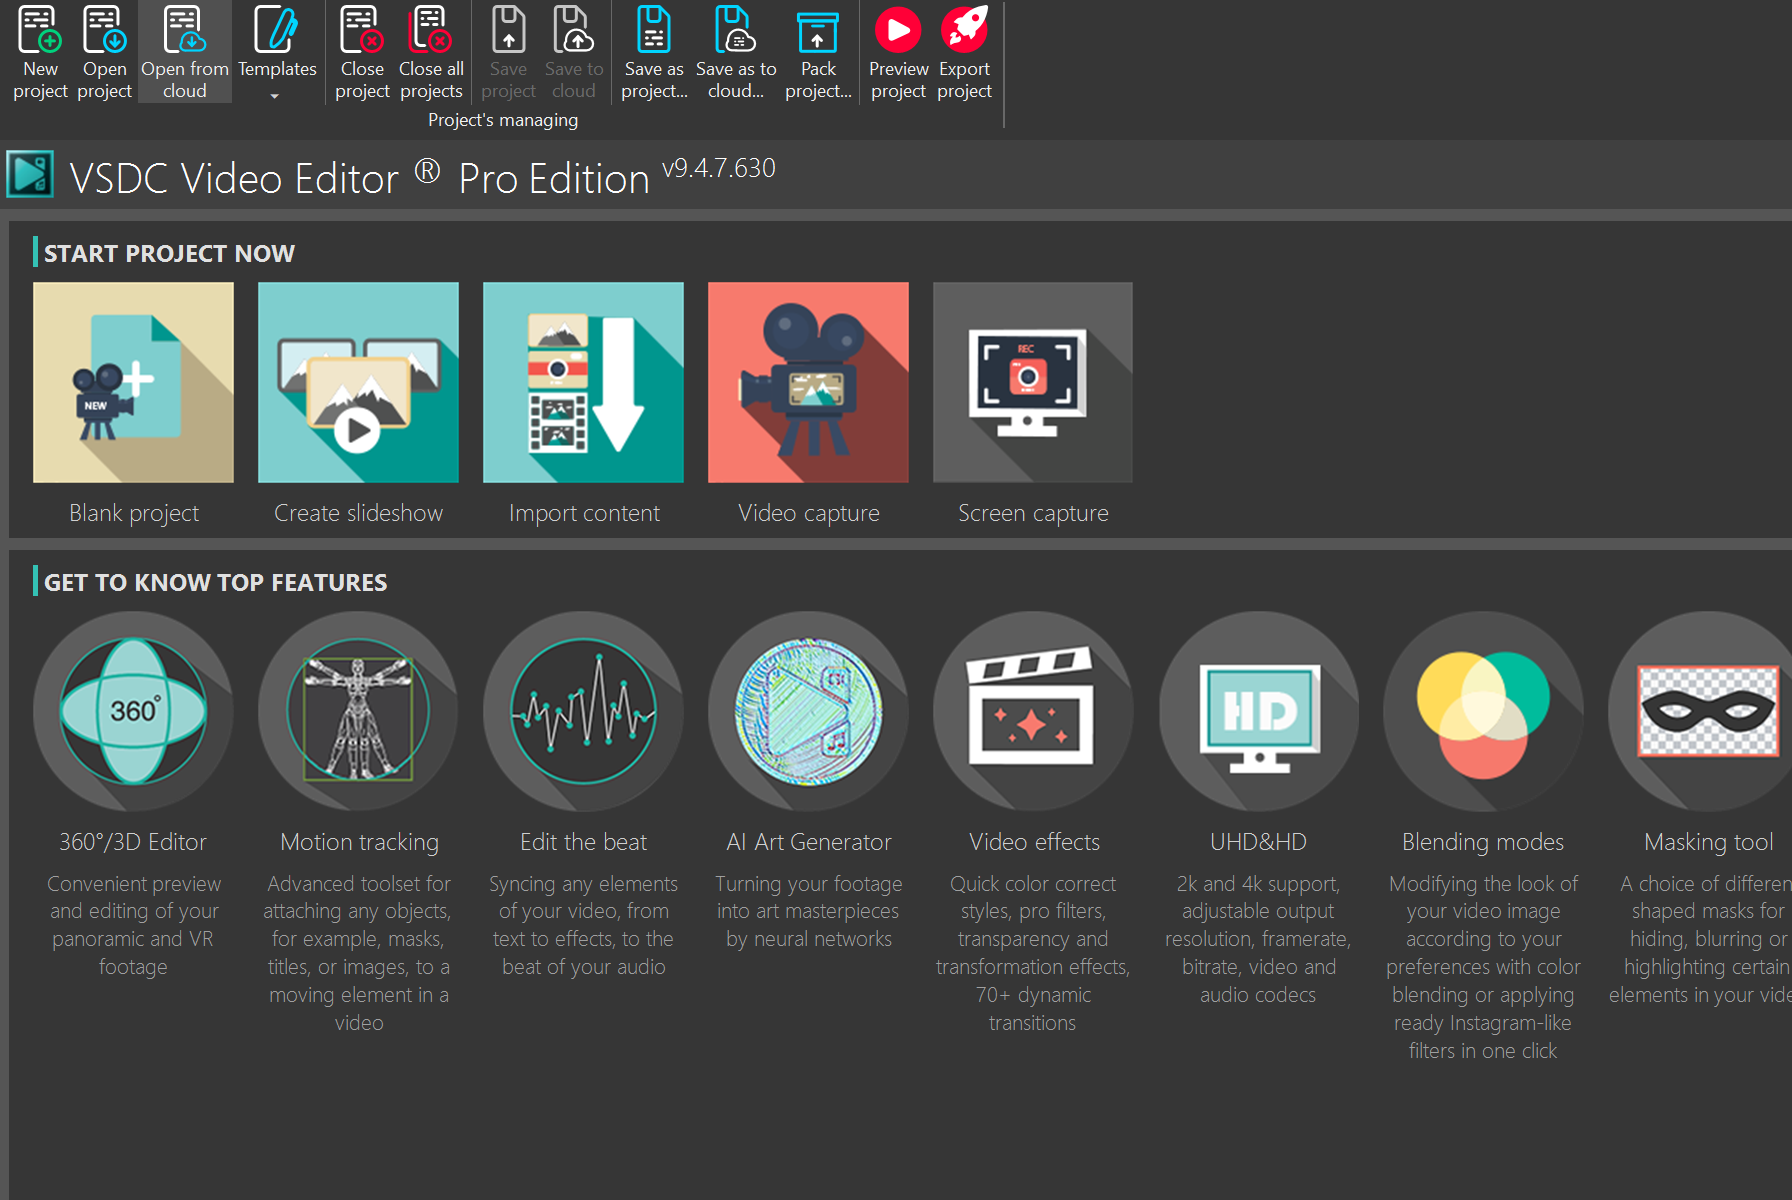
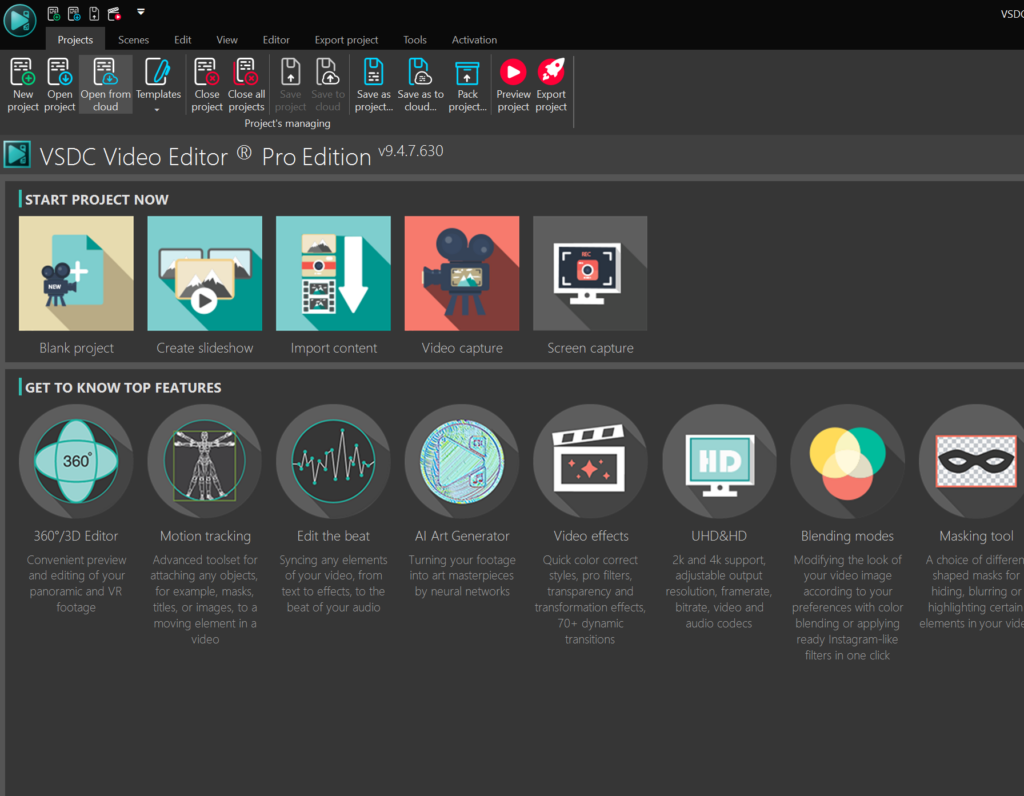
I’ve used the video editing tool minimally for stabilizing action camera footage, so I’m not exactly the best at it, so this short guide will go from square 1. Starting out on the main screen, we want to click on import content. This will bring up a dialog letting us select the video file we want to start with.
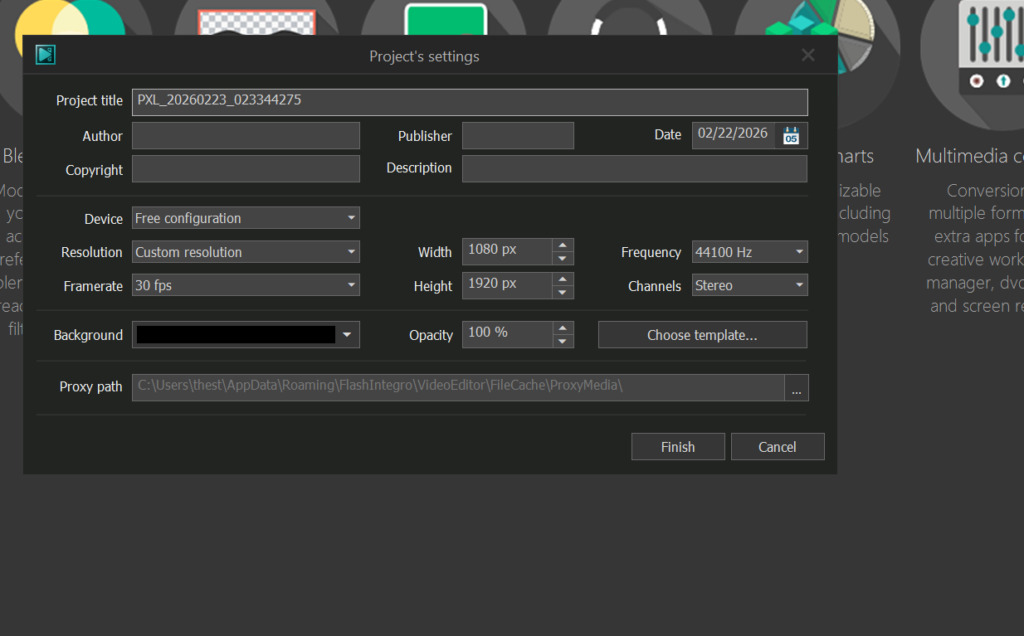
After selecting the file, VSDC will let you modify the settings for your project that it will create for you. The portrait aspect ratio for my video wasn’t detected at first, so I modified the width/height pixel counts to match it, and then clicked finish to create the project.
Trimming
Since we’re making a GIF, we probably want to shorten up the video, so we’ll right click in the timeline and select “Cutting and splitting”

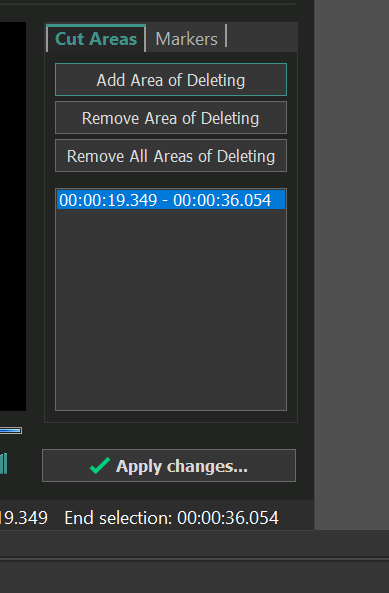
Navigate to the time period you want to remove, and click and drag over the time count in the top to select it. I couldn’t figure out how to just delete the area, but cutting it was enough to remove it from the final GIF, so we’ll just use “cut region”.
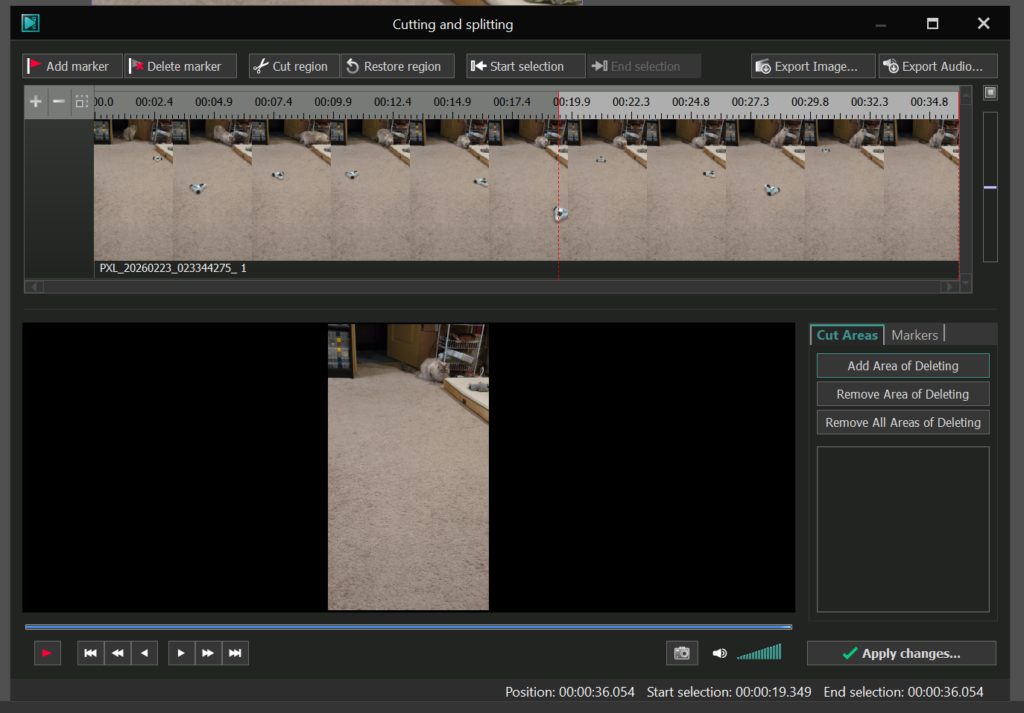
The cut region will show up now in the cut areas, when we see that, we can just apply the changes. The application will ask if you want to modify the length of the video, answer yes.
Exporting
Exporting is simple enough, other than the web option in “select media device” is hidden, just select the dropdown and pick it. Then the to gif option will appear, hit export and you’re off to the races (or at least until you realize your wordpress blog doesn’t have a very large max file size for something like a gif, but you can see them here).
