
I saw a really cool blanking panel for a server rack recently that used a bunch of LED displays to show information powered by an ESP and home assistant. I thought the displays were pretty cool and decided to get some and try them out. I may also have some ulterior motives with a project I’ve started working on as well.
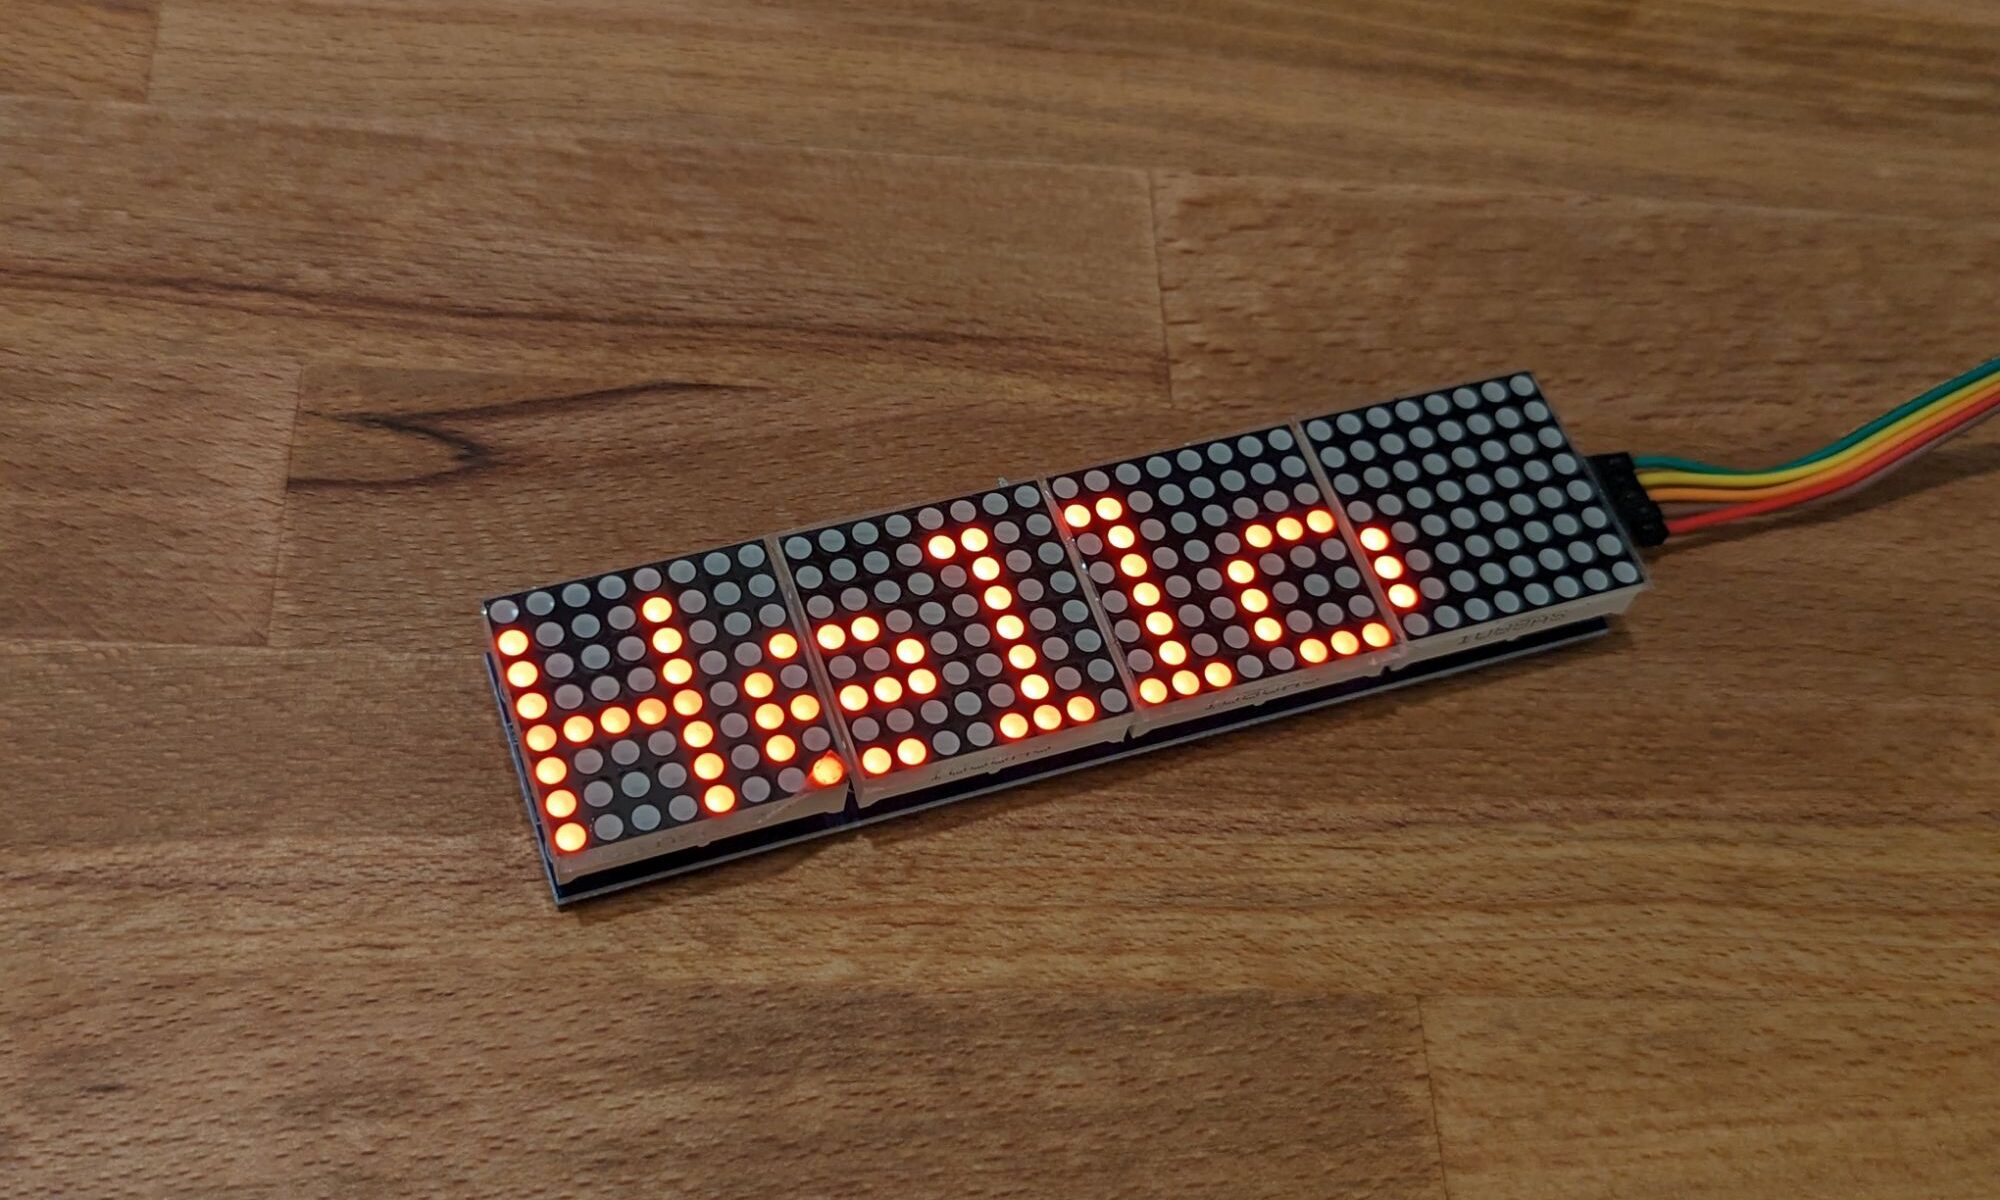
The display is a max 7219 led matrix. It’s just a single color display, no fancy RGB here, but it’s very simple to wire up and use in EspHome (also inexpensive). The EspHome documentation for it is pretty solid as well.
Components
Hardware
Wiring it up to an ESP is simple enough, it uses SPI for communication, and one extra pin. So hook up the CLK and CS pins to the ones configured for it, and wire up the DIN on the display to the configured MOSI pin.
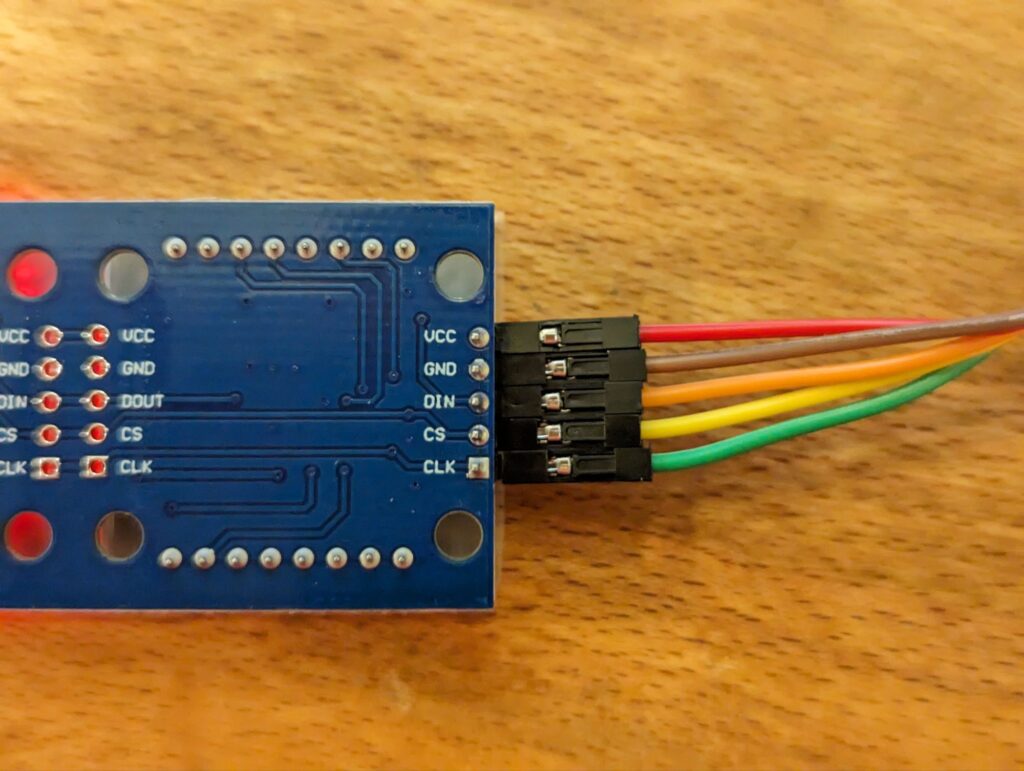
Below are my mappings from the display board pins to those configured in EspHome
- Max7219 DIN pin -> MOSI Pin from EspHome SPI settings
- Max7219 CS pin -> CS Pin from the EspHome display settings
- Max7219 CLK pin -> CLK Pin from EspHome SPI settings
EspHome Configuration
Before we get into the EspHome configuration, we first want to get the font files in place. This font is a pixelated font that is great for these kinds of displays. It is the pixel mix font from wfonts. With the file in hand, I uploaded it to the esphome/font folder using VS Code (the same folder I used for my air gradient display fonts, if you don’t have the folder, you can create it in VS Code as well).

For this example configuration, we’ll just be showing the current time on the display. This is a nice simple EspHome configuration for it to get our feet wet.
# Example configuration entry
spi:
  clk_pin: 15
  mosi_pin: 13

font:
  - file: "font/pixelmix.ttf"
    id: digit_font
    size: 8

time:
  - platform: homeassistant
    id: hass_time

display:
  - platform: max7219digit
    cs_pin: 3
    num_chips: 4
    intensity: 15
    lambda: |-
      it.strftime(0, 0, id(digit_font), "%H:%M", id(hass_time).now());
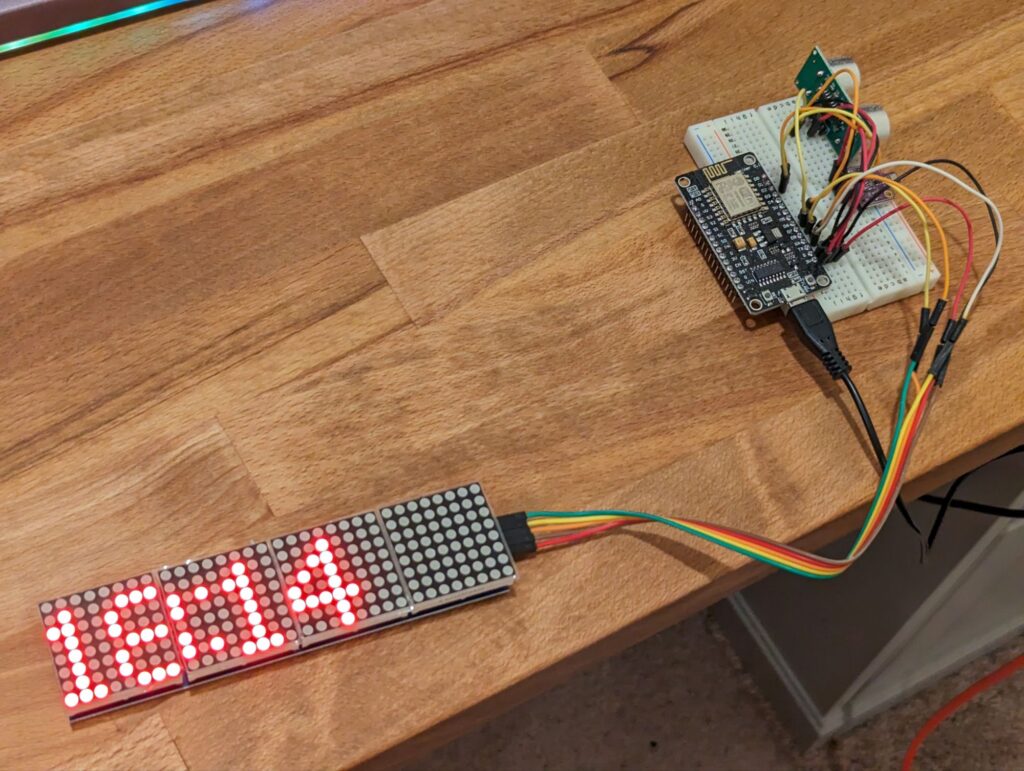
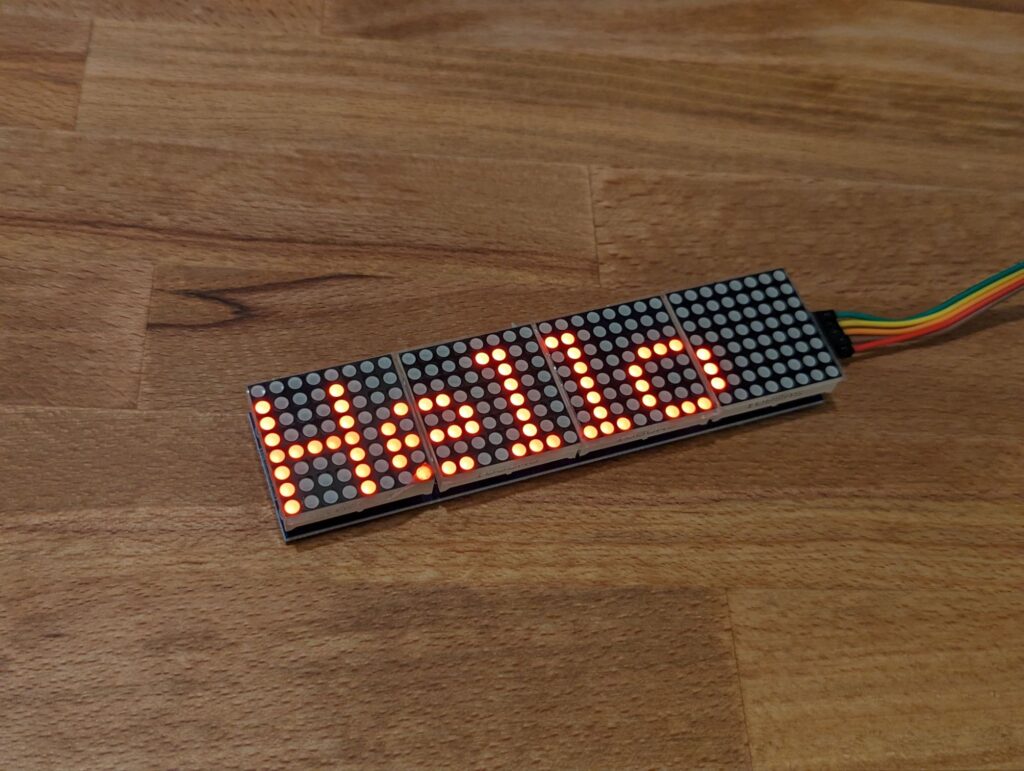
Now that we have everything wired up and EspHome configured, we can start up our clock!
Text Input Field from Home Assistant
Now that we have the basics down, let’s get the display to read text coming from a Home Assistant text sensor. This will give Home Assistant the ability to send any arbitrary message to the display, and let automations send data as well.
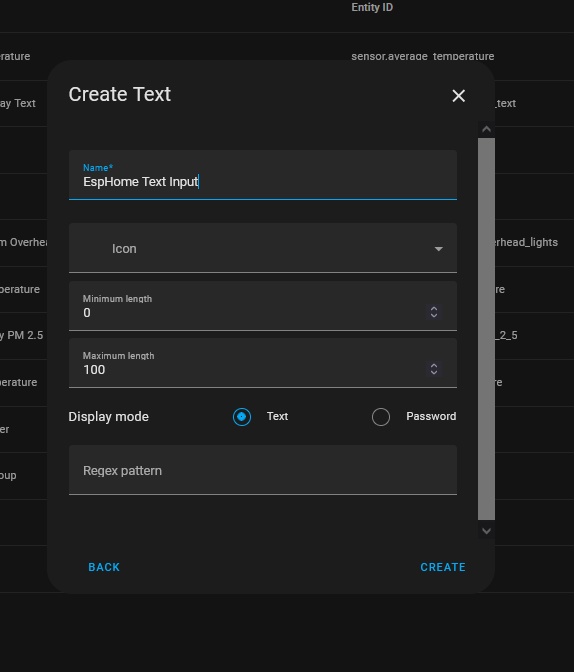
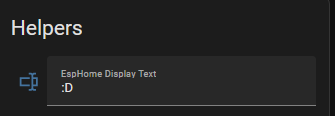
To start out, we’ll add a text sensor helper to Home Assistant. This can be done at: Settings -> Devices and Services -> Helpers

Once you click to create a text helper, you’ll get a dialog with some inputs used to define it. I just left those on the defaults and gave it a unique name and clicked create.
Once it’s been created, you can find it on the dashboard, type in some text and hit enter to send it in.
Now that we have the Home Assistant side of things setup, let’s go over to the EspHome configuration and start getting that going. We’ll need the sensor name for our text sensor in home assistant. This way we can configure the screen to read from that sensor. Everything else is the same as the clock from above.
The heart of our code is in the lambda, where we get the string data from the home assistant text field.
text_sensor:
  - platform: homeassistant
    name: "Display Text"
    entity_id: input_text.esphome_display_text
    id: input_text_field
font:
  - file: "font/pixelmix.ttf"
    id: digit_font
    size: 8
display:
  - platform: max7219digit
    cs_pin: 3
    num_chips: 4
    intensity: 5
    id: cool_display
    lambda: |-
      it.printf(0, 0, id(digit_font), "%s", id(input_text_field).state.c_str());
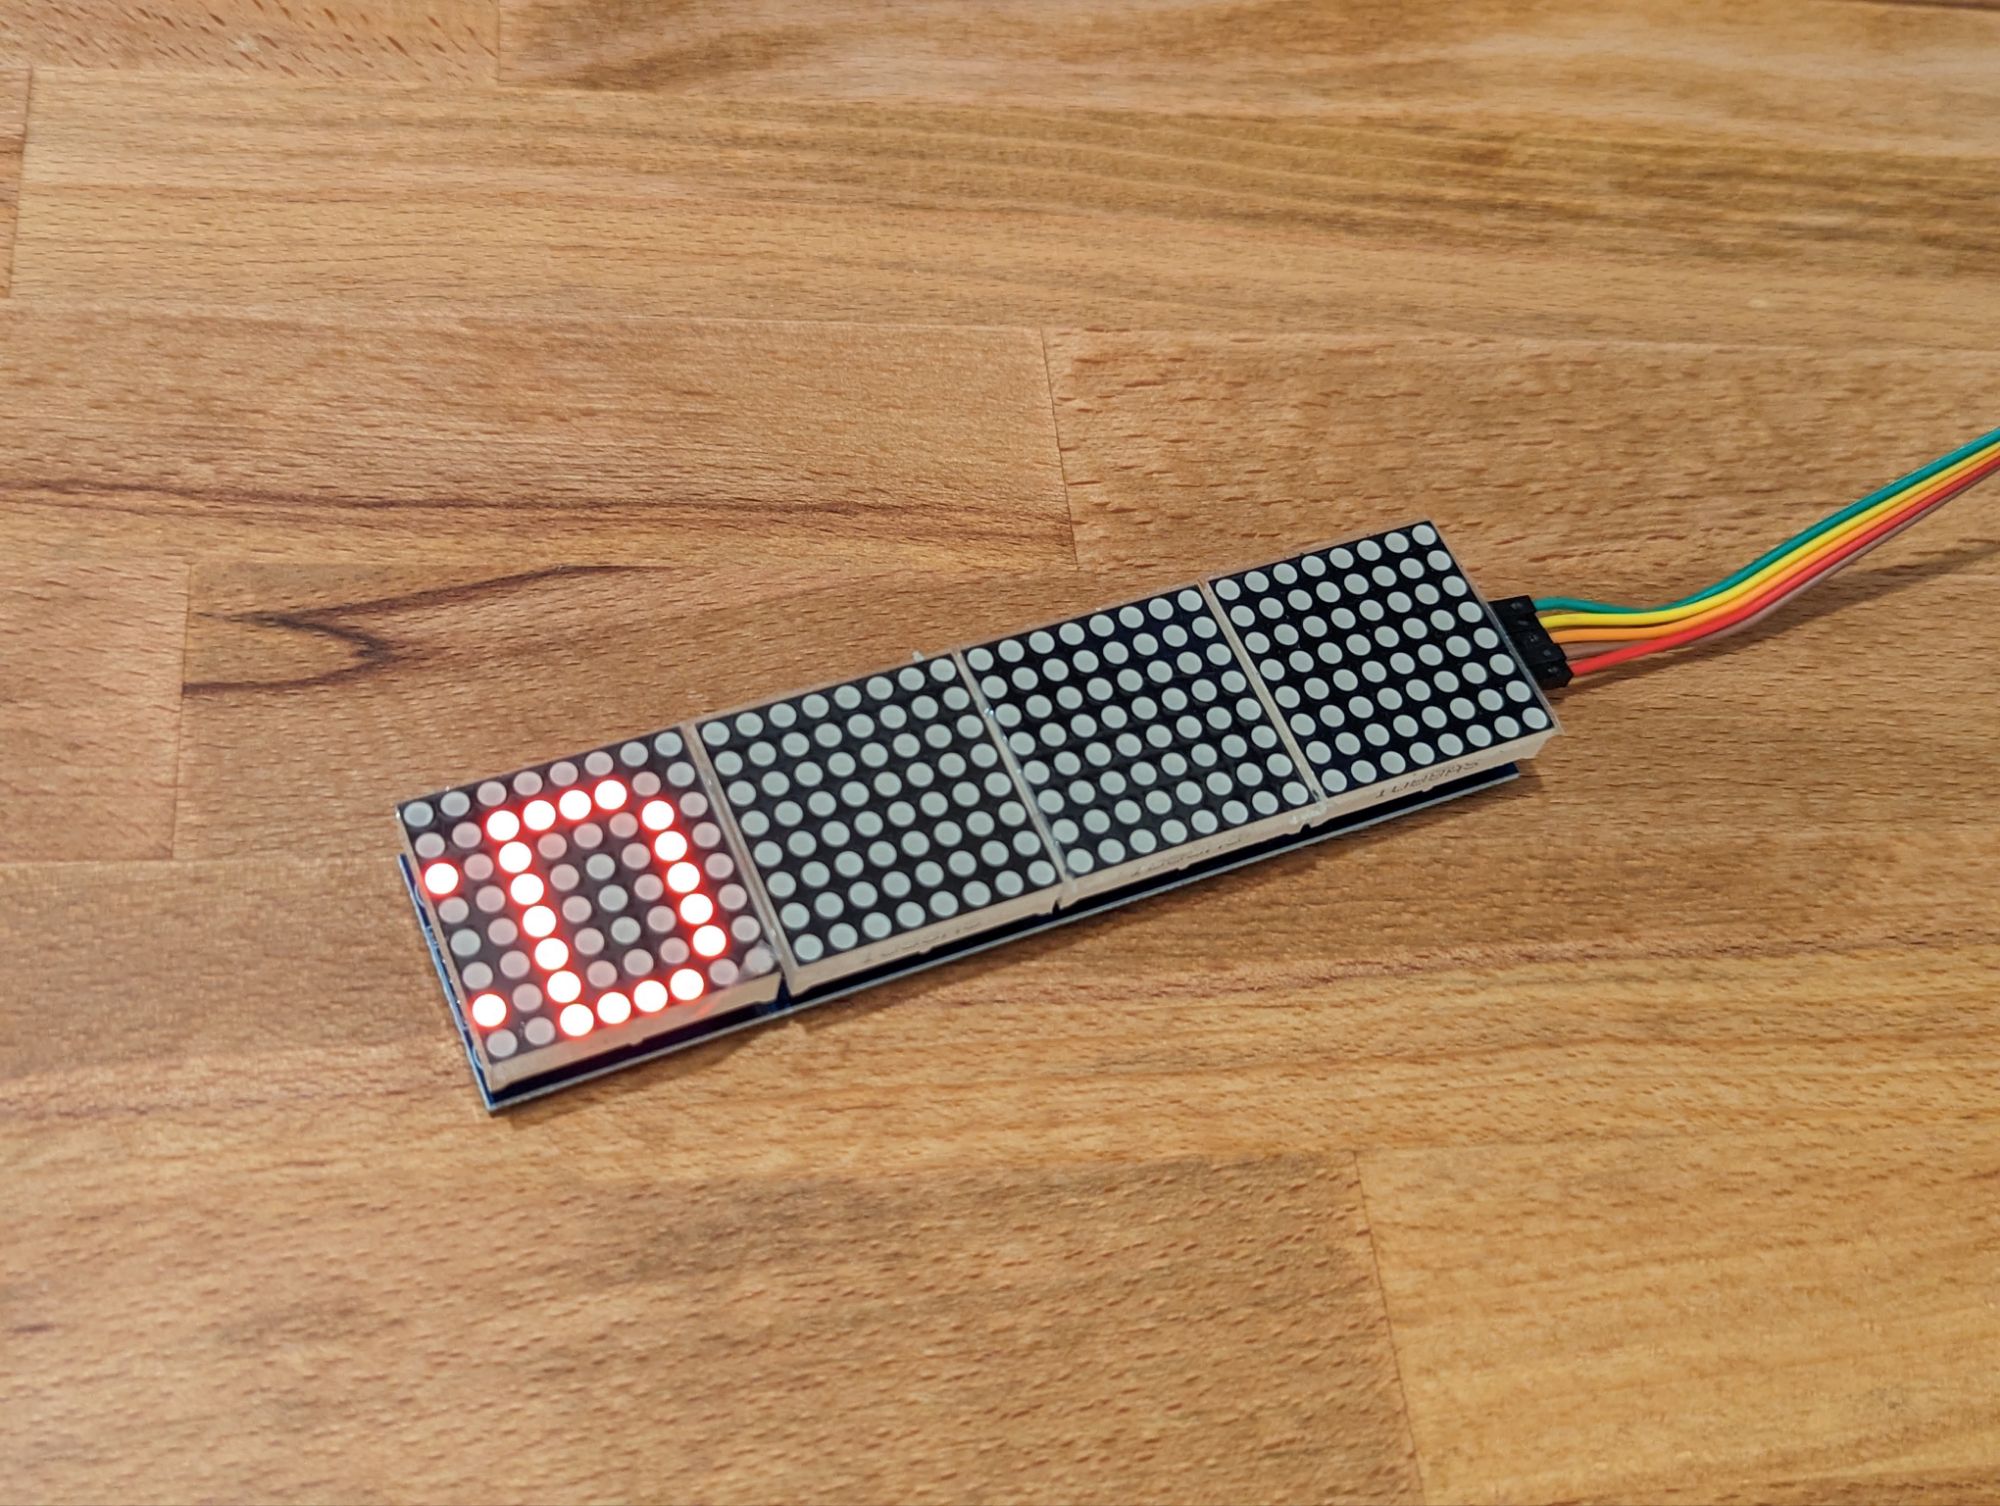
Now that the code is done, we can upload the new firmware and have some fun tooling in messages in home assistant and seeing them show up on the display. This allows home assistant to send any arbitrary text to the display for notifications for information. The text does scroll if it’s longer than the display as well, so no worries about character limits (within reason).
Conclusion
This was a fun little thing to try out in EspHome and I’ll eventually use it in one of my builds or projects. I may even try to make a rack mount blanking panel like my inspiration.
Future Things to Try
Resources
- Pixelmix font
- EspHome max 7219 display documentation
- Maker guide on the display
- Inspiration on discord
Some of the links in this post are affiliate links, which means I may earn a small commission if you make a purchase through them—at no extra cost to you. This helps support the blog and allows me to continue creating content that you love. I will only recommend products and services that I trust and believe will be beneficial to my readers. Thank you for your support!