
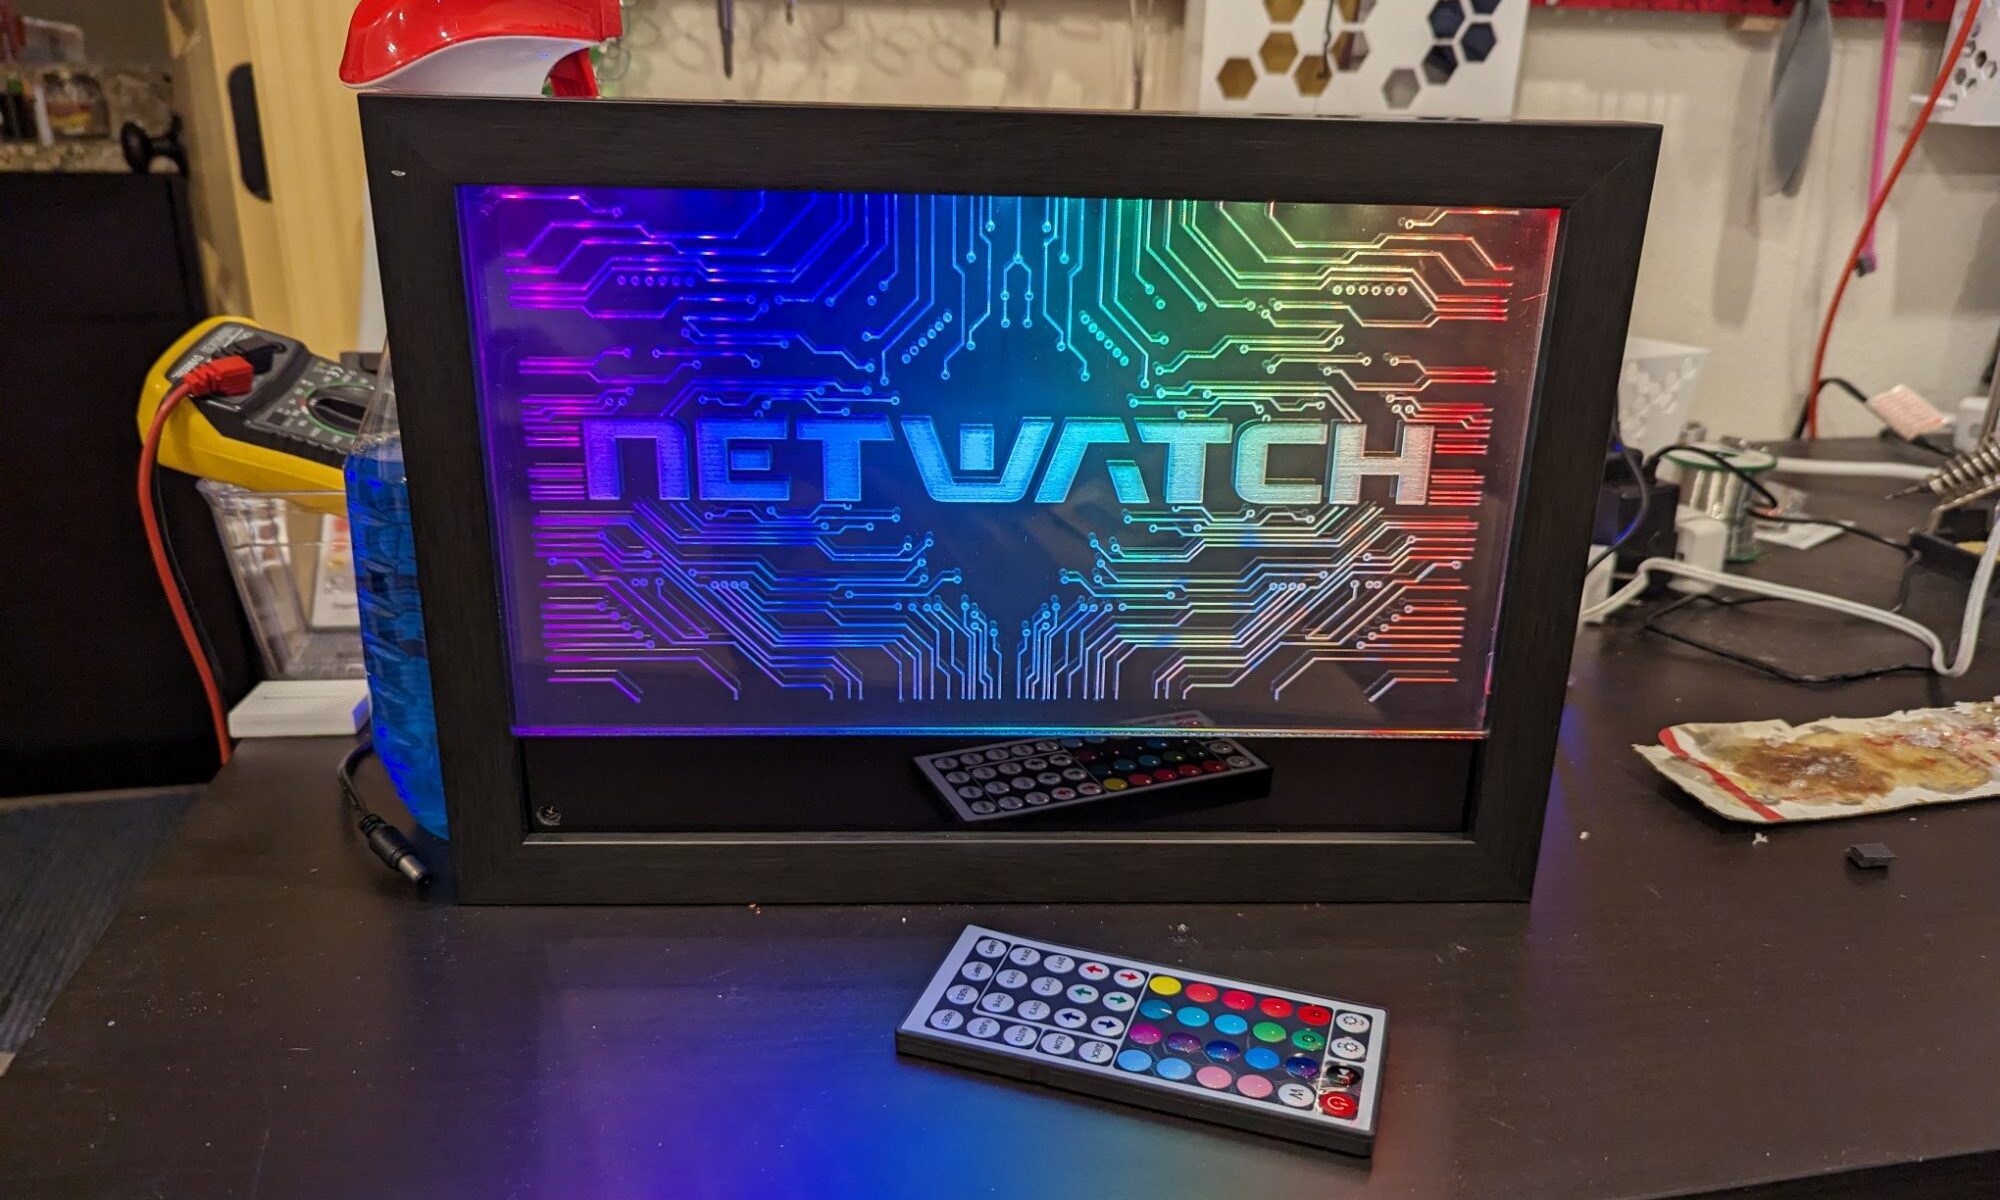
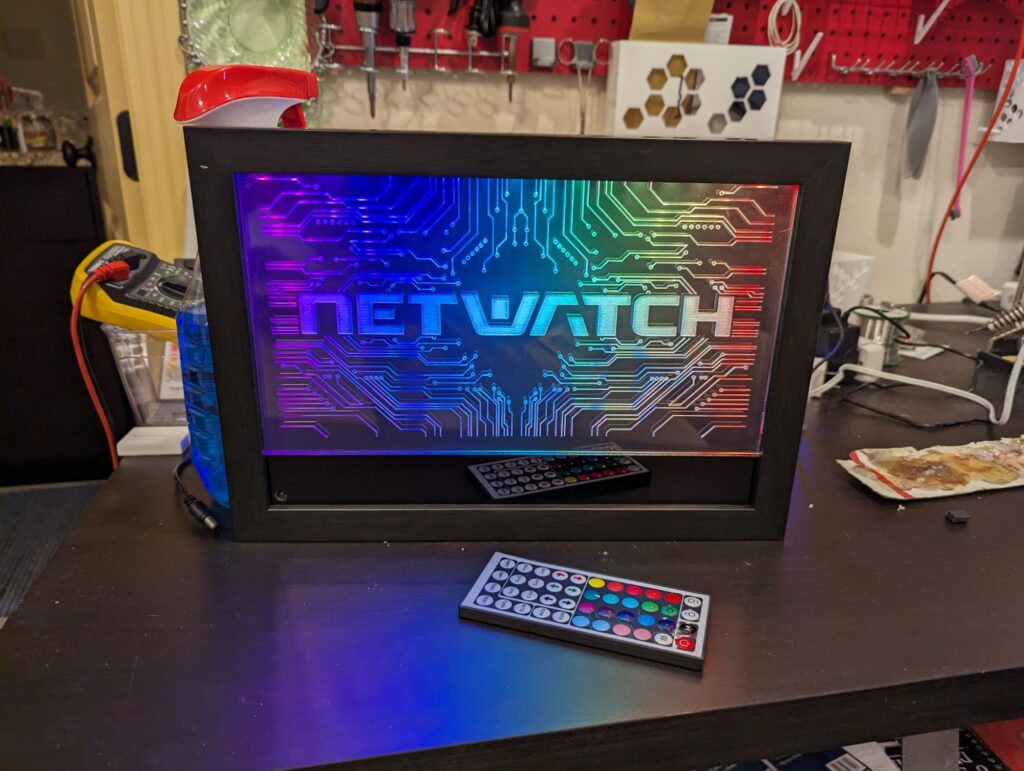
I made a single acrylic sign for myself and as a test piece before I started making 5 of them for Christmas presents. Now that I’ve finished those 5, I have a few lessons that I learned along the way that my original sign didn’t shake out of my design and method.
Engraving
I engraved my original sign on the front of the acrylic, so when framed, the engraved side is to the outside. This wasn’t the best idea and causes a few headaches:
- Worse reflections off the back of the sign (causing ghosting)
- Dust collection in the engraving over time
- Slightly more muted colors
My suggestion, mirror your design before engraving it so you have it to the inside of the sign. This also gives a more polished look to it in the end as well.


LED and Acrylic Spacing
I found that my LED strips weren’t perfectly lined up with the 1/4″ acrylic in the signs. This causes a bit of color and brightness loss as well as some bleed into the back of the sign (and thus shine through of color where you don’t want it). I found that 1/16″ spacers are enough to get better coverage of the LEDs into the acrylic and better brightness throughout the sign. They’re only needed where the sign ends up meeting the LED strip and are small enough to be invisible in the finished product as well.

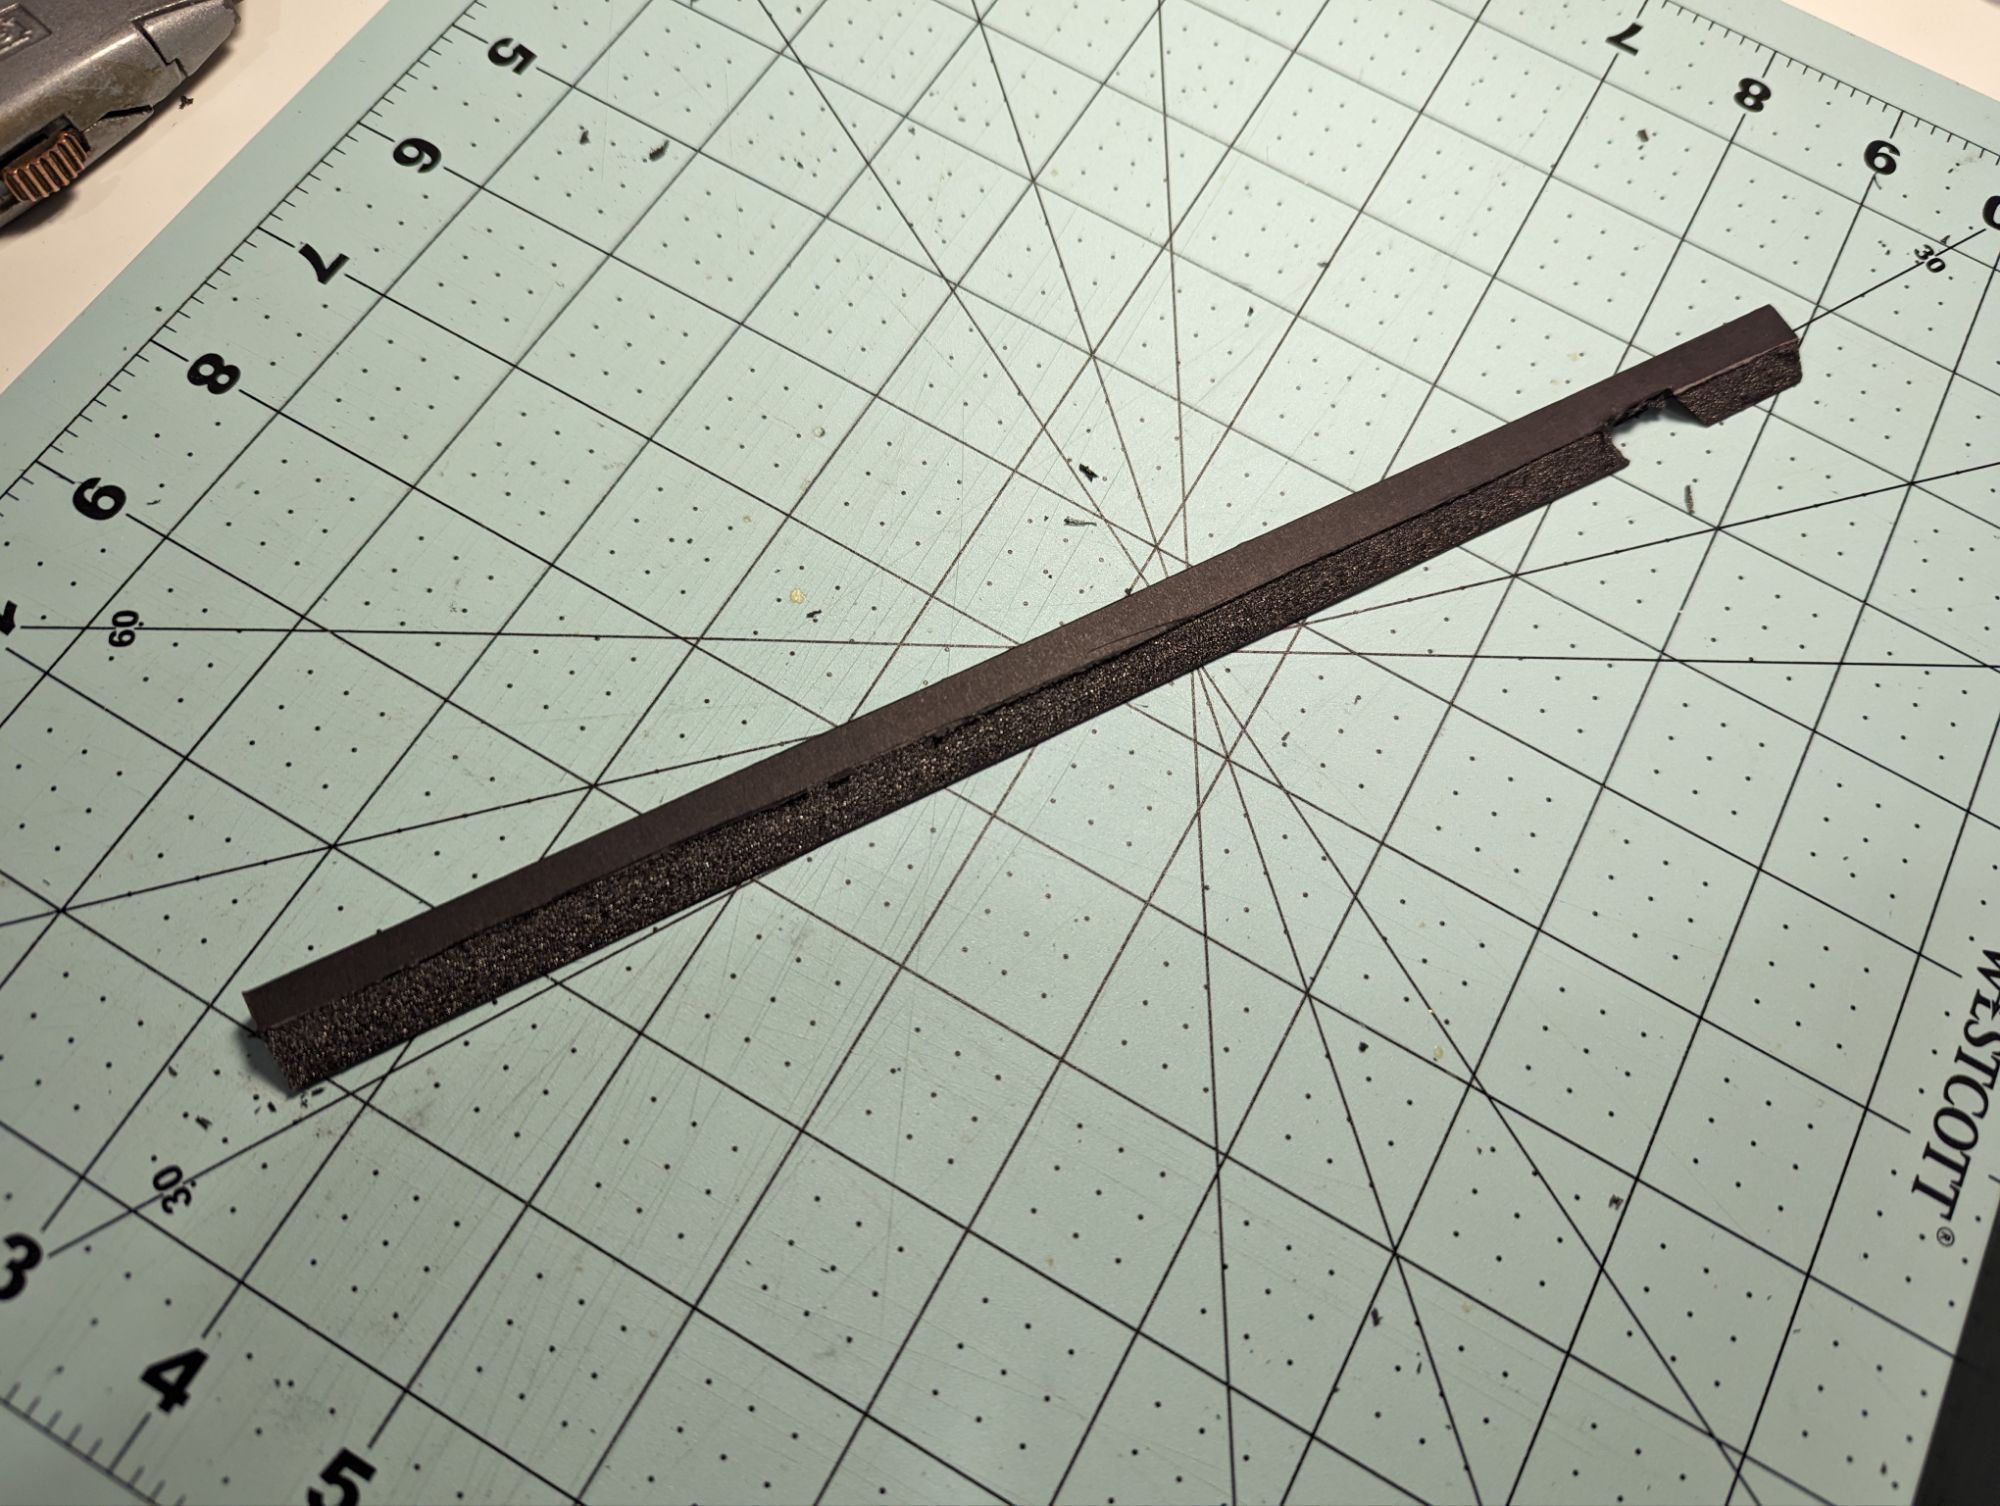
Interior
I didn’t really plan out the interiors on the signs when I made mine. I left the back off of it for a long time but that wasn’t going to work for the finished product I was working for. To handle the inside, buy some black foam mat for the interior border, it’ll cover up hot glue sins, wires, and keep the interior from reflecting too much light back out.
For the back plate, either get a frame with a black backing, or get black artists mat to use as the backing for the same reason as the foam board. These two combined give a good clean finished look when looking into the sign.
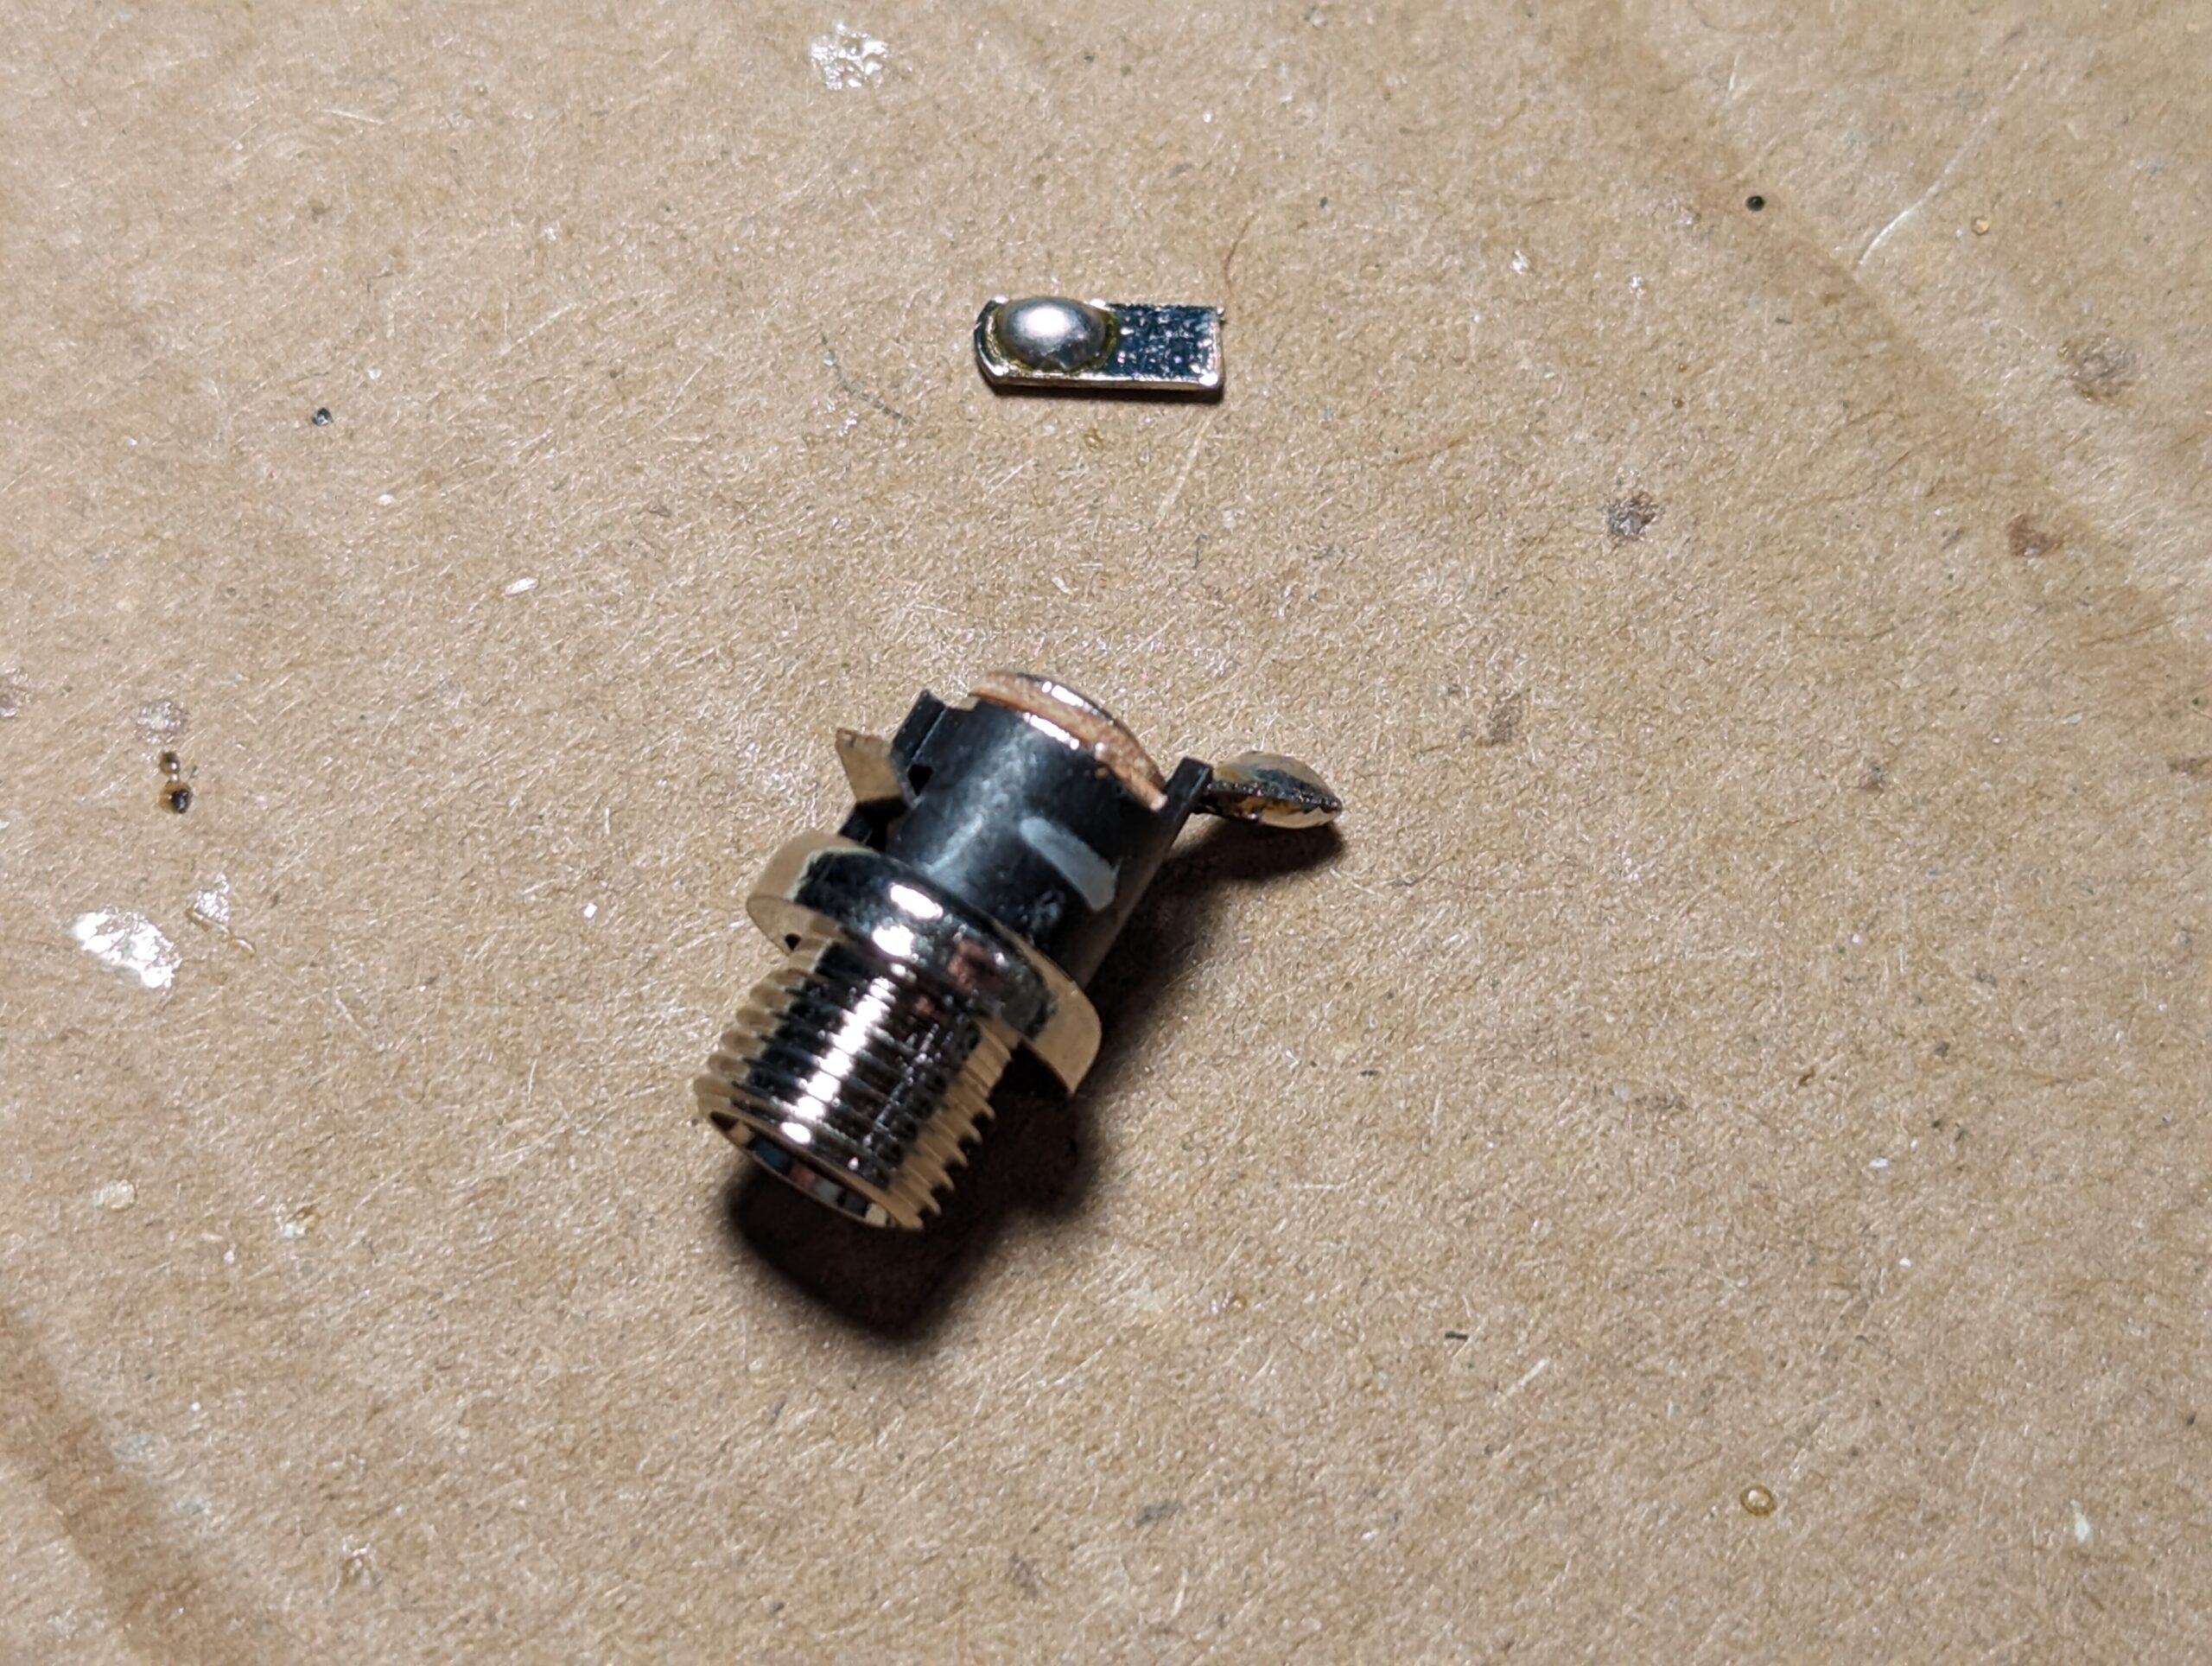
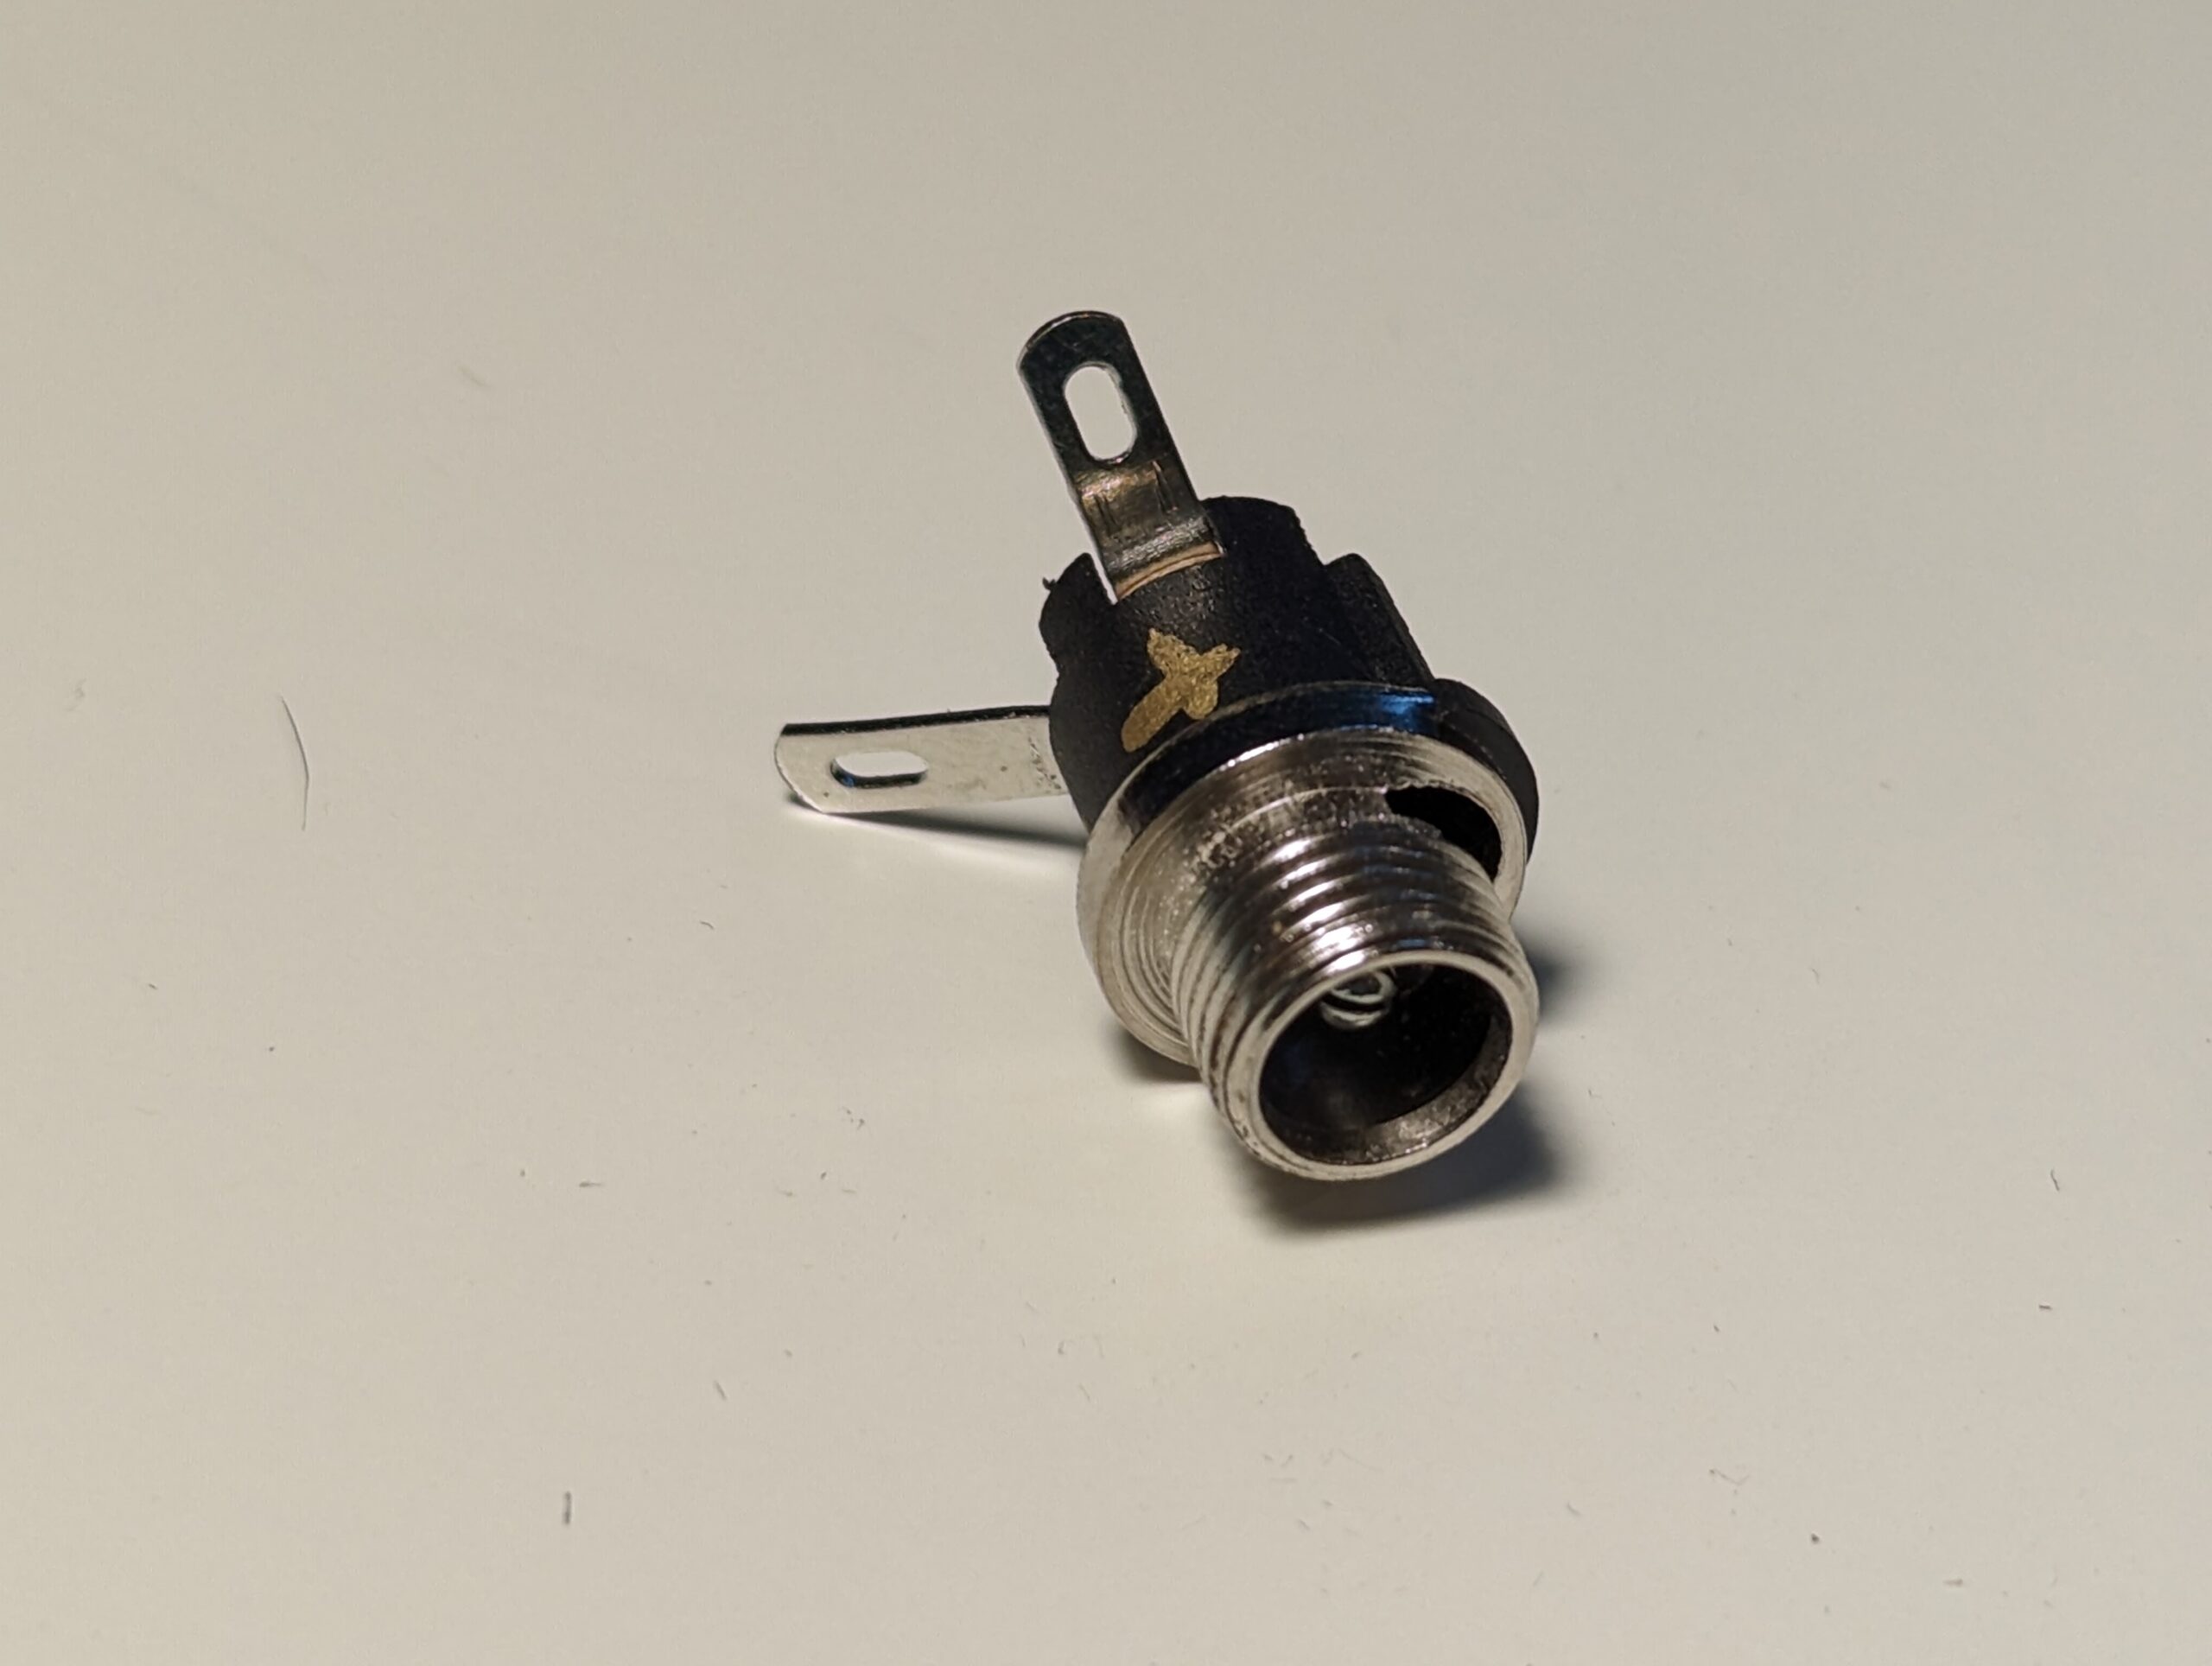
Power Connectors
I didn’t realize when I picked up all my parts that I was going to run into a problem when installing the back plate power connectors: they were too long. They ended up running into the acrylic behind them, though I was able to bend the pins to make everything fit. This does need to be done with a little bit of care, or you might break the pins right off the connector.
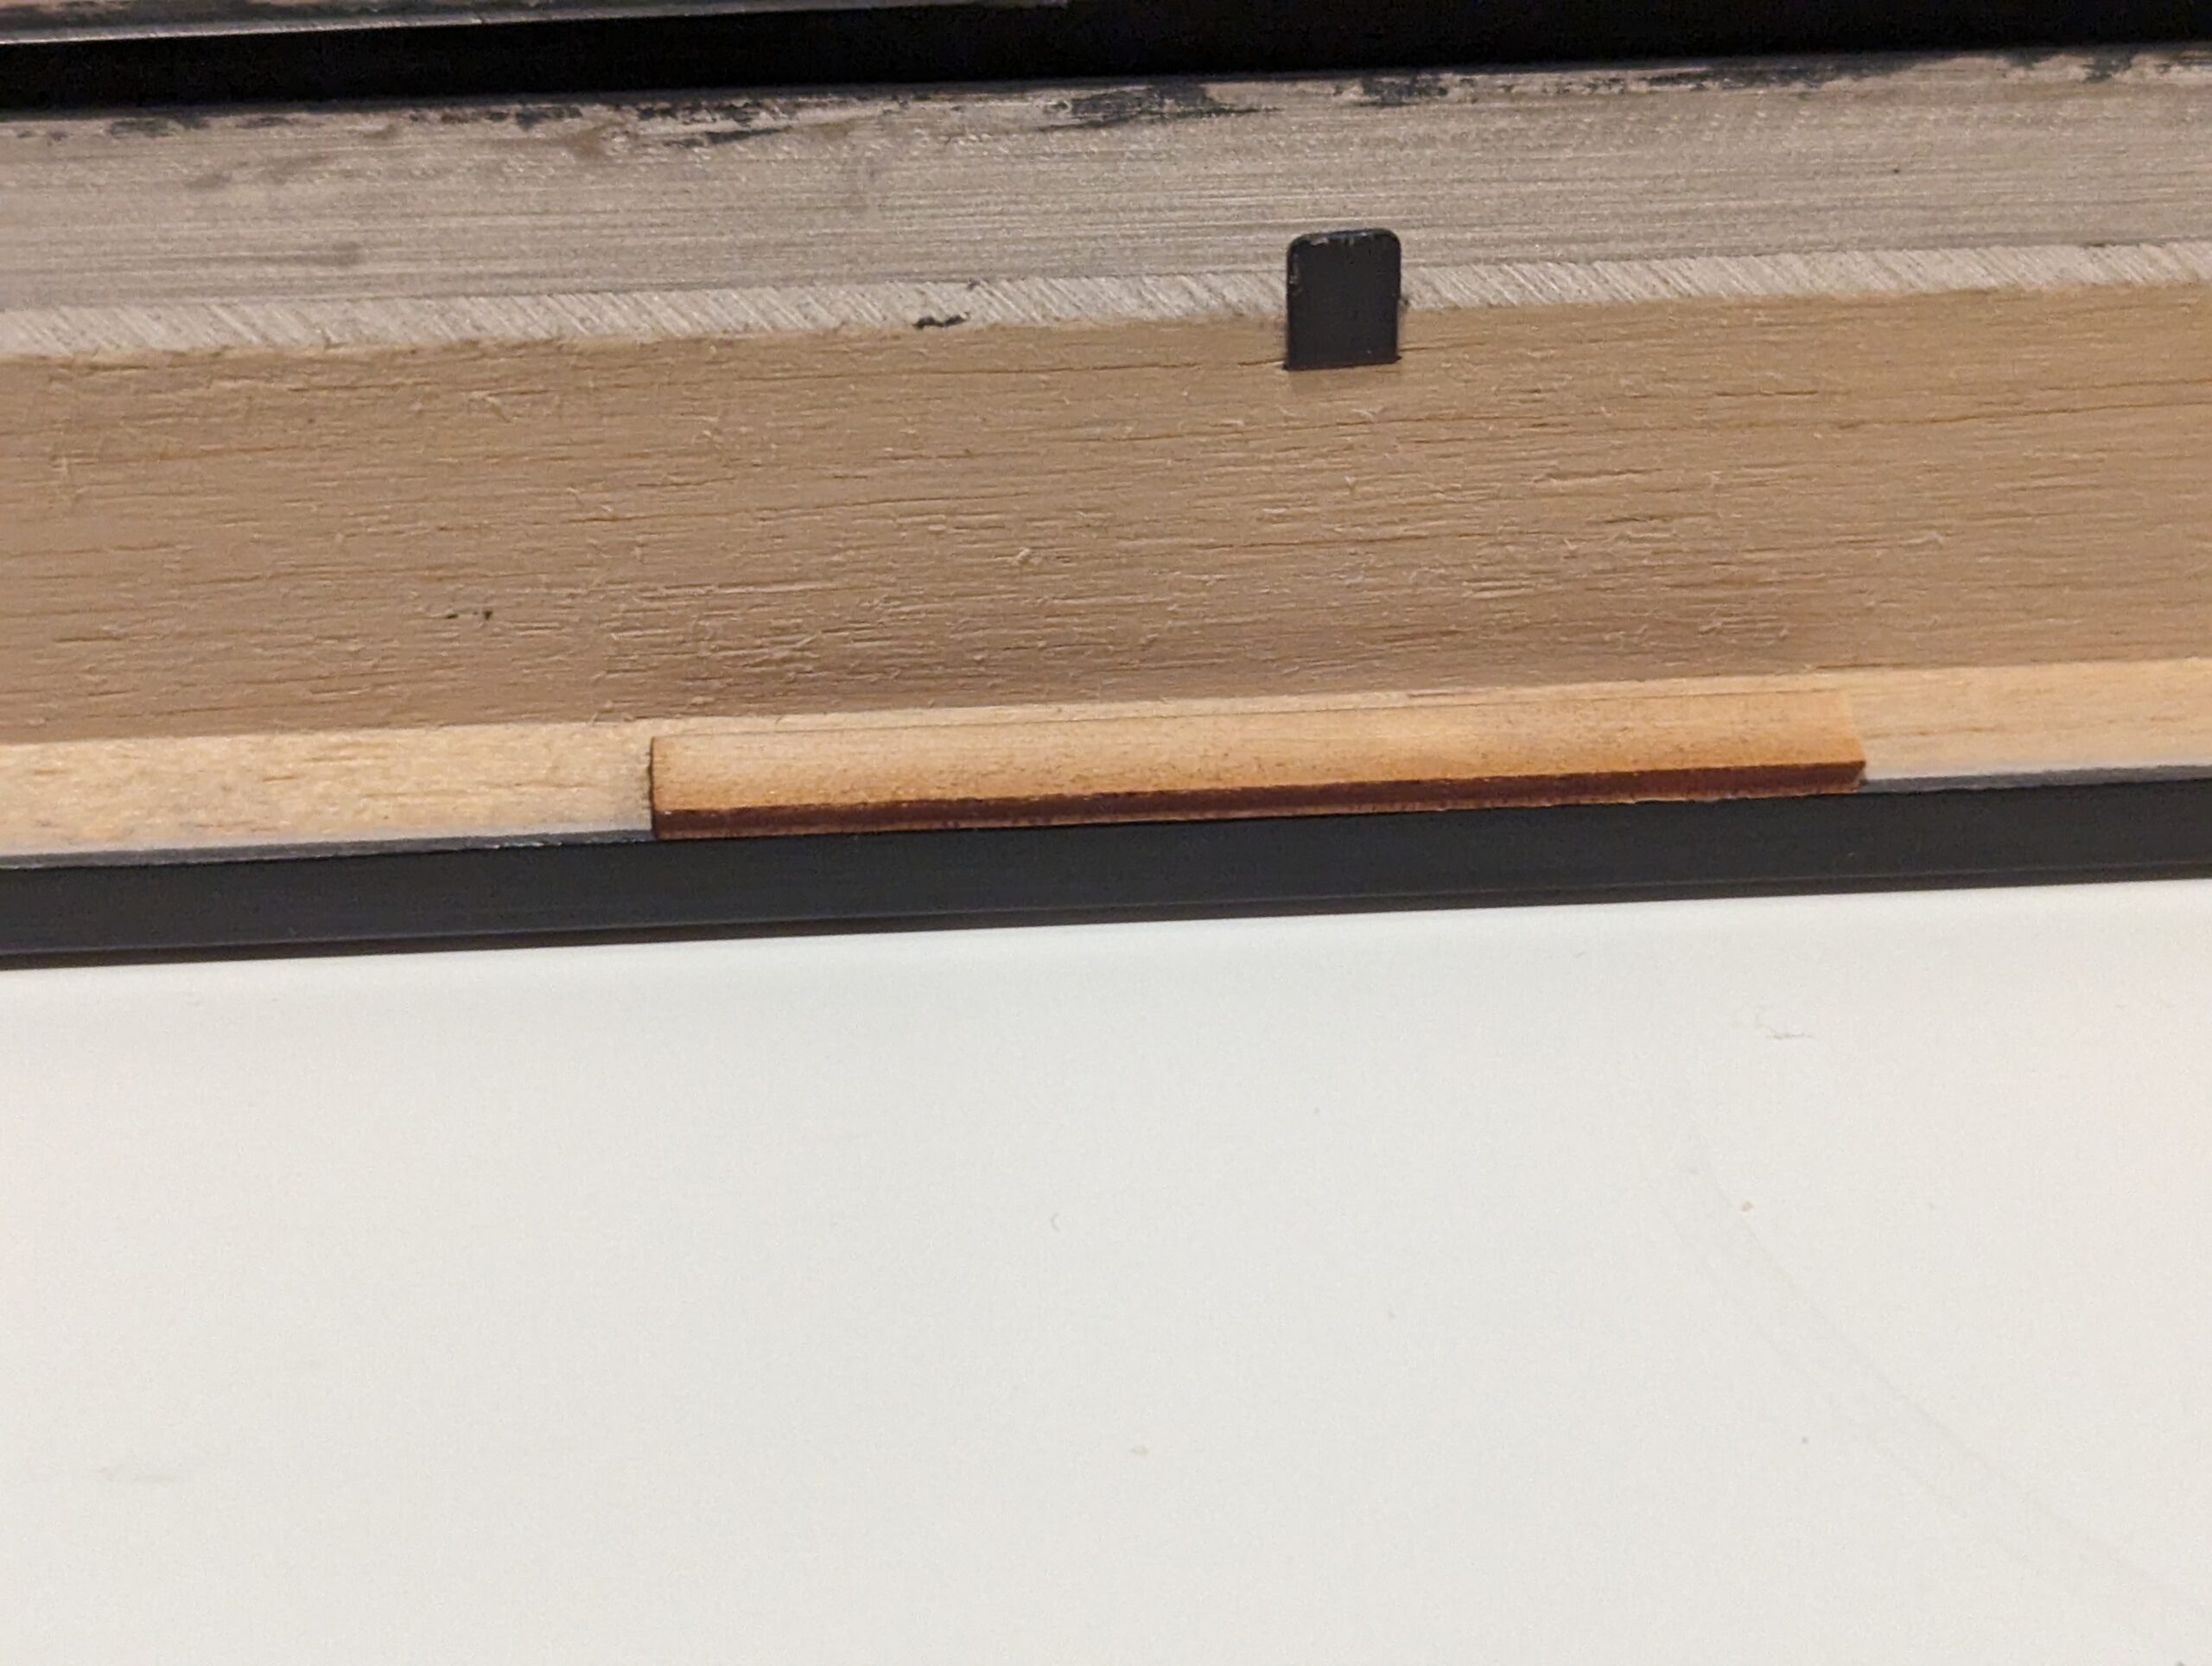
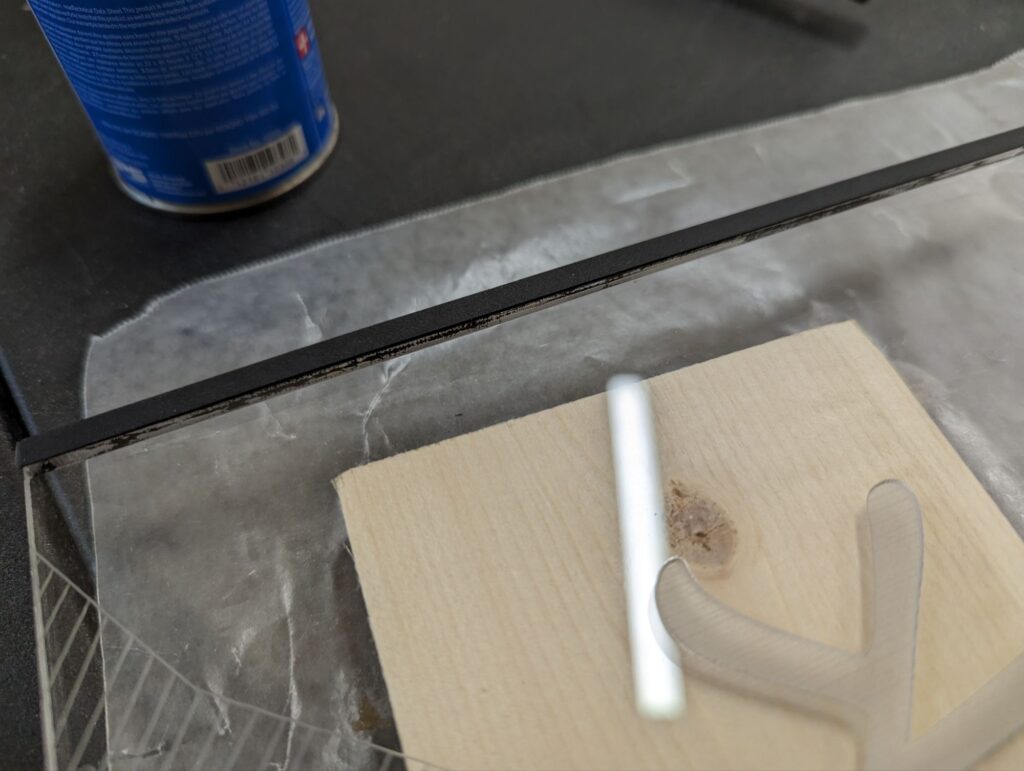
Sizing
My laser cutter can’t quite hit 12″ tall when cutting, and since I was making a ton of these signs, I wanted to cut out multiple at a time. To get this done, I sized things down a bit, well a bit too much. After cutting out the signs and getting the frames I realized that they would fall out of I used them as is, they just didn’t have enough overlap on the frame. Luckily Weld-on is magic and I was able to glue some spacers onto things, they look fine from the front and you could barely tell that I almost had to redo all my laser cutting.
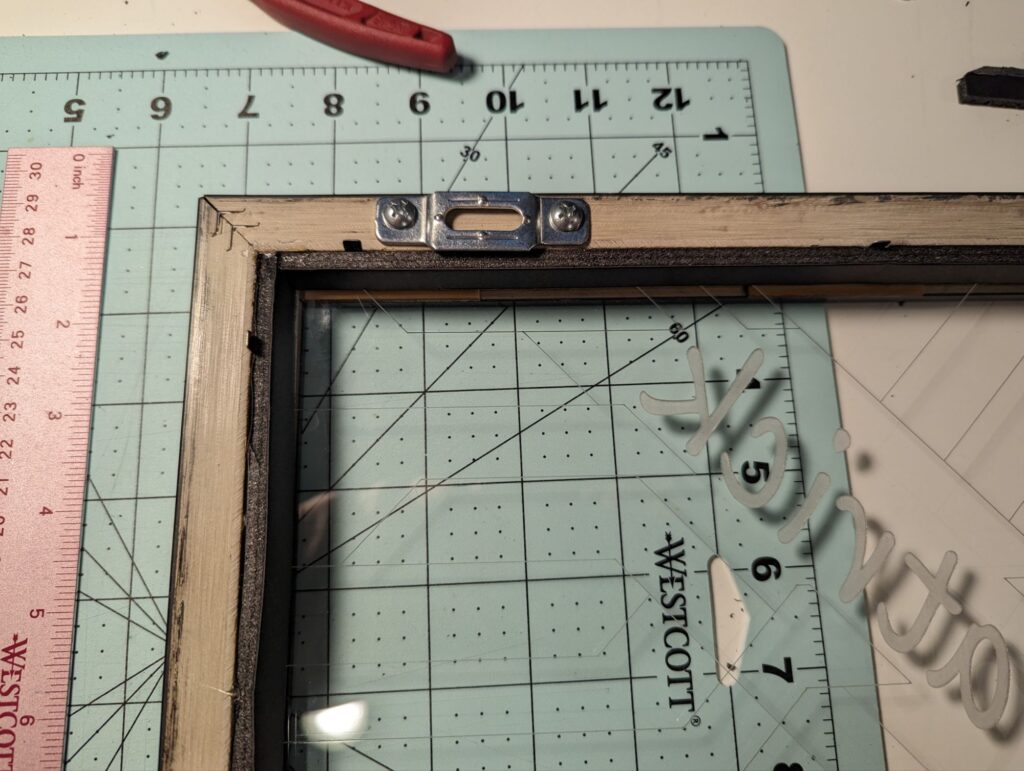
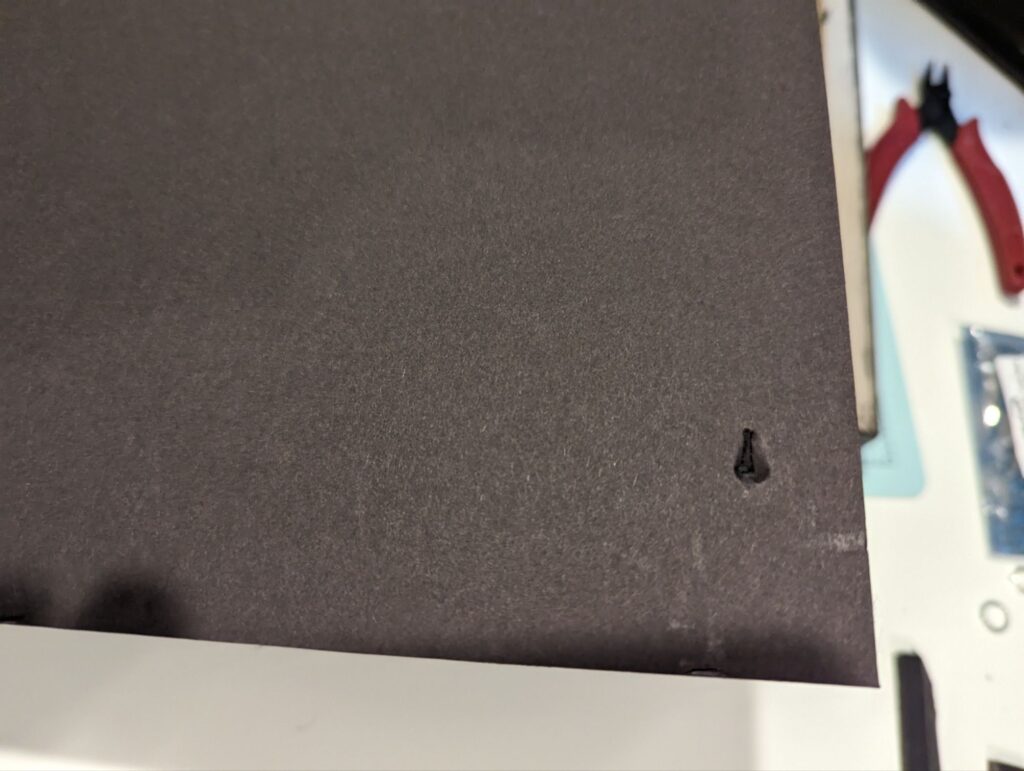
Installing
Be careful when bending the tabs back on the frame, don’t go to town on them with a screwdriver. This one is pretty obvious but I still stabbed one of the back plates.
In the end, all 6 signs that I made turned out beautifully. They were well received and I’m sure will last a long while (and if they need any repairs, I can take care of that too with it all being hand made). Next time I need to make another sign like this, I will certainly keep these lessons in mind as they make the finished product that much better.