
Every once in a while there’s a product you need just for the laughs. And this is one of those times. Here’s how I assembled it, which basically follows their guide to the T with the addition of hot swap sockets.
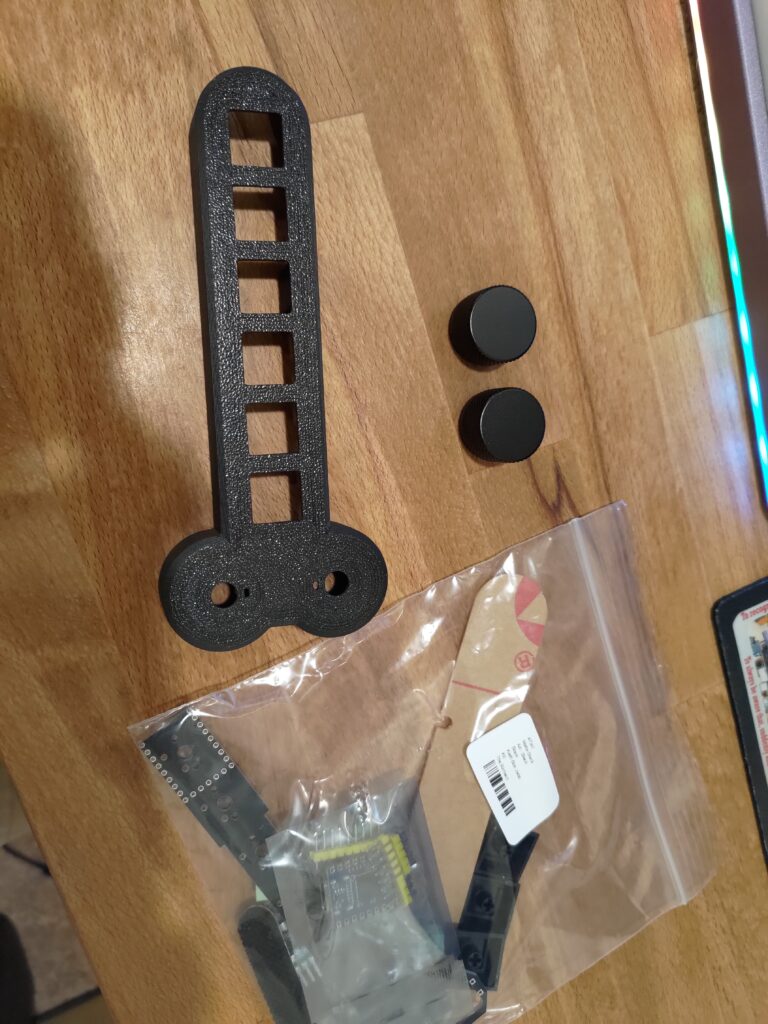
Let’s start by emptying all the parts onto our table.
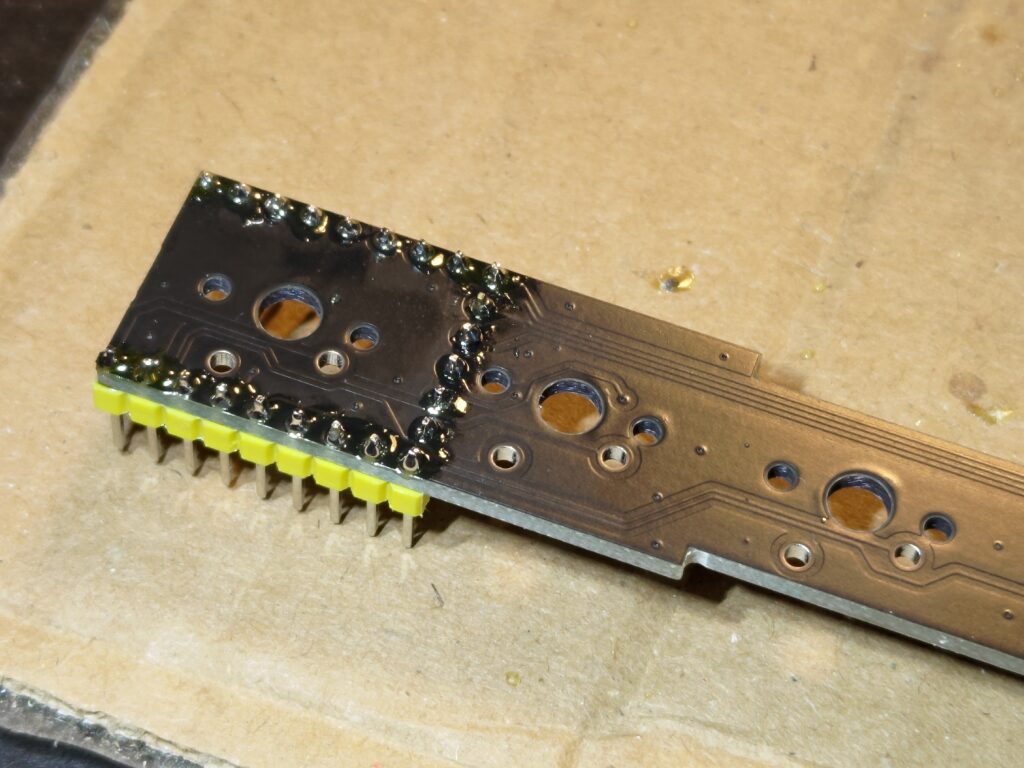
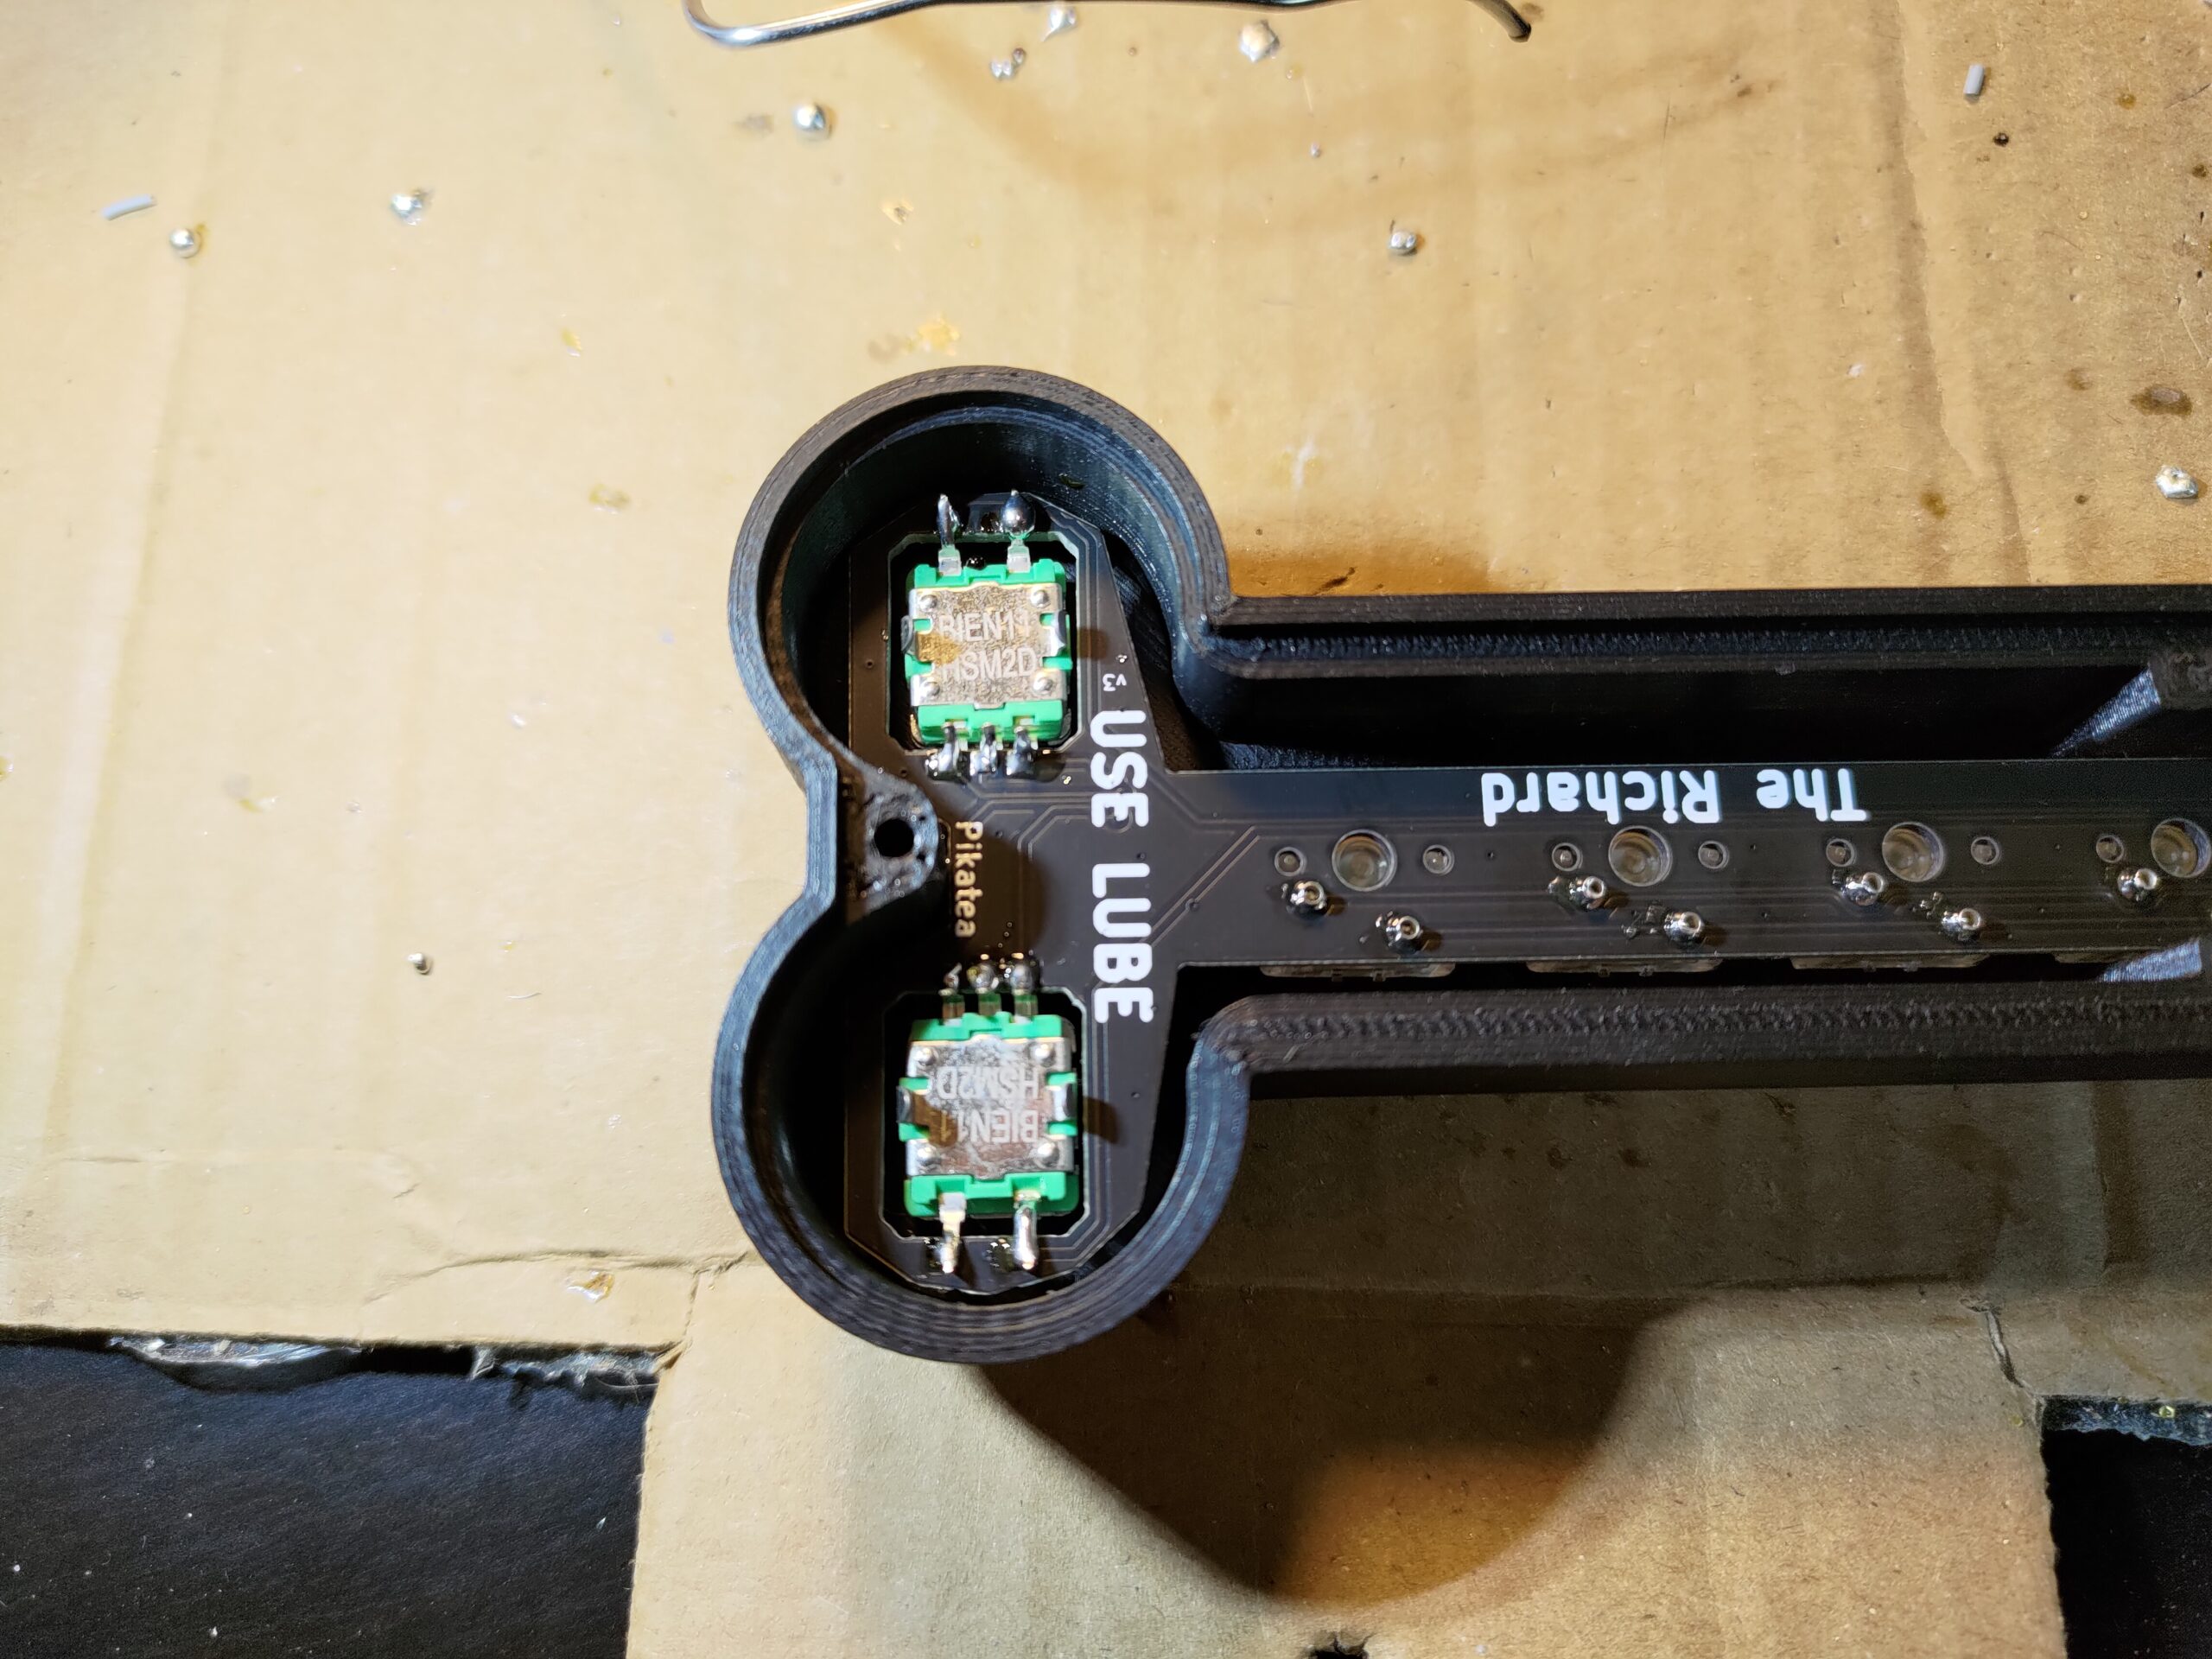
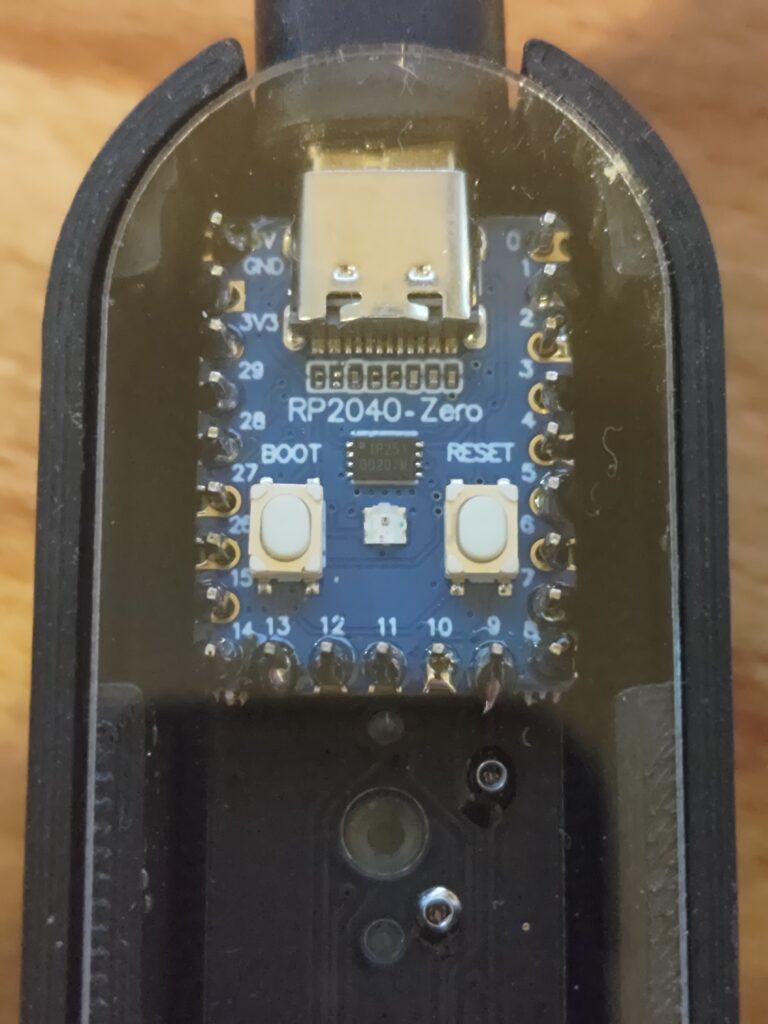
We start by soldering the pin headers to the circuit board. Don’t solder the micro controller on yet, we have to add the hot swap sockets first.
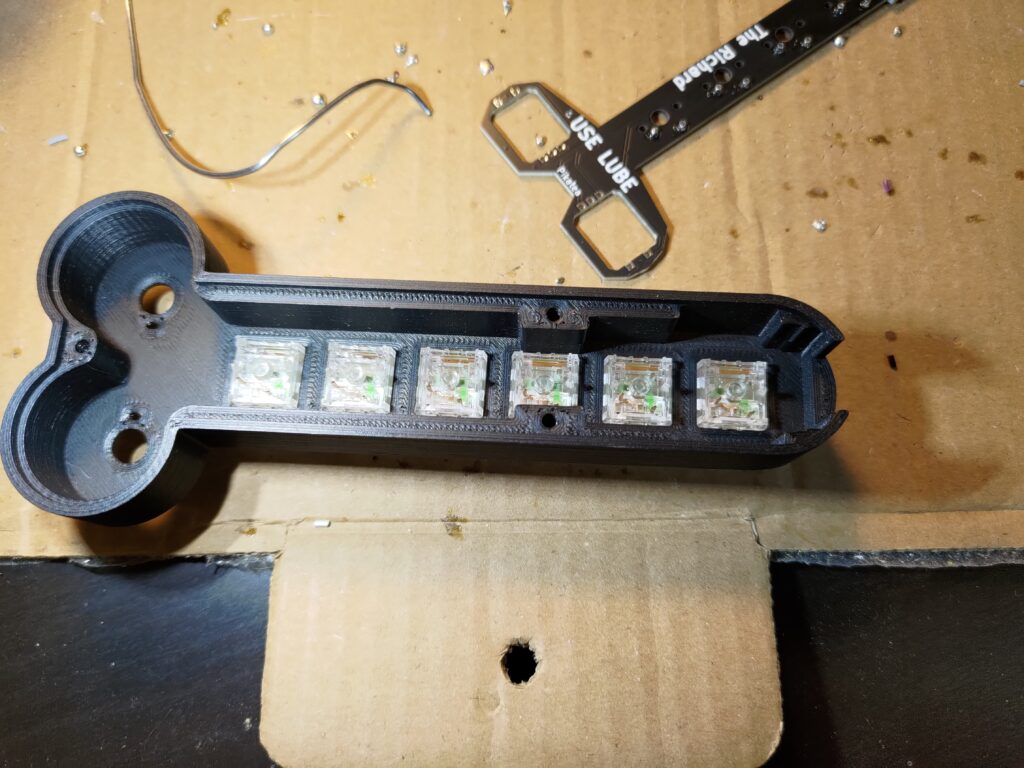
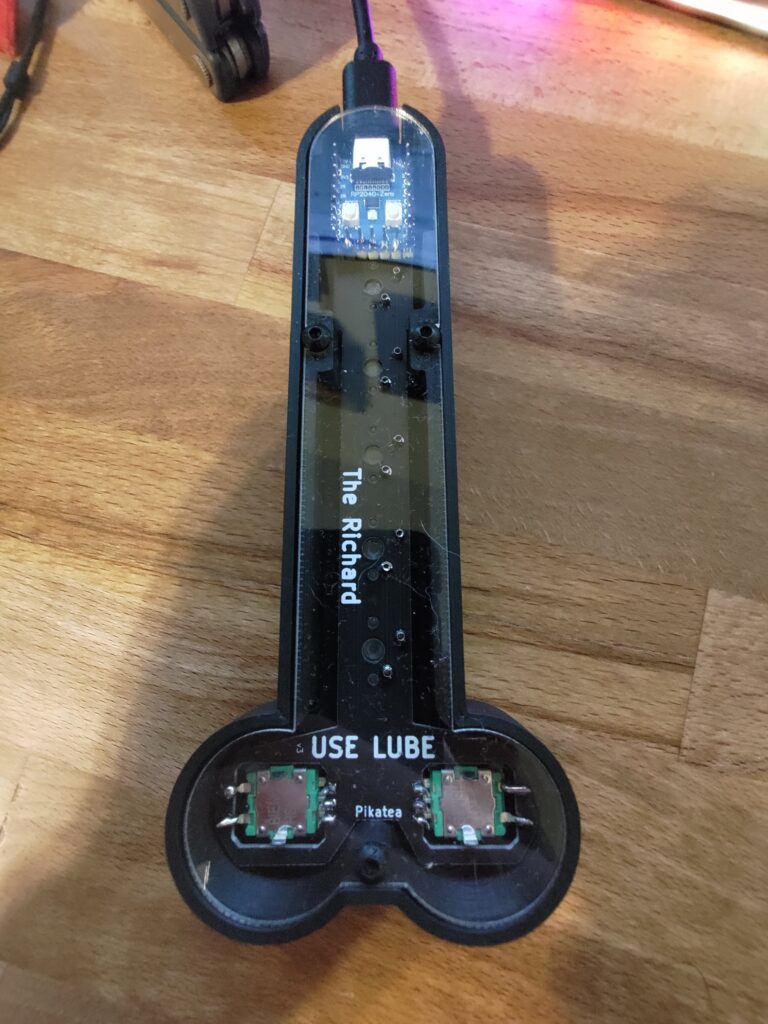
When installing the switches in the case, keep in mind how they will orient in the circuit board. You want to make sure they’ll still line up with the holes for the connections. They are difficult to remove, so double check before snapping them into place.
Slide the rotary encoders into place, they do have a pin and slot to orient them and hold them in place when using them.
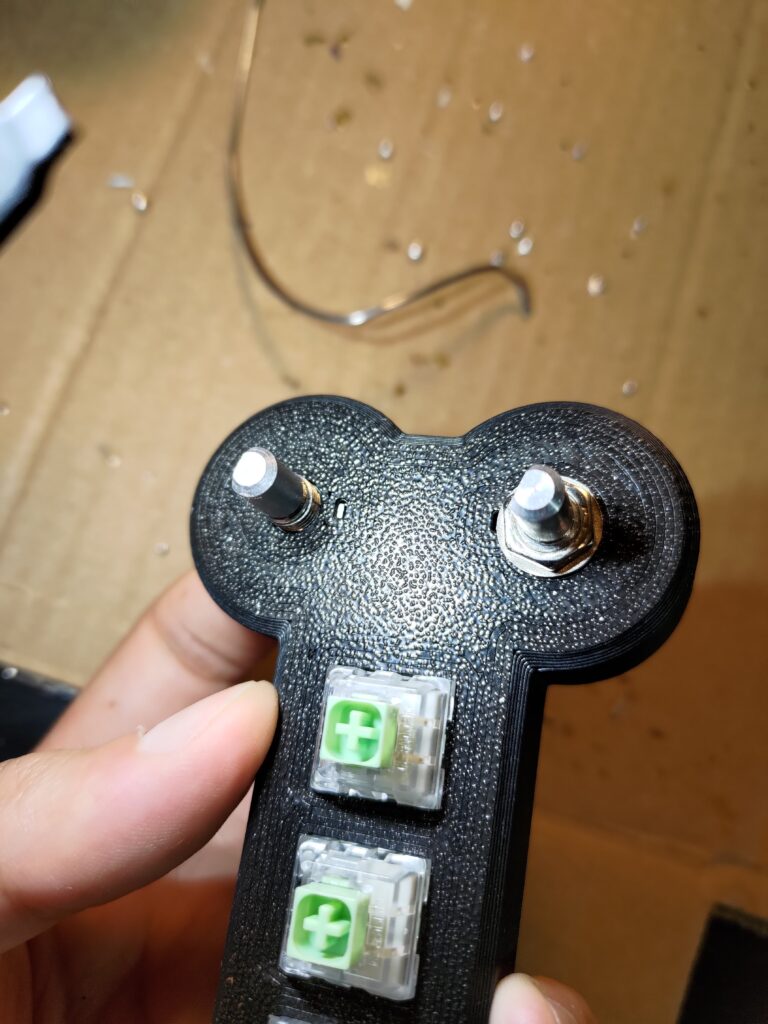
Once the rotary encoders are in place, bend the pins over the solder points on the circuit board and solder it in place.
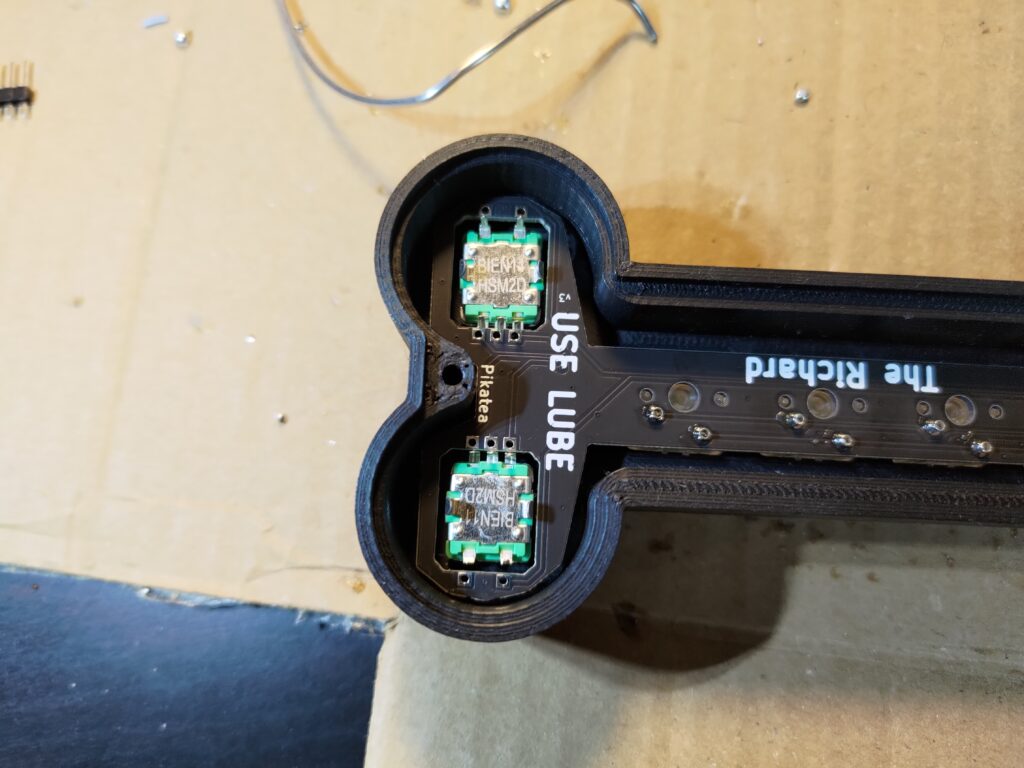
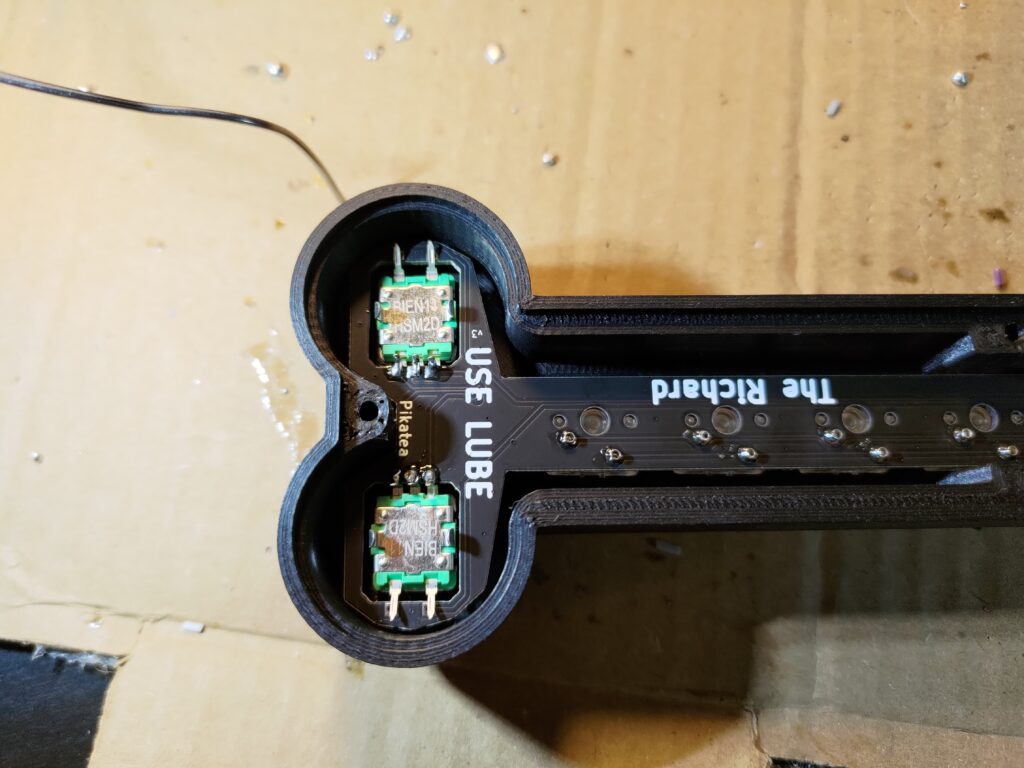
Next up we need to solder in the micro controller. Be careful not to melt the case with your iron when you solder it in. Also be careful not to short any pins together with excess solder since it will be hard to clean up.
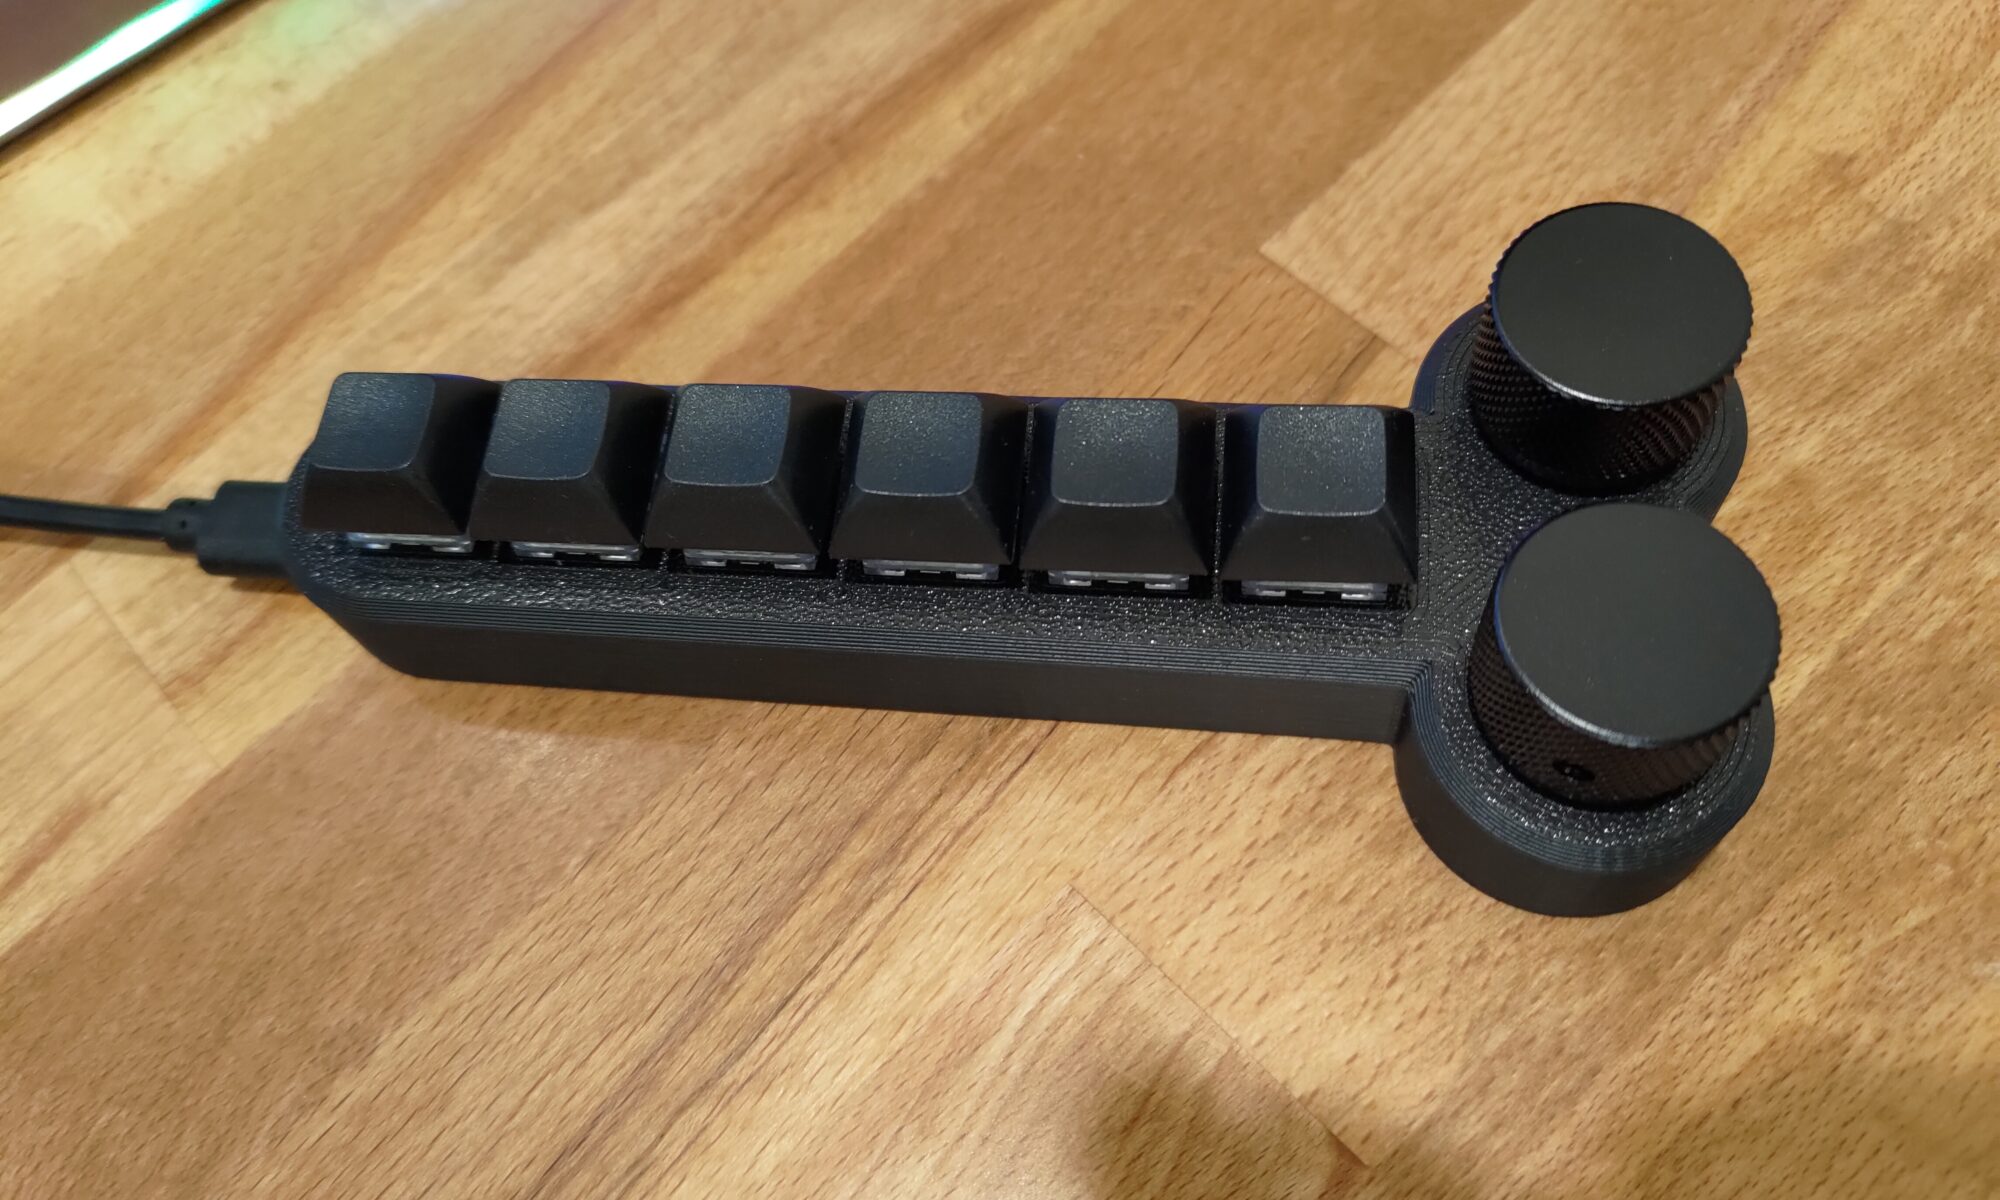
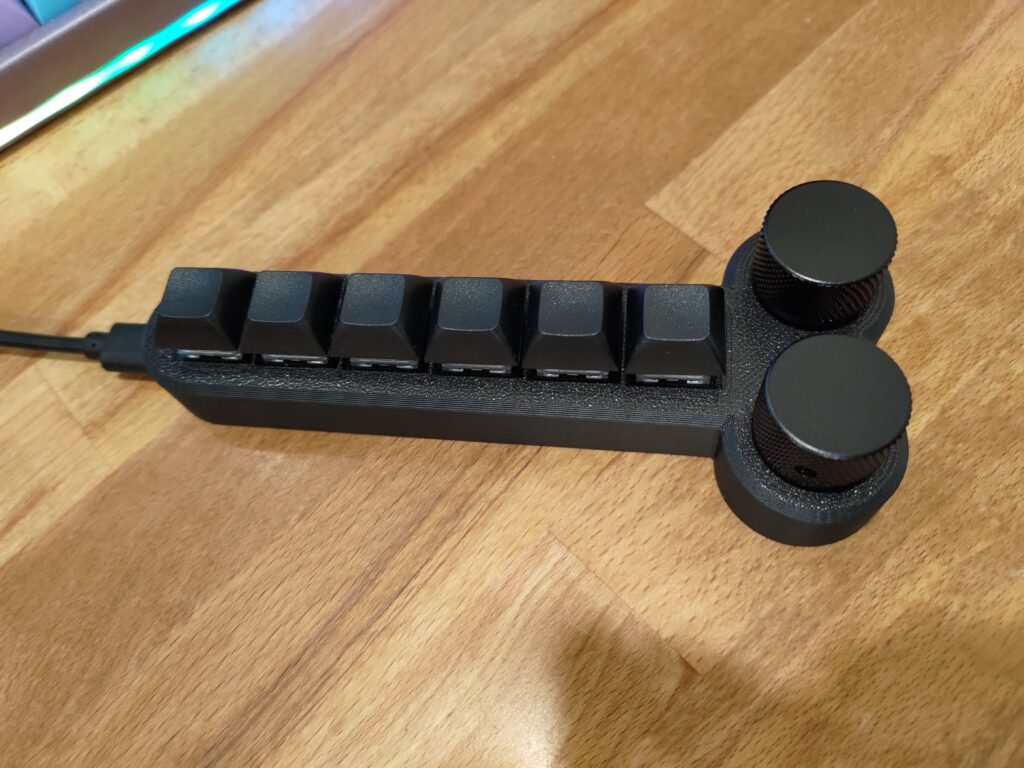
Everything in place on the bottom other than the final cover. That’s a quick screw into place and then you can optionally add the rubber feet to the macro pad.

One final step is to mount the plexiglass on the bottom and optionally add feet to it. Don’t tighten it too much as the acrylic can crack or the screws strip.
Software
Download the latest firmware file (.uf2). Download and install the latest version of Vial. While holding the boot button on the MCU, plug it into a computer. There should be a new directory that shows up on the computer. Copy the .uf2 file to this directory. The MCU should automatically disconnect, but unplug and re-plug in the MCU anyways. Open Vial and verify that you can see “The Richard Macropad” at the top.
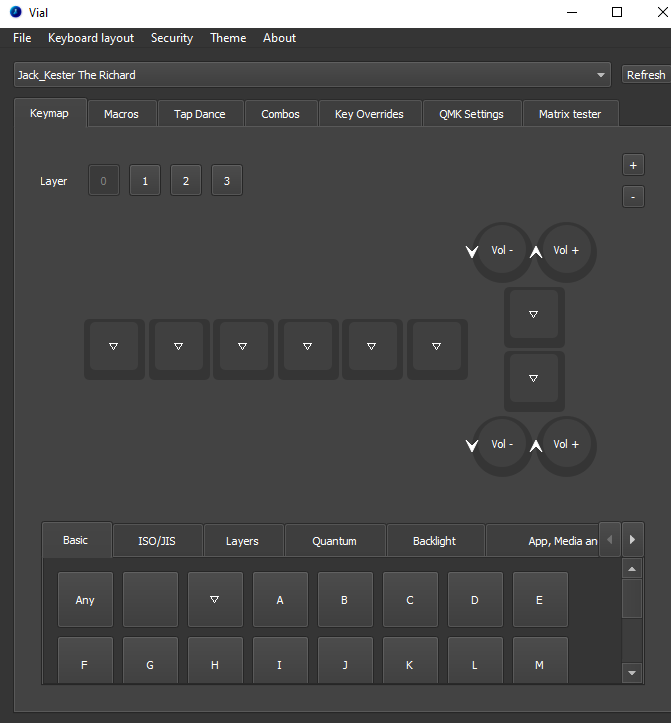
Vial makes it trivial to update settings on the macro pad for future updates.
Conclusion
This macro pad was quick to make and easy to manage with vial. In the future I’ll certainly be looking for micro controllers supporting vial for my next keyboard and macro pad builds. I like my joke macro pad here and will be making good use of it.