

After having used a diode laser for a while, it had proven itself as a useful tool for my workshop. So what’s the next step to go from there, obviously a CO2 laser with more power and speed than the diode laser. I wanted a desktop model in the 50w+ range and found it in the Gweike cloud pro laser cutter. It has a similar feature set to other desktop models and supports LightBurn and local control (a major boon over the likes of GlowForge and despite the “cloud” part of the Gweike Cloud name).
Everything came well packed in a crate with some accompanying boxes. We kept the crate and packing materials in case we had problems or for when we move next (assuming we hold onto the crate etc that long).
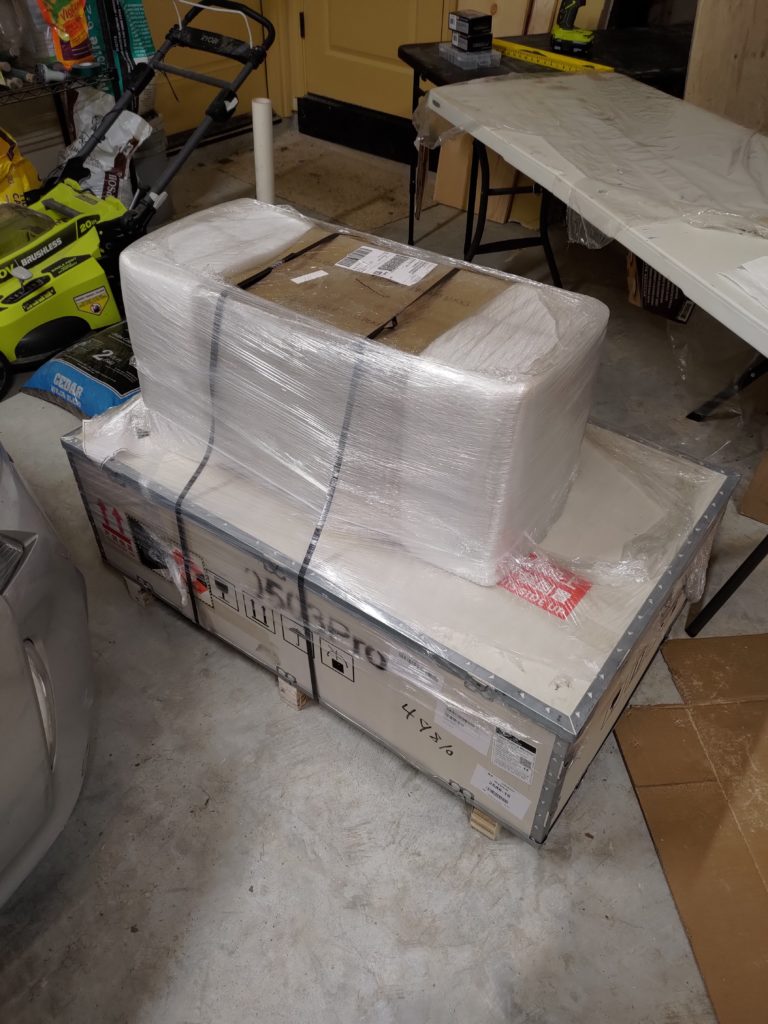
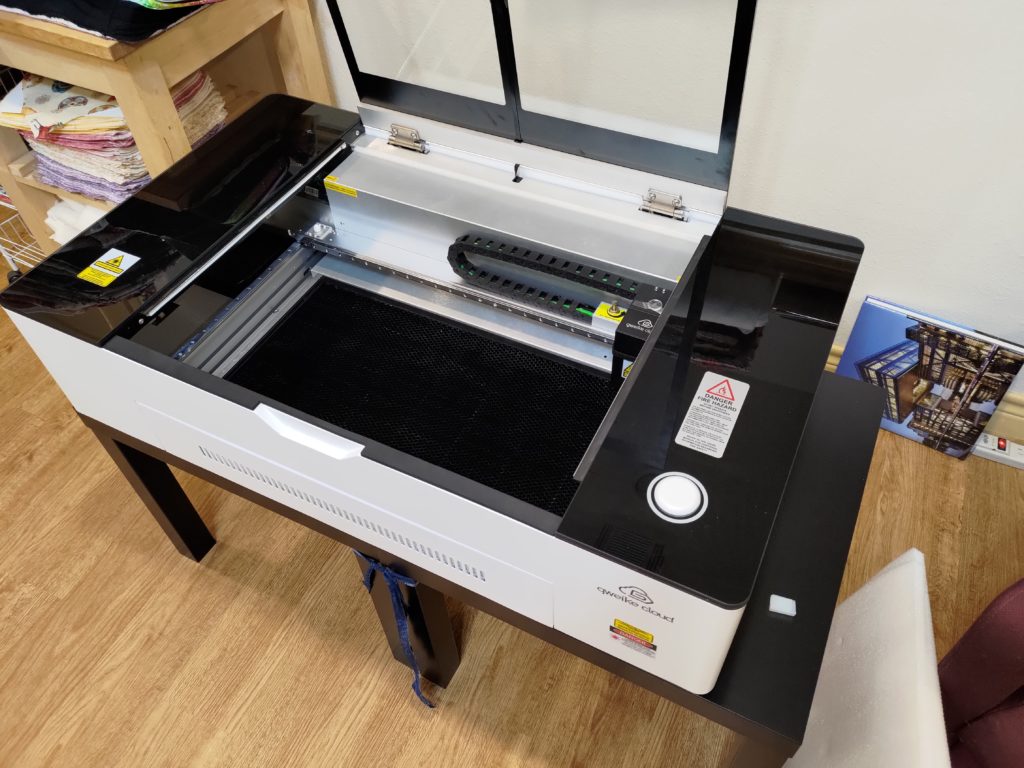
We pulled everything out of the crate and lugged it to the studio where we had two IKEA lack tables setup as the temporary work space for the laser. We also ended up setting up the air handler unit and air compressor next to the laser. The wiring and hoses they provide are very short.
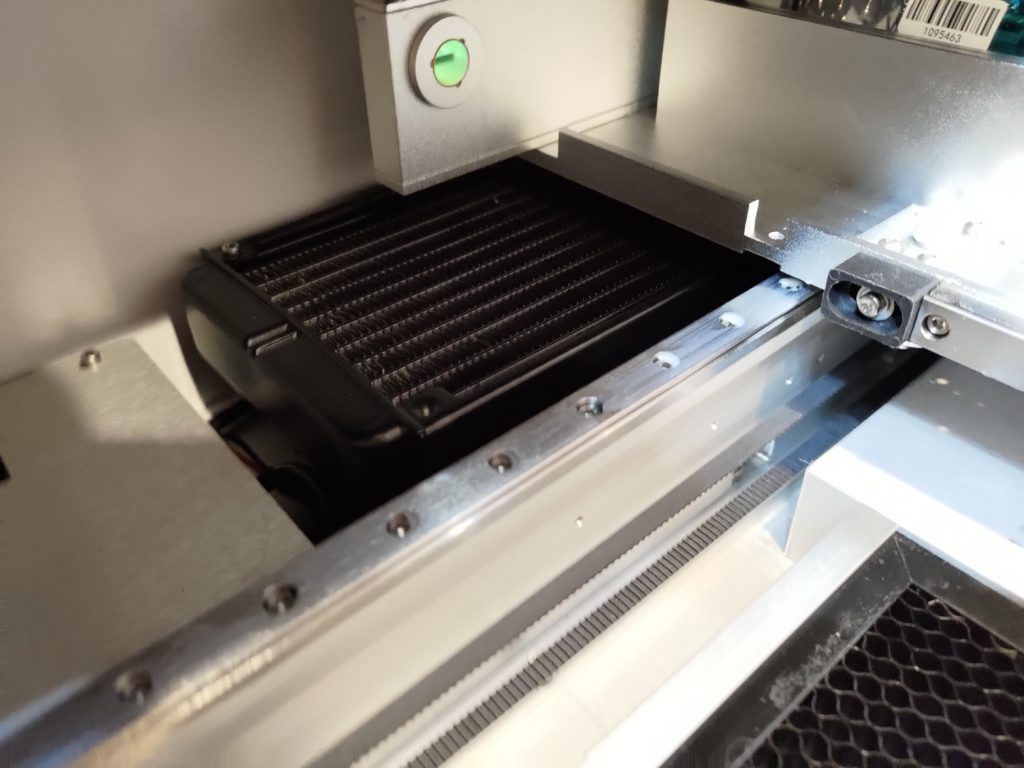
Taking a look inside the laser, on one side you can find the radiator for the liquid cooling, while the other side you can find the water reservoir.
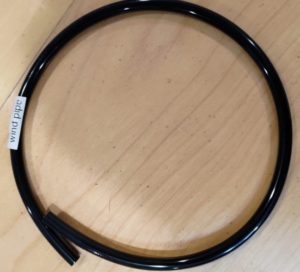
There are a few different ducts that come in the unit, two nylon fabric ducts and two aluminum ducts. These are to send the exhaust from the laser to the filter, then to the exhaust fan, and finally outside. The ducts also have an amusing label on them, silver smoke tube.
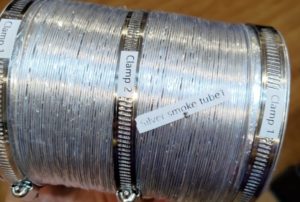
The air hose and power for the air assist are short, only enough length for the unit to sit right next to the laser. If you want to move it elsewhere, you’ll have to extend the cable and get a new hose. The air hose also has an amusing name.
Fan unit
Plug the fan into power, give the remote some batteries and go. I used some blue tape to hold the nylon air ducts to it since I ran out of large enough pipe clamps for them. The remote box says WiFi but you need no wifi setup to make use of it all. It probably uses 433mhz to communicate with the fan unit itself. Just plug in the fan and install batteries in the controller and you’re off to the races.
I ended up bypassing the filter unit and just venting the exhaust right out the window. The fan unit didn’t have enough pressure to really pull the air through the filter unit and it was causing smoke buildup in the room that I was cutting in. I also noticed that sometimes the PC fan in the back of the laser wouldn’t start spinning on startup, but a flick of the blade would kick it into gear, or turning on the external fan unit.
LightBurn Setup
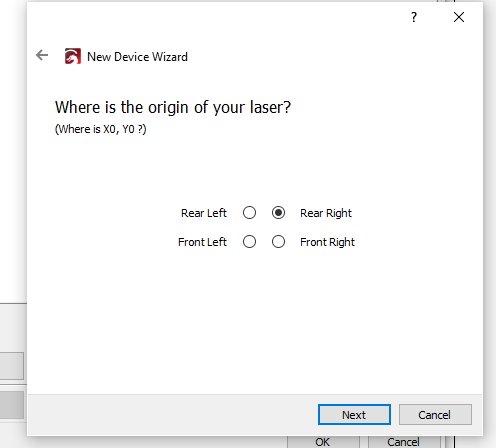
Setting the machine up in LightBurn is a breeze. The hardest part is that you need a DSP LightBurn license to run it. This is a $60 add-on of you already have LightBurn, or $120 if you don’t already have LightBurn. Once we have the license, just plug everything in, turn it on, and we get the LightBurn setup going.
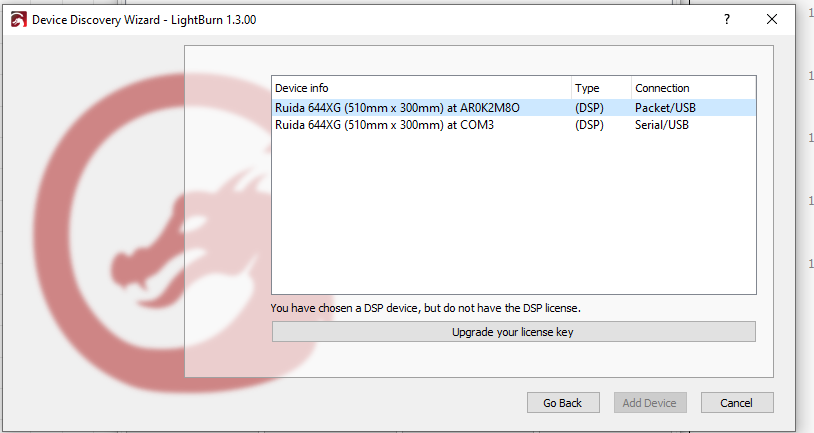
I picked the serial connecting as it’s what I’ve used before for CNC type machines talking to my computer. I don’t know the pros or cons to using either type.
I tried out using the Z-Axis motion capability in LightBurn, and ended up finding out some of the difficulties with it. I had to set the Z-Offset in the cut options to be negative to go down towards the material. However when doing a cut, the laser would re-set the Z height after every profile/shape in the SVG file, some of which had hundreds of shapes, causing the laser to spend more time resetting the Z axis height than actually cutting.
Gweike Cloud Software
I was never able to get the gweike cloud software to run. I could log into their site and put the laser on the WiFi, but the two were never able to communicate, so I won’t be talking much about that for now.
Some Notes After Using it
- Don’t do anything in LightBurn move menu till the laser is fully booted
- Otherwise it’ll end up crashing into the home
- The light ring on the button indicates it’s status during boot up
- I set it up using the COM port setup for LightBurn
- I do have issues with remembering the Z axis setting before cutting, need to get that to be more automated
- The air hose and power for the compressor are a bit short, I wish they were longer and will be trying to extend them in the future.
Conclusion
We’ve been using the laser for a few months now and it’s been running great. The only thing I’d modify on it is to create an acrylic enclosure for the laser head so I can see the depth setting while also keeping dust off of the lenses. It shouldn’t be too hard to make either since the head is mounted with magnets.