
3D printers have come a long ways in the past few years. The prices have plummeted for basic units, allowing anyone to buy them. The raspberry pi can be setup alongside a basic 3D printer to enable some amazing functionality. They can allow remote control, management, and monitoring of the printers. When combined with a pi cam, you can even create time lapses of the prints. To do this, we will be running OctoPi on the raspberry pi.
OctoPi is a Raspberry Pi distribution for 3d printers. Out of the box it includes:
- theOctoPrint host software including all its dependencies and preconfigured with webcam and slicing support,
- mjpg-streamer for live viewing of prints and timelapse video creation with support for USB webcams and the Raspberry Pi camera,
- CuraEngine 15.04 for direct slicing on your Raspberry Pi and
- the LCD app OctoPiPanel plus various scripts to configure supported displays
Getting Started
- You will need a Raspberry Pi
- Compatible Webcam or Pi Cam
- SD or Micro SD card for the Pi (larger is better if you plan on storing the images/videos on it)
- OctoPi Image for the Pi (https://octopi.octoprint.org/latest)
- Make sure to download the correct version for your Pi
- Installation of OctoPi can be done in the same way as for MotionEyeOS shown here
Configuration
- Hook the Pi up to a monitor and a network connection and power it up.
- Once the Pi is done booting, it will show a login prompt, above this prompt is network information about the pi, including the IP address, in this case it is 192.168.1.26. This will be needed to access the WebUI of OctoPrint.
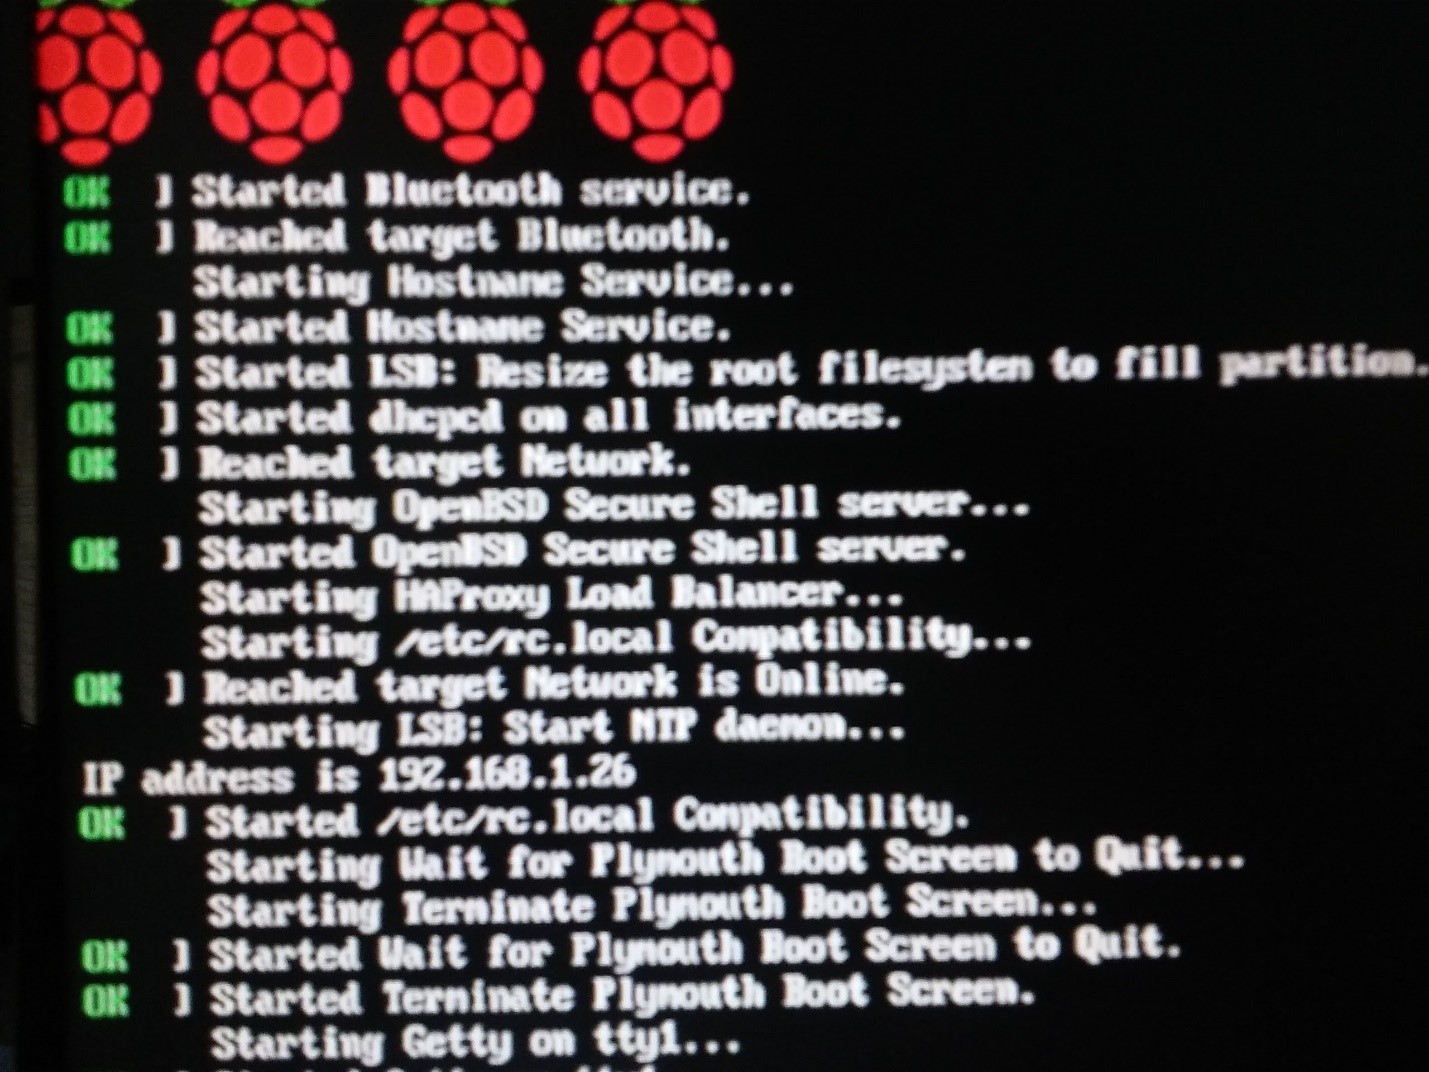
- Navigate your web browser to the IP address shown.
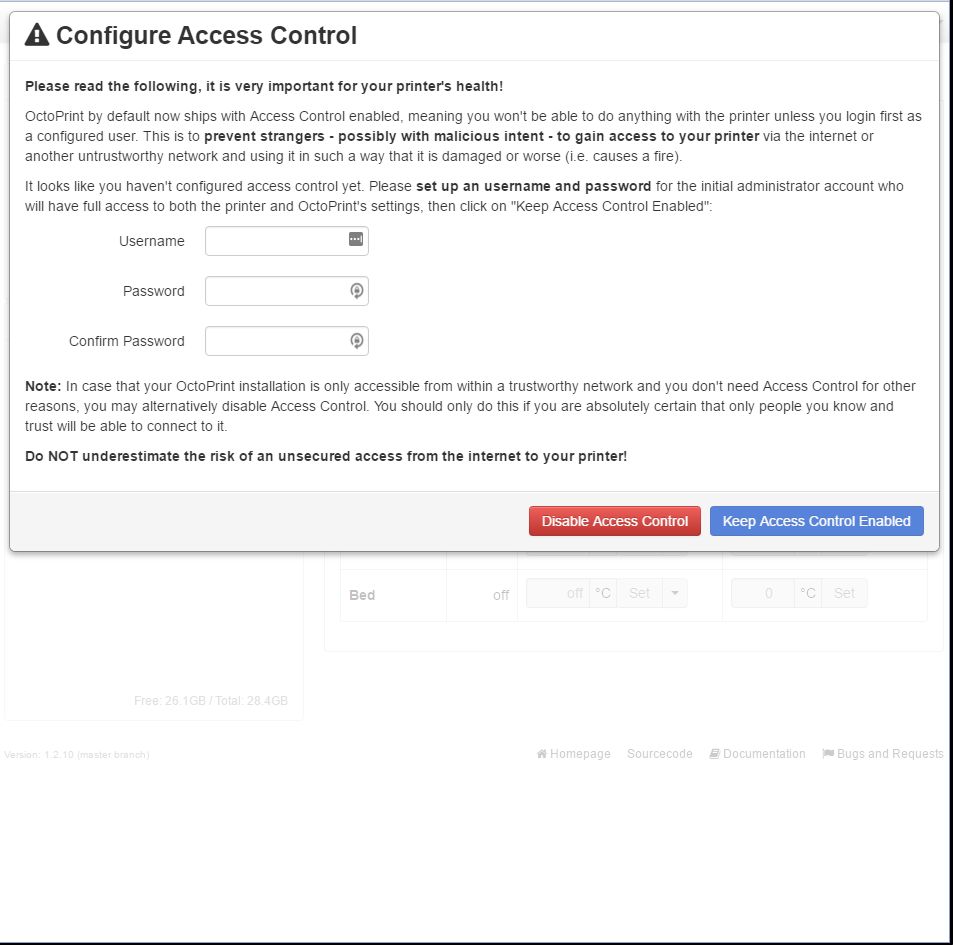
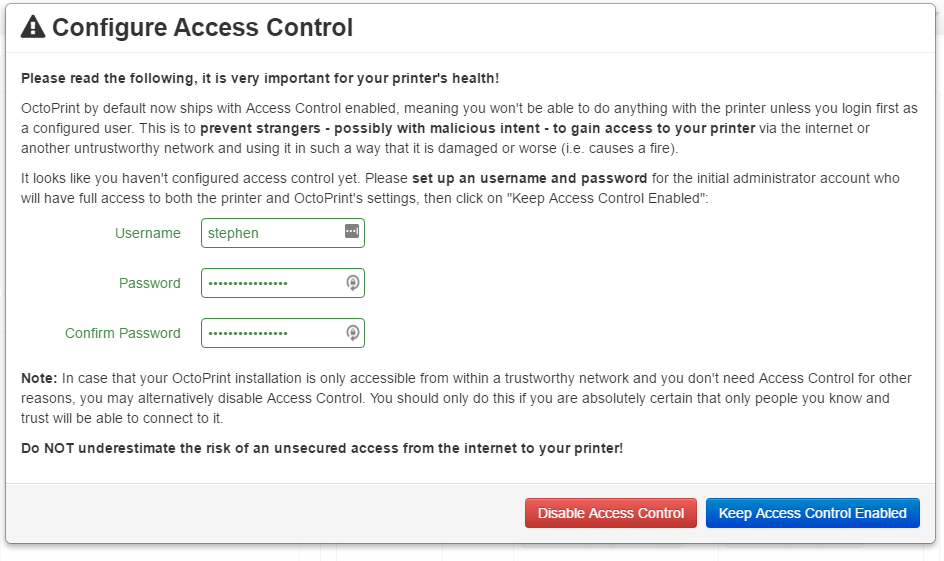
- Access control will be the first thing to setup in OctoPrint. This can be done by filling out your username and password in the dialog that shows up. If access control is not desired, then hit “Disable Access Control”, otherwise click on “Keep Access Control Enabled”. For this example, access control will remain enabled, in order to prevent unauthorized users from running the 3d printer.
- After that dialog, the primary control for OctoPrint will display. This will not be logged in however.
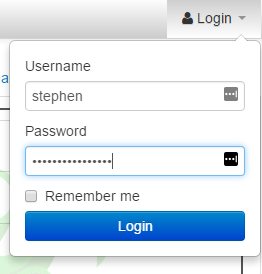
- Clicking login and typing in your username and password previously setup will get you the full range of configuration settings for OctoPrint.
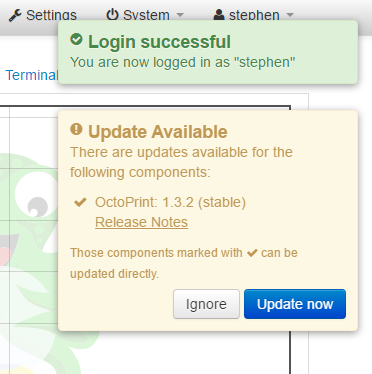
- After logging in, you will see the successful message, and if updates are available, a message will display stating that as well. We will install updates before continuing in order to have the most up to date software available.
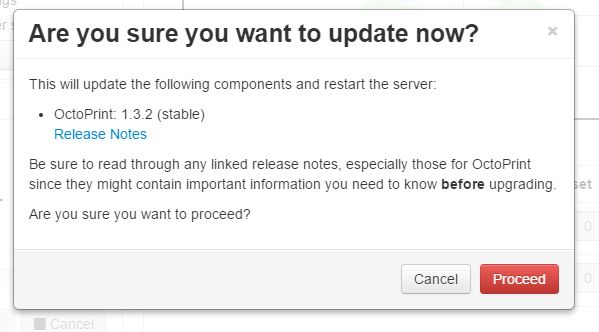
- Click through the update dialogs.
- After proceeding, there will be a flag in the corner stating that it is updating, and the update will be run by the Pi.
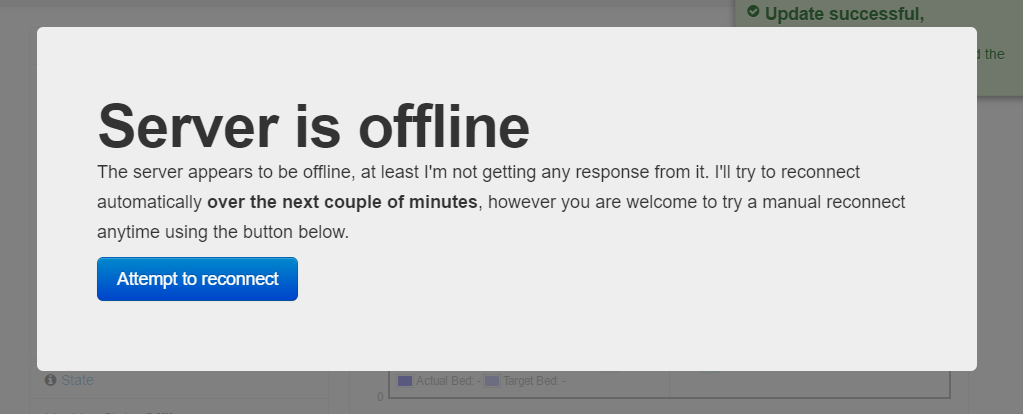
- The web browser will attempt to reconnect periodically as the server reboots. Once it has completed rebooting, you will get a prompt to reload the page.
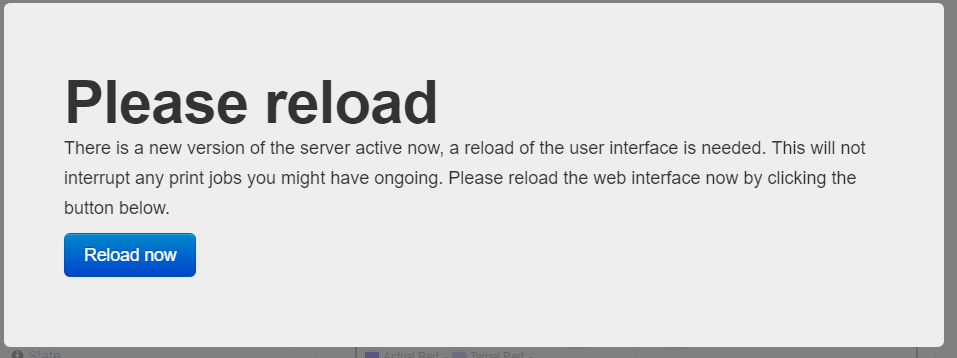
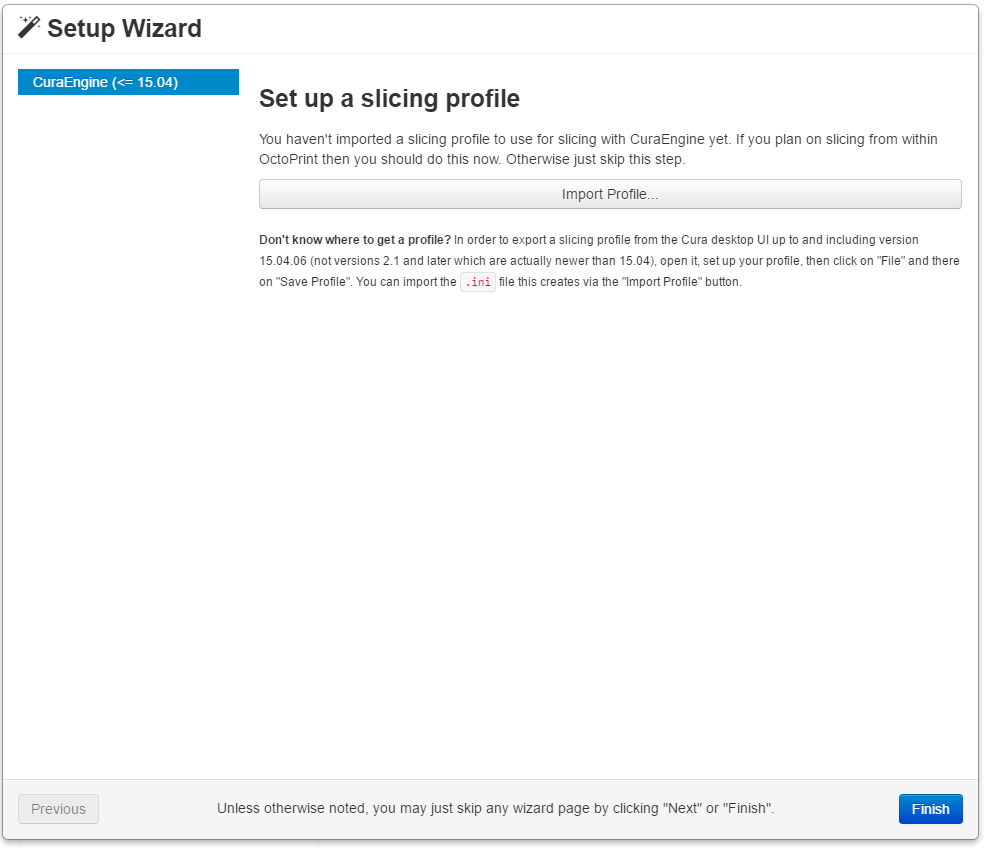
- Clicking reload now will bring up any changes that should be addressed. For this version of OctoPrint, there are new settings for cura. These aren’t going to be covered in this tutorial, clicking “Finish” will close the dialog.
- We are now at the point to start working with the printer and its connection to OctoPrint.
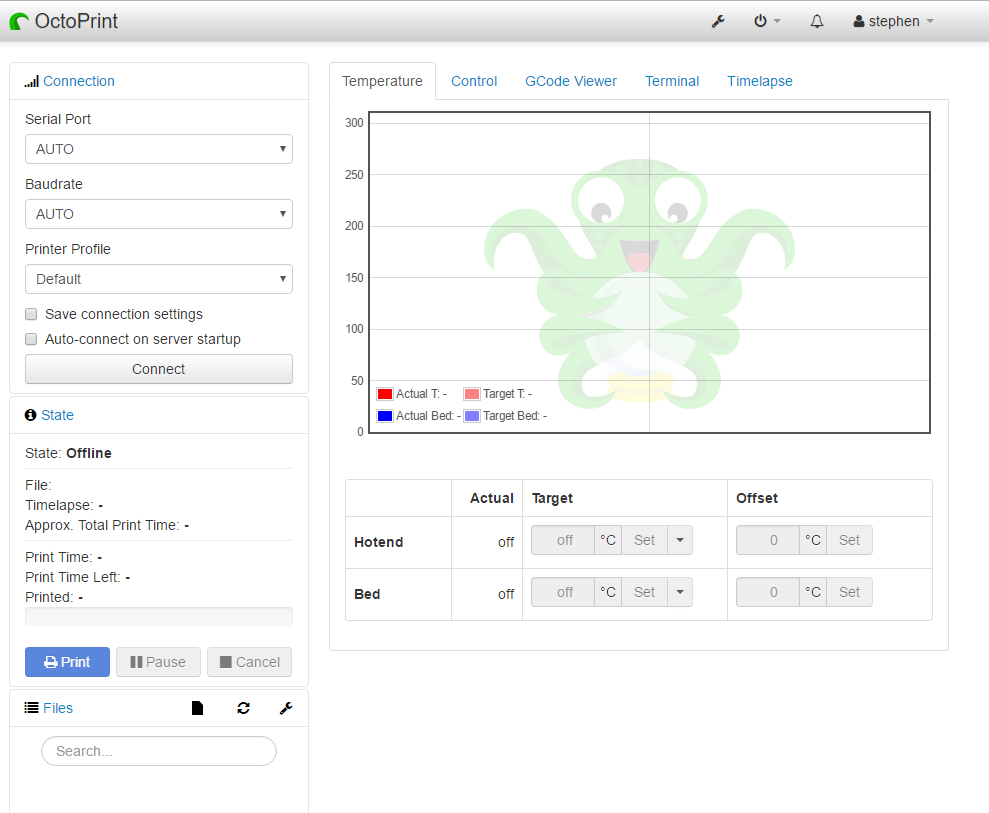
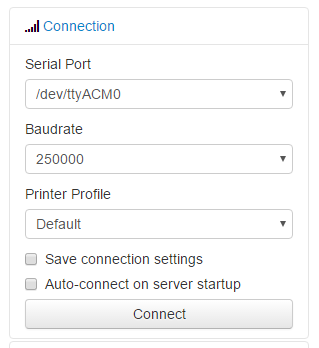
- The first step is to determine the connection properties needed for your printer. For this example, we will use an Ultimaker 2. There should only be one serial port available. The baudrate should be supplied by the manufacturer, if not, it can either be looked up online, or simply by guessing. The printer profile will be the default profile. If the connection is successful, the settings can be saved and set to auto connect on OctoPi’s startup.
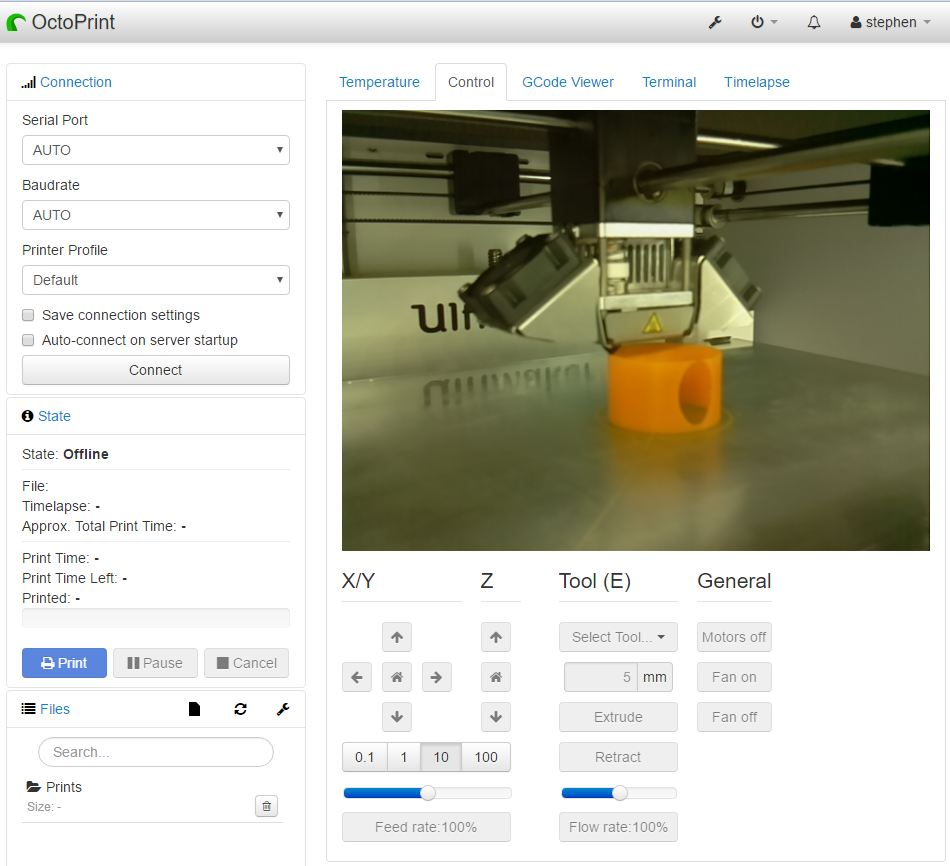
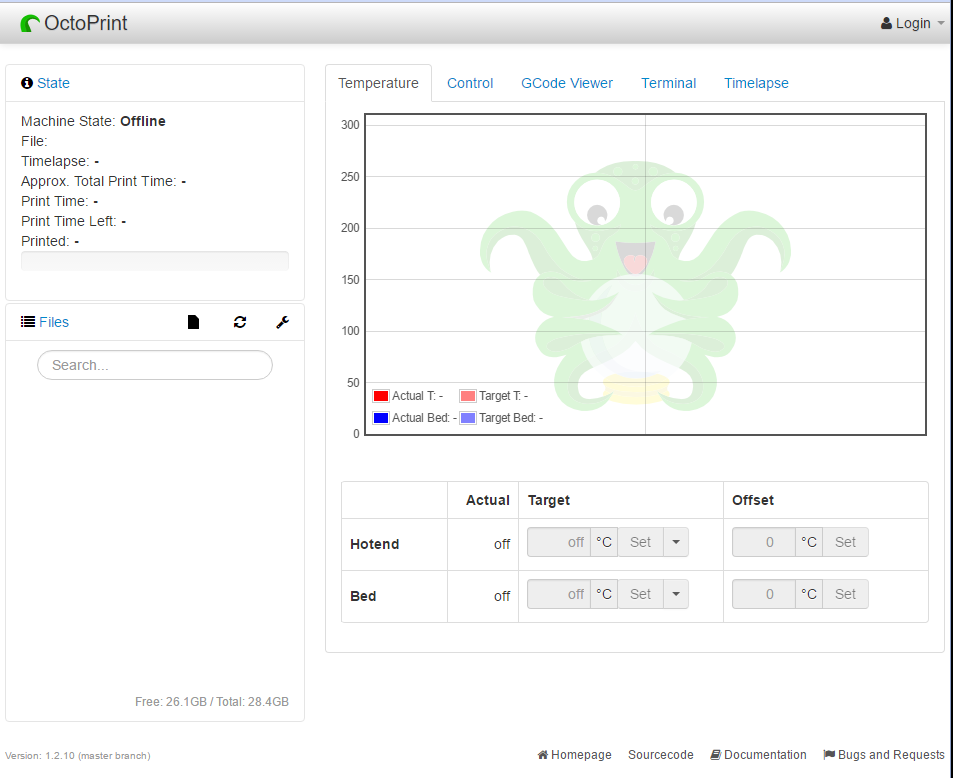
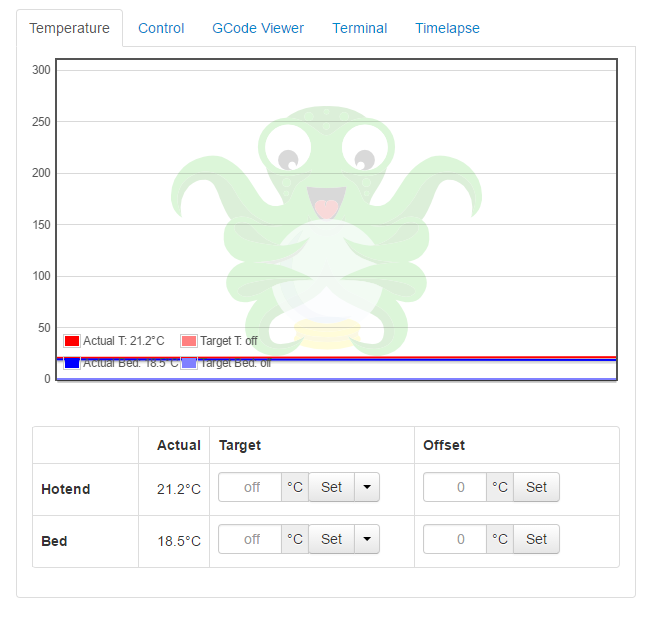
- Once successfully connected, you should start getting data back from the printer. The temperature graph will update with hot end temperature, and bed temperature (if available).
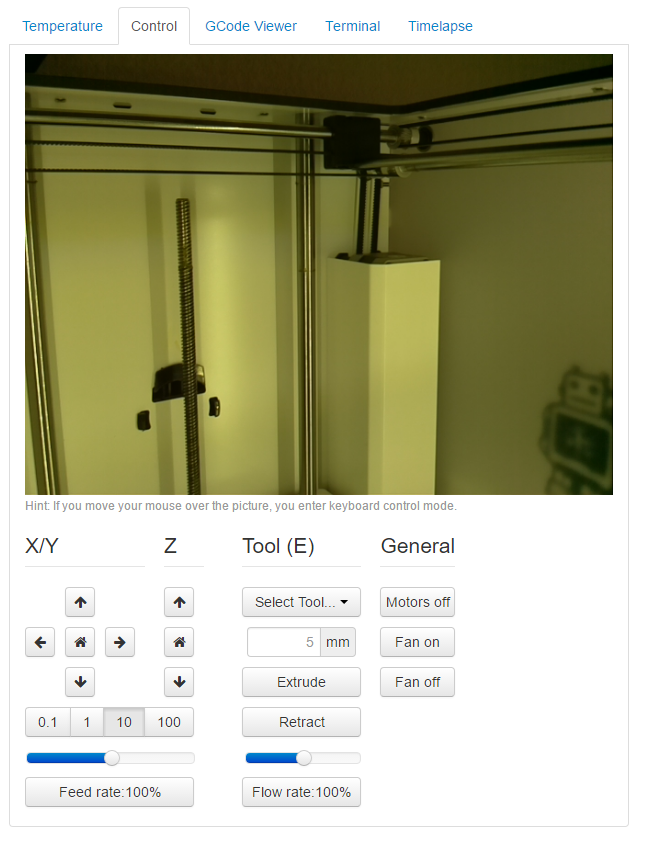
- The control tab will allow you to manually control the printer, moving the head in all directions, along with extruding the filament.
- Further settings can be found in the settings menu in OctoPrint, which has the wrench icon in the top bar of the GUI.

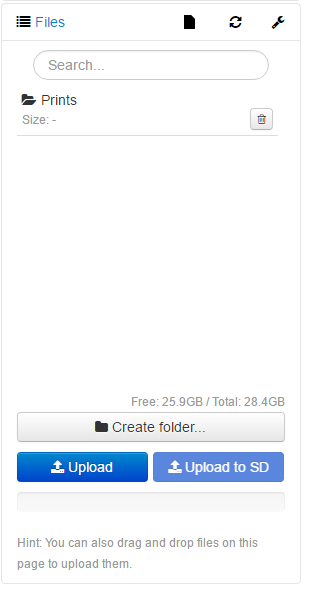
- GCode files for printing can be uploaded to the files menu in Octoprint
Resources
- Getting started with OctoPrint on the Raspberry Pi 2! [2016 edition]by Thomas Sanladerer
- The MagPi issue #36 contains a “Getting Started” guide on pages 50-51. You can find an excerpt here
- https://github.com/guysoft/OctoPi
- https://octopi.octoprint.org/