
I have watchtower setup on my Unraid server to handle automatically updating all my docker containers. This is quite convenient, however it does come with some dangers. For instance, my InfluxDB instance recently updated to version 2. This version of influx has a brand new query language, authentication system, and much more. This also breaks all compatibility with my Telegraf, Unifi-Poller, Grafana, and other services. Instead of trying to revert to an older version and refuse the slow change of technology, I decided to just start stepping up services to work with the new version. So I know get to introduce myself to InfluxDB V2 and then to move on to stepping up services to use it.
With my docker container updated to InfluxDB V2, I’ll start by going to the webui to see what we need to do. The initial setup will request an user account for your admin user, an organization and a bucket name. The organization can be whatever you can your lab, and the bucket can be for the first data you want to gather. More buckets can be added once it’s setup.
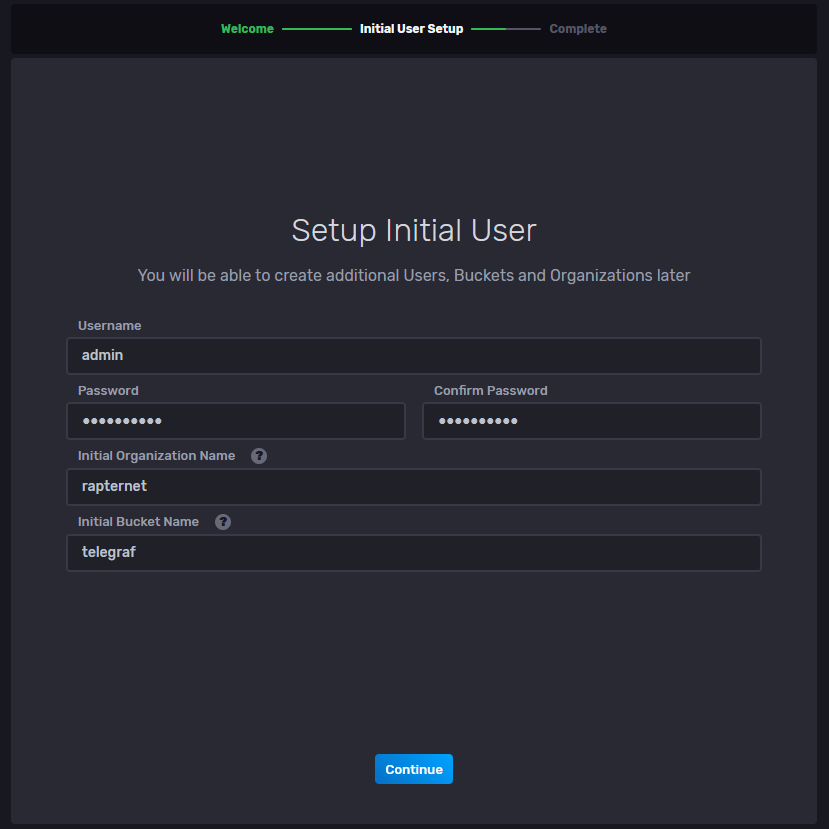
The only restriction in the initial setup is that the password must be at least 8 characters, no admin/admin logins here. I created a telegraf bucket as my first data set. My plan was to use get telegraf going first, so that will be the first used bucket.
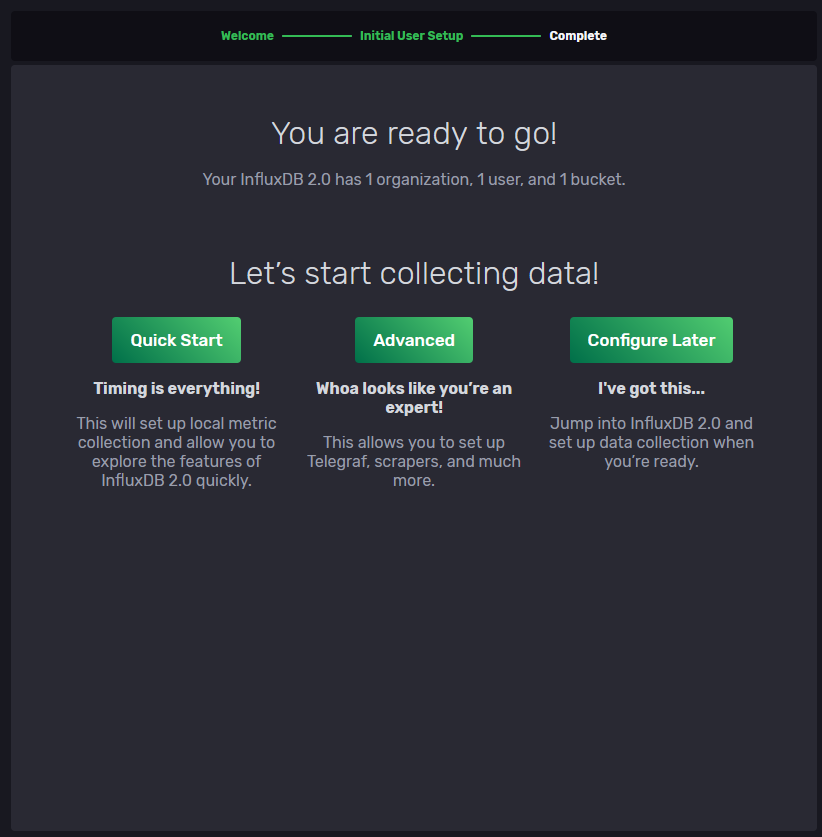
After that is complete, we go to the next step. We’ll be doing the quick start option from here.
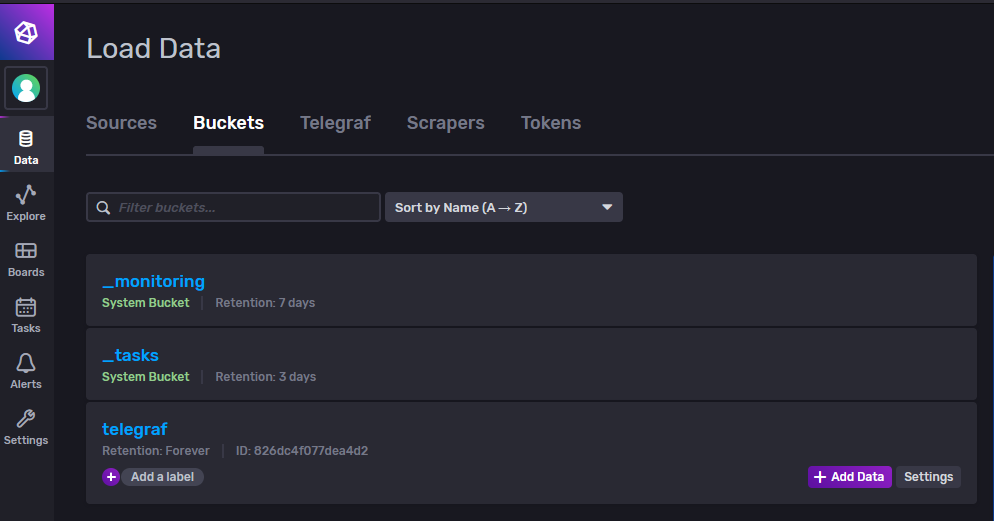
We can go check the bucket that was created in the initial setup. In the data -> buckets menu, we’ll see our Telegraf bucket.
We’ll be creating a token for our bucket for Telegraf, this is able to run as write only, keeping the permissions levels to the minimum for each service.
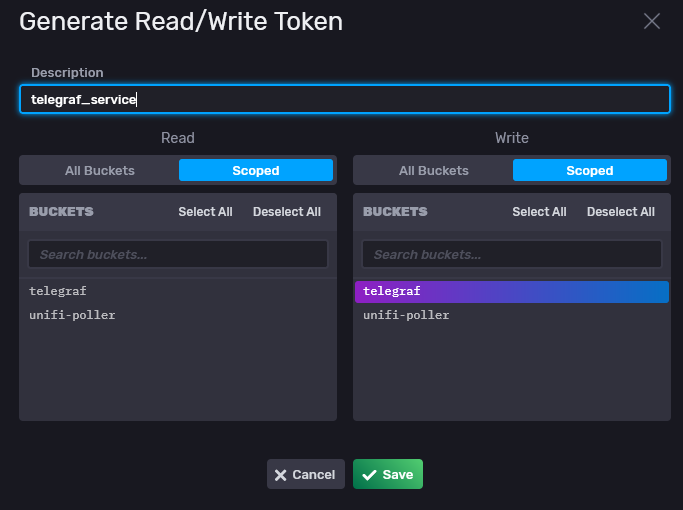
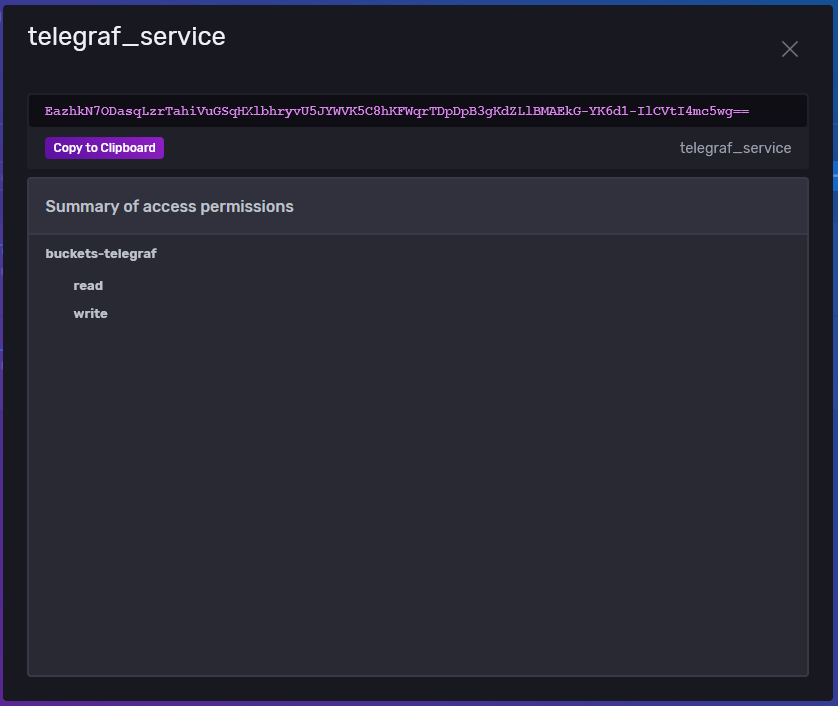
After creating the token, it’ll show up in the list, you can click on it and get the token string to use in the configurations. I also created a Grafana token while I was at it.
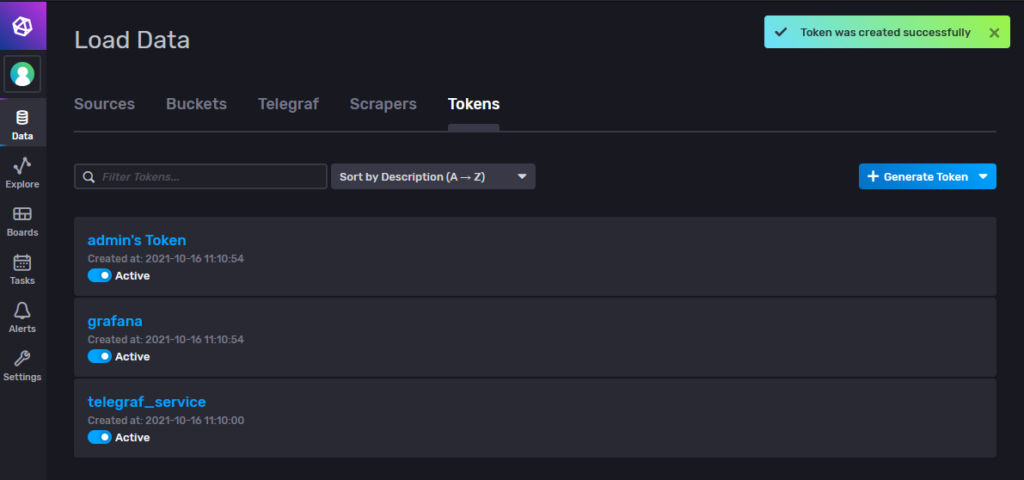
Note that the permissions on the tokens cannot be changed after creation. Only the token names can be modified after creation. This means if you create more buckets of data, you’ll have to create new tokens to read them all, or create tokens with read access to all buckets for a service (like Grafana for example).
Once the tokens are created, its pretty straight forward to get configurations going in various services. The configurations primarily need the server URL, organization, bucket, and token, and with that they’ll be able to connect and start reading/writing data. I’ll be covering some of my services and their step up process in future posts.