
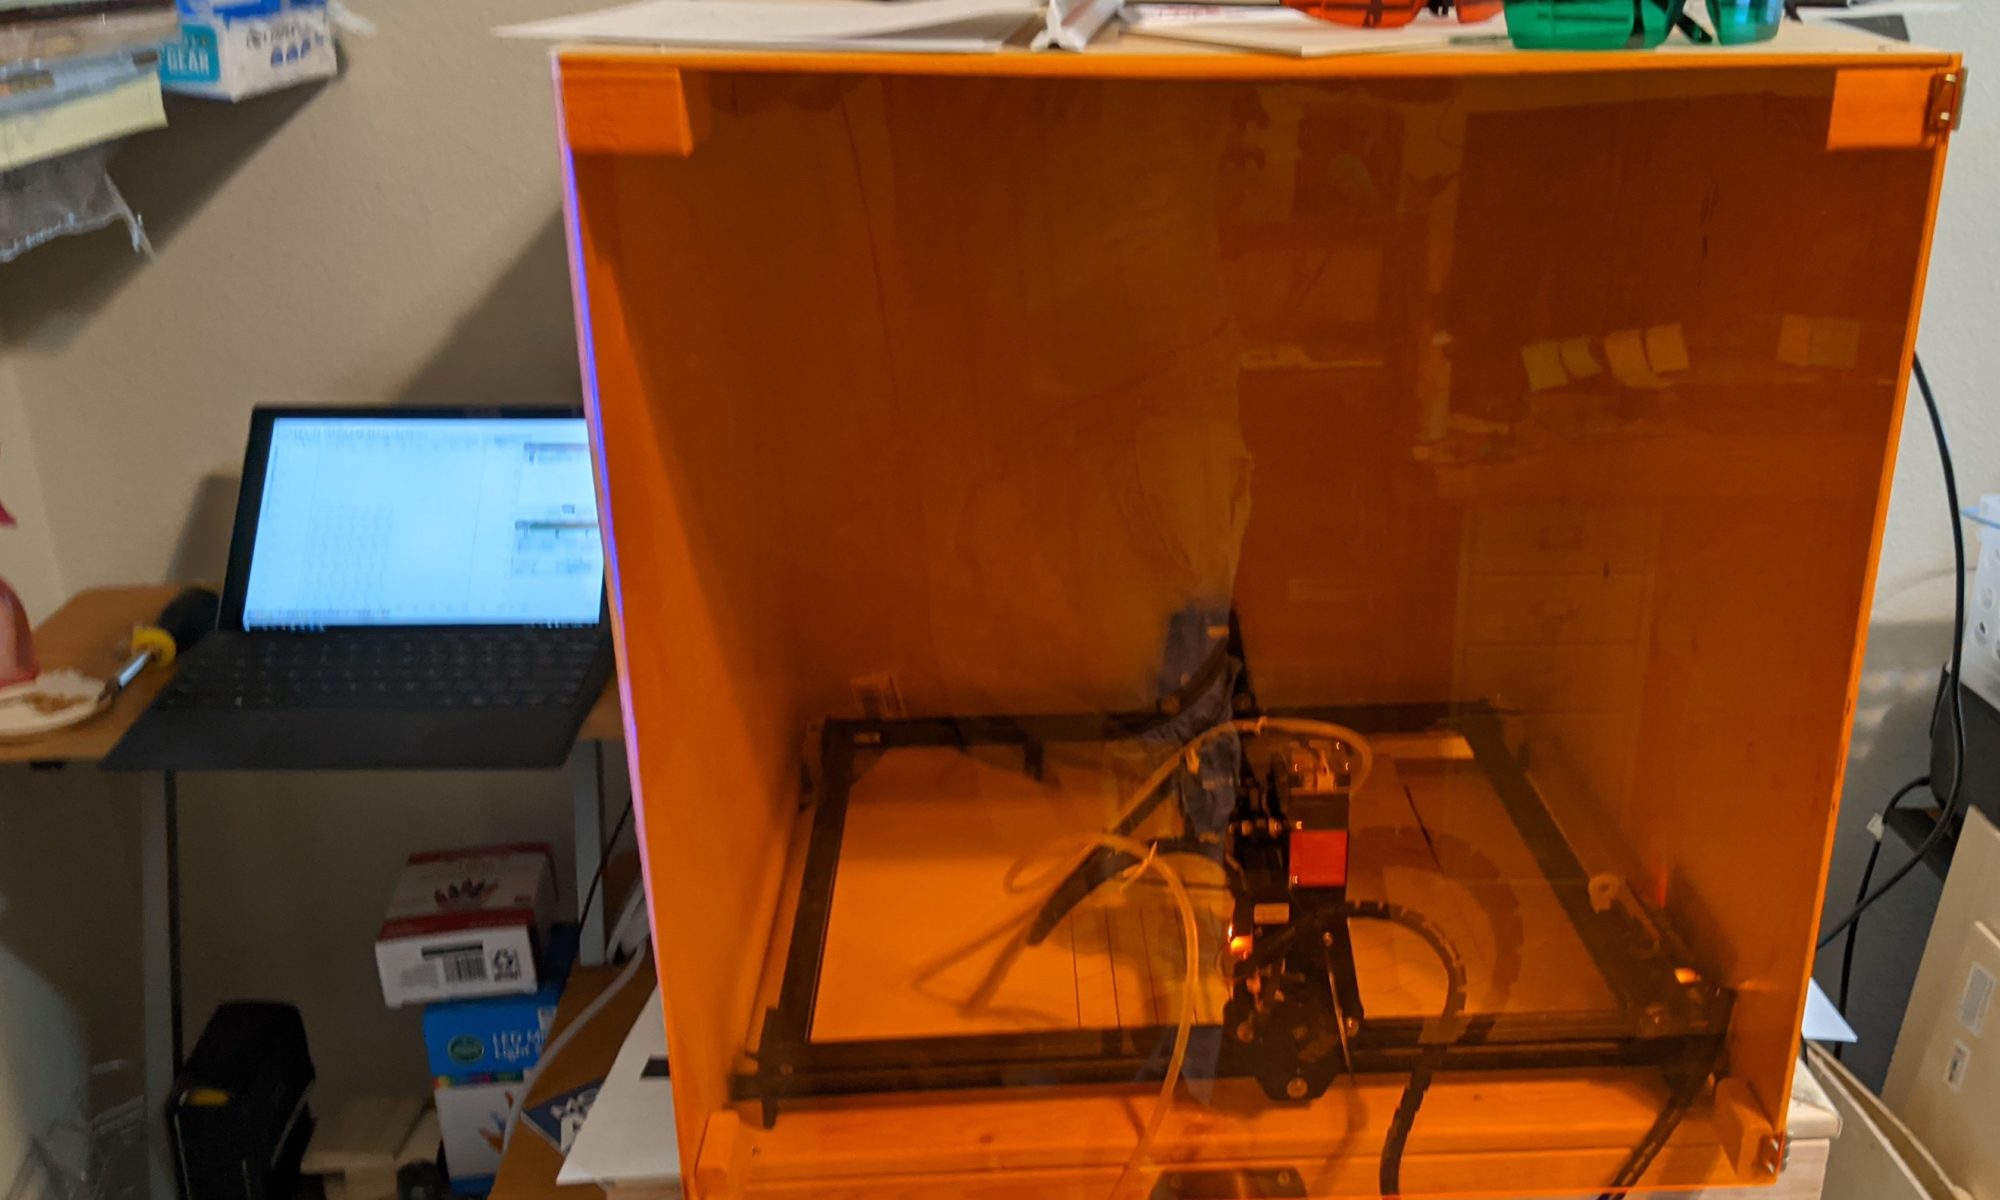
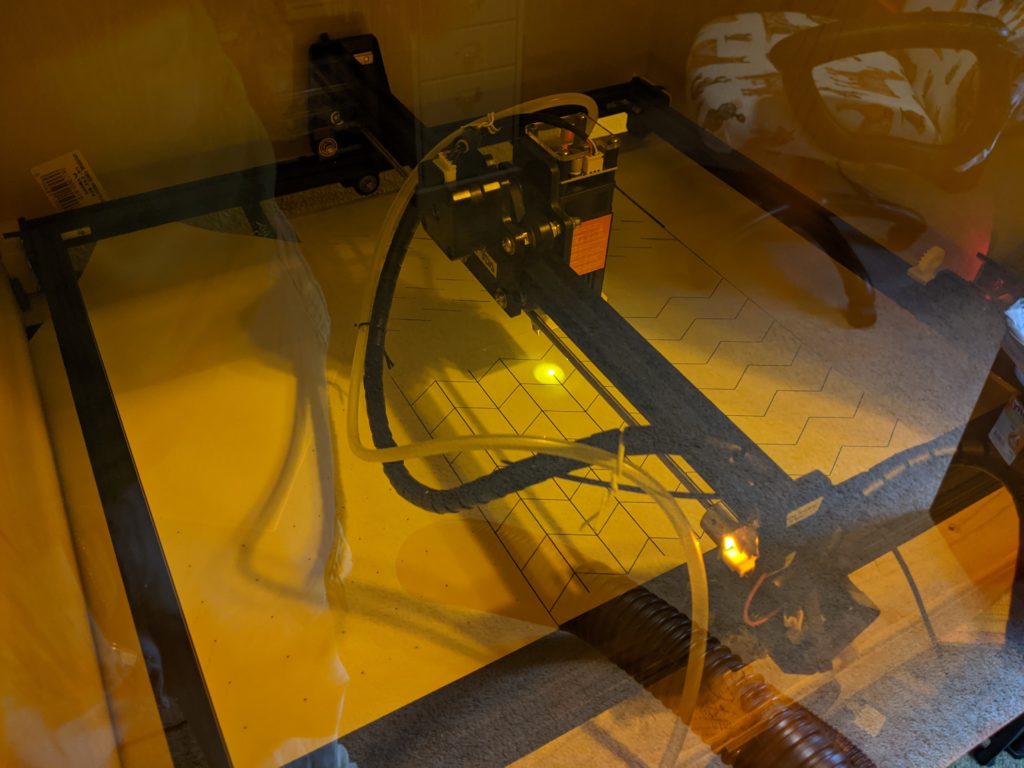
The Ortur laser is completely open air, providing no assistance or infrastructure to vent the fumes away. I decided to work on a vacuum table for the laser as the second component to fume management alongside the enclosure. The vacuum table also has some other added benefits when working with thinner materials like paper that may warp up while being cut.
Goals
- Hold pieces down and prevent them from moving under the pressure of the air assist
- Pull away smoke and soot from the machine and exhaust it elsewhere
Supplies
- Cloudray Laser Honeycomb
- Shop Vac
- 1×3 boards
- Various 3D printed elements
- 5hp ShopVac from Home Depot
Assembly
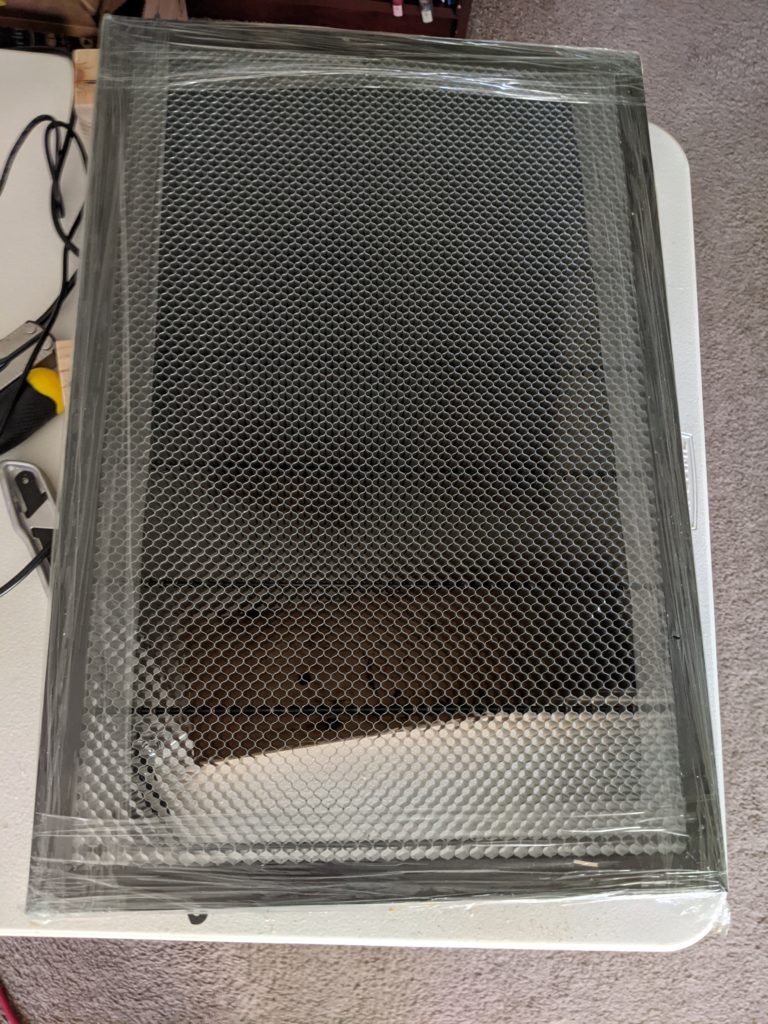
One key component was needed before work began on the vacuum table, the laser bed itself. This was ordered from Cloudray Laser and arrived in a reasonable amount of time.
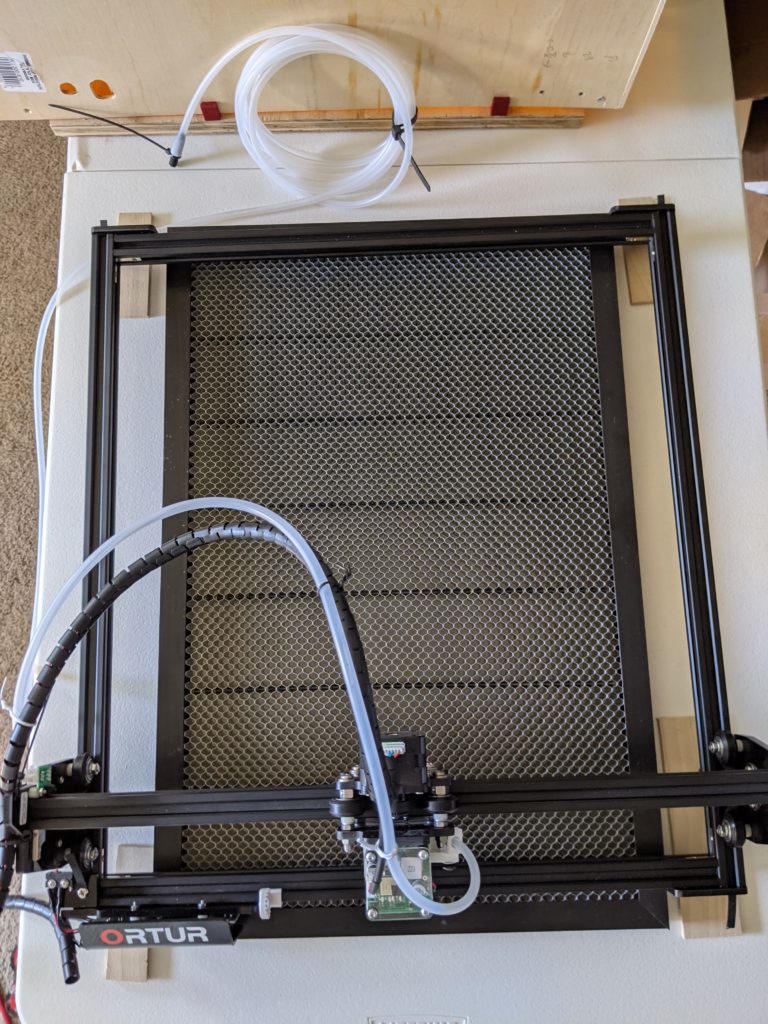
After getting the bed, I started looking at layouts of the bed and laser to try and determine where best to position everything. With the final vacuum table, my plan was to print some pieces to position the laser in and allow me to easily position the laser on the bed.
I ended up laying things out in CATIA as I was going to try and determine how it will all be positioned. The green is the box, light blue being the frame of the laser, and orange/the only actual solid is the laser bed.
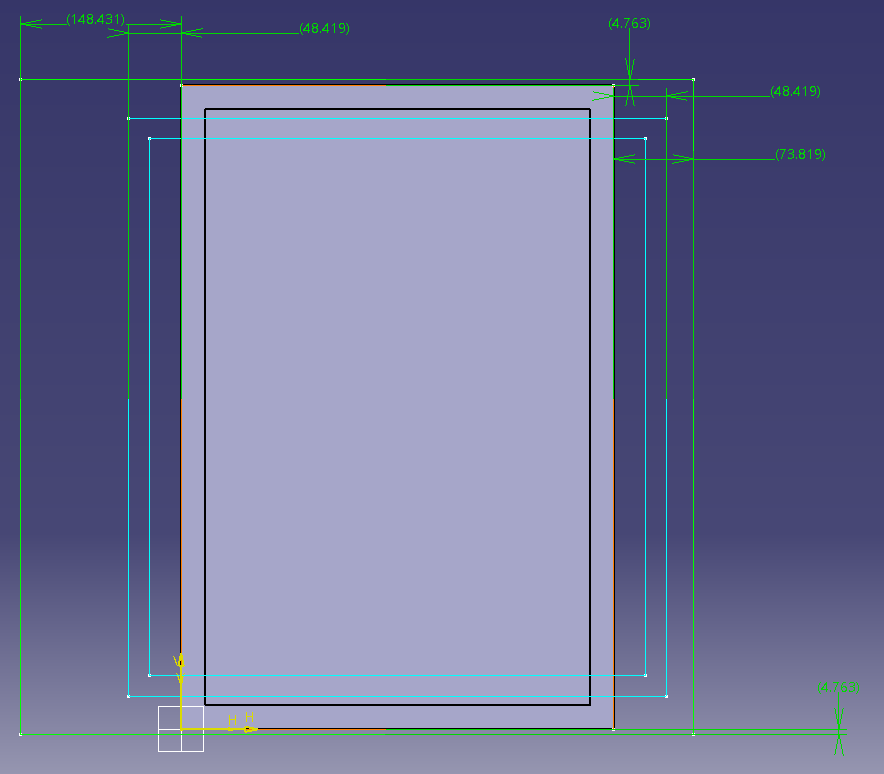
From the CATIA layout, I found that I needed minimally about 3 inches around the outside of the bed for the Ortur’s feet. Since I had some 1×3’s on hand, I decided to use those. I planned on using similar box mounting as on my original enclosure in order to hold that in place since the vacuum table wouldn’t be the same size as the box. I cut the 1×3’s to shape to fit the laser bed and glued/stapled them together. Later on I was planning on bolting them to the walls of the frame, which will add additional rigidity to the whole thing.
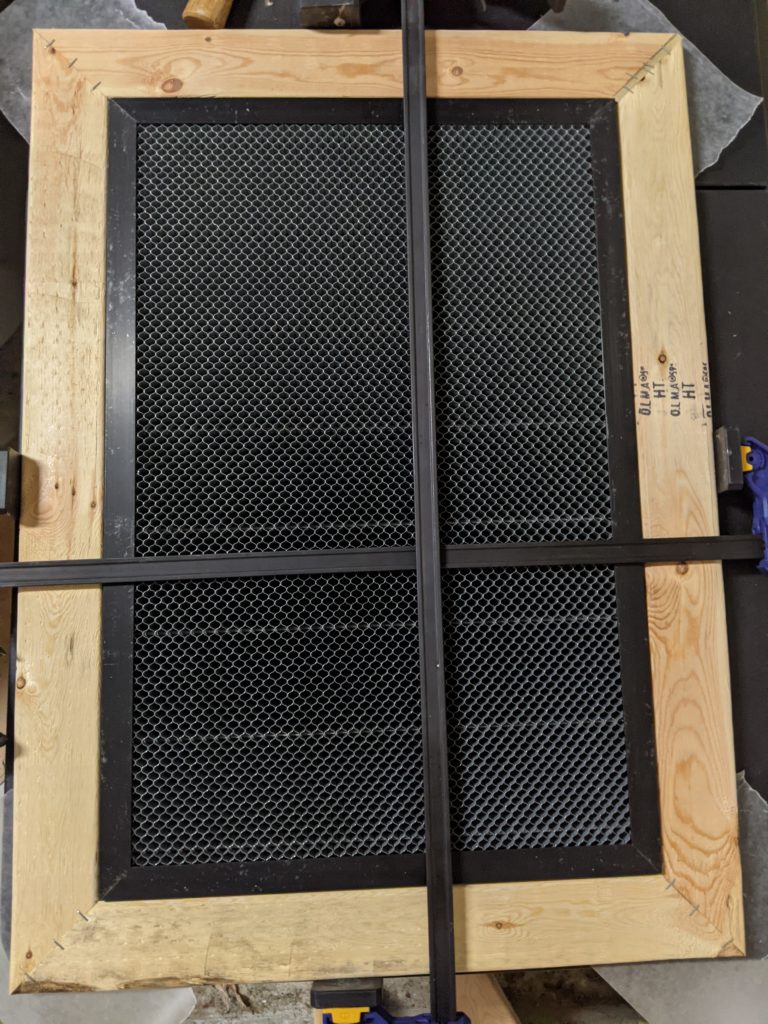
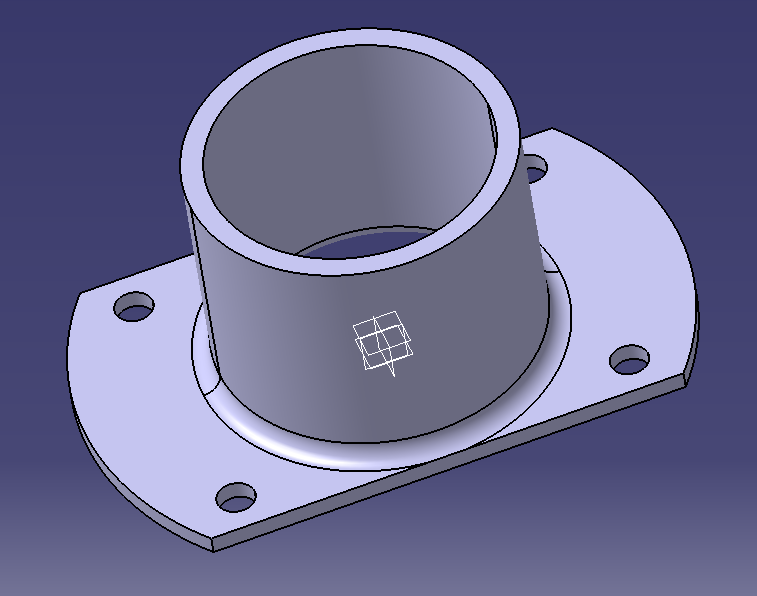
With the initial frame for the bed assembled and glue drying, the next step is to start working on the vacuum port that will be used on the side of the vacuum table. This was the initial design (with the diameter adjustable for when the final vacuum is purchased).
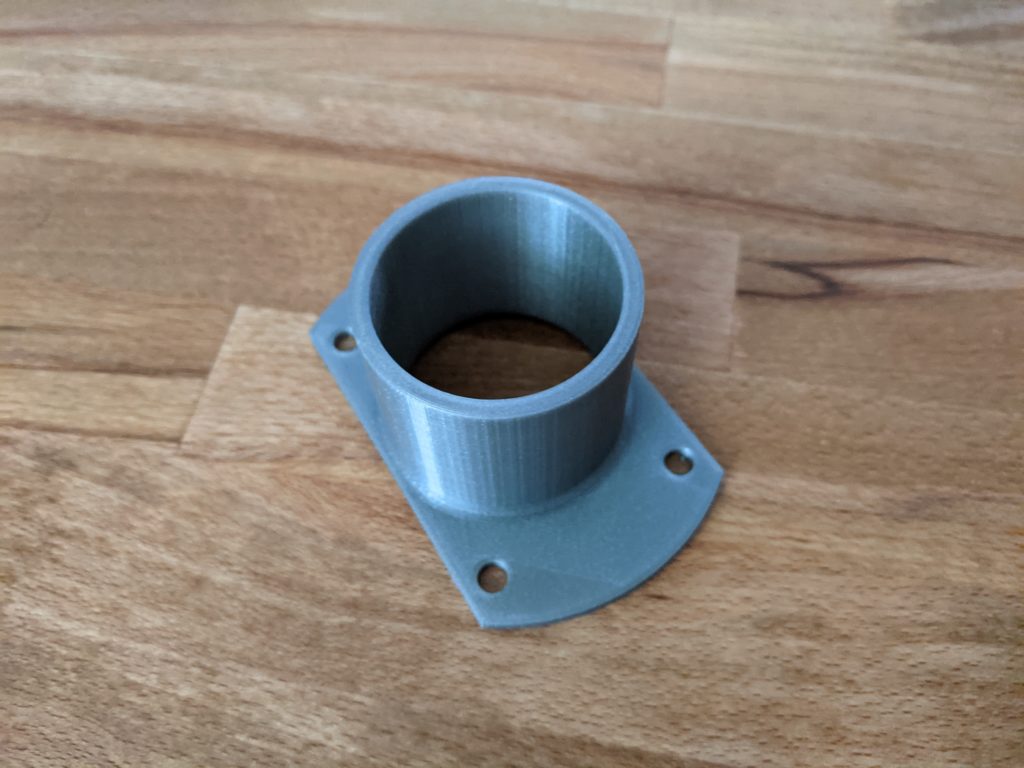
A demo print was made for the port to use in sizing the hole in the vacuum table and for initial testing with a house vacuum.
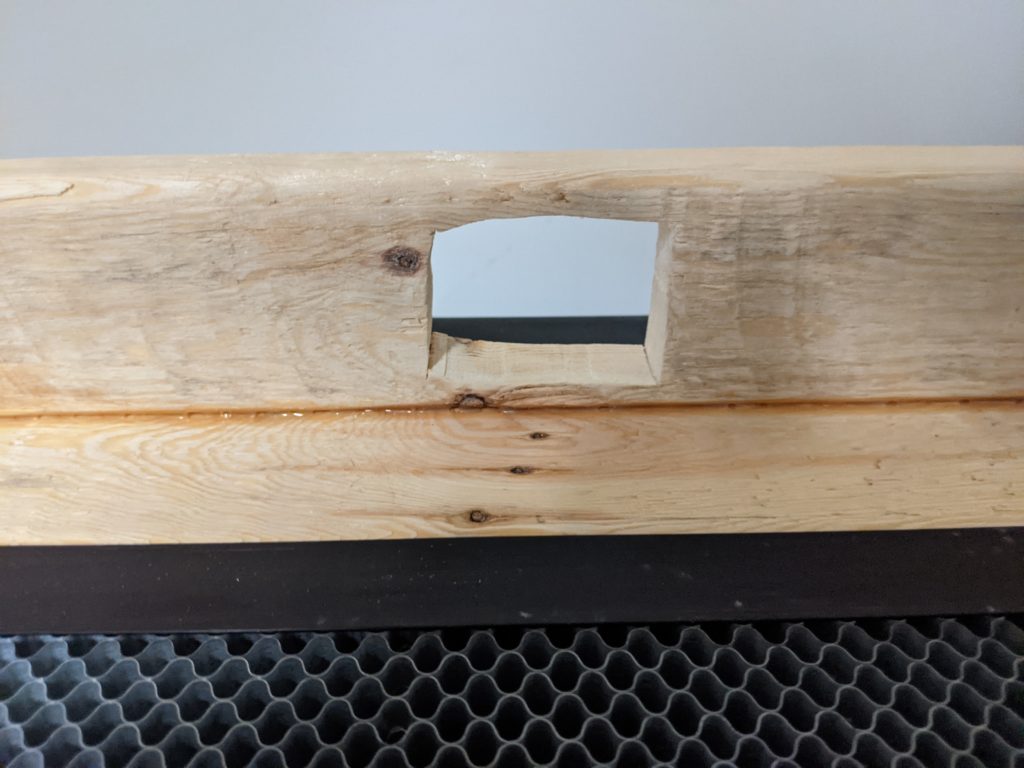
The port was cut in a wall piece of the vacuum table. This was done by drilling some holes initially and threading a scroll saw blade through to cut the hole. The wall pieces were all measured and cut from additional 1×3 boards, then screwed to the top of the vacuum table.
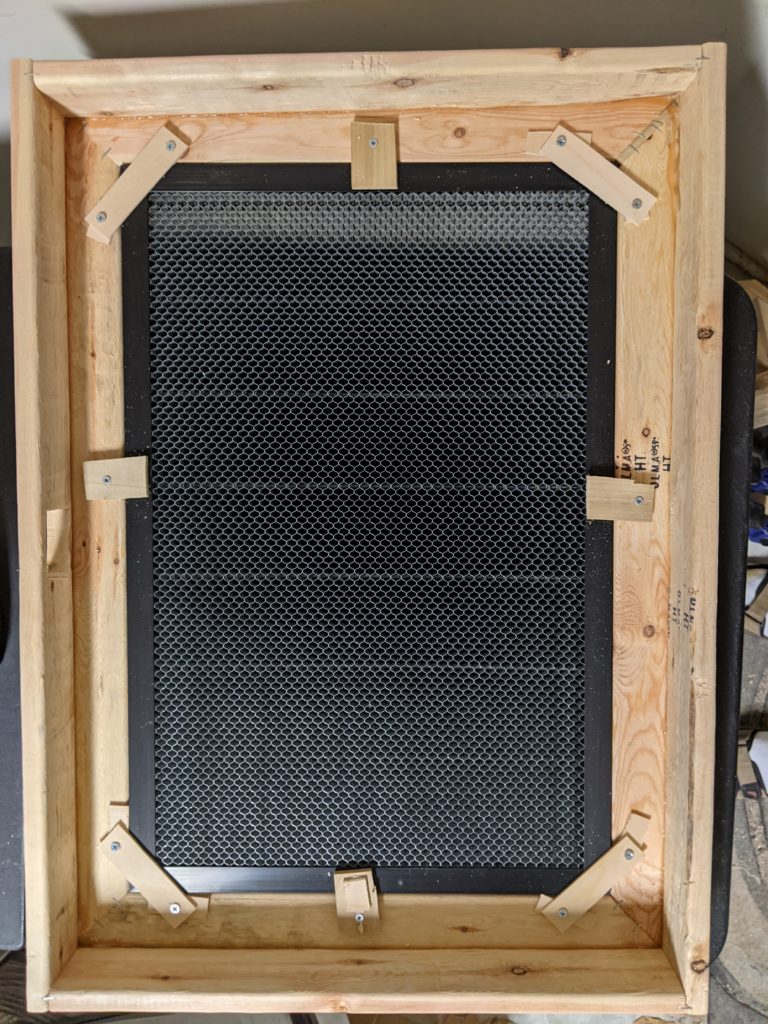
Below is the assembled top of the vacuum table. The next piece needed are the clip that will be holding the laser bed in place in the center of the table. These are going to be simple wood pieces cut out from some scrap I have.
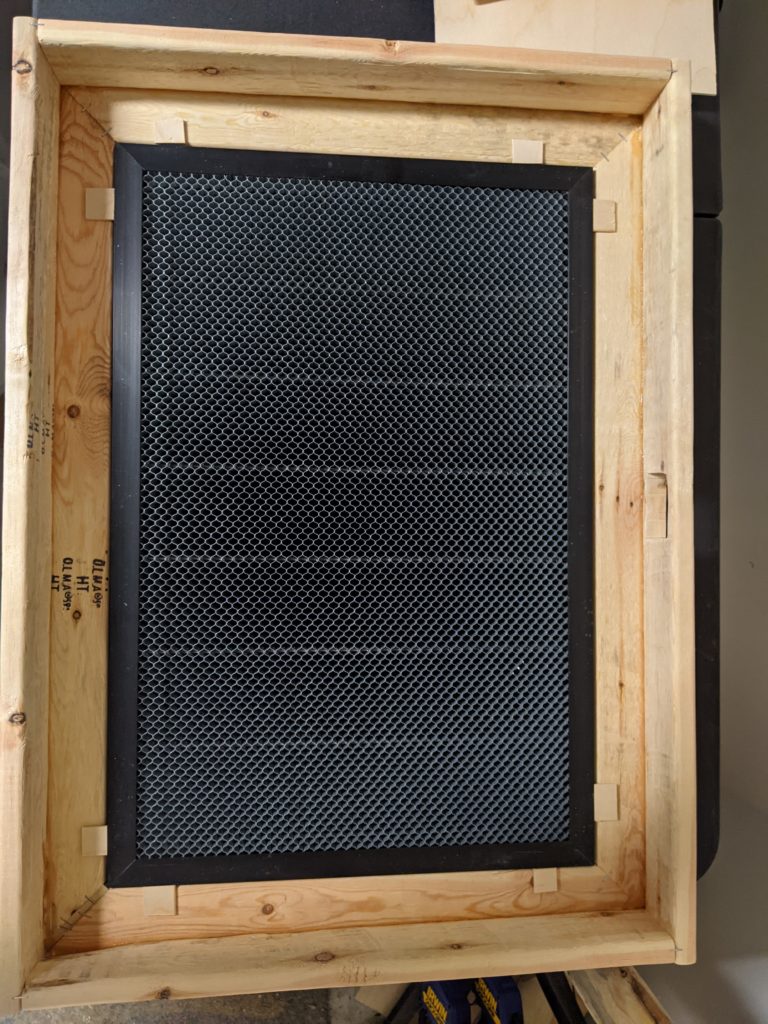
The laser bed was slightly thicker than the 1×3’s, so I had to use some spacers beneath my clips that hold the bed in place. Once I had the spacing right, I mounted all the clips into the board and made sure the bed would sit flush on them. I also ran a bead of wood glue around the top edge of the bed to seal it up a bit.
Not shown is the bottom of the bed. I screwed some pieces of plywood to the bottom of the frame since I wanted to be able to access the interior if needed later (so no gluing). If I need to seal it better, I’ll tape it closed since I’ll be able to remove that from the outside.
Finally a test fit of the vacuum port. This was taped in place until we got the vacuum and I could size the port correctly (it ended up being a few mm change in the inner diameter from my prototype).
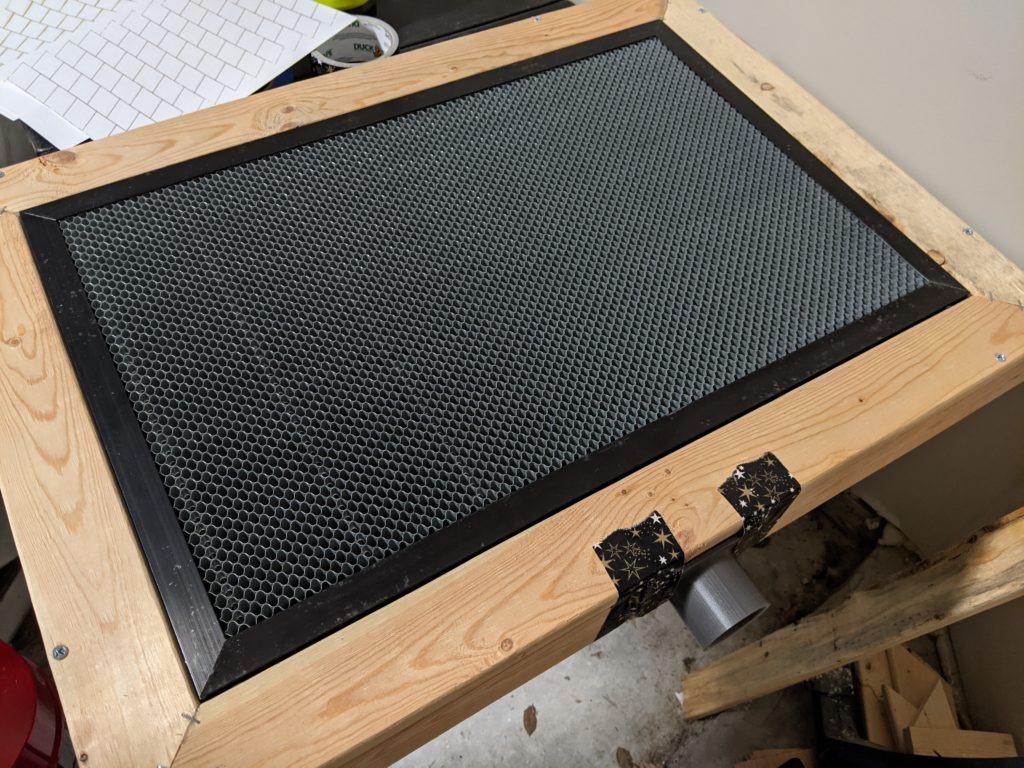
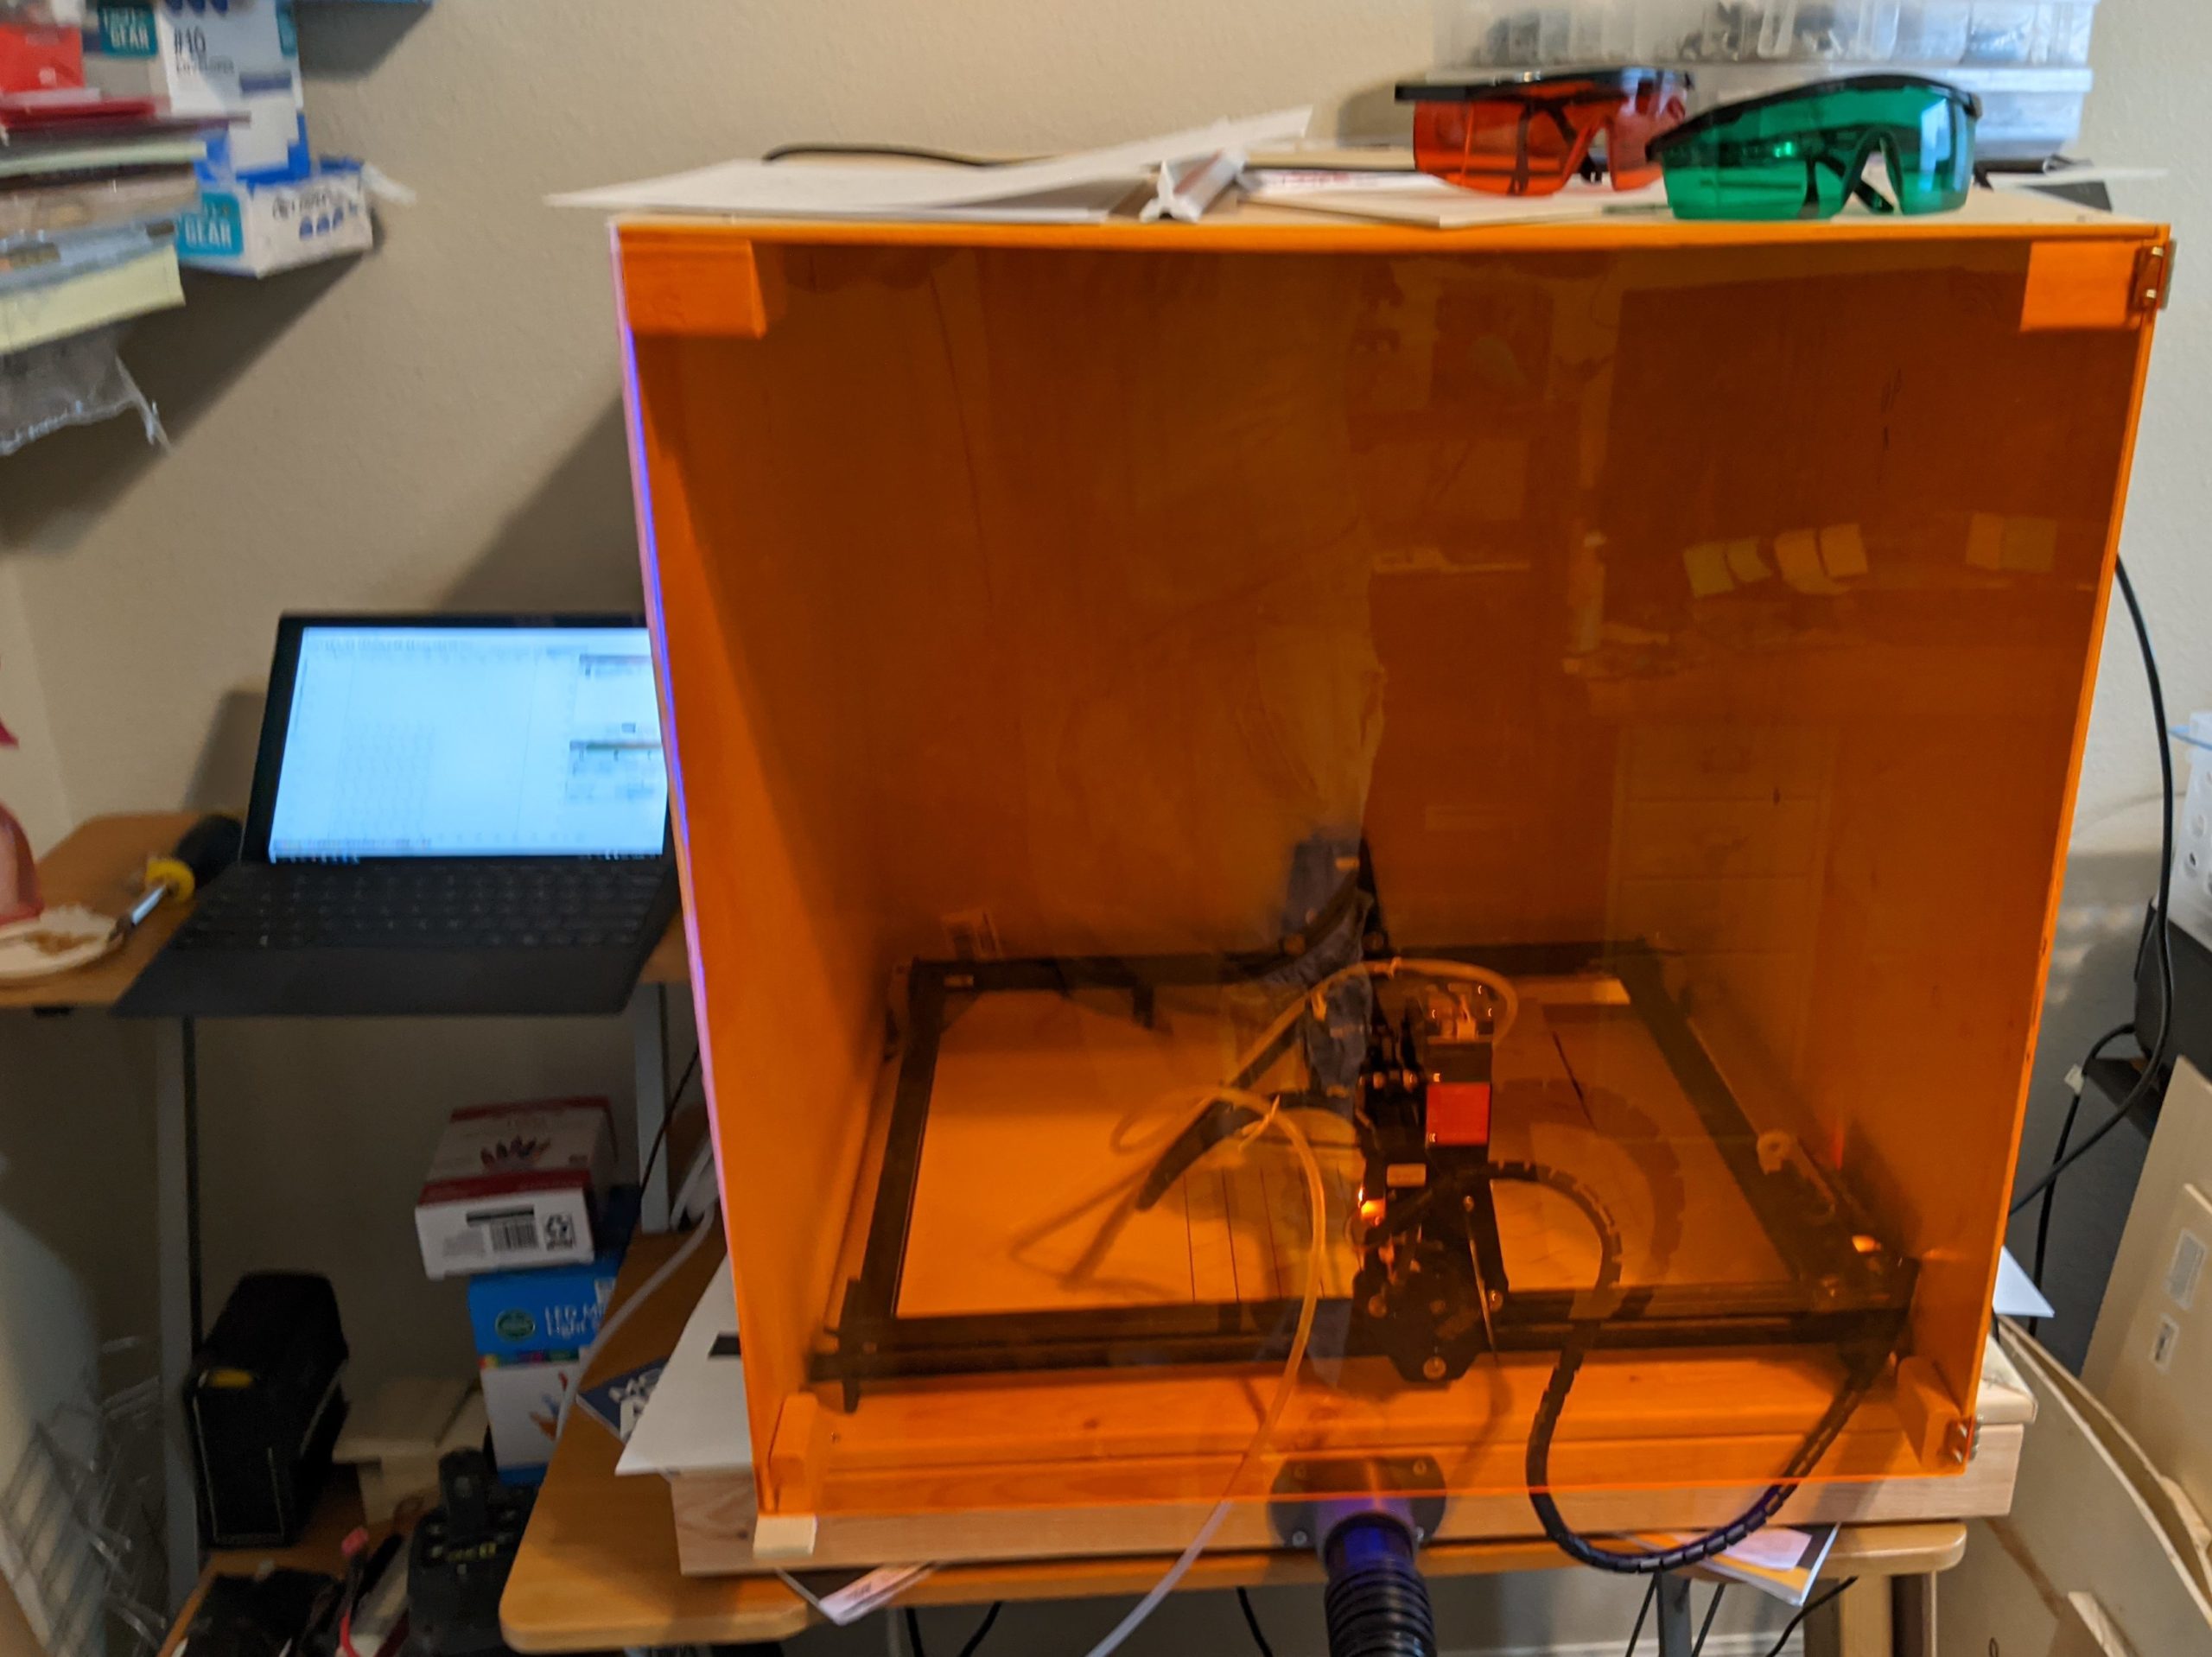
With the table finished, I made some clips for the enclosure to be supported by and mounted those to the frame. I positioned the laser inside with the same positioning as when the enclosure was just on a plain piece of cabinet board (approx 1″ from the back edge, and slid close to the left side of the frame).
Usage
While this won’t pull a vacuum beneath the parts, it does provide its utility in controlling fumes from the laser as well as for paper cutting. The table will hold the paper and prevent it from curling when being laser cut. It’ll also help exhaust the fumes from engraving and cutting since the ShopVac exhaust can have a hose attached and put out a window.
Final Thoughts
The vacuum table combined with the air assist will help greatly in wood cutting and exhausting the fumes (preventing fire alarms from being set off). The vacuum table alone also helps with cutting paper. This will greatly help in running the laser safely (especially when combined with the enclosure to reduce laser light in the room).