Ortur Laser Master 2 Software – LaserGRBL

One thing needed with every CNC driven machine is good software to control it and generate the gcode. There are two main options for the Ortur Laser Master 2. These are LaserGRBL and LightBurn. The Ortur uses LaserGRBL as the main control software out of the box while LightBurn is a commercial offering that costs $40. This article will be going through the LaserGRBL setup while I’ll be doing one in the future going through the LightBurn setup.

Continue reading “Ortur Laser Master 2 Software – LaserGRBL”

Focusing the Diode Laser on an Ortur Laser Master 2

Focusing the laser is just as important if not more important than leveling the bed of a 3d printer. A well focused laser will have tighter cuts, will engrave and cut faster and will have higher quality engravings. Getting the laser to a good focus point however can be difficult, and there are a few tricks to getting things to work smoothly.

admin

Laser Safety Glasses

Various Laser Safety Glasses

I recently picked up an Ortur Laser Master 2 engraver and cutter. With the new hardware to join my 3d printer in making things, comes new safety gear to use things with minimal risk (and prevent myself from going blind). I ended up going on an adventure to get the right safety equipment. My wife and I both wanted to work with the laser, so we both needed safety glasses.

Continue reading “Laser Safety Glasses”

WLED with ESP8266

I found a guide for running WLED on an ESP8266 micro controller to drive individually addressable RGB cables. I thought this would be a fun little project after working with the smart plugs and home assistant automations. Since WLED is another FOSS and cloud-free project, this still fits with my whole fully self hosted smart home ideal. Since no project is fool proof and I have run into small problems when working on the project.

Continue reading “WLED with ESP8266”

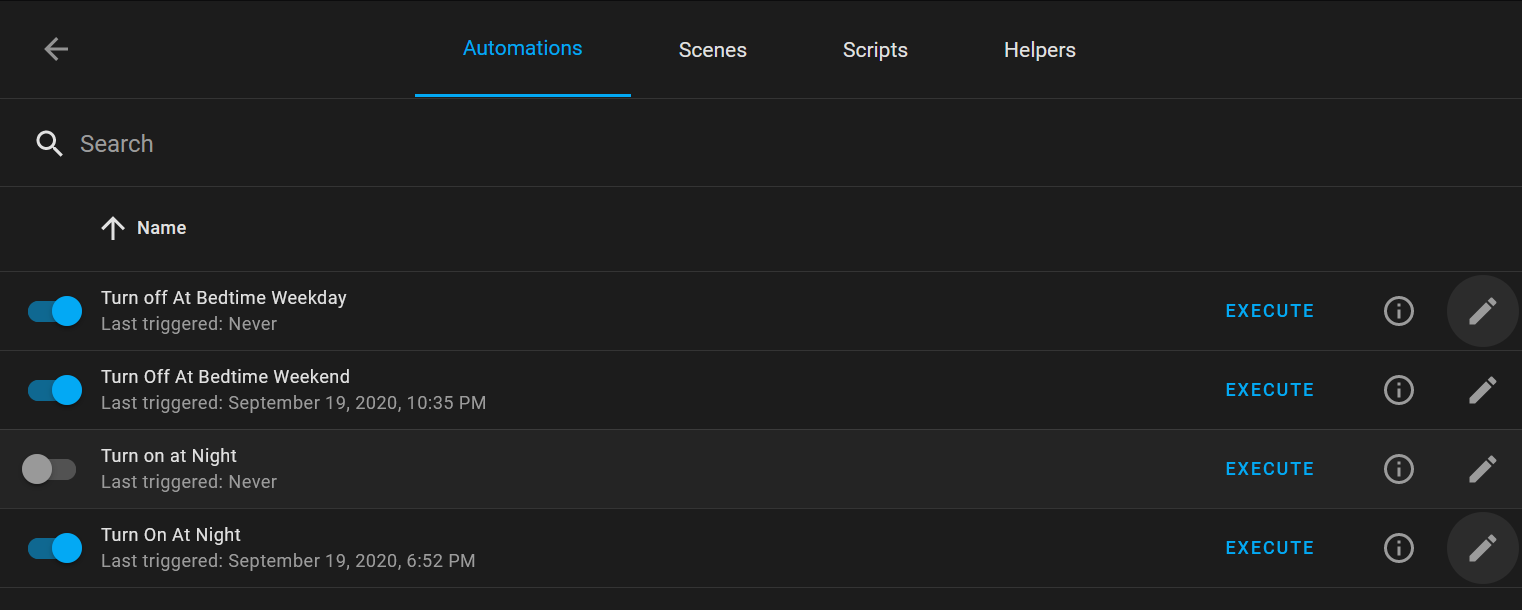
Adding a Current Month Numeric Sensor to Home Assistant

I have a number of Christmas light strands in various windows around my house. These get turned on once a year when we remember they exist and its around Christmas time. I decided that these would be a good use for home assistant to add some Christmas lighting during November and December.

To do this, I wanted an automation that would turn on the lights during specific months, and not during others. Thus I needed the current month available as a condition for my automation. I quickly found out that Home Assistant does not have this type of data built in, but can have it added relatively easily. I didn’t know how most of this was supposed to go together, so after a little bit of guess and check, here is what I ended up with.

Continue reading “Adding a Current Month Numeric Sensor to Home Assistant”

PhotoPrism MySQL DSN

Setting up the service was simple enough, I chose to run it on my UNRAID server however this meant I couldn’t use the example docker-compose file. I took all the settings from it and set it all up on my UNRAID server with the only changes being to paths for my file structure and the SQL database information. I use a MySQL database server for most of my services, so I needed to get the DSN for that server, however this was the first time I used DSNs, however it is pretty simple to setup correctly. I used PHPmyAdmin to add a user and database for PhotoPrism, and from there I used the default DSN with my username/password and host/port information

<user>:<password>@tcp(192.168.1.11:3306)/<databaseName>?charset=utf8mb4,utf8&parseTime=true

After that, everything was simple to setup and use. I logged in and was ready to start ingesting images.

Configuring PhotoPrism with NextCloud Sync

PhotoPrism is easy to setup with NextCloud sync, though it seems a bit odd the way its done. The NextCloud server is added to Settings / Backup in PhotoPrism, then you can click the circular arrows under the sync heading, and setup sync. To pick up the NextCloud auto uploads from my phone, I selected the InstantUploads folder to sync, with a daily interval. I told PhotoPrism to download remote files, preserve filenames, and sync raw and video files. I didn’t want PhotoPrism to upload to NextCloud as I wanted it to be a one way file sync to gather data. My PhotoPrism server is setup as a data viewer and not generating data itself as well. Then a flip of the “enable” switch and its complete. The first sync didn’t start instantaneously, however it did start not too long after setting it up, and it took a few hours to slowly sync and process all the files in my NextCloud folder (a few thousand files).

Jenkins LDAP Authentication

Continuing on my journey through centralizing my authentication for a number of services, I come to my Jenkins instance. This was setup recently to handle CI/CD on some of my personal projects, and has been working extremely well on automated build/test/deploy. Since none of the software it supports is going anywhere anytime soon, I decided to add the instance to the grouping of services going to LDAP for authentication. Setting up Jenkins with LDAP is a relatively straight forward process. It requires a few plugins to support it fully (authentication, group based authorization). The difficulty comes in authorization, as the role-based authorization strategy plugin isn’t as well documented as one would hope. It is at least not too hard to work through and works as intended.

Plugins to Use

Continue reading “Jenkins LDAP Authentication”